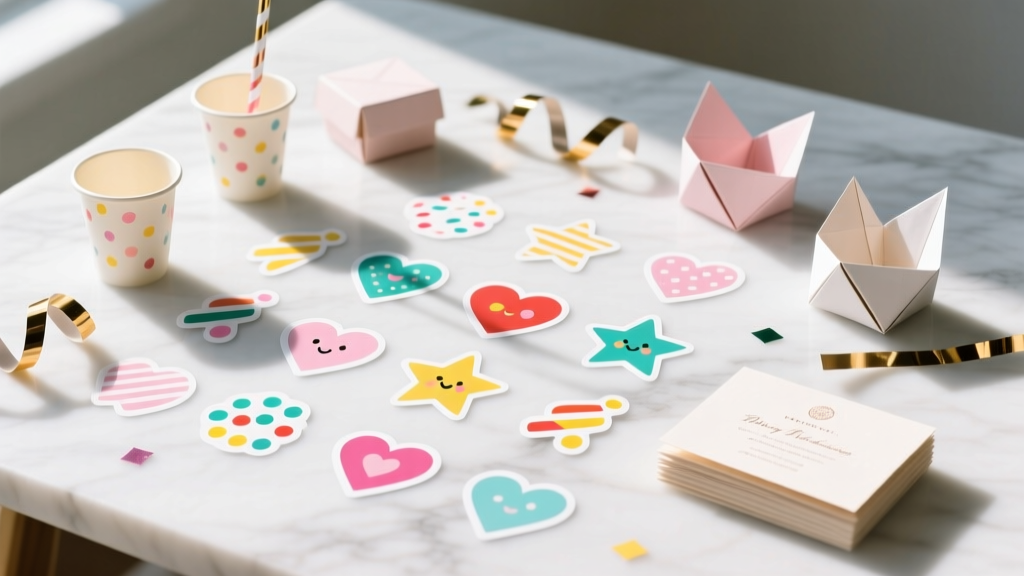
DIY Custom Stickers Party Favors
Custom stickers are one of those party details that feel small—but they make everything look intentionally styled. Add a name, a date, a cute icon, or a simple “Thanks for coming!” and suddenly your goodie bags, treat boxes, water bottles, and favor jars look like they were made by a boutique party shop.
Even better: DIY custom stickers are budget-friendly, easy to batch-produce, and flexible for any theme (birthday party, baby shower, graduation, wedding welcome bags, holiday gatherings). You can keep it beginner-simple with printable sticker paper, or level up with waterproof vinyl and a cutting machine for professional-looking party decorations.
This step-by-step guide walks you through creating DIY party favor stickers from start to finish—designing, printing, cutting, and applying—plus pro tips, troubleshooting, and fun variations so your handmade party favors look polished and personal.
Project Snapshot
- Skill level: Beginner (print-and-cut by hand) to Intermediate/Advanced (cutting machine + vinyl)
- Time estimate:
- Design: 20–45 minutes
- Print + cut: 30–60 minutes
- Apply to favors: 20–40 minutes
- Yield estimate: About 48–90 stickers per 8.5" x 11" sheet (depending on sticker size and spacing)
- Best for: Goodie bags, treat cups, mini bubble bottles, favor boxes, water bottles, party invitations, thank-you tags, cupcake toppers (on picks), and envelope seals
Materials & Tools (With Estimated Costs)
Sticker Supplies
- Printable sticker paper (matte or glossy), 8.5" x 11" ($8–$18 for 20 sheets)
- Matte is easiest to write on (great for names).
- Glossy looks bright and photo-like but can show fingerprints.
- Printable vinyl sticker paper (water-resistant) ($10–$22 for 10–20 sheets)
- Great for water bottles, favor jars, and anything handled a lot.
- Clear self-adhesive laminate sheets (optional, for extra durability) ($10–$18 for 10–20 sheets)
Printing & Cutting Tools
- Inkjet printer (most sticker papers are inkjet-friendly; use what you have)
- Fresh ink cartridges ($20–$60 depending on printer)
- Scissors ($3–$10) and/or precision craft knife ($5–$12)
- Cutting mat ($8–$15) if using a craft knife
- Paper trimmer (optional but fast) ($12–$25)
- Circle punch (optional): 1.5" or 2" ($8–$15)
- Cutting machine (optional): Cricut/Silhouette style for “kiss-cut” stickers (cost varies)
Helpful Extras
- Ruler or measuring tape ($2–$6)
- Squeegee, old gift card, or scraper tool ($0–$8) for smooth application
- Rubbing alcohol + cotton pad ($3–$6) to prep surfaces (especially plastic/metal)
Step 1: Choose Your Sticker Style (And What You’re Labeling)
Start by deciding where the stickers will go—this determines size, paper type, and whether you need waterproof durability.
Popular DIY Party Favor Sticker Sizes
- 1.5" circle: Favor bag seals, envelope seals, mini treat bags
- 2" circle: Goodie bags, party cups, small jars
- 3" circle: Larger treat boxes, party favor bags, centerpiece labels
- 2" x 3" rectangle: Favor tags, “thank you” labels, snack bag labels
- Water bottle label wrap: About 8" wide x 2" tall (measure your bottle for accuracy)
Pick the Right Material
- For paper treat bags/boxes: Matte sticker paper (easy + forgiving)
- For plastic bottles/cups/jars: Printable vinyl + optional laminate
- For outdoor parties or ice buckets: Waterproof vinyl + laminate strongly recommended
Step 2: Design Your Custom Stickers
You can design in free tools (like Canva) or any program you’re comfortable with. Keep the layout simple and readable—stickers are small, and the best party decorations are clear at a glance.
Design Checklist (Beginner-Friendly)
- Pick a sticker size first (example: 2" circle)
- Use 2 fonts max (one for name, one for details)
- Choose 2–4 colors that match your party theme
- Leave a small margin: at least 0.08" (2 mm) from the cut edge
- Use high-resolution graphics (look for 300 DPI when possible)
Easy Text Ideas
- “Thank you for celebrating!”
- “[Name]’s Birthday Bash”
- “Baby [Last Name]” or “Oh Baby!”
- “Class of 2026”
- “Take a Treat”
Advanced Design Options
- Kiss-cut sticker sheets: multiple mini stickers on one sheet as a favor itself
- Metallic look: print on glossy paper and add gold foil accents with a foil pen system (optional)
- QR code sticker: link to party photos, playlist, or a thank-you message
Step 3: Print a Test Sheet (Don’t Skip This)
A quick test prevents wasted sticker paper. Print your design on regular copy paper first.
- Print at 100% scale (avoid “Fit to page” unless your design requires it).
- Measure a few stickers with a ruler to confirm sizing (example: circle should be exactly 2 inches across).
- Check color brightness; adjust if needed (increase saturation slightly if your printer prints dull).
Printer Settings for Best Results
- Paper type: “Photo Paper” for glossy / “Matte Presentation Paper” for matte (varies by printer)
- Quality: High or Best
- Borderless printing: Off (unless you specifically designed borderless)
Step 4: Print on Sticker Paper
- Load one sheet of sticker paper at a time (reduces jams).
- Print your final design.
- Let the ink dry:
- Matte: 5–10 minutes
- Glossy/vinyl: 15–30 minutes (longer if humidity is high)
Optional (recommended for durability): Apply a clear laminate sheet over the printed sticker sheet after ink is fully dry. Smooth from center outward using a scraper tool or old gift card.
Step 5: Cut Your Stickers (3 Methods)
Method A: Cut by Hand (Beginner, Lowest Cost)
- Rough-cut strips with scissors or a paper trimmer.
- Carefully cut each sticker shape, turning the paper (not your scissors) for smoother curves.
- For circles, draw light guide lines on the back if needed.
Time: 30–60 minutes per 2–4 sheets, depending on quantity.
Method B: Use a Circle Punch (Fastest for Circles)
- Design circles in exact punch size (example: 2" circles).
- Print, let dry, then punch each circle.
- Test alignment first—most punches center best when you can see the design edge.
Pro tip: Leave a little space between circles (at least 0.25") so punching is easy.
Method C: Use a Cutting Machine (Cleanest, Most Professional)
- Upload your design and set it as “Print Then Cut” (or your machine’s equivalent).
- Print with registration marks.
- Place the sheet on a light grip mat and load into the machine.
- Choose the correct material setting (Printable Vinyl, Sticker Paper, or Custom).
- Do a small test cut to ensure a kiss-cut (cuts sticker layer, not backing).
Step 6: Apply Stickers to Party Favors Like a Pro
Clean, smooth surfaces make DIY party favor stickers look crisp and last longer.
- Prep: If applying to plastic/metal/glass, wipe the surface with rubbing alcohol and let dry (about 30 seconds).
- Peel carefully: Start at a corner to avoid bending the sticker.
- Place lightly first: Hover to align, then press the center down.
- Smooth outward: Use your thumb or a scraper tool to push out air bubbles.
- Cure time (for best hold): Let stickers sit 1–2 hours before heavy handling; 24 hours is ideal for waterproof vinyl.
Pro Tips for Beautiful Results
- Batch your workflow: Design all labels first, then print, then cut, then apply—faster and less messy.
- Use a simple “brand kit”: Keep one font pairing and one color palette for all party decorations (stickers, food labels, favor tags).
- Add a white border: A thin white outline (about 0.08") helps stickers pop on colorful bags.
- Make extras: Print 10–15% more than you think you need for last-minute favors and oops moments.
- Test one favor first: Apply a sticker to your actual bag/jar and see if the size feels right before producing everything.
Fun Variations (Beginner to Advanced)
Beginner Variations
- Name stickers: Add each guest’s name for place settings or favor bags.
- Thank-you seals: 1.5" circles to seal treat bags or tissue-wrapped favors.
- Simple icon theme: Balloons, stars, hearts, dinosaurs, daisies—one icon + name looks super clean.
Advanced Variations
- Waterproof favor labels: Printable vinyl + laminate for bubbles, mini water bottles, juice bottles, or party cups.
- Sticker favor packs: Kiss-cut a whole themed sheet and give it as a party favor (kids love this).
- Layered look: Combine a sticker with a ribbon bow or twine wrap for a boutique finish.
Troubleshooting: Quick Fixes for Common Sticker Problems
- Problem: Ink smears
- Fix: Increase dry time; switch printer setting to the correct paper type; add laminate only after ink is fully dry.
- Problem: Colors look dull
- Fix: Print on glossy/vinyl for brighter color; use “High Quality” setting; slightly increase saturation in your design.
- Problem: Stickers won’t stick to plastic
- Fix: Clean with rubbing alcohol; use printable vinyl (not basic paper sticker); allow 24-hour cure time.
- Problem: Cutting machine cuts too deep
- Fix: Reduce pressure; choose “kiss-cut” setting; run a small test cut first.
- Problem: Edges peel up
- Fix: Round the corners (corners lift first); avoid textured surfaces; press firmly and let adhesive set.
Common Crafting Mistakes to Avoid
- Skipping the test print: One test page saves money and frustration.
- Using the wrong sticker material: Paper sticker sheets don’t love condensation—choose vinyl for drinks and jars.
- Designing too tiny: Thin fonts and tiny text disappear on small stickers. Keep text bold and minimal.
- Overcrowding the sheet: Leave enough spacing for cutting (especially with punches and scissors).
- Applying to dusty or oily surfaces: A quick alcohol wipe makes a big difference.
- Rushing dry time: Smudges happen when you handle glossy or vinyl sheets too soon.
FAQ: DIY Custom Stickers for Party Favors
1) What’s the best sticker paper for party favors?
For most indoor parties, matte printable sticker paper is easy and affordable. If stickers will touch drinks, condensation, or lots of handling, printable vinyl (plus optional laminate) holds up much better.
2) Can I make custom stickers without a cutting machine?
Yes. Scissors, a craft knife + cutting mat, or a circle punch work great. If you’re making a lot of circle stickers, a 1.5" or 2" punch is a huge time-saver.
3) How do I make stickers waterproof?
Use printable vinyl and add a clear laminate overlay. Let them cure for 24 hours before putting them on bottles or items that will get wet.
4) How many stickers fit on one 8.5" x 11" sheet?
It depends on size and spacing. As a rough guide: you can fit about 48–54 1.5" circles, 20–30 2" circles, or 9–12 3" circles with comfortable cutting space.
5) What’s the easiest way to match stickers to my party theme?
Pull 2–3 colors from your party plates/napkins and reuse them in your sticker design. Add one repeating icon (stars, hearts, confetti, flowers) across all your DIY party decorations for a cohesive look.
6) Can these stickers work as party decorations too?
Absolutely. Use them to label party food, seal favor bags, decorate cups, personalize place cards, or create a sticker “thank you” wall where guests can grab extras.
Wrap-Up: Your Party Favors Just Got Personal
DIY custom stickers are one of the quickest handmade upgrades you can add to party favors—and once you make a set, you’ll start spotting places to use them everywhere (treat tables, thank-you notes, favor bags, even party games). Start simple with a 2" circle sheet, then try waterproof vinyl or kiss-cut sticker sheets when you’re ready to level up.
Have fun with it, make a few extras, and let your party theme shine through in the details. For more DIY crafts, party decorations, and handmade project ideas, explore what’s next on smartpartyprep.com!
More Articles
 Kids' Craft: Table Runners
 12 Do It Yourself Christmas Party Favors That Actually Impress Guests (No Craft Store Run Required — Just What’s in Your Junk Drawer + 20 Minutes)
 Easy Photo Frames for Beginners
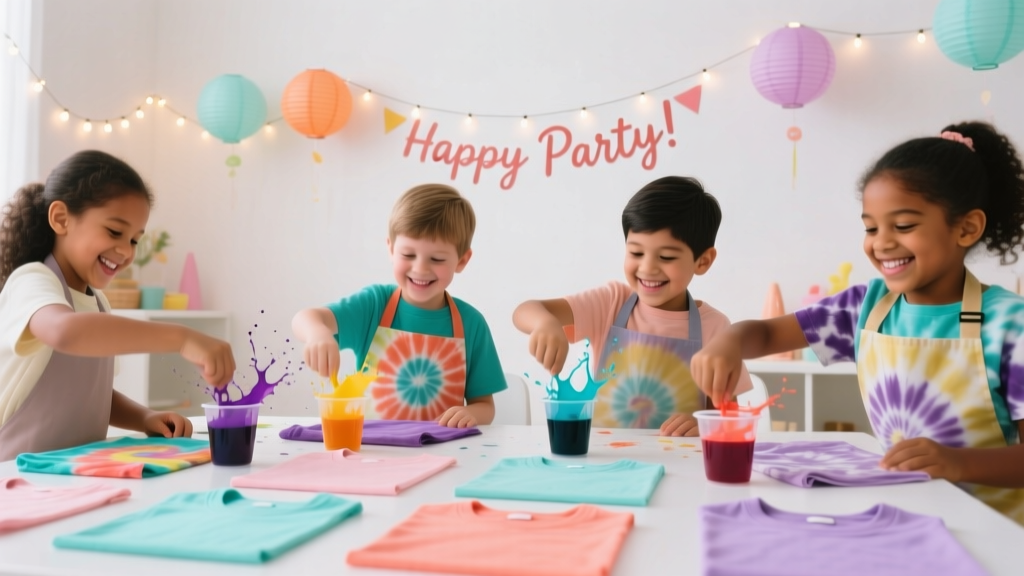 Kids' Craft: Tie-Dye Shirts
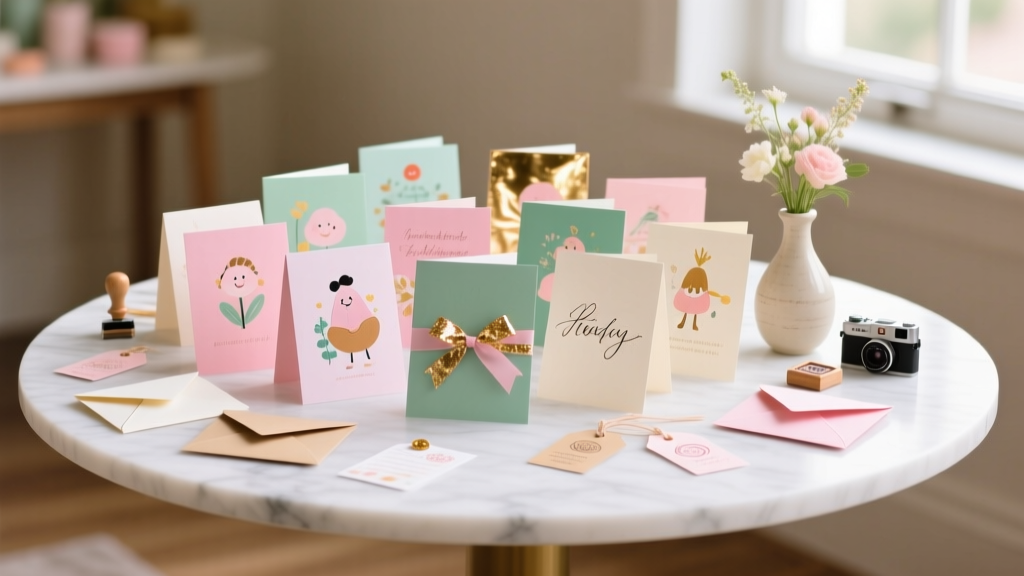 DIY Greeting Cards Party Favors
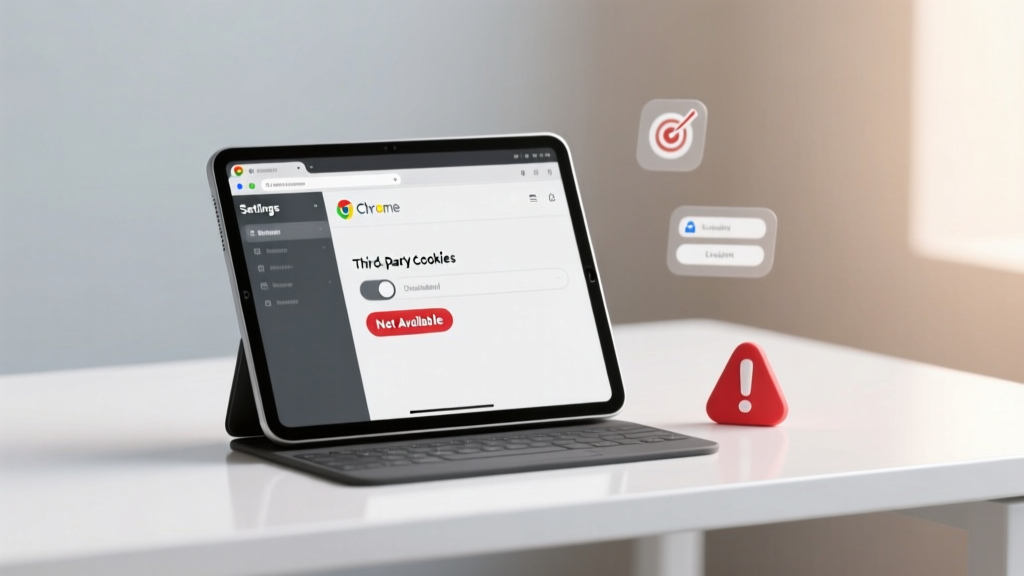 How to Enable Third Party Cookies on iPad Chrome (2024 Guide): Why It’s Not Possible — And What You *Can* Actually Do Instead to Restore Login & Tracking Functionality
 Advanced Scrapbook Pages for Crafters
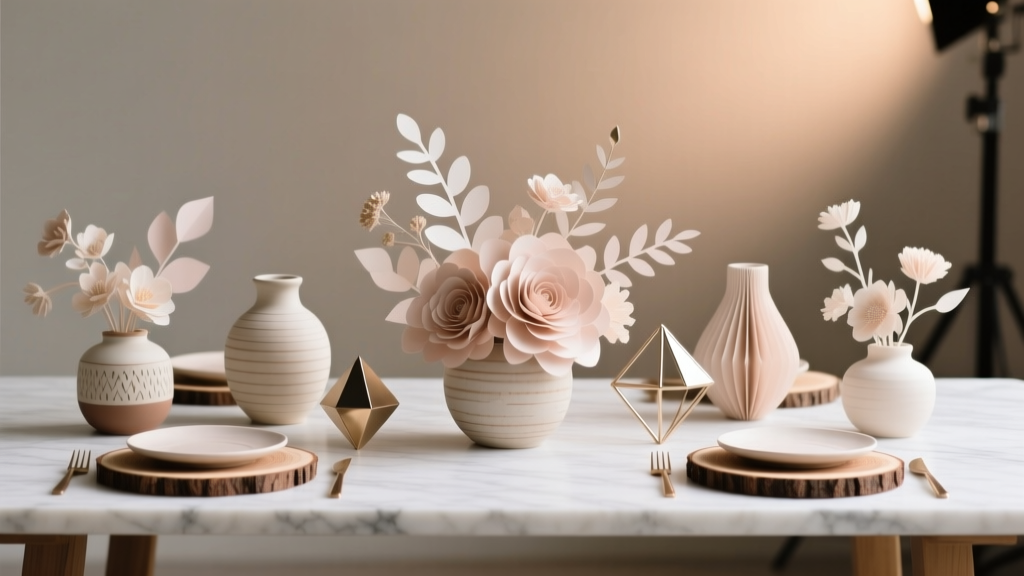 Advanced Centerpieces for Crafters
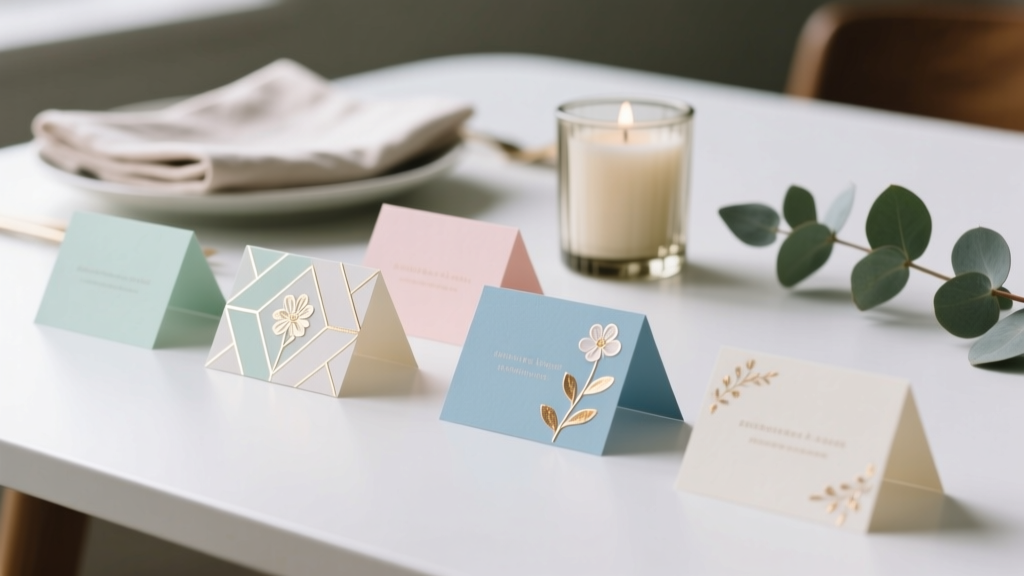 Paper Craft Place Cards Ideas
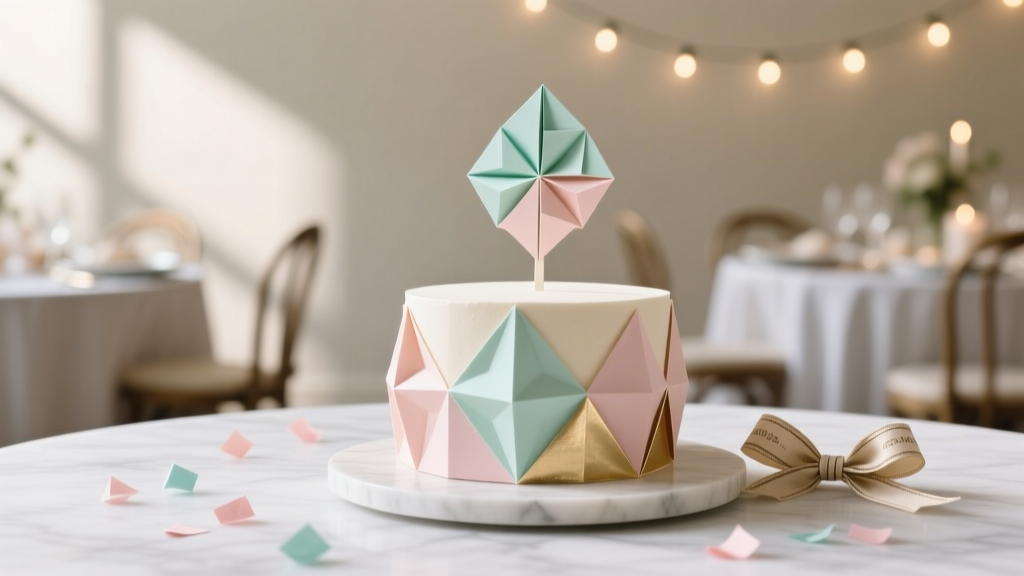 Paper Craft Cake Toppers Ideas