Advanced Centerpieces for Crafters
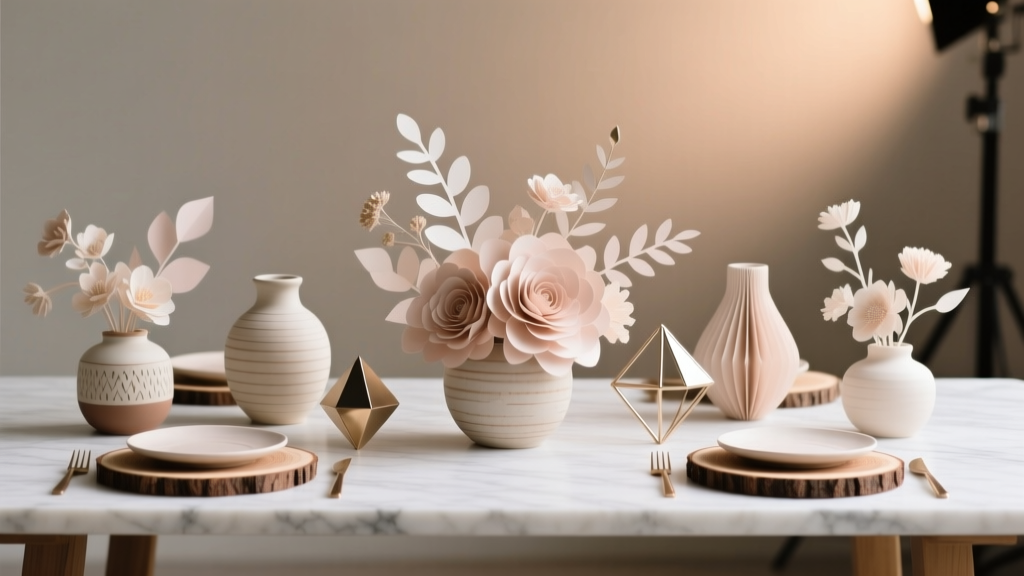
Nothing transforms a party table faster than a handmade centerpiece that looks like it came from a boutique studio. If you love DIY crafts and party decorations, advanced centerpieces are the sweet spot: they’re creative enough to feel like a true project, but still practical to batch-make for birthdays, weddings, baby showers, holiday dinners, or a themed celebration.
The best part? Advanced doesn’t have to mean complicated. With a good plan, the right tools, and a few smart techniques, you can build centerpieces with clean structure, professional finishes, and that “how did you make this?” factor. This guide walks you step-by-step through three standout handmade centerpiece builds—each designed for crafters who want more than a jar-and-flowers shortcut.
Pick one design or mix elements across all three. You’ll get materials with estimated costs, measurements, time estimates, pro tips, and troubleshooting so you can craft with confidence and create party decor that holds up through photos, food, and dancing.
Choose Your Build: Three Advanced DIY Centerpiece Styles
All three centerpiece projects are party-friendly, customizable, and designed to be stable on a dining or buffet table.
1) Floral Foam + Modern Grid “Studio” Centerpiece
- Look: Low, lush, professional floral design with a clean grid top
- Best for: Bridal showers, wedding receptions, graduation parties, elegant birthdays
- Skill level: Intermediate to Advanced
- Time: 45–75 minutes each
2) LED Terrarium Lantern Centerpiece (with Wood Base)
- Look: Glowing centerpiece with greenery, moss, and warm lights—high impact at night
- Best for: Backyard parties, holiday gatherings, anniversaries, winter themes
- Skill level: Intermediate
- Time: 35–60 minutes each
3) Balloon + Floral “Cloud” Runner Centerpiece (Modular Sections)
- Look: Lightweight organic balloon garland meets florals in a table-friendly form
- Best for: Baby showers, kids’ parties, milestone birthdays, themed events
- Skill level: Advanced
- Time: 60–120 minutes for a 36–48 inch runner
Tools You’ll Use Again and Again
- Hot glue gun (high-temp recommended) + glue sticks: better hold for wood, plastic, and foam
- Floral snips (or sharp pruners): clean cuts for stems and faux picks
- Wire cutters: for floral wire, faux stems, and zip ties
- Craft knife + cutting mat: shaping foam, trimming tape, clean edges
- Ruler/tape measure: accurate spacing and symmetry
- Low-temp glue gun (optional): safer on delicate ribbon or thin plastics
- Rubber finger protectors (optional): for fast gluing without burns
Materials Lists (With Estimated Costs)
Costs vary by region and whether you use faux or fresh florals. Estimates are per centerpiece unless noted.
Project 1: Floral Foam + Modern Grid Centerpiece
- Low compote bowl or rectangular tray (10–14 inch long or 8–10 inch diameter): $10–$25
- Floral foam (wet foam for fresh, dry foam for faux): $4–$10
- Waterproof floral tape or floral foam adhesive: $4–$8
- Floral grid tape (waterproof) or 1/2 inch washi tape: $5–$9
- Fresh flowers (8–15 stems) or faux floral picks (6–10 picks): $20–$60
- Filler greenery (eucalyptus, ruscus, fern) or faux greenery bundle: $8–$18
- Accent elements (berries, mini blooms, dried stems): $5–$15
Project 2: LED Terrarium Lantern Centerpiece
- Glass lantern (10–14 inches tall) or cloche dome: $12–$35
- Wood round base (10–12 inch diameter, 3/4 inch thick): $8–$18
- Warm white micro-LED string lights (battery pack, 6–10 ft): $6–$12
- Preserved moss or sheet moss: $6–$15
- Faux greenery (small vines or mini picks): $6–$18
- Decor accents (mini pinecones, crystals, ornaments, seashells): $3–$12
- Clear silicone adhesive or E6000 (optional, for permanent placement): $4–$8
Project 3: Balloon + Floral “Cloud” Runner (36–48 inches)
- Balloon garland strip (plastic): $4–$8
- Balloons (5 inch and 10–12 inch mix; 40–70 total): $12–$25
- Hand pump or electric balloon pump: $8–$25
- Zip ties (6–8 inch) or strong twine: $3–$6
- Artificial florals (6–10 stems or picks): $15–$40
- Greenery garland (optional, 2–4 ft): $10–$25
- Clear fishing line (for shaping) + Command hooks (optional): $5–$12
- Runner base (two 18–24 inch foam boards or 1/4 inch plywood strips): $6–$18
Project 1: Floral Foam + Modern Grid “Studio” Centerpiece
Measurements & Plan
- Finished size: about 12–18 inches long (or 10–14 inches wide) and 6–9 inches tall
- Best table spacing: 1 centerpiece per 4–6 guests
- Stability goal: heavier base than top (keep the design low and dense)
Step-by-Step Instructions
- Prep the vessel. If using fresh florals, place wet floral foam in water and let it sink on its own (about 1–2 minutes). For faux florals, use dry foam.
- Cut foam to fit. Trim foam so it sits snug in the bowl/tray. Aim for foam to rise about 1/2 inch above the rim for easy stem angles.
- Secure foam. Use waterproof floral tape in an “X” over the foam, anchoring to the container on both sides. Press firmly.
- Create a grid. Lay floral grid tape across the top, making 1 inch squares. This spacing helps you place stems evenly and avoid “one-sided” arrangements.
- Build a green base. Insert greenery around the perimeter first, angling outward slightly. Keep the outline low and mounded.
- Place your focal blooms. Add 3–5 larger flowers (roses, peonies, dahlias) in a triangle pattern for balance. Keep them at varying heights (about 1 inch difference).
- Add secondary blooms. Fill gaps with smaller flowers (spray roses, mums, ranunculus). Work evenly across the grid so the centerpiece reads full from every angle.
- Finish with texture. Add berries, dried stems, or small accent picks close to the top layer so they don’t disappear.
- Refine the silhouette. Step back 6 feet. Trim anything that sticks out awkwardly. Your goal is a clean, intentional dome.
Project 2: LED Terrarium Lantern Centerpiece (with Wood Base)
Measurements & Plan
- Finished size: 10–14 inches tall, 8–12 inches wide
- Lighting style: warm white (2700K–3000K look) for cozy party ambiance
- Tip: choose a lantern with a door or removable top for easy battery access
Step-by-Step Instructions
- Seal the wood base (optional but pro). If your wood round is raw, brush on a quick coat of clear matte sealer. Let dry 20–30 minutes. This prevents staining from moss or condensation.
- Plan your scene. Set the lantern on the base and lightly outline its footprint with pencil so your decor stays centered.
- Attach the battery pack. Hide the battery pack behind the lantern or under a moss “hill.” Use a dab of hot glue or removable mounting putty.
- Lay the lights. Coil micro-LED lights inside the lantern first, then leave a small section to spill subtly onto the base for a “glow pool” effect.
- Add moss foundation. Build a low mound of preserved moss on the base around the lantern’s perimeter, about 1–1.5 inches thick. Tuck edges under for a clean finish.
- Insert greenery. Add mini faux picks or vines. Angle pieces outward and keep the tallest greenery under 8 inches so it doesn’t block faces across the table.
- Add accents. Tuck in ornaments, pinecones, seashells, or crystals. Group in 2–3 clusters rather than scattering randomly.
- Finalize and test. Turn lights on, dim the room, and adjust until the glow looks balanced. If you see the battery pack, add more moss or a small accent to camouflage it.
Project 3: Balloon + Floral “Cloud” Runner Centerpiece (Modular Sections)
Measurements & Plan
- Finished length: 36–48 inches (great for 6–8 ft tables)
- Height goal: 6–10 inches (keep it low so guests can talk across the table)
- Build in modules: two 18–24 inch sections are easier to transport and store
Step-by-Step Instructions
- Create a stable base. Use two foam boards (18x24 inches) or plywood strips (about 4–6 inches wide). If foam board, reinforce the underside with 2–3 strips of duct tape.
- Inflate balloons in sizes. Inflate 10–12 inch balloons to varying sizes (some slightly underfilled) and 5 inch balloons to small “filler” sizes. Variation creates an organic look.
- Build balloon clusters (quads). Tie two balloons together, then twist two pairs into a quad. Make 8–12 quads for a 36–48 inch runner.
- Attach to garland strip. Push balloon knots through the holes in the strip. Keep the strip centered on your base and secure it with zip ties or hot glue (use glue sparingly so you can adjust).
- Shape the cloud. Add 5 inch balloons into gaps, especially along edges. Step back often to check for bare spots.
- Add greenery backbone. Weave a small greenery garland through the strip or tuck picks between balloons. Anchor with floral wire or small dabs of glue.
- Insert florals. Use faux flowers with wire stems. Snip to 4–6 inches and insert at angles. Cluster floral colors in a few “moments” (3–5 groupings) rather than evenly distributing every bloom.
- Transport safely. If possible, assemble balloons the day-of. Move modules in large trash bags or balloon transport bags to reduce popping from friction.
Pro Tips for Professional-Looking Handmade Centerpieces
- Use the “triangle rule.” Place your biggest elements in a triangle so the design looks intentional from all angles.
- Keep a consistent color recipe. Aim for 60% main color, 30% secondary, 10% accent (great for DIY party decor themes).
- Choose one hero texture. Examples: glossy berries, airy baby’s breath, spiky palm, or trailing vine. Too many textures can look messy.
- Weight your base when needed. For lightweight vessels, add glass gems or sand in a hidden cup inside the container to prevent tipping.
- Batch assembly saves time. Prep all stems, tape grids, and balloon quads first—then assemble each centerpiece.
Beginner-Friendly Adaptations (Still Looks Elevated)
- Swap floral foam for chicken wire + tape. It’s forgiving and reusable for fresh flowers.
- Use faux greenery + 3 focal fresh blooms. You get the look and scent without a full fresh-flower budget.
- Choose a smaller scale. Make 8–10 inch mini centerpieces for side tables or a dessert station.
- Reduce balloon volume. Create a 24-inch runner with fewer clusters for a manageable first attempt.
Advanced Variations to Level Up
- Add mechanics. Use floral frogs (pin holders) in compotes for a high-end floral technique with less foam.
- Incorporate acrylic signage. Add a 3x5 inch acrylic tag on a thin dowel for table numbers or themed labels.
- Go asymmetrical. Keep one side lower and let greenery trail 6–10 inches for a designer silhouette.
- Mix finishes. Pair matte balloons with metallic accents, or frosted glass with warm brass candleholders.
Troubleshooting: Fixes for Common Centerpiece Problems
- Centerpiece looks sparse: Add greenery first, then small blooms to fill gaps. Often you need filler, not more focal flowers.
- It’s leaning or tipping: Lower your tallest elements, move heavy blooms toward the center, or add hidden weight to the base.
- Flowers are wilting fast (fresh): Fully soak wet foam, keep designs out of direct sun, and mist lightly (avoid soaking petals).
- Balloon runner pops: Underinflate slightly, keep away from sharp décor, and avoid rubbing balloons against wood edges during transport.
- LED lights look harsh: Add a thin layer of moss or greenery over the wire, or switch to warm white micro-LEDs with a thinner strand.
Common Crafting Mistakes to Avoid
- Skipping measuring. Eyeballing is fine for small crafts, but centerpieces benefit from clear width/height targets so they don’t overwhelm the table.
- Using too many focal flowers. If everything is “the star,” the design loses structure. Balance focal blooms with filler and greenery.
- Over-gluing early. Dry-fit pieces first. Tack glue, adjust, then reinforce once you love the layout.
- Making centerpieces too tall. Keep most table centerpieces under 10–12 inches unless you’re intentionally designing tall arrangements for large rooms.
- Ignoring transport. If it can’t travel, it can’t party. Build modular, pack smart, and keep a repair kit (glue sticks, extra stems, balloon backups).
FAQ: Advanced DIY Centerpieces
How far in advance can I make these centerpieces?
Faux floral and LED terrarium centerpieces: 1–4 weeks ahead (store dust-free). Fresh floral foam centerpieces: ideally 24 hours before the event; keep cool and away from direct sunlight.
What’s the best centerpiece height for dinner tables?
A safe range is 6–10 inches tall for most gatherings so guests can see each other. If you want tall centerpieces, use slender stands and keep the top above eye level.
Can I use real candles instead of LED lights?
Yes, but prioritize safety. Use glass hurricane covers, keep flames away from greenery and balloons, and never place open flames inside tight lanterns without proper ventilation. For most party decorations, LED candles give the same glow with less risk.
How do I make my centerpiece look “designed” instead of random?
Start with a clear shape (dome, crescent, or asymmetrical sweep), repeat colors in clusters, and use the grid/tape method to space stems evenly. Stepping back every few minutes is the fastest way to spot imbalance.
What’s a good budget per centerpiece?
For advanced handmade centerpieces, many crafters land around $25–$75 each depending on flowers and vessels. Reusing bowls/lanterns and mixing faux greenery with a few fresh blooms helps keep costs down.
What should I keep in a quick repair kit for party setup?
Pack: glue gun + 4–6 sticks, floral tape, scissors, wire cutters, extra balloons, command strips, and 3–5 spare florals/greenery pieces.
Wrap-Up: Your Table Deserves a Wow Moment
Advanced centerpieces are one of the most satisfying DIY party decorations because they’re functional, photo-ready, and completely customizable to your theme. Whether you go floral and polished, glowing and cozy, or bold with balloons and blooms, you’ll build real crafting skills and end up with decor that guests remember.
Pick one design, gather your materials, and give yourself a relaxed crafting window—then enjoy the moment when you set it on the table and the whole party space instantly feels styled.
Want more DIY crafts, party decor ideas, and handmade project guides? Explore more creative inspiration on smartpartyprep.com.
More Articles
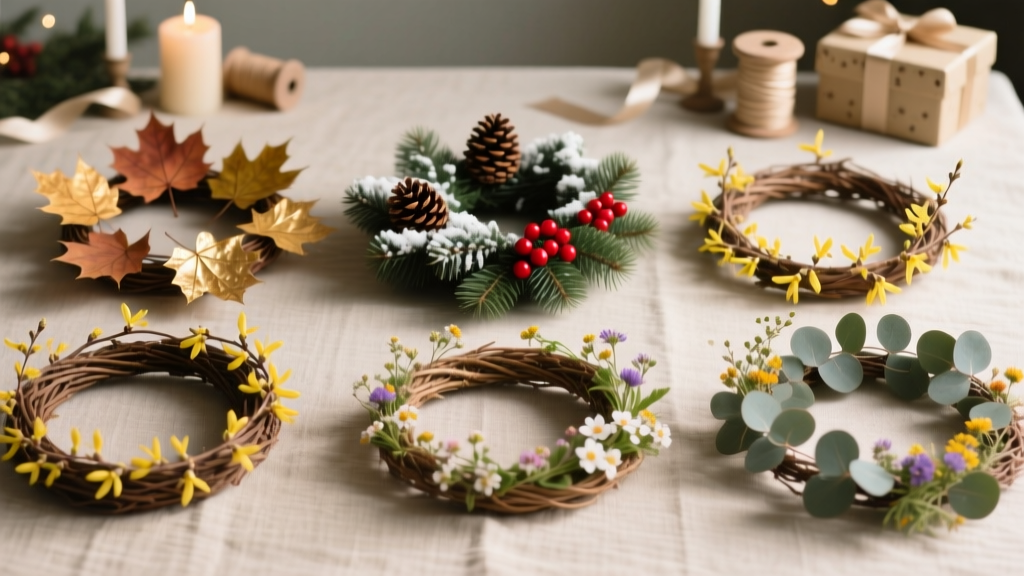 Seasonal Wreaths Ideas
 Paper Craft Centerpieces Ideas
 Easy Tie-Dye Shirts for Beginners
 When the Party Is Over Chords: The Only Complete, Beginner-Friendly Guide You’ll Ever Need (No Theory Required — Just Play in 7 Minutes)
 How to Do a 3rd Party Removal Spell: A Step-by-Step, Ethically Grounded Ritual (No Ouija Boards, No Curses, Just Clarity & Consent)
 30 Creative Invitations Ideas
 How to Make a Hat for a Tea Party in Under 90 Minutes (No Sewing Machine Needed!) — 5 Foolproof Styles That Impress Guests & Boost Your Confidence
 Step-by-Step Place Cards Tutorial
 Upcycled Origami Decorations from Recycled Materials
 How to Make Party in Infinity Craft: 7 Foolproof Steps (No Modding Skills Needed) + Free Blueprint Pack for Instant Build-Ready Celebrations