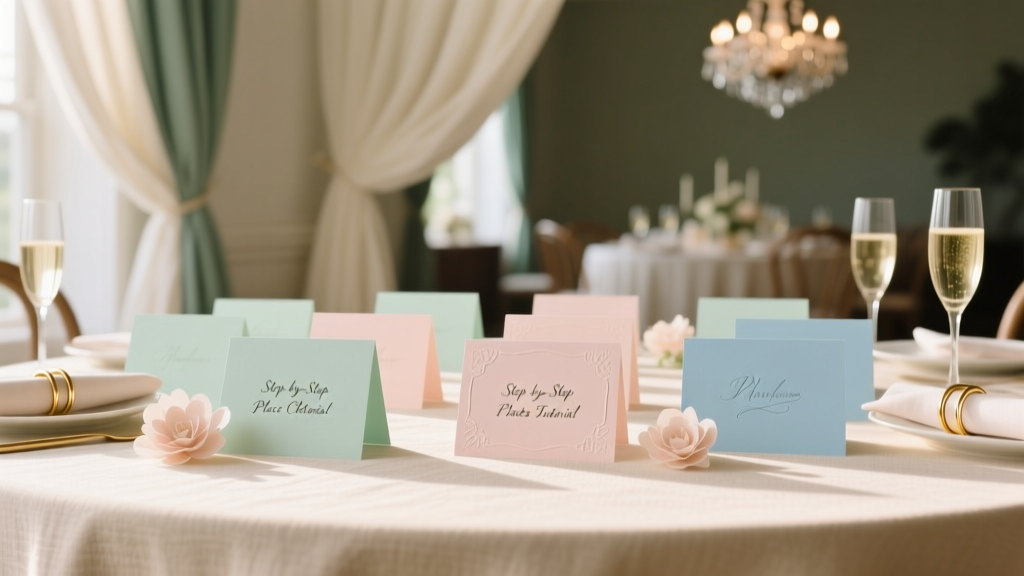
Step-by-Step Place Cards Tutorial
Handmade place cards are one of those party details that look “wow” on the table, yet are surprisingly simple to make. They help guests find their seats (no awkward hovering!), and they instantly make your event feel thoughtful and organized—whether you’re hosting a birthday dinner, bridal shower, baby shower, holiday gathering, or a casual backyard party.
The best part: DIY place cards are endlessly customizable. You can match your theme, colors, and vibe—rustic, modern, floral, minimalist, glam, you name it. Plus, they’re a budget-friendly way to add handcrafted party decorations without committing to complicated projects.
This tutorial walks you through a clean, professional-looking folded place card design (beginner-friendly), with optional upgrades like gold foil accents, vellum wraps, and raised lettering for crafters who want a more advanced finish.
Project Overview: DIY Folded Place Cards
- Skill level: Beginner (with advanced variations included)
- Time estimate:
- 8–12 minutes per card (hand-lettering)
- 3–5 minutes per card (printed names)
- Batch prep: 10 cards in about 45–75 minutes depending on style
- Finished size (standard): 3.5 in wide x 2 in tall when folded
- Best for: Weddings, dinner parties, showers, holiday tables, themed events, and handmade party decorations
Materials & Tools (With Estimated Costs)
Paper & Cardstock
- Cardstock (recommended): 80–110 lb / 216–300 gsm, white or colored
- Cost: $6–$15 per pack (50–150 sheets)
- Tip: 80 lb folds easily; 110 lb feels extra premium but needs better scoring
- Optional accent paper: Vellum sheets (translucent) or patterned scrapbook paper
- Cost: $5–$12
Adhesives
- Double-sided tape runner (clean + fast)
- Cost: $4–$10
- Glue dots (great for vellum and small embellishments)
- Cost: $4–$8
- Optional liquid glue (use sparingly to prevent warping)
- Cost: $2–$6
Cutting & Measuring Tools
- Paper trimmer (best for neat edges)
- Cost: $12–$30
- Ruler (metal is ideal) + pencil
- Cost: $3–$10
- Scoring tool (bone folder or scoring stylus) or a blunt butter knife in a pinch
- Cost: $5–$12
- Scoring board (optional but very helpful for batches)
- Cost: $10–$20
Lettering Options
- Fine-tip black pen (0.5–0.8 mm) for crisp handwriting
- Cost: $2–$6
- Brush pen for modern calligraphy (beginner-friendly with practice)
- Cost: $3–$10
- Printer + paper (for printed names)
- Cost: depends on ink; budget $1–$3 for a small batch
- Optional metallic marker (gold/silver) for glam party table decor
- Cost: $3–$8
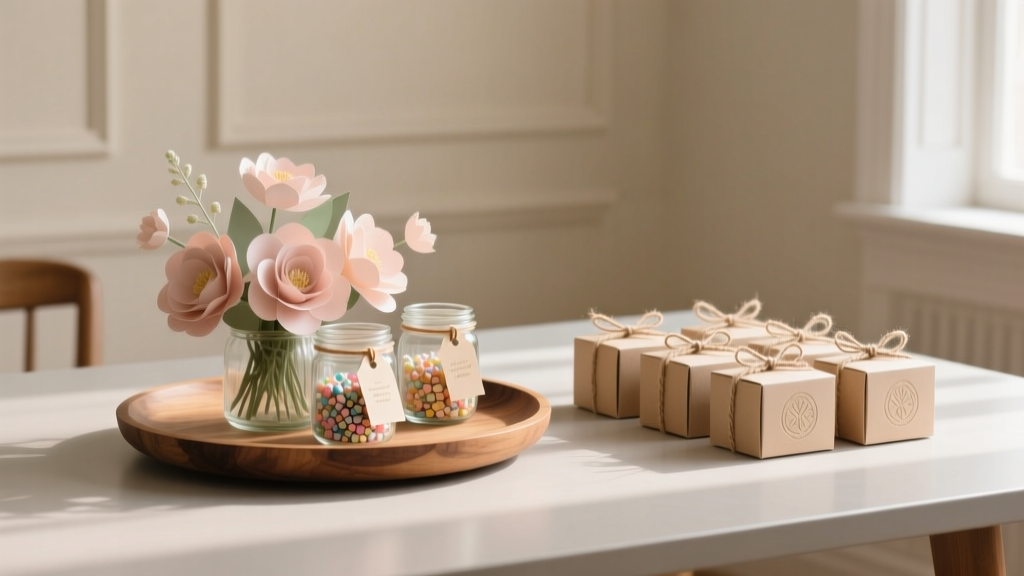
Optional Embellishments (Pick 1–2)
- Satin ribbon (1/8 in to 3/8 in wide): $4–$10
- Mini dried flowers or pressed petals: $6–$15
- Stickers or wax seal stickers: $6–$14
- Corner rounder punch (for a polished look): $6–$12
Choosing the Right Place Card Size
Before you cut anything, decide how much space you need for names. Short names can fit on smaller cards, but long names and fancy lettering need extra room.
- Classic folded place card: Cut 4 in x 3.5 in; fold to 3.5 in x 2 in
- Long-name friendly: Cut 4.5 in x 4 in; fold to 4 in x 2.25 in
- Buffet/label style (flat card): Cut 3.5 in x 2 in (no fold)
Step-by-Step Place Cards Tutorial (Folded Tent Style)
Step 1: Plan Your Guest List + Name Formatting
- Write or type your guest list exactly as you want it to appear (full names, first names only, titles like “Aunt Marie,” etc.).
- Decide on a lettering style:
- Handwritten: warm and personal
- Printed: consistent and quick for large events
- Hybrid: print the base text and add hand-drawn details
- Sort names by table if you’re making a big batch.
Step 2: Cut the Cardstock
Standard cut: 4 in x 3.5 in per place card (folds to 3.5 in x 2 in).
- Use a paper trimmer for straight, clean cuts.
- For 8.5 in x 11 in cardstock, you can typically cut:
- Two strips of 3.5 in (3.5 + 3.5 = 7 in), leaving 1.5 in scrap
- Then cut each strip into 4 in sections
- Make one test card first to confirm size and proportions.
Step 3: Score the Fold Line (Don’t Skip This)
Scoring prevents cracking and gives your DIY party decorations a professional finish.
- On the 4 in side, measure at 2 in (the halfway point).
- Use a scoring tool + ruler to press a firm line (not too deep—just enough to guide the fold).
- Fold along the score line and smooth the fold with a bone folder or the side of a clean ruler.
Step 4: Add Names (3 Easy Methods)
Method A: Handwrite with a Fine Pen (Beginner-Friendly)
- Lightly pencil a guideline about 1 in from the bottom edge of the front panel.
- Write the name in the center. Keep your hand steady by resting your wrist on the table.
- Let ink dry for 10–20 seconds before touching.
- Erase pencil lines gently.
Method B: Modern Calligraphy with a Brush Pen (Intermediate)
- Practice 2–3 names on scrap cardstock first.
- Use light pressure on upstrokes and heavier pressure on downstrokes.
- If a name is long, slightly reduce letter size and tighten spacing.
Method C: Print Names for a Clean, Consistent Look (Fastest)
- Create a simple table in a word processor:
- Cell size: 3.5 in wide x 2 in tall
- Center align text both horizontally and vertically
- Font ideas: a serif for elegant events, a sans-serif for modern party decor
- Print on cardstock (choose “heavy paper” in printer settings).
- Cut, score, and fold as above.
Step 5: Optional Decorating (Keep It Balanced)
The name should be the star. Add one small detail that matches your party theme.
- Corner rounding: Use a corner punch on all four corners before folding.
- Vellum wrap: Cut vellum to 4 in x 1.25 in, wrap around the front, and secure on the back with a glue dot.
- Mini ribbon: Wrap 10–12 in of 1/8 in ribbon around the card and tie a small knot or bow.
- Floral accent: Attach a tiny dried flower with a glue dot in the top corner.
Step 6: Set Up on the Table (Stability Check)
- Place each card on a flat surface and press the fold again if it pops open.
- For outdoor parties, add a small “weight”:
- A decorative pebble behind the card
- A mini favor bag leaned against it
- A place card holder (wood, acrylic, or wire)
Pro Tips for Professional-Looking Handmade Place Cards
- Batch your steps: Cut everything first, then score everything, then fold everything, then letter everything. It saves time and keeps results consistent.
- Use 80–100 lb cardstock for easy folds: Super thick cardstock can crack if you don’t score firmly.
- Centering trick: For hand-lettering, make a tiny dot at the center of the card front and visually balance the name around it.
- Smudge prevention: Choose quick-dry pens and keep a scrap paper “resting sheet” under your hand.
- Make 1–2 extra blanks: Mistakes happen—extras keep you calm and creative.
Creative Variations (Beginner to Advanced)
Beginner-Friendly Adaptations
- Sticker letters: Use alphabet stickers for names—great for kids’ parties or quick table settings.
- Pre-cut blanks: Buy pre-scored tent cards and focus on decoration.
- Simple border: Add a thin border line with a ruler and pen for instant polish.
Advanced Variations for Extra “Wow”
- Layered cardstock: Cut a second rectangle at 3.25 in x 1.75 in and adhere it to the front for a framed look.
- Gold foil accents: Use a foil transfer sheet with a glue pen (or foil tape) to add a thin stripe across the top.
- Embossed names: Use an embossing pen + embossing powder + heat tool for raised, glossy lettering.
- Acrylic-style look: Print names on vellum and wrap it around a white card so it resembles a modern acrylic place card.
Troubleshooting: Fix Common Issues Fast
- Problem: Cardstock cracks on the fold.
Fix: Score deeper, fold slowly, and use slightly lighter cardstock (80–100 lb). Also try folding with the grain if possible. - Problem: Ink smudges.
Fix: Switch to quick-dry ink, pause longer between names, and avoid dragging your hand across fresh lettering. - Problem: Printed text looks off-center.
Fix: Print one test sheet first. Confirm printer scaling is at 100% and margins aren’t shifting your layout. - Problem: Vellum shows glue marks.
Fix: Use tiny glue dots placed behind dark text/labels, or wrap vellum and secure on the back where it won’t show. - Problem: Cards won’t stand up.
Fix: Reinforce the fold with a bone folder and check that the bottom edges are perfectly even. Trim if needed.
Common Crafting Mistakes to Avoid
- Skipping the score line: Folding without scoring often leads to cracking and uneven cards.
- Using thin printer paper: It flops over and doesn’t feel like a quality party decoration. Use cardstock.
- Over-decorating: Too many embellishments can distract from the name and clutter your tablescape.
- Not testing your pen on cardstock: Some pens bleed or feather—always do a quick scribble test.
- Waiting until the last minute: Give yourself buffer time for drying ink, fixing mistakes, or reprinting.
FAQ: DIY Place Cards
How many place cards can I get from one 8.5 x 11 sheet of cardstock?
With the standard 4 in x 3.5 in cut, you’ll usually get 6 cards per sheet with some leftover scraps (depending on how you arrange cuts and trim margins).
What’s the best cardstock weight for place cards?
80–110 lb cardstock works beautifully. If you’re hand-folding a large batch, 80–100 lb is easier. For a luxury feel, 110 lb is great—just score well.
Can I make DIY place cards without a paper trimmer?
Yes. Use a ruler + pencil to mark measurements and cut with sharp scissors. It’s slower, but totally doable. A paper trimmer is worth it if you’ll make party decorations often.
How do I make place cards that won’t blow away outdoors?
Use place card holders, tuck the card into a napkin fold, or lean it against a small favor. You can also switch to flat cards placed on plates or use a heavier layered design.
Should I use first names or full names?
For casual gatherings, first names keep it friendly. For weddings or larger events, full names (or first name + last initial) can prevent confusion if you have repeat names.
How far in advance can I make handmade place cards?
You can make them 1–2 weeks ahead (even earlier if your guest list is final). Store them flat in a box so they stay clean and crisp.
Ready to Make Your Own?
DIY place cards are a small project with a big payoff: they pull your whole party tablescape together, make guests feel welcomed, and give your celebration that special handmade touch. Start with the classic folded card, keep your design simple, and add one personalized detail that matches your theme.
When you’re finished, snap a photo of your table setup—you’ll be amazed how these little cards elevate your party decorations. Want more beginner-friendly DIY crafts and creative party projects? Explore more ideas on smartpartyprep.com and keep making celebrations feel extra special.
More Articles
 How to Enable 3rd Party Cookies in Safari (2024): The Truth No One Tells You — It’s Not Just a Toggle, and Here’s Why Your Login Failures, Analytics Gaps, and Ad Personalization Break Without This Critical Fix
 DIY Centerpieces Party Favors
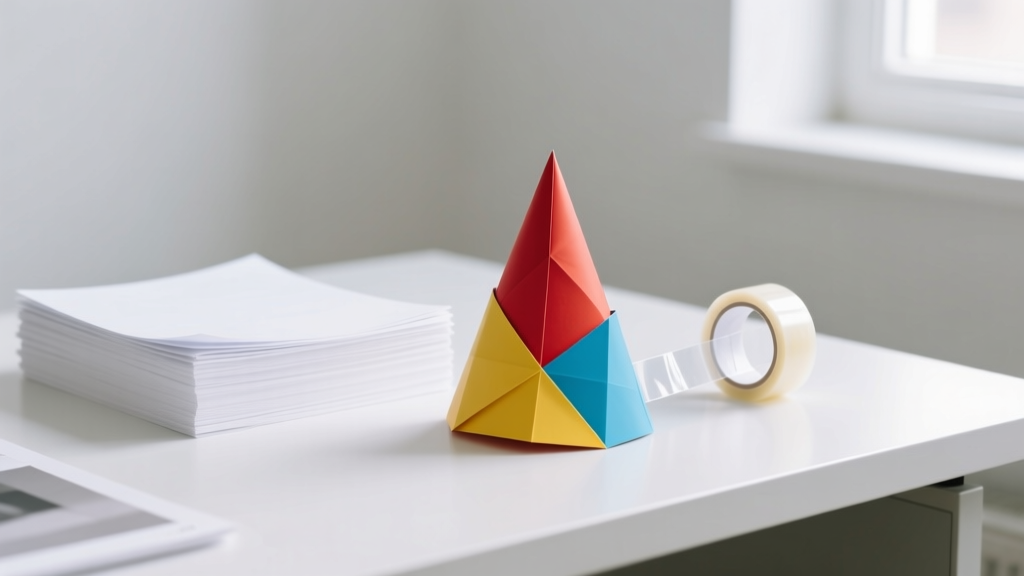
 Seasonal Origami Decorations Ideas
 How to Make a Party Backdrop That Looks Pro (Without Spending $200): 7 Foolproof DIY Methods Using Dollar Store Supplies, Reusable Frames & Zero Sewing
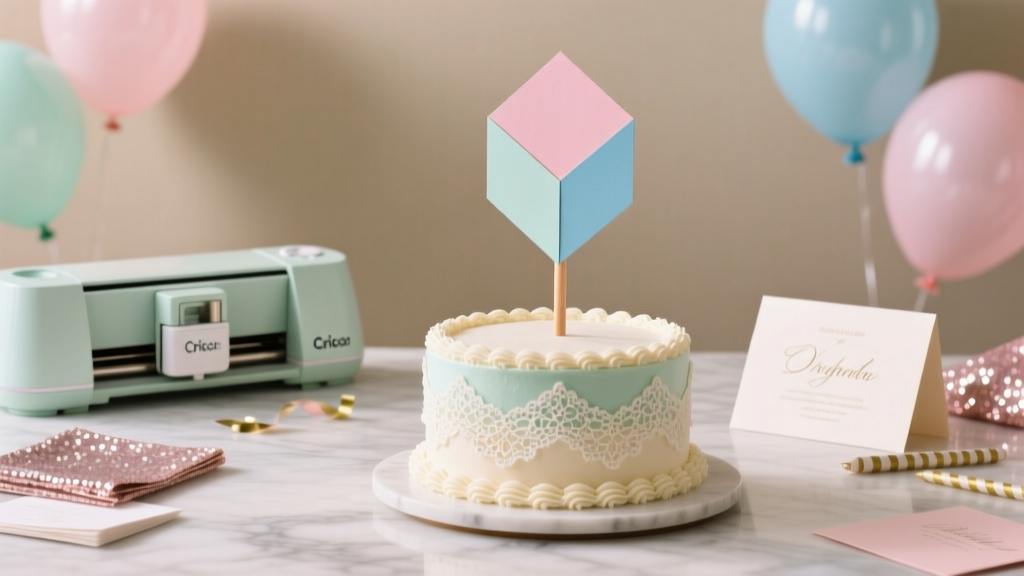 DIY Cake Toppers Using Cricut
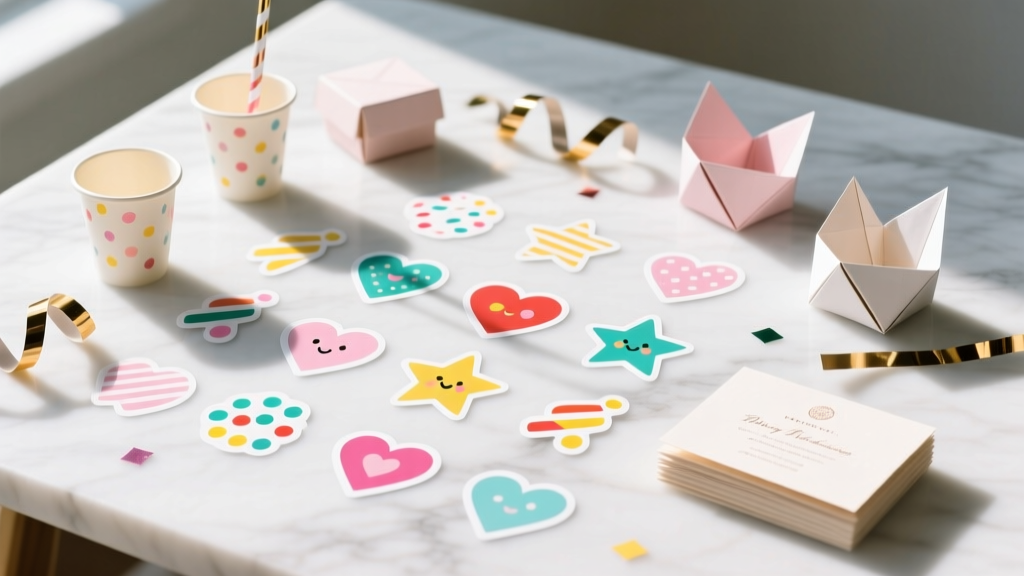 DIY Custom Stickers Party Favors
 How to Make Party Hats Out of Paper in Under 10 Minutes (No Glue Gun, No Scissors Required — Just Printer Paper & Tape)
 Budget DIY Party Banners Under $25
 DIY Dream Catchers Party Favors
 How to Buy a House as a Secured Party Creditor: The Truth About UCC-1 Filings, Property Titles, and Why 97% of These Attempts Fail Legally (and What Actually Works Instead)