
DIY Dream Catchers Party Favors
Dream catchers make unforgettable party favors because they’re equal parts craft activity, handmade decoration, and meaningful keepsake. Guests get something they can hang in a bedroom, dorm, or nursery—and you get party decor that looks beautiful while everyone is celebrating. Bonus: you can tailor colors and charms to match nearly any party theme, from boho birthdays to baby showers and sleepover parties.
This project is also wonderfully flexible. Keep it simple with a wrapped hoop and a basic web for a quick, beginner-friendly craft, or go all out with layered hoops, beaded fringe, and custom tags for a boutique-worthy favor. Either way, DIY dream catchers photograph beautifully, pack easily, and feel far more special than store-bought trinkets.
If you’re looking for a creative party craft that doubles as handmade party decorations and take-home favors, dream catchers check every box—plus they’re calming to make and fun to customize.
Project Overview (Skill Level, Time, and Finished Size)
- Skill level: Beginner to Intermediate (advanced options included)
- Time per dream catcher: 20–45 minutes (depending on detail)
- Best party size: Works for 6–20 guests; prep some steps ahead for larger groups
- Finished size:
- Favor-friendly: 3–4 inch hoop + 6–10 inch fringe length
- Statement favor: 5–6 inch hoop + 10–14 inch fringe length
Materials & Tools (with Estimated Costs)
Core Materials (per 10 favors)
- Metal or wooden hoops (3–4 inch recommended for favors): $8–$15 for a 10-pack
- Embroidery floss (for webbing): $5–$10 for a multipack (8–20 colors)
- Suede cord, faux leather lace, or cotton macramé cord (for wrapping hoop + hanging loop): $6–$12
- Yarn, ribbon, lace trim, or fabric strips (for fringe): $5–$15 (use what you have for budget-friendly favors)
- Feathers (craft feathers or natural-look dyed feathers): $6–$12
- Pony beads or small wooden beads (optional but popular): $3–$8
- Charms (stars, moons, initials, hearts; optional): $5–$12
- Small gift tags (for personalization): $3–$7
Recommended Tools (party-friendly)
- Sharp scissors (one “good pair” for clean ribbon cuts): $8–$15
- Small snips (for trimming thread ends at the table): $5–$10
- Tapestry needle (large eye, blunt tip—great for floss and yarn): $2–$6
- Hot glue gun (low-temp preferred for safety) + glue sticks: $10–$20
- Craft glue (optional for younger crafters): $3–$6
- Measuring tape or ruler: $2–$5
- Clips or clothespins (to hold cord while wrapping): $2–$6
Approximate Cost per Favor
- Budget version: $1.50–$2.50 each (minimal beads/charms, simple fringe)
- Upgraded version: $2.75–$5.00 each (charms, specialty ribbon, beaded fringe)
Before You Start: Easy Prep for Party Success
Dream catchers are perfect as a DIY party activity, but a little prep keeps the craft table calm and fun.
- Pre-cut fringe bundles: Cut 6–10 strands per favor (each strand 12–18 inches long).
- Sort materials into kits: One hoop + floss + 3 fringe ribbons + 2 feathers + a few beads per guest.
- Pre-wrap hoops (optional): If you want the party to focus on decorating and webbing, wrap hoops ahead of time.
- Set up a “finishing station”: One hot glue gun supervised by an adult for knots, feathers, and charms.
Step-by-Step: How to Make DIY Dream Catchers Party Favors
Step 1: Wrap the Hoop (5–10 minutes)
- Cut wrapping cord: For a 3–4 inch hoop, cut 60–80 inches of suede cord or macramé cord. (More if you want fuller coverage.)
- Anchor the cord: Tie a tight double knot around the hoop. Add a tiny dot of hot glue if you want extra hold.
- Wrap neatly: Spiral the cord around the hoop, keeping wraps snug and side-by-side with no gaps.
- Finish the wrap: When you reach the start, tie off with a double knot on the back. Trim ends close.
Beginner-friendly shortcut: Skip full wrapping and use a hoop that already matches your color theme (gold, white, natural wood).
Step 2: Add a Hanging Loop (1–2 minutes)
- Cut 8–10 inches of cord or ribbon.
- Fold in half, place behind the top of the hoop, and tie ends together with a double knot.
- Adjust the loop size to about 2–3 inches tall.
Step 3: Create the Dream Catcher Web (10–20 minutes)
This is the classic “web” that makes dream catchers so recognizable. Embroidery floss works beautifully because it’s strong, smooth, and comes in tons of colors.
- Thread your needle: Cut 80–100 inches of embroidery floss. Use 2–4 strands together for a thicker, easier-to-see web.
- Tie onto the hoop: Tie a double knot near the top, just to the side of the hanging loop. Leave a 2-inch tail and trim later.
- Make the first round of loops:
- Move about 1 inch along the hoop.
- Pass the needle behind the hoop, pull the floss through, and create a loop knot (a simple hitch) so the floss hugs the hoop.
- Repeat around the hoop, spacing loops evenly (typically 10–14 loops for a 3–4 inch hoop).
- Second round (toward the center):
- Instead of looping around the hoop, loop into the center of each previous loop.
- Keep tension even—snug but not so tight that the hoop bends or the web puckers.
- Add beads (optional): Slide a bead onto the floss before tightening a loop, placing beads every 2–3 loops for a balanced look.
- Finish at the center: When the hole in the middle is about the size of a dime, tie off with 2–3 tight knots. Trim the end and secure with a tiny dot of glue if desired.
Step 4: Attach Fringe, Feathers, and Charms (5–12 minutes)
- Cut fringe lengths:
- For a 3–4 inch hoop: Cut strands to 12–18 inches long (they’ll hang 6–9 inches once folded).
- Mix materials: ribbon + yarn + lace creates a layered, boutique feel.
- Tie fringe to the bottom: Fold each strand in half, place the loop behind the hoop, pull ends through the loop (a lark’s head knot), and tighten.
- Add feathers: Tie feathers onto a fringe strand with a small knot, or use a dab of hot glue to secure the quill end.
- Add beads/charms: Thread beads onto ribbon or cord ends and knot beneath the bead to lock it in place. Attach a charm at the center of the fringe cluster for a focal point.
- Trim for a clean finish: Cut the bottom edge of the fringe straight or at a gentle V shape.
Step 5: Personalize for Party Favor Perfection (2–5 minutes)
- Name tag: Tie a small gift tag to the hanging loop with twine.
- Date + event: Write the party date on the back for a sweet keepsake.
- Mini note: “Sweet dreams” works for sleepovers; “You are loved” is lovely for baby showers.
Pro Tips for Beautiful Results
- Keep tension steady: The web should be taut but not pulling the hoop out of shape.
- Choose a limited palette: 2–3 main colors + 1 metallic accent makes DIY party decorations look cohesive.
- Use a blunt tapestry needle: It’s faster and reduces snagging ribbon or yarn.
- Hide knots on the back: Rotate the hoop so tied ends and glue dots sit behind the web.
- Make it kid-friendly: Use larger hoops (5–6 inch), thicker yarn, and pre-tied fringe bundles. Consider fabric glue instead of hot glue.
Creative Variations (Beginner to Advanced)
Beginner-Friendly Adaptations
- No-needle web: Skip the web and instead crisscross ribbon or yarn across the hoop like a simple starburst, tying at the edges.
- Pre-made center: Glue a small paper doily or crochet motif into the hoop as the “web.”
- Fewer steps: Use an unwrapped hoop, tie 3 ribbon strands, and add one feather—still cute and party-ready.
Advanced Variations for Wow Factor
- Double hoop dream catcher: Connect a 3-inch hoop inside a 5-inch hoop with wrapped cord and web both.
- Ombre webbing: Switch floss colors each round (knot and hide ends on the back).
- Beaded fringe columns: String beads on three long cords and knot at intervals for a modern boho look.
- Theme charms:
- Mermaid party: shells + teal ribbon
- Woodland party: leaves + wooden beads
- Celestial party: moon + star charms with navy/gold
Troubleshooting: Fixes for Common Issues
- Web looks uneven: Count your first-round loops (aim for 10–14) and keep spacing close to 1 inch. If one gap is huge, undo that section and redo before moving inward.
- Web is saggy: Pull each loop snug as you go. If it’s already finished, lightly tighten by tugging gently around the rounds before tying off again.
- Wrapping slides or shows gaps: Add a tiny dot of glue at the start and end, and keep wraps pressed together. A clip can hold tension while you wrap.
- Feathers won’t stay put: Tie them onto a cord strand first, then add a dab of glue. Let it cool before moving.
- Fringe tangles: Choose ribbon over yarn for kids’ favors, or trim fringe shorter (6–8 inches hanging length).
Common Crafting Mistakes to Avoid
- Using too much hot glue: It can seep through thread and look messy. Use tiny dots only where needed (knots, feather ends, charm attachment).
- Cutting fringe too short: Always cut longer than you think, then trim at the end for a polished, even look.
- Overloading with heavy charms: Too much weight pulls the hoop and makes the favor harder to hang. Keep metal charms minimal on small hoops.
- Not prepping for groups: For party crafting, pre-cut cords and sort kits. Searching for supplies mid-party slows everything down.
- Skipping a tension check: Pause after the first webbing round and gently adjust spacing before continuing inward.
FAQ: DIY Dream Catchers as Party Favors
1) What size hoop is best for party favors?
3–4 inch hoops are ideal for easy, affordable party favors that still look detailed. If guests are younger kids, 5–6 inch hoops are easier to hold and weave.
2) Can I make these ahead of time?
Yes. You can make dream catchers 1–2 weeks ahead and store them flat in a shallow box with tissue paper between layers. Add tags the day of the party.
3) What’s the easiest webbing method for beginners?
Use thicker yarn and fewer loops (8–10 around the hoop). A blunt tapestry needle makes it faster. You can also use a paper doily center for a no-weave option.
4) How do I keep the web from loosening over time?
Tie off with 2–3 tight knots at the center and add a tiny dot of glue on the final knot (on the back). Steady tension while weaving is the biggest factor.
5) Are dream catcher crafts safe for kids at parties?
They can be, with a few adjustments: use low-temp hot glue with adult supervision, choose blunt needles, and skip tiny beads for very young children (choking hazard). Fabric glue is a great substitute.
6) How can I make the favors match my party theme?
Pick a color palette for the hoop wrapping and fringe, then add one theme element: a charm (moon/star), a bead color (pastels or brights), or ribbon texture (lace for boho, satin for glam). Consistent colors make DIY party decorations look coordinated.
Make-Party-Day Setup: A Simple Craft Table Plan
- At each seat: Hoop, pre-cut floss, needle, 6 fringe strands, 2 feathers, small bead cup, tag + pen
- Center of table: Extra ribbon, charms, scissors (2–3 shared), measuring tape
- Finishing station: Hot glue gun, glue sticks, small trash bowl for thread ends
Wrap-Up: Handmade Favors Guests Will Actually Keep
DIY dream catchers are one of those rare party projects that feel relaxing to create and exciting to gift. They work as craft-time entertainment, they double as party decorations, and they leave every guest with a handmade project that’s personal and pretty enough to display.
Try a small batch first, then scale up once you find your favorite colors and webbing style. A simple hoop, a neat web, and a few strands of ribbon go a long way—especially when they’re made with care.
Want more party-ready DIY crafts and handmade decoration ideas? Explore more creative projects, favor tutorials, and celebration inspiration on smartpartyprep.com.
More Articles
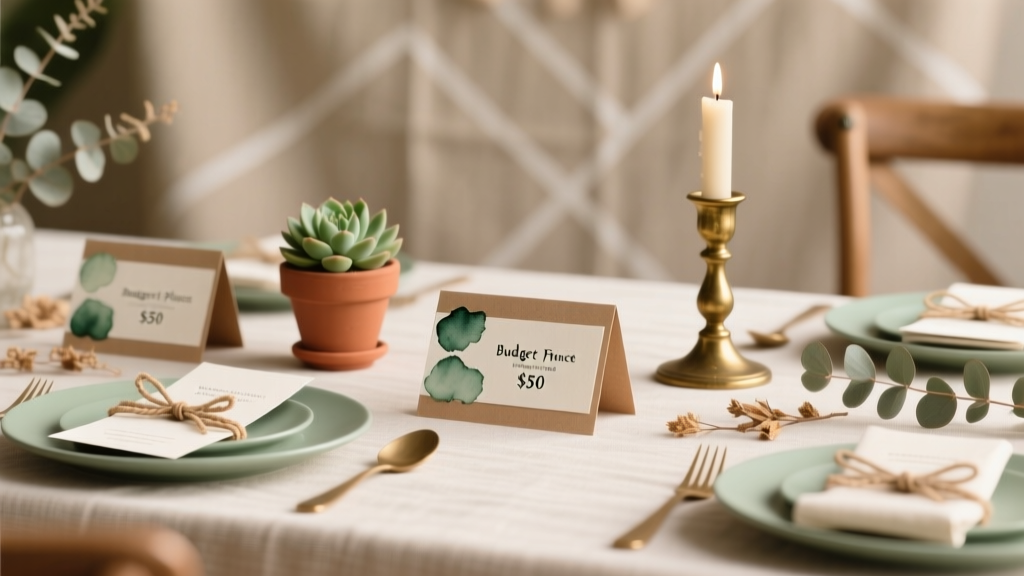 Budget DIY Place Cards Under $50
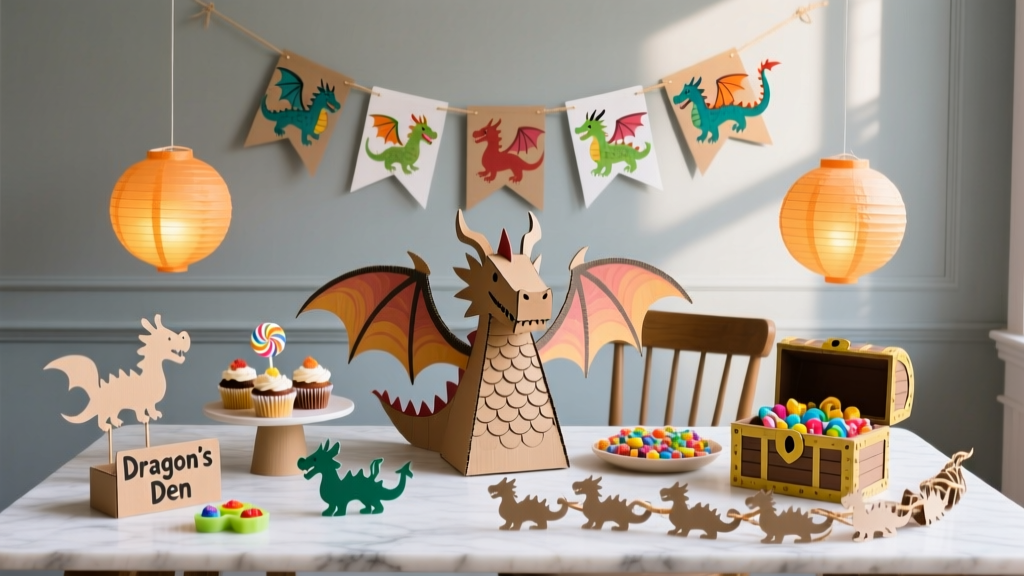 How to Train Your Dragon Birthday Party Decorations: 7 No-Stress DIY Projects That Take Under 2 Hours (No Craft Store Run Needed)
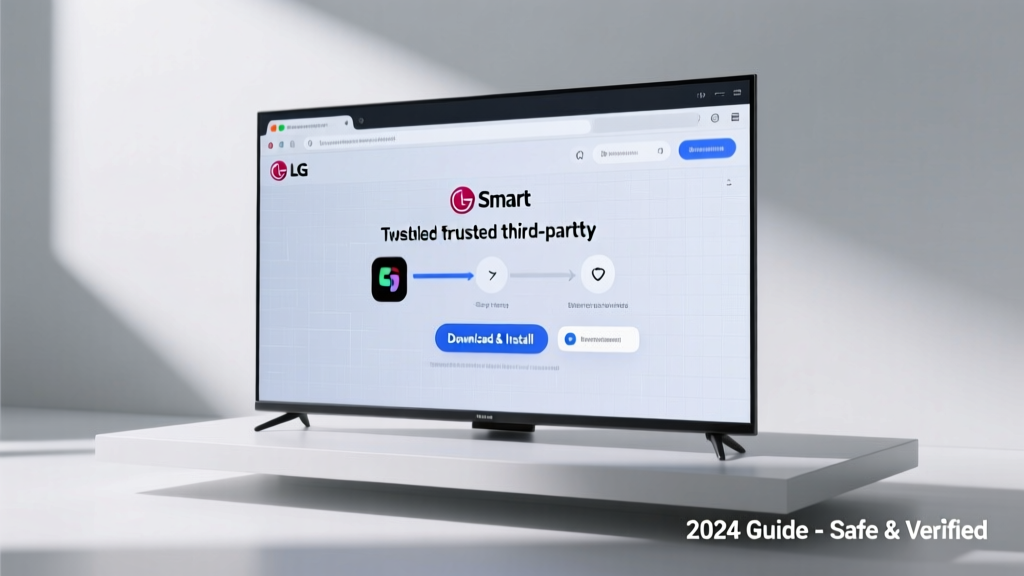 How to Install 3rd Party Apps on LG Smart TV (2024): The Only Safe, Step-by-Step Method That Actually Works — No Hacks, No Bricking, No Developer Mode Confusion
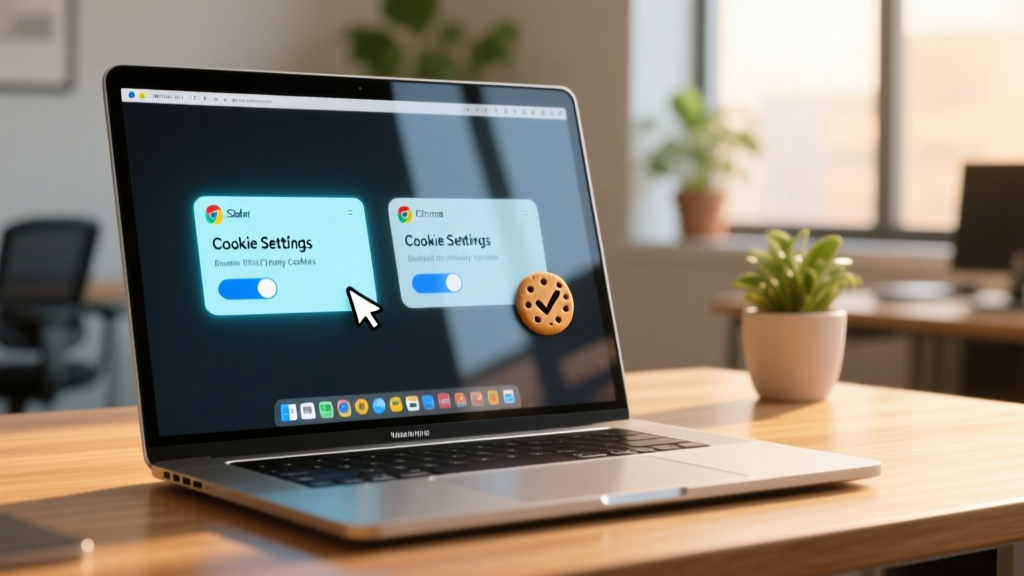 How to Enable Third Party Cookies on MacBook: A Step-by-Step Safari & Chrome Fix (2024 Verified — No More 'Blocked' Errors or Broken Logins)
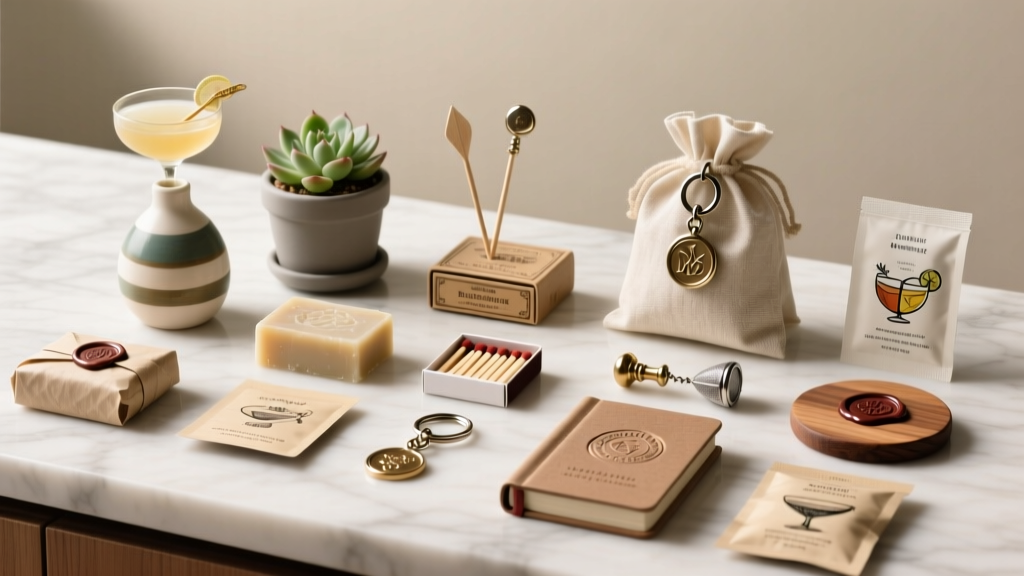 Stop Wasting $47 on Boring Party Favors: 12 Stunning, Low-Effort DIY Party Favors for Adults That Guests Actually Keep (Not Toss!) — No Glue Gun Required
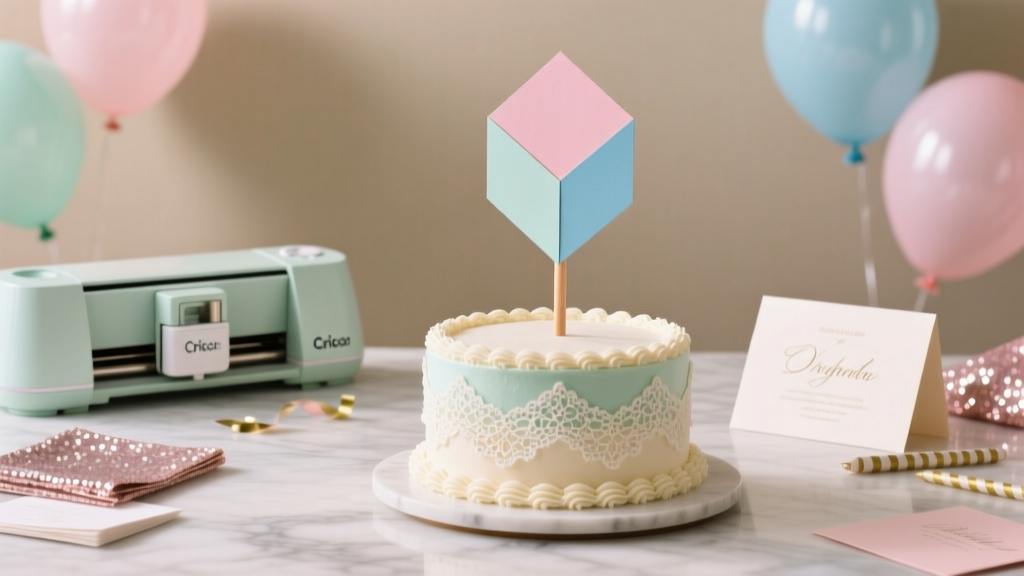 DIY Cake Toppers Using Cricut
 12 Do It Yourself Party Decorations That Actually Look Pro—No Glue Gun Panic, No Last-Minute Scramble, Just Joyful, Instagram-Ready Results in Under 90 Minutes
 Paper Craft Centerpieces Ideas
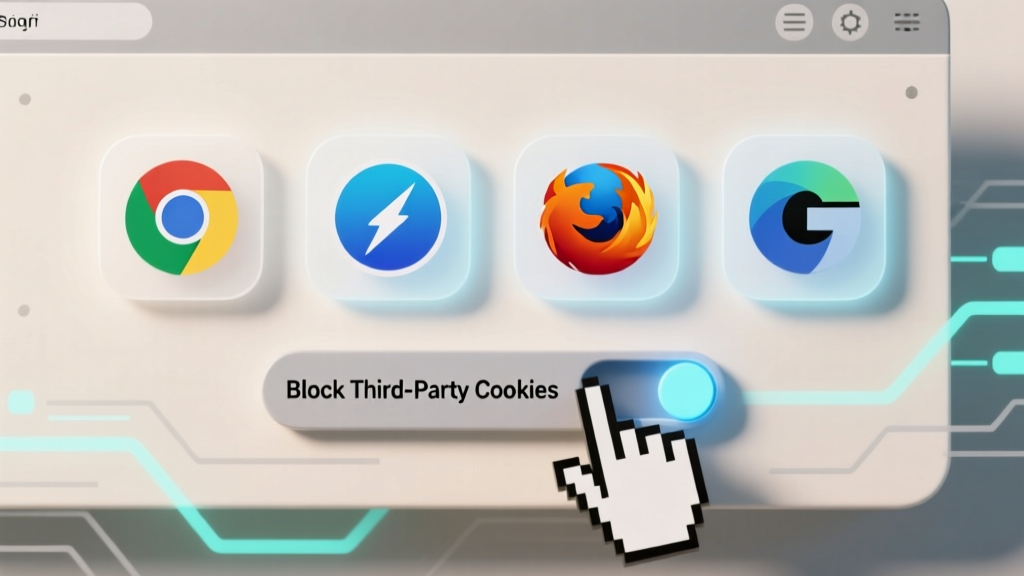 How to Disable 3rd Party Cookies in 2024: A Step-by-Step Guide for Chrome, Safari, Firefox & Edge (No Tech Skills Needed)
 Is Thorne 3rd party tested? The truth about their lab verification — what independent testing reports *actually* show (and why most supplement brands won’t publish theirs)