DIY Centerpieces Party Favors
Nothing makes a party feel more personal than décor your guests can actually take home. DIY centerpiece party favors pull double duty: they decorate your tables beautifully during the event, then become a handmade keepsake your friends and family can enjoy later. It’s the kind of project that feels high-end and thoughtful, without demanding pro-level skills or a huge budget.
These centerpieces are also a crafty “choose-your-own-adventure.” You can keep things simple with classic mason jars and fresh greenery, or level up with layered textures, custom tags, and theme colors that match birthdays, baby showers, weddings, graduation parties, and holiday gatherings. Best of all, you can batch-make them assembly-line style, which is ideal if you’re prepping multiple tables.
This guide walks you through one versatile, beginner-friendly centerpiece party favor design (a jar-based mini arrangement with a treat bundle), plus tons of variations so you can make it your own. Expect practical measurements, time estimates, tool recommendations, and troubleshooting tips for a smooth crafting session.
Project Overview (Skill Level, Time, and Yield)
- Skill level: Beginner (with optional advanced upgrades)
- Time estimate: 20–30 minutes per centerpiece, or 90–120 minutes for a set of 6 if you batch steps
- Best for: Baby showers, bridal showers, birthdays, garden parties, engagement parties, graduation parties
- Finished size: Approx. 6–10 inches tall (varies by florals and jar size)
- Favor capacity: 1–3 small items (treats, tea, mini candles, etc.)
Materials List (With Product Types + Estimated Costs)
Costs vary by region and season. These estimates assume crafting 6 centerpieces and shopping at a craft store + discount retailer.
Base + Container
- 6 glass jars (8–12 oz) (mason jars, yogurt jars, or short vases) — $6–$15 total
- Optional paint: acrylic craft paint or chalk paint (2 oz bottle) — $2–$6
- Optional frosted look: matte glass spray or Mod Podge + Epsom salt — $5–$10
Fill + Floral Elements
- Floral foam bricks (wet foam for fresh flowers; dry foam for faux) — $3–$8
- Fresh flowers (1–2 small grocery bouquets) or faux stems (6–10 stems) — $10–$30
- Greenery (fresh eucalyptus/fern or faux greenery picks) — $5–$15
- Decorative filler: preserved moss, paper shred, or polyfill — $3–$8
Favor Items (Pick One Theme)
- Wrapped candies (individually wrapped chocolate or mints) — $5–$12
- Mini tea packets (1–2 per guest) — $4–$10
- Mini candle tins (2 oz) — $12–$24 for 6
- Seed packets (wildflowers/herbs) — $6–$15 for 6
Tags + Ties
- Cardstock (65–80 lb) — $3–$7
- Twine, satin ribbon (3/8"–5/8"), or jute — $3–$8
- Sticker paper or label sheets (optional) — $5–$12
Adhesives + Tools (Recommended)
- Hot glue gun (high-temp with precision tip preferred) + glue sticks — $8–$20
- Scissors + floral snips (or wire cutters for faux stems) — $8–$18
- Ruler or measuring tape — $1–$5
- Hole punch (single hole) — $3–$10
- Optional: craft knife + cutting mat for cleaner tag cuts — $10–$25
Estimated cost per centerpiece: $3 to $8 (depending on florals and favor choice).
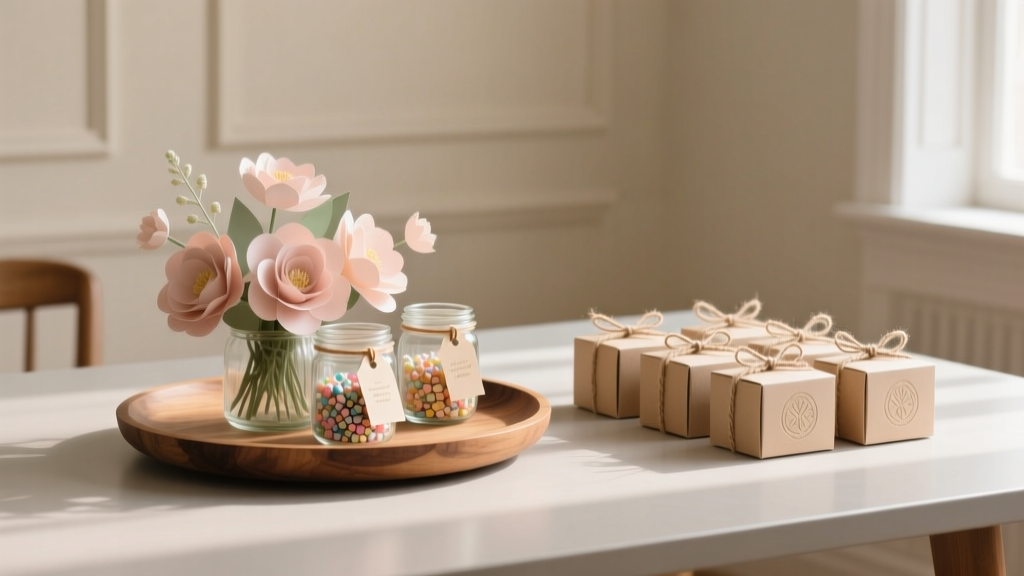
Design Plan: The “Take-Me-Home Jar” Centerpiece Favor
This design uses a jar as the centerpiece base, a compact floral arrangement on top, and a small favor bundle attached around the jar with a tag. Guests simply pick one up at the end of the party—no extra favor table needed.
Measurements and Quantities (Per Centerpiece)
- Jar size: 8–12 oz (about 3"–3.5" diameter)
- Floral foam: 2" x 2" x 2" cube (trim to fit)
- Ribbon length: 24"–30" (enough to wrap and bow)
- Tag size: 2" x 3" rectangle or 2.25" circle
- Favor bundle: 1 mini candle OR 2 tea packets OR 5–8 wrapped candies
Step-by-Step Instructions
Step 1: Prep Your Jars (5–15 minutes)
- Clean and dry your jars thoroughly. Any oil or residue will make paint and glue slip.
- Optional: paint the jar. For a soft, modern look, apply 1–2 thin coats of chalk paint with a foam brush. Let dry 20–30 minutes between coats.
- Optional: add a frosted finish. Brush Mod Podge in a thin layer, then lightly sprinkle Epsom salt for a “sea glass” texture. Let dry at least 1 hour.
Step 2: Cut and Fit the Floral Foam (5 minutes)
- Measure your jar opening. Most 8–12 oz jars fit a foam cube trimmed to about 2"–2.5" wide.
- Use a craft knife to trim foam so it sits snugly inside the jar (not perched on top).
- For fresh flowers: soak wet floral foam in water by letting it float and sink naturally (don’t push it down). This takes about 1–2 minutes.
Step 3: Build a Compact Arrangement (10–15 minutes)
- Create a greenery base: Insert 4–6 short greenery pieces around the edges first. Aim for a rounded shape about 1" wider than the jar.
- Add focal flowers: Use 1–3 larger blooms (mini roses, carnations, daisies). Cut stems so blooms sit about 2"–4" above the jar rim.
- Fill gaps: Add smaller flowers (baby’s breath, wax flower, mini mums) and adjust spacing.
- Check from all sides: Rotate the jar as you work. The arrangement should look balanced from the guest’s viewpoint.
Step 4: Add Favor Fill and Secure Items (5–10 minutes)
- If your jar has extra space below the foam, add a small layer of moss or paper shred to cushion and decorate.
- Choose your favor bundle:
- Candy: Tuck wrapped candies around the foam edge or tie a small organza bag to the ribbon.
- Tea: Stack 2 packets and tie them to the jar with ribbon.
- Mini candle: Hot glue a small candle tin to a cardstock backing, then tie that to the jar so it sits flat.
- Wrap ribbon around the jar neck (or mid-jar), tie a bow, and position the favor to the front.
Step 5: Make and Attach the Tags (10 minutes)
- Cut tags to 2" x 3" (or use a round punch if you have one).
- Punch a hole about 1/4" from the top.
- Write or print a message like:
- “Thanks for celebrating!”
- “Please take one home”
- “Bloom & enjoy”
- Tie the tag onto the ribbon tail or loop it around the jar neck.
Step 6: Set Up on Tables (5 minutes)
- Place one centerpiece per table, or one per 4–6 guests depending on your guest count and budget.
- If using fresh florals, set out centerpieces as close to party time as possible and keep them cool.
Pro Tips for Polished DIY Party Decorations
- Batch your steps: Prep all jars first, then cut all foam, then assemble all arrangements. This saves tons of time.
- Use odd numbers: 3 focal blooms often looks more natural than 2 or 4.
- Keep height guest-friendly: Aim for under 10" so people can chat across the table.
- Choose sturdy flowers: Carnations, mini mums, alstroemeria, and daisies hold up well for parties.
- Hide mechanics: If foam peeks out, cover the top with moss or small greenery sprigs.
- Label the “take me” moment: Add a small sign near the table or on the tag so guests know it’s a party favor.
Creative Variations (Beginner-Friendly to Advanced)
Beginner Variations
- No-foam version: Fill the jar with water and use 3–5 short stems. Tie favor items to the outside.
- Single-bloom look: Use one large bloom (like a hydrangea head or sunflower) with greenery for a clean, modern centerpiece.
- Theme color wrap: Skip painting; wrap the jar with 1.5" wide ribbon or a strip of kraft paper and secure with double-sided tape.
Advanced Variations
- Layered jar fill: Add sand + small pebbles in layers (about 1/2" per layer) for beach or boho party décor.
- Personalized vinyl: Add names or dates with a cutting machine and permanent vinyl for weddings and milestone events.
- LED glow: Wrap a micro-LED string inside the jar (battery pack hidden behind the favor bundle).
- Mini balloon topper: Attach a small 5" balloon on a stick behind the floral arrangement for birthdays (keep height low).
Troubleshooting (Quick Fixes That Work)
- My flowers keep flopping over. Cut stems shorter and insert deeper into foam. For faux stems, use wire cutters and add a dab of hot glue at the insertion point.
- The foam won’t fit. Trim in small slices. It should be snug but not force the jar to crack.
- Ribbon slides down the jar. Add a tiny dot of hot glue on the back side of the jar under the ribbon (one dot is usually enough).
- Fresh flowers look tired too soon. Use wet foam, keep arrangements cool, and avoid direct sunlight. Assemble within 12–24 hours of the event if possible.
- The centerpiece feels too busy. Reduce to one greenery type, one focal flower type, and one filler flower type.
Common Crafting Mistakes to Avoid
- Choosing oversized containers. Big jars eat up florals and budget fast. Stick to 8–12 oz for a cost-effective centerpiece party favor.
- Skipping a test piece. Make one complete prototype first to confirm time, costs, and overall look.
- Using weak adhesives. For attaching favor items, use hot glue or strong double-sided tape. School glue won’t hold on glass.
- Making arrangements too tall. Guests should see each other. Keep it under 10" whenever possible.
- Forgetting transport planning. Jars tip easily in a car. Use a shallow box with rolled towels or a cupcake carrier to stabilize them.
- Not labeling favors clearly. Guests may assume centerpieces stay behind unless you tell them.
FAQ: DIY Centerpieces Party Favors
1) How far in advance can I make these?
Faux florals: 1–2 weeks ahead is totally fine (store covered to prevent dust). Fresh florals: assemble the day of, or up to 24 hours ahead if using wet foam and keeping them cool.
2) What’s the cheapest option that still looks cute?
Use unpainted jars, grocery-store carnations or daisies, and a candy bundle tied with twine. Keep each centerpiece to 1 focal bloom + greenery for a simple, charming look.
3) Can I do this without a hot glue gun?
Yes. Use strong double-sided tape for ribbon and tags, and place favors inside the jar (in a small treat bag) rather than attaching them to the outside.
4) What are good party favor items that won’t melt or spoil?
Tea packets, honey sticks, seed packets, mini soaps, mini candle tins, wrapped mints, or small snack packs all travel well and work for most party themes.
5) How do I keep the centerpieces from tipping over?
Choose wider jars (short and squat beats tall and narrow). Keep toppers compact, and avoid heavy add-ons on one side. For extra stability, add 1/2" of pebbles in the bottom before foam.
6) Can these double as place cards too?
Absolutely. Swap the thank-you tag for a name tag (2" x 3") and tie it to the jar. You can also tuck a name card into the ribbon knot.
Wrap-Up: Make Your Party Tables Memorable (and Take-Home Ready)
DIY centerpiece party favors are one of the most satisfying handmade party decorations because they look beautiful, serve a purpose, and leave guests with something thoughtful. Start with one test jar, pick your color palette, and enjoy the process—this is the kind of craft that rewards you with instant “wow” on the table.
When you’re ready for your next batch of DIY crafts, party decorations, and handmade party projects, explore more creative ideas on smartpartyprep.com.
More Articles
 Upcycled Custom Stickers from Recycled Materials
 DIY Dream Catchers with Dollar Store Supplies
 25 Creative Slime Ideas
 How to Make Fabric Bunting at Home
 Budget DIY Place Cards Under $50
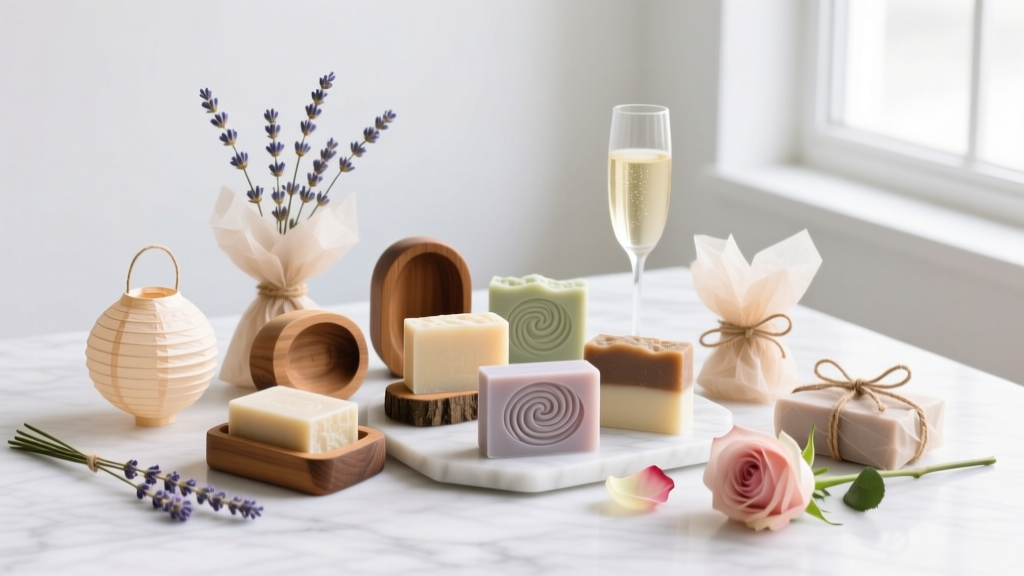 DIY Soap Bars with Dollar Store Supplies
 What Is 'A Party of Patches'? The Surprisingly Viral DIY Crafter’s Guide to Hosting a Low-Stress, High-Joy Fabric-Fueled Gathering That Builds Community (Not Just Quilts)
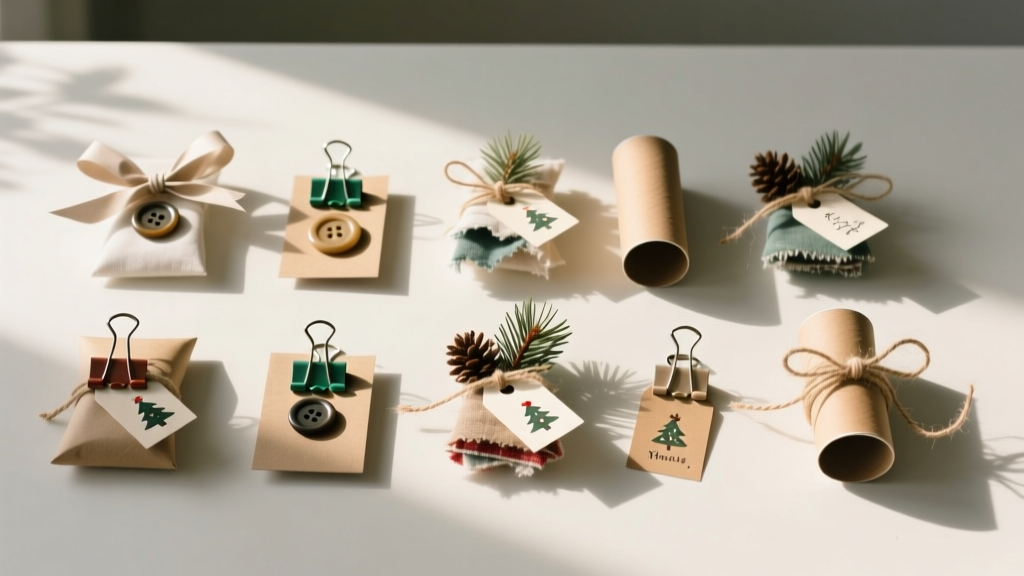 12 Do It Yourself Christmas Party Favors That Actually Impress Guests (No Craft Store Run Required — Just What’s in Your Junk Drawer + 20 Minutes)
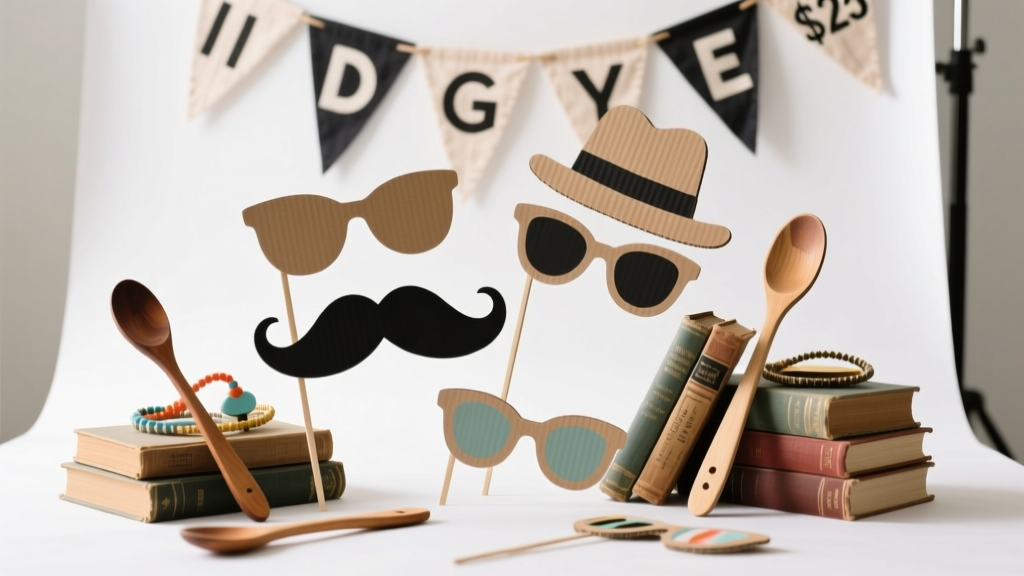 Budget DIY Photo Booth Props Under $25
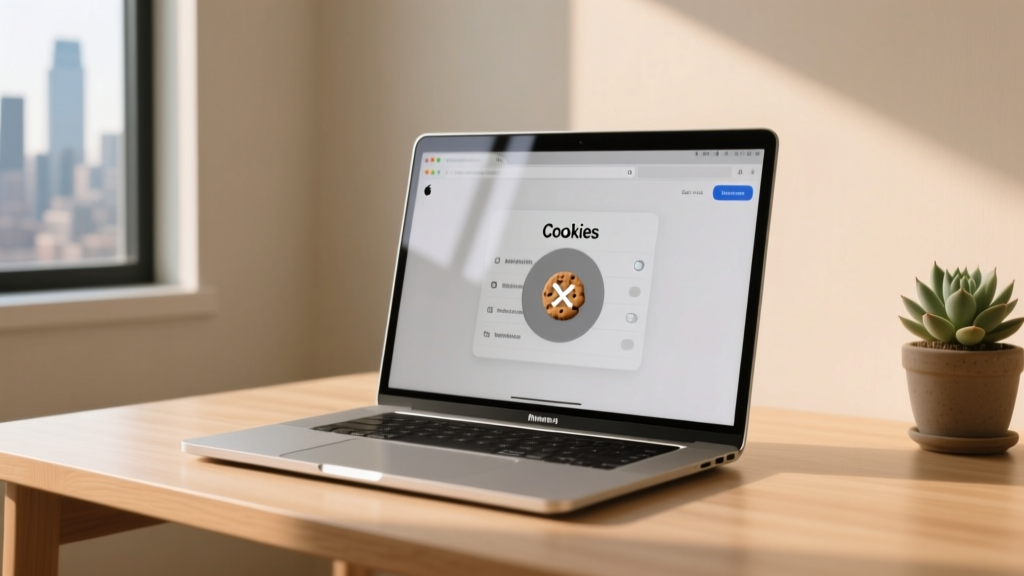 How Do I Enable Third Party Cookies on My Mac? The Real Answer (Spoiler: You Can’t — But Here’s What Actually Works in 2024)