
Advanced Scrapbook Pages for Crafters
Scrapbook pages aren’t just for storing memories—they’re a chance to build mini works of art that double as party decor, guestbook alternatives, and display-worthy keepsakes. If you’ve already mastered basic matting and journaling blocks, advanced scrapbook pages let you play with interactive elements, layered textures, and “wow” details that feel like boutique handmade projects.
Even better: party-related scrapbook layouts can do double duty. Create a birthday “year in review” page for the gift table, make a bridal shower page that guests can sign, or design a baby shower layout that becomes part of the nursery decor. You’ll end up with something personal, polished, and far more meaningful than store-bought decorations.
This guide walks you through professional-level techniques in a practical, step-by-step way—complete with measurements, tool recommendations, time estimates, and plenty of variations for different party themes.
Project Overview: What You’ll Make
- Finished size: 12" x 12" scrapbook page (fits standard albums and frames)
- Skill level: Intermediate to Advanced (beginner-friendly adaptations included)
- Time estimate: 2–3 hours for one detailed page (plus drying time for wet media)
- Best uses: Party memory pages, handmade party decorations, guestbook-style layouts, milestone displays
Materials & Tools (with Estimated Costs)
Costs vary by brand and what you already have. These estimates assume mid-range craft store supplies.
Core Materials
- 12" x 12" cardstock base (80–110 lb, white or coordinating color): $0.75–$2 each
- Patterned paper pack (12" x 12", party theme like confetti/florals/stripes): $8–$20
- Photo prints (matte recommended): $0.30–$1 each (or print at home)
- Vellum (12" x 12" sheets for overlays): $5–$10 for a pack
- Foam adhesive (squares or strips for dimension): $4–$8
- Double-sided tape runner (strong hold): $5–$10
- Liquid glue (fine-tip, fast grab): $3–$7
- Embellishments (enamel dots, sequins, die-cuts, ribbon): $5–$20 depending on style
Advanced “Wow Factor” Supplies (Pick 2–4)
- Hot foil tool or foil pen + heat source (foil accents): $25–$120 (optional)
- Embossing powder + heat tool (glossy raised titles): $10–$25
- Stencil + texture paste (3D pattern background): $10–$20
- Acetate sheets (shaker windows): $5–$12
- Shaker bits (sequins, microbeads): $3–$8
- Die-cut machine (for detailed shapes and frames): $70–$300 (optional)
Tool Recommendations
- Paper trimmer with ruler grid (clean cuts on 12" paper): $15–$40
- Precision scissors (fussy cutting): $8–$18
- Craft knife + self-healing mat (windows and fine cuts): $10–$25
- Corner rounder (soft, professional edges): $6–$15
- Bone folder (crisp folds for flaps): $5–$10
- Black ink pad (for edge inking and stamping): $5–$10
- Metal ruler (safer with craft knife): $6–$12
Design Plan: A Party-Themed Advanced Layout
This tutorial builds a party scrapbook page with three advanced features:
- Layered photo cluster with multiple mats and mixed textures
- Interactive pull-out journaling tag (great for party memories or guest notes)
- Optional shaker element for confetti vibes—perfect for birthdays, graduations, and celebrations
Measurements (Use These as a Blueprint)
- Background layer: 11 1/2" x 11 1/2" patterned paper (leaves a 1/4" border all around)
- Photo sizes: one 4" x 6" (main) + two 3" x 4" (supporting)
- Main photo mat: 4 1/4" x 6 1/4" + second mat 4 1/2" x 6 1/2"
- Supporting photo mats: 3 1/4" x 4 1/4" (each)
- Journaling pocket: 4 1/4" x 6 1/2" (vellum or patterned paper)
- Pull-out tag: 4" x 6 1/4" with a 1/2" top tab
- Optional shaker window frame: 3 1/2" x 3 1/2" frame with a 2 1/2" x 2 1/2" cut-out
Step-by-Step Instructions (Advanced, But Totally Doable)
Step 1: Prep Your Base and Background (10–15 minutes)
- Trim patterned paper to 11 1/2" x 11 1/2".
- Adhere it centered on the 12" x 12" cardstock base, leaving a 1/4" border.
- If you like extra depth, ink the edges of the patterned paper lightly with a coordinating ink pad.
Beginner-friendly adaptation: Skip inking and focus on clean layers and balanced spacing.
Step 2: Build the Photo Mats and Photo Cluster (25–40 minutes)
- Cut two mats for your 4" x 6" photo: 4 1/4" x 6 1/4" and 4 1/2" x 6 1/2". Use contrasting colors (solid + subtle pattern works well).
- Mount the photo centered on the smallest mat. Then stack the larger mat behind it, offset by about 1/8" to show both layers.
- For two 3" x 4" photos, cut mats at 3 1/4" x 4 1/4" and mount similarly.
- Arrange all three photo blocks in a loose “triangle” on the page: main photo slightly right of center, supporting photos top-left and bottom-left.
- Once you like the arrangement, adhere using a mix of tape runner and foam adhesive to vary height.
Pro spacing tip: Keep a consistent gap—aim for 1/4" between photo blocks for a polished layout.
Step 3: Add an Interactive Journaling Pocket (20–30 minutes)
- Cut pocket piece to 4 1/4" x 6 1/2". Vellum looks elegant and party-light, but patterned paper works too.
- Score a 1/2" flap along the bottom edge (use a bone folder). Fold upward.
- Adhere the pocket to the page using strong double-sided tape on the left and right edges and along the bottom flap only (leave the top open).
- Create a pull-out tag sized 4" x 6 1/4". Add a 1/2" tab at the top (round the corners if desired).
- Punch a small hole in the tag tab and tie a 6"–8" piece of ribbon or baker’s twine for easy pulling.
- Slide the tag into the pocket. Add party journaling prompts like “Funniest moment,” “Guest favorites,” or “Best song.”
Party-use idea: At a birthday party, leave the tag blank and ask guests to write a quick note. It becomes a handmade guestbook element right on your scrapbook page.
Step 4: Create an Optional Confetti Shaker Element (30–45 minutes)
This step is optional, but it screams “celebration” and makes your scrapbook page feel like a true piece of DIY party decor.
- Cut a frame at 3 1/2" x 3 1/2" from sturdy cardstock. Cut a centered window at 2 1/2" x 2 1/2" using a craft knife and metal ruler.
- Cut acetate slightly larger than the window (about 2 3/4" x 2 3/4") and glue behind the frame.
- Add foam adhesive strips around the back of the frame, making a sealed “wall” (no gaps).
- Sprinkle a small amount of shaker bits inside the area on the page where the shaker will sit (about 1/2 teaspoon is usually enough).
- Press the foam-backed frame down over the bits to seal.
Advanced variation: Use star confetti for a graduation party, tiny hearts for a bridal shower, or pastel beads for a baby shower theme.
Step 5: Add Title, Embellishments, and Finishing Details (25–40 minutes)
- Place a title near the top or just above the main photo. Good advanced title formats:
- Large script word + small block subtitle (e.g., “Celebrate” + “A Night to Remember”)
- Stacked words with mixed fonts
- Add embellishment clusters in three spots to guide the eye (near the title, near the main photo, near the journaling pocket).
- Use the “visual triangle” trick: three clusters make the layout feel intentional and balanced.
- Finish with small details:
- Enamel dots as “confetti” scattered lightly
- Edge distressing for texture (very light for party themes)
- Handwritten journaling with a waterproof black pen
Pro Tips for Next-Level Results
- Work in layers, then commit: Arrange everything without adhesive first, snap a quick phone photo, then glue.
- Mix textures thoughtfully: Pair smooth cardstock with one “soft” element (ribbon, fabric, lace) and one “shine” element (foil, sequins, embossing).
- Use foam strategically: Lift only the top layer in a cluster so the page doesn’t become too bulky for albums.
- Protect your photos: Use photo-safe adhesive and avoid wet glue directly on photo prints.
- Make it party-display ready: Keep heavy embellishments away from edges if you plan to frame the page as party decor.
Theme Variations (Party-Perfect Ideas)
Birthday Party Scrapbook Page
- Color palette: bright primary + metallic gold
- Add-on: mini balloon die-cuts, candle stickers, confetti shaker
- Interactive twist: add a small flap that reveals “favorite gifts” journaling
Baby Shower Memory Page
- Color palette: soft neutrals, blush, sage, or pastel rainbow
- Add-on: vellum pocket with wishes from guests
- Advanced touch: emboss the title for a gentle raised look
Bridal Shower / Bachelorette Layout
- Color palette: black + white + one accent (rose gold looks amazing)
- Add-on: foil title, lace trim, tag journaling for “advice for the couple”
- Advanced touch: layered vellum florals behind photos
Graduation Party Page
- Color palette: school colors + silver
- Add-on: shaker star window, tassel-style twine on journaling tag
- Advanced touch: stitched borders (real or faux stitching pen)
Troubleshooting Advice (Fixes That Save the Page)
- My shaker leaks: Add more foam strips to close gaps. Press firmly around the perimeter. Avoid overfilling with sequins.
- Vellum shows adhesive: Use tiny dots of liquid glue behind embellishments or hide tape behind thicker areas (photo mats, title, die-cuts).
- The layout feels too busy: Remove one patterned layer, swap one bold paper for a solid, or limit embellishments to three clusters.
- Page is too bulky for my album: Replace foam under large photos with flat tape runner and reserve foam for small accents only.
- My title looks crooked: Lightly pencil a guideline, or use a ruler and place letters from the center outward.
Common Crafting Mistakes to Avoid
- Using weak adhesive for dimensional elements: Foam tape needs strong backing; add liquid glue for reinforcement on heavier embellishments.
- Skipping dry-fit planning: Gluing too early can force awkward spacing. Always arrange first.
- Overusing too many “star” features: If you do a shaker, keep other techniques simpler so the page has one clear focal point.
- Mat sizes that are too tight: Leave at least 1/8" border around photos so mats are visible and intentional.
- Messy glue near photos: Use a fine-tip adhesive bottle and keep a scrap paper “glue mat” nearby.
- Forgetting the story: Advanced scrapbook pages still need journaling—even a few lines makes the memory stick.
FAQ: Advanced Scrapbook Pages for Party Memories
1) Can I make this without a die-cut machine?
Yes. Use a paper trimmer, scissors, and a craft knife for frames and windows. For titles, stickers and alphabet sets work beautifully and still look polished.
2) What’s the best paper weight for a sturdy 12" x 12" page?
Use an 80–110 lb cardstock base. If you’re adding a shaker or lots of foam, lean toward heavier cardstock (100–110 lb) to prevent warping.
3) How do I keep interactive elements from tearing over time?
Reinforce pull-out tags with an extra cardstock layer, round the corners, and use strong tape on pocket edges. A ribbon pull also reduces wear on the paper.
4) Are shaker elements safe in scrapbook albums?
They can be, as long as the shaker is fully sealed and not overly bulky. Keep it away from album rings if possible, and store the album flat to reduce pressure.
5) What are quick beginner-friendly upgrades that still feel “advanced”?
Add clean mat layers, use foam adhesive for dimension, and create a simple journaling pocket without a shaker. Those three changes alone make a layout feel like a premium handmade project.
6) Can I turn these pages into party decorations?
Absolutely. Slide the finished 12" x 12" page into a frame for a dessert table display, photo booth prop table, or gift table centerpiece. It’s a practical piece of DIY party decor that also becomes a keepsake.
Ready to Make Your Most Impressive Party Scrapbook Page Yet?
Advanced scrapbook pages are where storytelling meets design—layers, interactive details, and party-ready sparkle all working together. Start with the blueprint above, pick one “wow” technique (like a shaker or embossing), and let the theme guide your colors and embellishments. Your finished page will feel personal, professional, and completely handmade.
Want more DIY crafts, party decorations, and creative handmade project ideas? Explore more inspiration at smartpartyprep.com and keep making celebrations extra memorable—one craft at a time.
More Articles
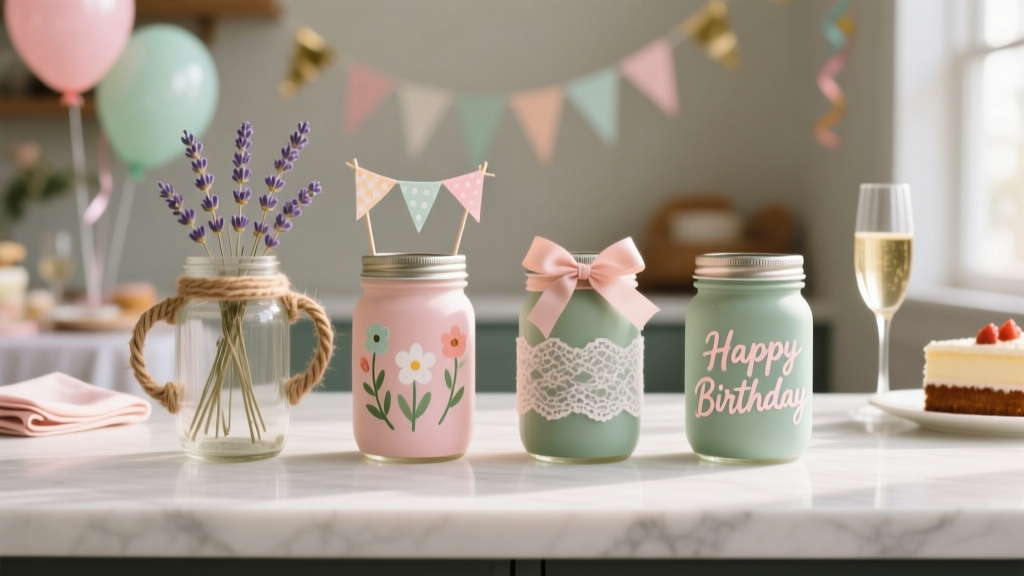
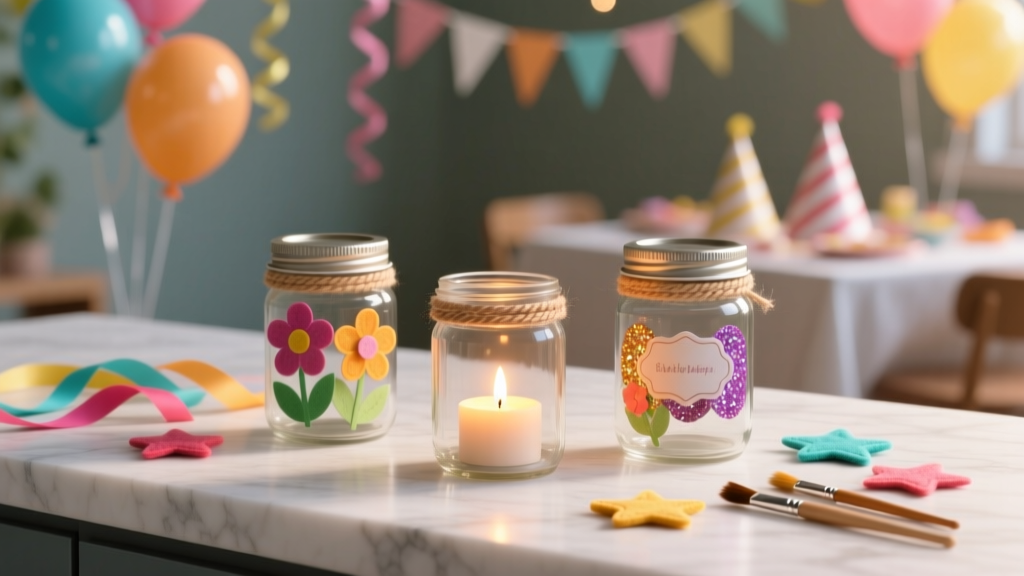 Kids' Craft: Mason Jar Crafts
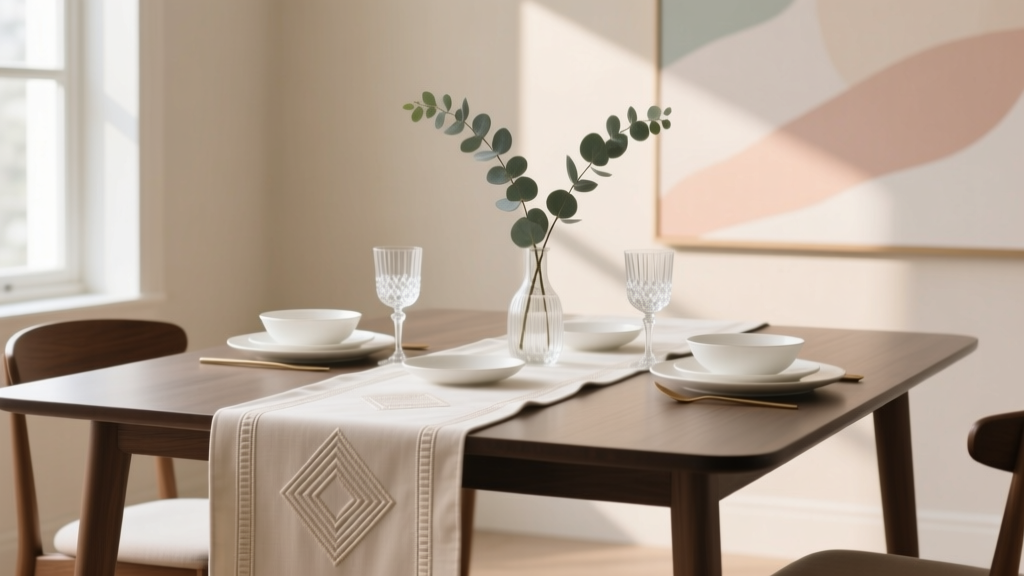 Modern Table Runners Designs
 Kids' Craft: Thank You Cards
 No-Sew Friendship Bracelets Tutorial
 Are Create Creatine Gummies Third Party Tested? Here’s Exactly How to Verify Lab Certification (Without Paying for a Full Batch You Can’t Trust)
 How to Discharge Debt as a Secured Party Creditor: The Truth Behind the Viral Loophole (Spoiler: It Doesn’t Work — Here’s What Actually Does)
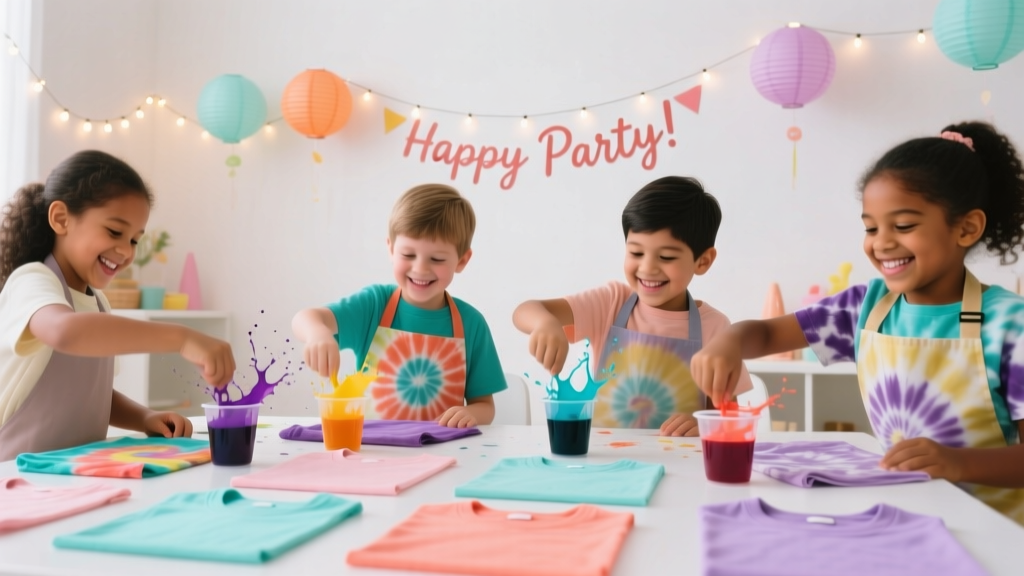 Kids' Craft: Tie-Dye Shirts
 Step-by-Step Mason Jar Crafts Tutorial
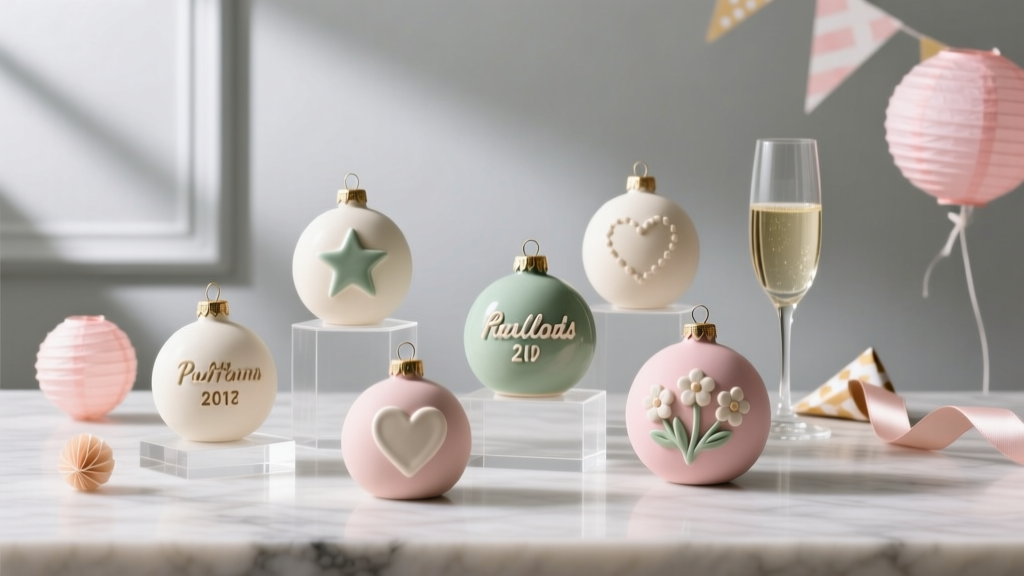 Personalized Clay Ornaments Gifts
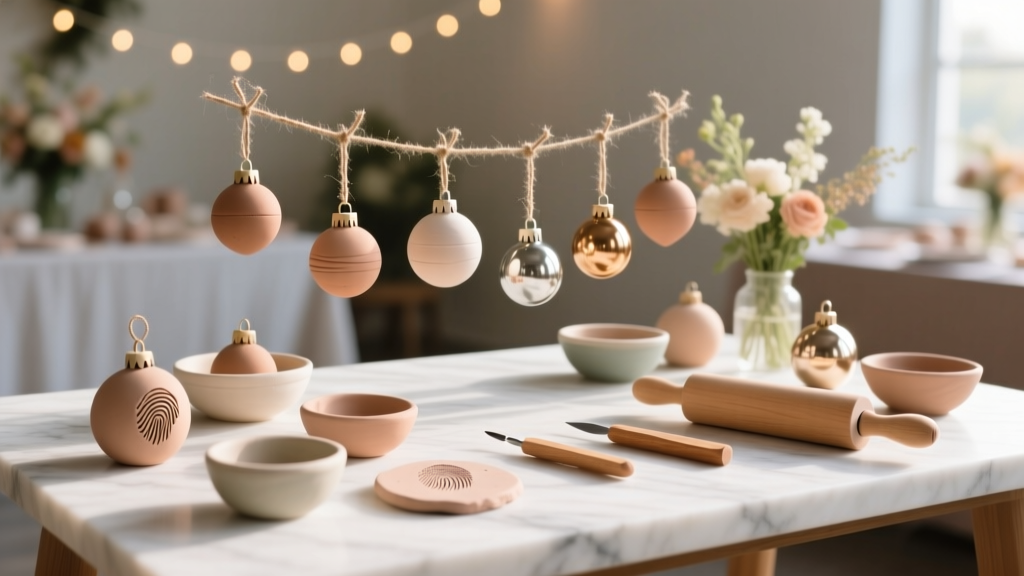 DIY Clay Ornaments Party Favors