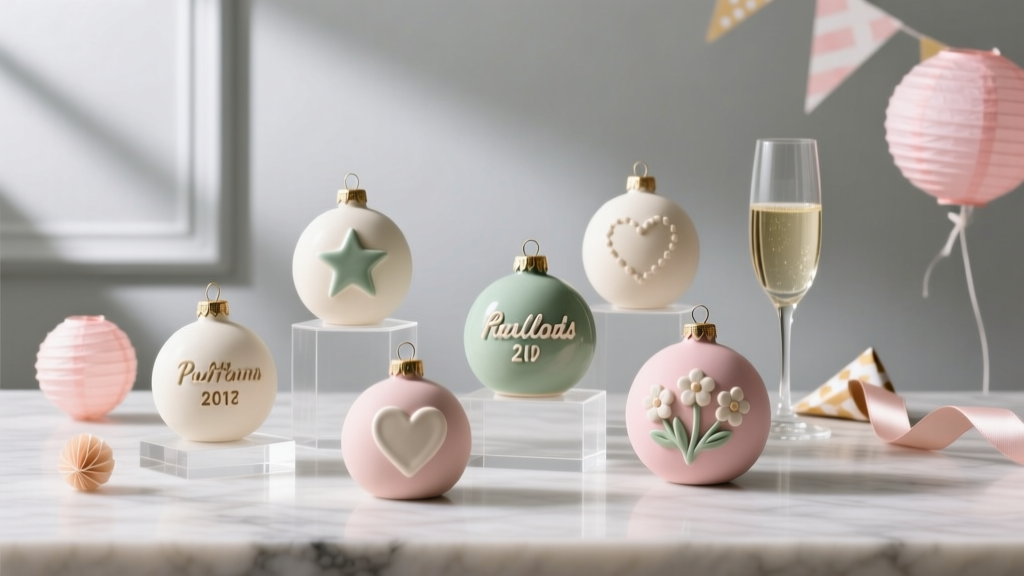
Personalized Clay Ornaments Gifts
There’s something instantly heartwarming about a handmade ornament—especially when it’s personalized. Whether you’re planning a birthday party, a baby shower, a holiday gathering, or a cozy winter craft night with friends, personalized clay ornaments double as decor and meaningful take-home gifts. They’re small, affordable to make in batches, and easy to tailor to any theme: names, dates, initials, tiny symbols, even paw prints.
This project is also wonderfully flexible. Beginners can keep it simple with clean shapes and stamped lettering, while experienced crafters can add layered designs, marbling, painted details, or metallic finishes. If you love DIY crafts that feel “boutique” without boutique prices, this one checks every box.
Best of all: these ornaments aren’t just for trees. Use them as party favors, place cards, gift tags, garlands, or a memory-making activity station at your event. A personalized clay ornament is a handmade project guests will actually keep.
Project Overview: Skill Level, Time, and Best Uses
Skill level
- Beginner-friendly: basic shapes + letter stamps
- Intermediate: marbling, layered cutouts, painted motifs
- Advanced: embedded transfers, resin topcoat, complex sculpted details
Time estimates (per batch of 8–12 ornaments)
- Active crafting time: 45–90 minutes (depending on detail)
- Bake/dry time: 15–30 minutes (oven-bake) OR 24–48 hours (air-dry)
- Finishing time: 30–60 minutes (paint, seal, ribbon)
Great for
- DIY party decorations (garlands, favor displays, mini ornament trees)
- Handmade gifts and stocking stuffers
- Personalized gift tags that become keepsakes
- Kids’ craft tables (with a few safety tweaks)
Materials and Tools (With Estimated Costs)
Costs vary by brand and how many you make, but this DIY craft is very budget-friendly—especially when you’re producing party favors in batches.
Clay options
- Oven-bake polymer clay (recommended for durability): 2–4 oz (56–113 g) makes ~6–10 small ornaments depending on thickness. Estimated cost: $2.50–$6 per 2 oz bar.
- Air-dry clay (easy, no oven needed): great for kids, but more fragile unless sealed well. Estimated cost: $8–$15 for 2–2.2 lb tub.
- Salt dough (budget option): flour + salt + water; charming but can crack/warp more easily. Estimated cost: $1–$3 per batch.
Must-have tools
- Acrylic roller or brayer (for even thickness): $6–$15
- Thickness guides (craft sticks or stack of index cards): $0–$5
- Clay cutters (circle, arch, star, etc.) or cookie cutters: $5–$12
- Straw or hole punch tool (to create hanging holes): $1–$5
- Letter stamps (metal or acrylic): $7–$20
- Craft blade or plastic clay knife: $3–$10
- Nonstick work surface (ceramic tile, silicone mat, or parchment): $3–$12
Finishing supplies (pick your style)
- Acrylic paint pens (great for names and fine details): $8–$18
- Acrylic craft paint + small brushes: $6–$15
- Metallic wax or mica powder (for gilded edges): $8–$15
- Sealer (water-based polyurethane, acrylic sealer spray, or polymer clay glaze): $6–$14
- Ribbon, twine, or velvet cord (1/8–1/4 in / 3–6 mm width): $3–$10
Optional but helpful
- Toothpicks or dotting tools (for tiny details): $2–$8
- Embossing folder or texture stamp (for patterns): $5–$12
- Gold leaf flakes (festive party glam): $6–$12
- Jump rings + tiny charms (for extra personalization): $5–$10
Design Planning: Pick a Theme and Personalization Style
Before you start rolling clay, decide how your ornament set will tie into your party décor or gift theme. This helps you craft faster and get a cohesive look.
Popular party-friendly themes
- Winter party/holiday: stars, trees, candy canes, snowflakes
- Baby shower: onesies, rainbows, moons, initials + due date
- Birthday party: balloons, cupcakes, name + age
- Wedding/bridal shower: monogram + date, botanical wreaths, minimalist arches
- Pet party: paw prints + pet name
Personalization ideas
- First names (simple and sweet)
- Initial + last name (great for wedding favors)
- Date and location (memory marker)
- Short phrase: “Cheers,” “Let’s Party,” “Baby on the Way”
- Symbol: tiny heart, star, birth flower, party hat icon
Step-by-Step: How to Make Personalized Clay Ornaments
Step 1: Prep your workspace (5 minutes)
- Cover your surface with a silicone mat or parchment.
- Keep baby wipes or a damp cloth nearby for quick cleanup (especially with colored polymer clay).
- If using polymer clay, preheat the oven to the brand’s recommended temperature (commonly 265–275°F / 129–135°C).
Step 2: Condition and roll the clay (10–15 minutes)
Goal thickness: 1/8 in (3 mm) for lightweight ornaments; 3/16 in (4–5 mm) for sturdier pieces.
- Knead clay until soft and pliable (polymer clay needs conditioning so it won’t crack).
- Place thickness guides on either side of your clay (two craft sticks make a great 1/8 in guide).
- Roll evenly with an acrylic roller, flipping the clay once or twice to prevent sticking.
Step 3: Cut your shapes (10 minutes)
- Press your cutter straight down for crisp edges.
- Lift away excess clay carefully.
- Smooth rough edges with a fingertip or a tiny bit of rubbing alcohol on a cotton swab (polymer clay only).
Step 4: Add the hanging hole (2 minutes)
Hole size: use a standard drinking straw for a clean, medium hole (about 1/4 in / 6 mm).
- Place the hole about 1/4–3/8 in (6–10 mm) from the top edge.
- Twist the straw gently, lift out the clay plug, and keep the hole round.
Step 5: Personalize with names, dates, or messages (10–20 minutes)
Choose one technique (or combine them):
- Letter stamps: light pencil guidelines first; press stamps evenly; lift straight up.
- Clay imprint: use a toothpick or stylus to write cursive (best for intermediate+).
- Paint pen lettering: wait until after baking/drying for the cleanest look.
Spacing tip: For names, keep letters about 1/8 in (3 mm) apart so they remain legible after painting and sealing.
Step 6: Add texture or decorative details (optional, 10 minutes)
- Press lace, a texture stamp, or an embossing folder lightly into the clay.
- Layer a smaller cutout on top using a tiny dab of liquid polymer clay (polymer) or slip (air-dry).
- Create marbled clay by twisting two colors together, folding, and rolling gently.
Step 7: Bake or dry (varies)
- Polymer clay: bake on parchment on a ceramic tile or baking sheet. Typical timing is 15–30 minutes depending on thickness and brand directions.
- Air-dry clay: dry flat on a smooth surface, flipping after 12–24 hours to reduce warping. Total dry time 24–48 hours.
Warp prevention: For polymer clay, bake pieces between two sheets of parchment and two flat tiles if you want ultra-flat results.
Step 8: Paint, highlight, and seal (30–60 minutes)
- Let ornaments cool completely (polymer) or fully dry (air-dry).
- Add paint details: names, borders, tiny stars, confetti dots, or color-blocking.
- Let paint dry, then apply sealer in thin coats (especially for air-dry clay).
Party-polished idea: Rub metallic wax on raised textures or edges for an elegant “store-bought” finish.
Step 9: Add ribbon and package as gifts (10 minutes)
- Cut ribbon to 10–12 in (25–30 cm) lengths for easy tying.
- Thread through the hole and tie a bow or a simple double knot.
- For party favors, attach to treat bags, mini boxes, or place setting napkins as a name tag.
Pro Tips for Clean Results
- Use a ceramic tile as a work surface—clay lifts cleanly and you can bake polymer clay right on it.
- Prevent fingerprints: roll the final pass lightly and handle edges more than faces; use a soft brush to dust off lint.
- Keep lettering straight: draw a faint guideline with a needle tool (or use a strip of painter’s tape as a visual guide).
- Batch your steps: cut all shapes first, then stamp names, then punch holes—faster and more consistent.
- Test sealers first: some spray sealers can remain tacky on certain polymer clays. Try on a scrap piece before committing.
Variations: Beginner-Friendly and Advanced Upgrades
Beginner-friendly adaptations
- Monochrome ornaments: white clay + black paint pen names + satin ribbon
- Simple stamped border: use the end of a straw or dotting tool to make evenly spaced dots around the edge
- Cookie cutter shapes: hearts, circles, stars—no fancy sculpting required
Advanced variations
- Terrazzo effect: mix tiny chopped clay “chips” into a base color and roll smooth
- Raised lettering: cut names from thin rolled clay with a craft blade and layer on top
- Gold leaf accents: apply adhesive to edges, press gold leaf flakes, then seal
- Photo transfer: use image transfer medium on baked polymer clay (test first; seal after)
- Resin dome topcoat: for a glossy, glass-like finish (best for experienced crafters and well-ventilated spaces)
Troubleshooting: Fixes for Common Problems
- Cracking (air-dry clay): clay may be too dry or dried too fast. Lightly mist, smooth with a damp finger, and dry slower away from direct heat.
- Warping/curling: roll to even thickness; flip air-dry pieces mid-dry; bake polymer clay on a flat tile and avoid thin, wide shapes without support.
- Stamp impressions look uneven: press straight down with even pressure; practice on scrap; use a firm surface (tile beats a soft mat).
- Paint smears: let the ornament fully cool/dry; use paint pens in light strokes; seal only after paint is completely dry.
- Holes cracking: place the hole farther from the edge (at least 1/4 in / 6 mm) and avoid very thin clay around the hole.
Common Crafting Mistakes to Avoid
- Skipping thickness guides: uneven ornaments bake or dry unevenly and look inconsistent as party decorations.
- Making ornaments too thin: anything under 1/8 in (3 mm) is more likely to snap, especially with air-dry clay.
- Overhandling the surface: fingerprints and lint show up more after painting and sealing.
- Stamping after baking (polymer clay): impressions must be made before baking; after baking, use paint pens instead.
- Rushing dry time: sealing damp air-dry clay can trap moisture and cause cloudy spots or peeling.
- Using the wrong sealer: test compatibility with your clay and paint to avoid sticky finishes.
FAQ: Personalized Clay Ornaments Gifts
What clay is best for personalized ornaments that will last?
Oven-bake polymer clay is the most durable for keepsake ornaments and party favors that guests will store and reuse. Air-dry clay works too, but it needs a good sealer and gentler handling.
How big should I make each ornament?
A great party-friendly size is 2.5–3 in (6–7.5 cm) wide. It’s large enough for a name and still lightweight for hanging on hooks, favor bags, or a garland.
Can kids make these as a party activity?
Yes—choose air-dry clay, use large cookie cutters, and skip tiny pieces. Have an adult handle sealing. If using polymer clay, adults should manage baking and hot trays.
How do I make the names look neat and centered?
Lightly mark a center point, add a faint guideline, and stamp from the middle outward (or pencil the name spacing on paper first). For paint pen lettering, write slowly in two passes: a light first pass, then a clean final pass.
Do I need to seal polymer clay ornaments?
Polymer clay is already durable, but sealing helps protect painted details and gives a consistent sheen. If you leave polymer clay unpainted, you can often skip sealer unless you want extra gloss.
How should I package these for party favors or gifts?
Try a clear treat bag with a cardstock topper, a small kraft box with tissue, or tie the ornament onto a gift bag handle. Personalized clay ornaments also make charming place cards—set one at each plate with a ribbon and a handwritten thank-you tag.
Make It Yours: A Keepsake That Doubles as Party Decor
Personalized clay ornaments are one of those rare DIY crafts that feel relaxing to make and impressive to give. You can keep the design simple and modern or go all-out with layered details and party-themed colors. Either way, you’ll end up with handmade decorations that tell a story—names, dates, moments—captured in a small keepsake.
Grab your clay, pick a theme, and make a batch this week. Once you’ve finished your first set, you’ll start seeing ornament opportunities everywhere: party favors, gift toppers, seasonal décor, even a yearly tradition.
Happy crafting! Explore more DIY party decorations, handmade projects, and creative celebration ideas on smartpartyprep.com.
More Articles
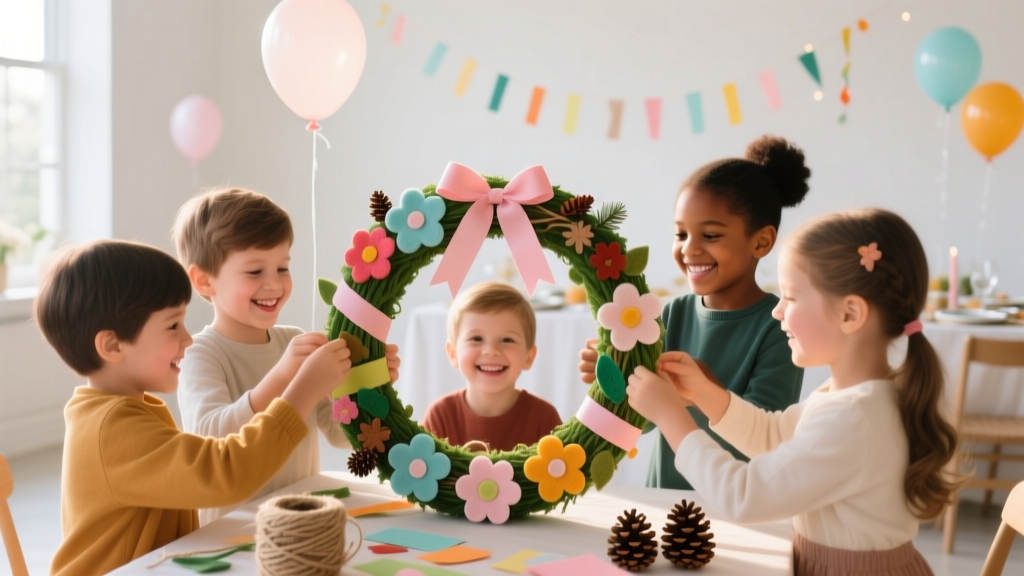
 Budget DIY Wreaths Under $25
 Modern Custom Stickers Designs
 How to Allow Third-Party Cookies on Chrome iPad in 2024: The Only 4-Step Guide That Actually Works (No More ‘Settings Not Found’ Errors)
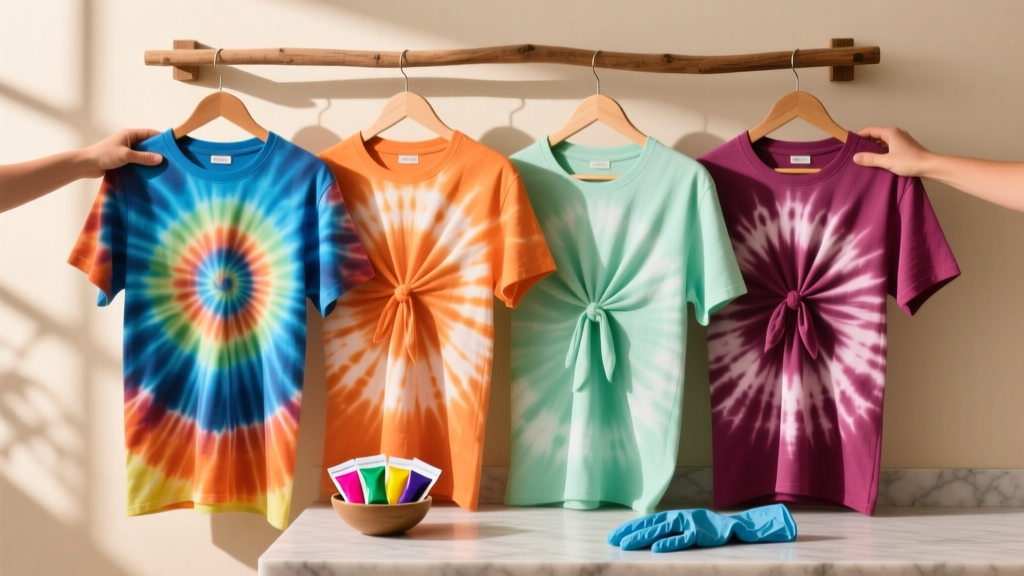 DIY Tie-Dye Shirts for Holidays
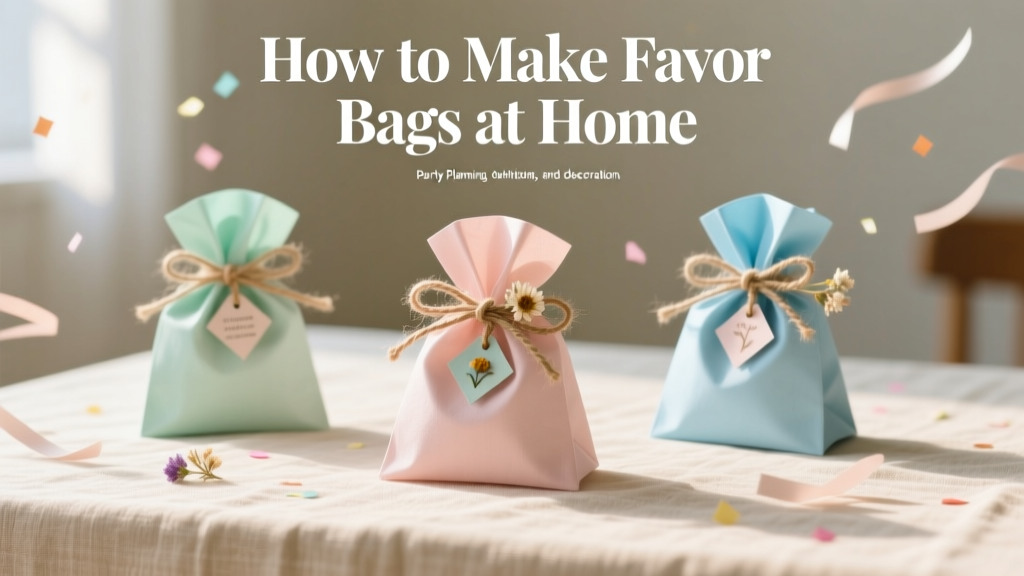 How to Make Favor Bags at Home
 Is Thorne 3rd party tested? The truth about their lab verification — what independent testing reports *actually* show (and why most supplement brands won’t publish theirs)
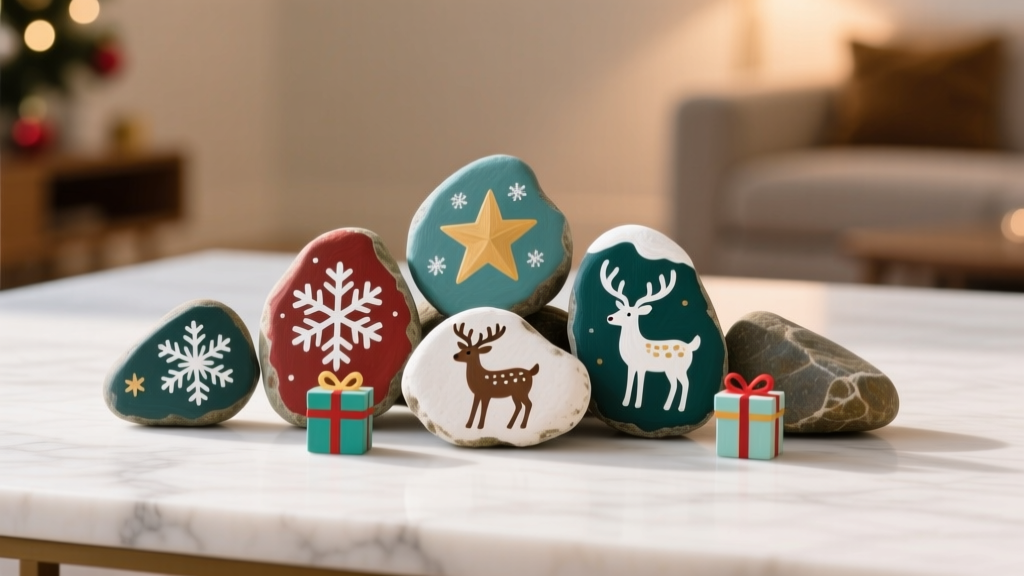 DIY Painted Rocks for Holidays
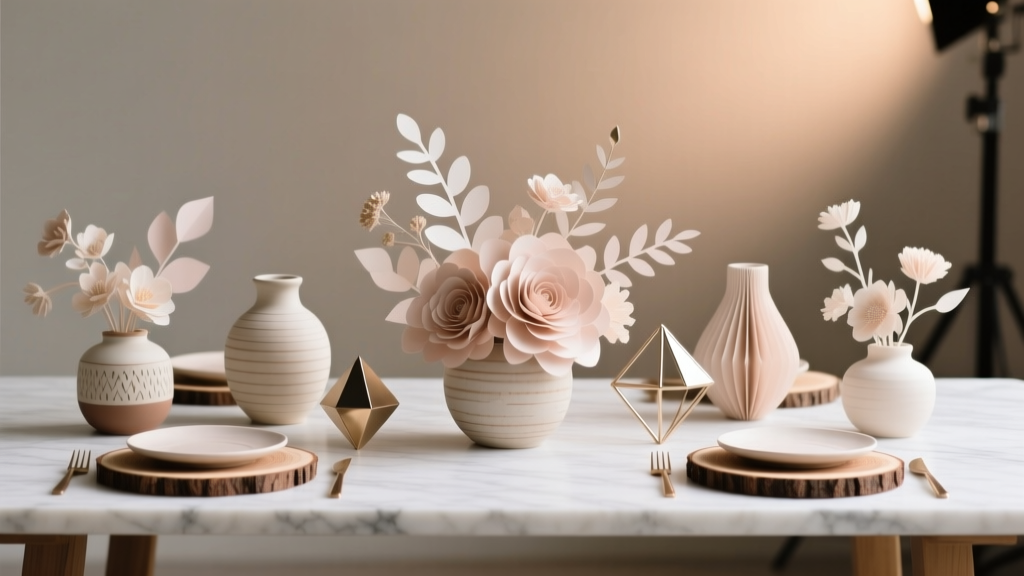 Advanced Centerpieces for Crafters
 How to Make Party Hats That Actually Stay On, Look Festive, and Cost Under $2 (No Glue Gun Required — Just Scissors, Paper & 10 Minutes)
 Kids' Craft: Wreaths