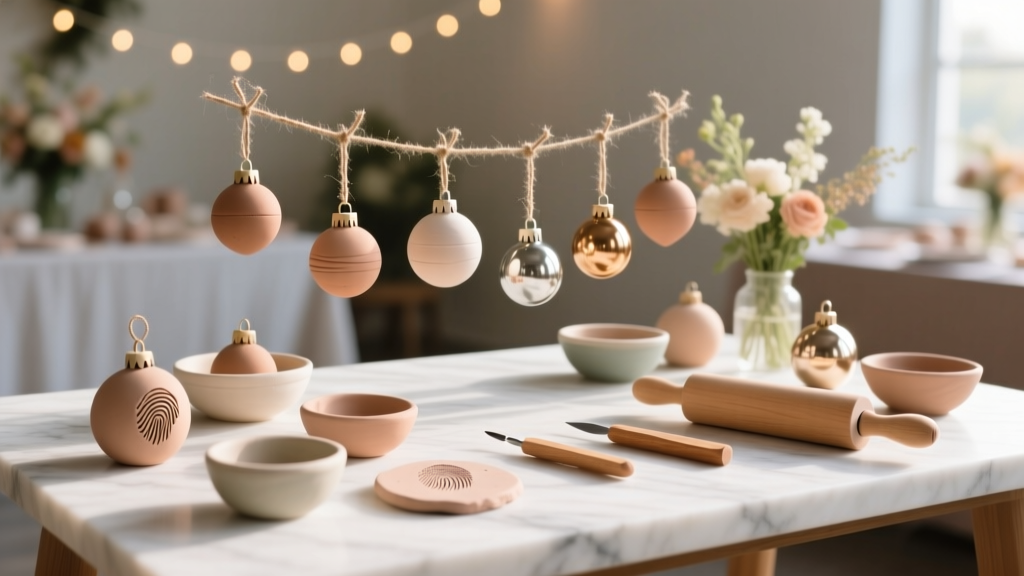
DIY Clay Ornaments Party Favors
Handmade party favors are the kind of detail guests remember—especially when they’re cute, personal, and actually useful after the celebration ends. DIY clay ornaments check all the boxes: they’re inexpensive to make in batches, easy to customize for any party theme, and they double as party decorations during the event.
These little ornaments can be hung on a favor display, tied to place settings, used as gift tags, or bundled into mini favor bags. After the party, guests can hang them on a holiday tree, a rearview mirror, a corkboard, or a key hook. It’s a small keepsake with big “I made this for you” energy.
Best of all, this is a beginner-friendly DIY craft with room to level up. Keep it simple with classic shapes and stamped names, or go advanced with painted designs, marbling, and gilded edges. Let’s make party favors that look boutique—but feel totally doable.
Project Overview
- Skill level: Beginner to Intermediate (advanced options included)
- Time estimate:
- Hands-on time: 60–120 minutes (for 12–24 ornaments)
- Drying time (air-dry clay): 24–72 hours total (varies by thickness/brand)
- Baking time (oven-bake clay): 15–30 minutes per batch (brand-specific)
- Batch size: 12 ornaments (party-friendly), easily doubled
- Best for: birthdays, baby showers, bridal showers, holidays, classroom parties, craft parties, wedding favors
Materials & Tools (with Estimated Costs)
Costs vary by region and brand, but these estimates help you plan a party-prep budget.
Clay Options (Choose One)
- Air-dry clay (white, smooth): 2–2.2 lb (1 kg) makes ~20–30 small ornaments (2.5–3 in). Estimated cost: $10–$20
- Oven-bake polymer clay: Great for crisp details and durability. 1 lb total across colors is plenty for 12–24 ornaments. Estimated cost: $12–$25
Must-Have Tools
- Rolling pin: acrylic or wooden (or a smooth glass bottle). $8–$15
- Thickness guides: 1/4 in (6 mm) craft sticks or rolling pin rings. $0–$8
- Clay cutters: cookie cutters (2–3 in wide) or craft blade. $5–$12
- Straw or hole punch tool: for ribbon hole (use a standard straw or 1/4 in cutter). $0–$6
- Nonstick work surface: silicone mat, parchment paper, or ceramic tile. $3–$12
- Sandpaper: fine grit 220 + 400 for smoothing edges (air-dry). $4–$8
Decoration Supplies (Pick Your Style)
- Letter stamps: 1/8 in (3 mm) or 1/4 in (6 mm) alphabet set. $8–$20
- Acrylic paint: matte or metallic for details. $2–$10
- Paint brushes: small round + flat. $5–$12
- Sealant: water-based varnish, Mod Podge, or acrylic sealer spray (matte/satin). $6–$12
- Metallic leaf pen or gold acrylic: for edging. $5–$10
- Twine/ribbon: 1/8–1/4 in ribbon or baker’s twine. $4–$10
Optional (But Helpful for Party-Favor Polish)
- Mini favor bags or boxes: 3x4 in bags or 2x2x2 in boxes. $6–$15 per 25
- Tag cardstock + hole punch: for “thank you” labels. $3–$8
- Foam pouncer/sponge: for neat paint coverage. $2–$5
Choosing Your Ornament Style (Party-Ready Ideas)
Match your DIY clay ornaments to your party theme and they’ll work as both party decorations and handmade party favors.
- Classic name tags: round ornament stamped with each guest’s name—perfect as place cards.
- Mini icons: stars, hearts, pumpkins, snowflakes, flowers, baby onesies, rings.
- Monogram set: one initial per guest, edged in gold, tied with satin ribbon.
- Message favors: “thank you,” “celebrate,” “best day,” “baby love,” “team bride.”
Step-by-Step: DIY Clay Ornaments Party Favors
Step 1: Prep Your Workspace
- Cover your surface with a silicone mat or parchment paper.
- Set out your cutters, straw, and thickness guides.
- If using polymer clay, wash and dry your hands to avoid lint and fingerprints.
Tip: Keep a small bowl of water nearby for smoothing air-dry clay, and a soft paintbrush for dusting crumbs off polymer clay.
Step 2: Roll Out the Clay (Aim for 1/4 in / 6 mm Thick)
- Knead the clay for 1–2 minutes until pliable.
- Place thickness guides on either side of the clay.
- Roll evenly until the rolling pin rides on the guides, creating a consistent 1/4 in (6 mm) slab.
Why 1/4 inch? It’s sturdy enough for party favors and reduces warping or snapping.
Step 3: Cut Your Ornament Shapes
- Press cookie cutters straight down (don’t twist—twisting can create jagged edges).
- Lift away the excess clay and save scraps in a sealed bag.
- Gently smooth edges with a fingertip (air-dry) or a soft tool (polymer clay).
Measurement guide: 2.5–3 in (6.5–7.5 cm) wide is ideal for favors—big enough for names, small enough to batch.
Step 4: Add the Hanging Hole
- Use a straw to punch a hole 3/8 in (1 cm) from the top edge.
- Wiggle slightly to widen the hole if you plan to use thicker ribbon.
Tool recommendation: A standard drinking straw makes a clean hole; a metal straw is even sharper for crisp edges.
Step 5: Personalize (Names, Dates, Texture, or Stamps)
Choose one method (or combine):
- Letter stamp names: Press stamps straight down, evenly spaced. For best alignment, lightly draw a guideline with a toothpick first.
- Texture press: Press lace, doilies, or a textured rolling pin into the clay for instant pattern.
- Handwritten look: Use a needle tool to etch initials or a short message.
Beginner-friendly adaptation: Skip names and stamp a simple icon (heart/star) for each guest.
Step 6: Dry or Bake Properly
If Using Air-Dry Clay
- Place ornaments on parchment over a flat board.
- Let dry for 12–24 hours, then flip each ornament.
- Dry another 12–48 hours until fully hard.
Anti-warp tip: Dry on a flat surface and flip once to help both sides dry evenly.
If Using Polymer Clay
- Preheat the oven according to package directions (often 265–275°F / 129–135°C).
- Bake on parchment over a baking sheet or ceramic tile.
- Bake for the recommended time, commonly 15–30 minutes depending on thickness.
Safety note: Follow your clay brand’s instructions exactly for temperature and time.
Step 7: Smooth and Finish the Edges
- For air-dry clay, lightly sand with 220 grit, then finish with 400 grit for a polished edge.
- Wipe dust off with a dry cloth before painting or sealing.
Step 8: Paint, Detail, and Seal
- Paint a base color (optional) using acrylic paint. Let dry 15–30 minutes.
- Add details: dots, stripes, florals, or metallic accents.
- Seal with a thin coat of varnish/Mod Podge. Let dry fully (check product label; often 30–60 minutes per coat).
Advanced variation: Paint only the edges in metallic gold for a high-end look. Hold the ornament flat and run a metallic leaf pen along the rim.
Step 9: Add Ribbon and Package as Party Favors
- Cut ribbon to 10–12 in (25–30 cm) lengths for easy tying.
- Knot or bow through the hole.
- Package in a small bag/box, or tie directly onto favor bags as a gift tag.
Party decoration idea: Hang finished ornaments on a “Favor Garland” with mini clothespins so guests can grab theirs on the way out.
Pro Tips for Beautiful, Durable DIY Clay Ornaments
- Batch efficiently: Roll one large slab, cut all shapes, then stamp all names assembly-line style.
- Prevent fingerprints (polymer clay): Use a piece of parchment between your finger and the clay when smoothing.
- Keep holes strong: Don’t place the hole too close to the edge; aim for 3/8 in (1 cm) margin.
- Make stamps crisp: Press straight down and lift straight up. If letters stick, dust stamps lightly with cornstarch (air-dry) or use a tiny bit of water.
- Seal for longevity: A thin seal coat helps resist moisture and scuffs—especially important for party favors that travel home.
Creative Variations (Beginner to Advanced)
Beginner-Friendly Variations
- Single-color minimalist: White clay + black stamped name + twine.
- Confetti dots: Add painted dots in party colors using the end of a pencil eraser.
- Cookie-cutter theme set: Stars for a “Twinkle Twinkle” baby shower or hearts for a bridal shower.
Advanced Variations
- Marbled clay: Twist two colors together lightly and roll (don’t overmix) for a swirled look.
- Terrazzo style: Sprinkle tiny chopped bits of colored clay into a base slab, then roll smooth.
- Raised details: Layer small cutouts on top (like a tiny star on a circle) using a bit of water (air-dry) or gentle pressure (polymer).
- Wax seal look: Paint a “seal” circle and add a stamped initial in metallic paint.
Troubleshooting: Fixes for Common Issues
- Ornaments are curling/warping (air-dry): They’re drying unevenly. Flip them after 12–24 hours and dry on a flat surface. Avoid heat vents and direct sun.
- Cracks appear while drying: Clay may be too dry or too thin. Mist lightly with water and smooth early; aim for 1/4 in thickness.
- Stamped letters look messy: Stamping after the surface has dried slightly can drag. Stamp right after cutting, while clay is still soft and smooth.
- Holes are tearing: Hole is too close to the edge or clay is too thin. Move hole down to 3/8 in from the top and keep thickness consistent.
- Paint looks streaky: Use two thin coats instead of one thick coat. A sponge pouncer helps create even coverage.
Common Crafting Mistakes to Avoid
- Skipping thickness guides: Uneven ornaments dry/bake unevenly and are more likely to crack.
- Making ornaments too thin: Anything under 3/16 in (5 mm) is more fragile for party favors.
- Forgetting to flip air-dry pieces: One-sided drying causes warping and longer cure times.
- Sealing too soon: Sealant traps moisture if clay isn’t fully dry, leading to soft spots or cloudiness.
- Overloading with heavy embellishments: Keep add-ons lightweight so the ribbon hole remains strong.
- Not planning personalization time: Names take longer than shapes—budget extra time if you’re making place cards for a large guest list.
FAQ: DIY Clay Ornaments Party Favors
How many ornaments can I make from 1 kg (2.2 lb) of air-dry clay?
Roughly 20–30 ornaments at about 2.5–3 inches wide and 1/4 inch thick. Intricate shapes and thicker designs will reduce yield.
Can these clay ornaments be made ahead of time?
Yes—this is a great make-ahead party project. Make and dry/bake them 1–2 weeks in advance, then seal and store in a dry box with parchment between layers.
What’s better for party favors: air-dry clay or polymer clay?
Air-dry clay is easy and budget-friendly for big batches. Polymer clay is more durable and crisp for fine details. For kids’ parties or favors that may get tossed into bags, polymer clay often holds up better.
How do I keep the names straight when stamping?
Lightly mark a guideline with a toothpick, or press a ruler edge gently into the clay as a baseline. Stamp one letter at a time, pressing straight down with even pressure.
Can kids help make these?
Absolutely. For kid-friendly crafting, pre-roll the clay slabs and let kids cut shapes and add texture. Adults can handle hole punching and baking (if using polymer clay). Use larger stamps and simple designs for the smoothest experience.
Do I have to seal the ornaments?
Sealing is strongly recommended for party favors. A thin seal coat helps protect paint, reduces chipping, and keeps air-dry clay from absorbing moisture.
Make a Set That Feels Like a Whole Party Theme
One of the best things about DIY crafts for parties is how easily they tie everything together. Match ribbon colors to your table settings, stamp the party date on the back, or create a few “extra special” versions for the guest of honor and helpers. These handmade clay ornaments also photograph beautifully on a favor table—instant party decor without extra spending.
If you try this project, make a few test ornaments first to confirm thickness, hole placement, and drying time—then you can confidently batch the rest for your celebration. Your guests will love taking home something made by hand.
Want more DIY party decorations and handmade party favor ideas? Keep exploring fresh, practical projects on smartpartyprep.com and turn your next event into a creative celebration.
More Articles
 Advanced Painted Canvas for Crafters
 How to Install 3rd Party Apps on Roku TV (Without Jailbreaking): The Only Legal, Step-by-Step Method That Actually Works in 2024 — No Developer Mode Confusion, No Failed Sideloading, Just Real Results
 When the Party Is Over Chords: The Only Complete, Beginner-Friendly Guide You’ll Ever Need (No Theory Required — Just Play in 7 Minutes)
 Seasonal Gift Boxes Ideas
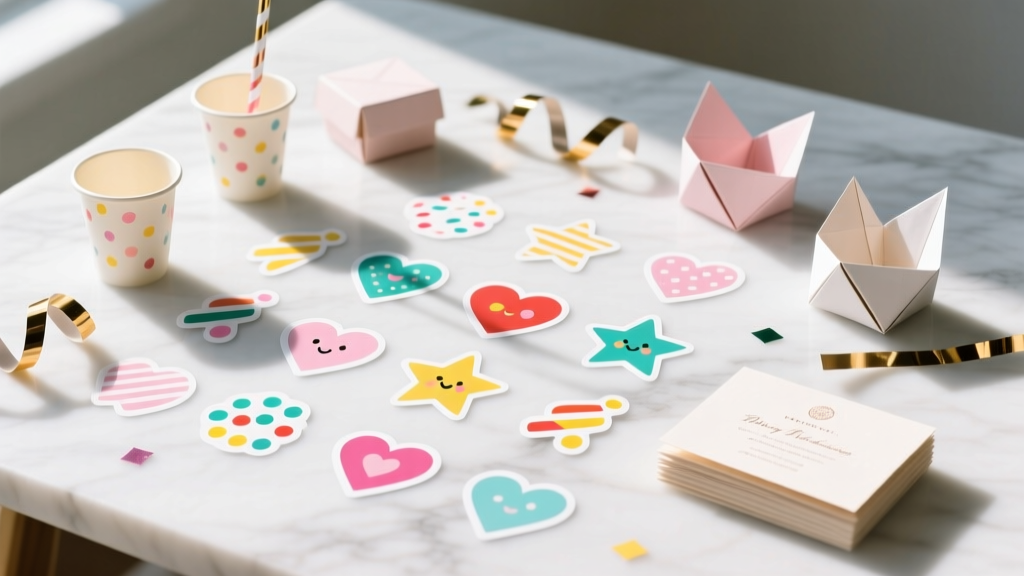 DIY Custom Stickers Party Favors
 25 Creative Painted Canvas Ideas
 Easy Wall Art for Beginners
 Step-by-Step T-Shirts Tutorial
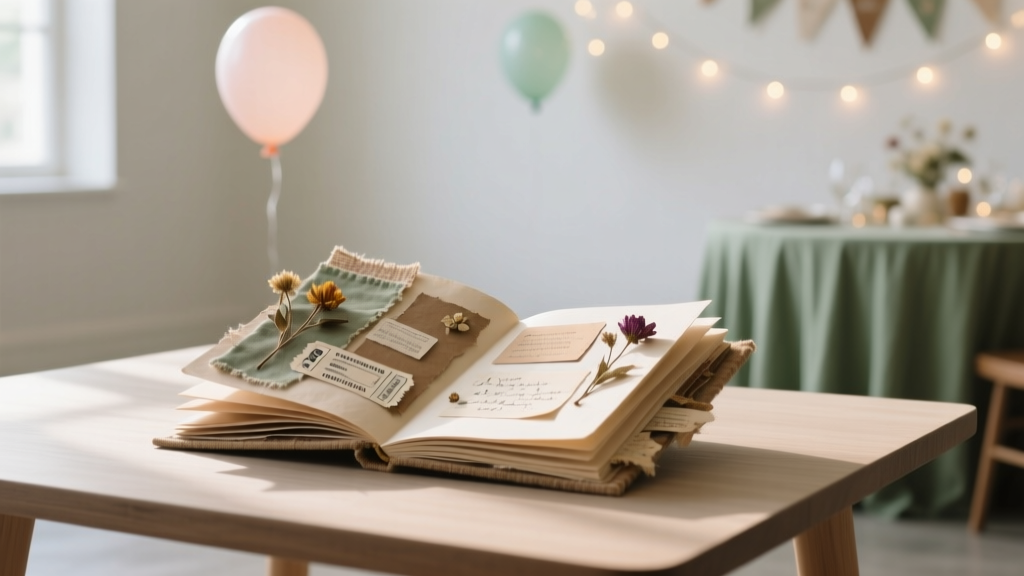 Upcycled Memory Books from Recycled Materials
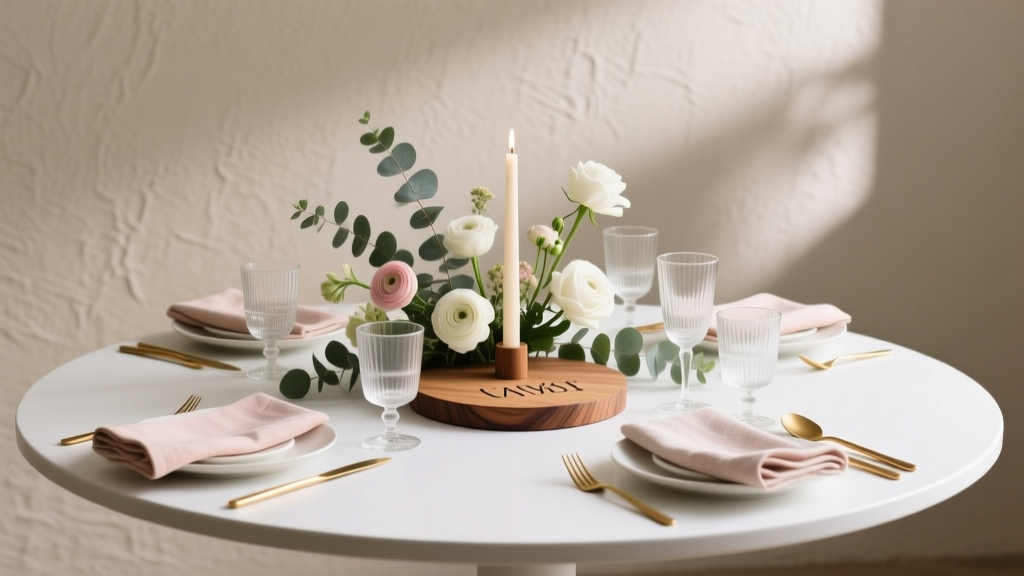 Personalized Centerpieces Gifts