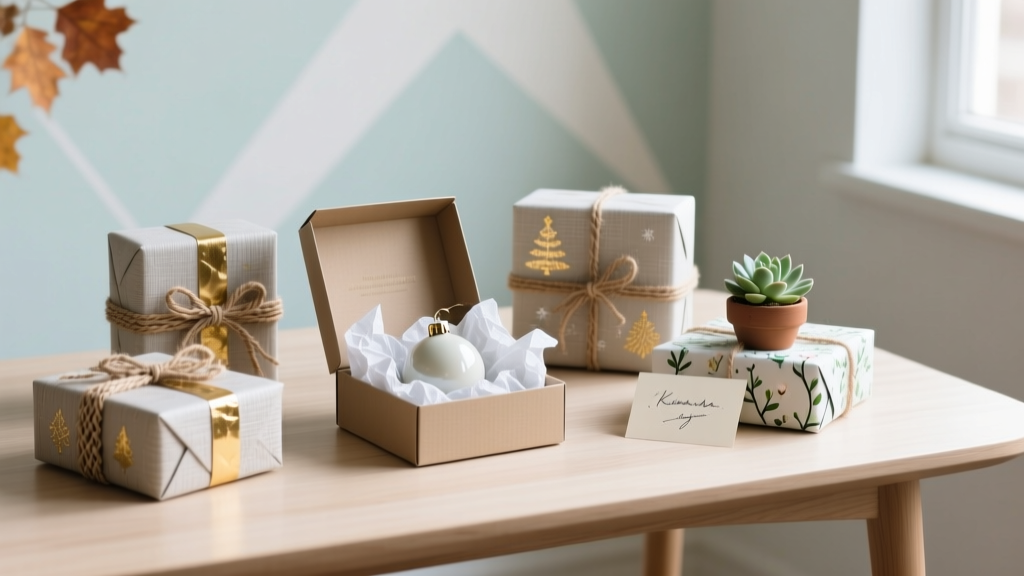
Seasonal Gift Boxes Ideas
Seasonal gift boxes are one of those DIY crafts that feel instantly rewarding: you get a polished, party-ready result without needing a craft room full of fancy supplies. They’re perfect for birthdays, holiday gatherings, baby showers, teacher gifts, and “just because” surprises—plus they double as party decorations when you stack them on a dessert table or entryway console.
Even better, handmade gift boxes are customizable. You can match a theme (winter wonderland, spring garden, summer citrus, fall harvest), coordinate with party colors, and add small personal touches like name tags, wax seals, or mini ornaments. When the wrapping is part of the gift, your presentation becomes an experience.
This guide shares seasonal gift box ideas you can make with common tools, clear measurements, and step-by-step instructions—along with pro tips, variations, and troubleshooting so your finished boxes look crisp, sturdy, and celebration-ready.
Skill Level, Time Estimates, and What You’ll Make
- Skill level: Beginner to Intermediate (advanced upgrades included)
- Time per box: 15–30 minutes (plus drying time if using glue/paint)
- Best for: Party favors, hostess gifts, teacher appreciation, holiday treats, bridal/baby shower favors
- Finished size options:
- Small favor box: 4" x 4" x 4"
- Medium gift box: 6" x 6" x 6"
- Cookie/treat box (rectangular): 8" x 5" x 3"
Materials List (With Product Types + Estimated Costs)
Costs vary by brand and what you already have, but these ranges are realistic for most craft stores or online shops.
Base Supplies (Choose 1 box style)
- Plain kraft gift boxes with lids (4"–8" sizes, pack of 6–12): $10–$25
- Clear-top treat boxes (for cookies/cocoa kits, pack of 10–20): $12–$30
- DIY cardstock boxes (12" x 12" cardstock, 10–20 sheets): $8–$20
Paper + Wrap Options
- Seasonal scrapbook paper (12" x 12", pack): $10–$25
- Solid cardstock (80–100 lb recommended): $8–$18
- Wrapping paper (roll) or kraft paper: $5–$12
Adhesives
- Double-sided tape runner (clean finish): $5–$12
- Strong double-sided tape (1/4"–1/2" wide for corners): $6–$15
- Hot glue gun + glue sticks (for bows/pinecones): $10–$20
- PVA craft glue (paper-to-paper): $3–$8
Tools (Recommended)
- Paper trimmer (for straight, fast cuts): $15–$35
- Precision scissors (detail trims): $5–$15
- Metal ruler (12") + self-healing cutting mat: $15–$40
- Bone folder (crisp folds): $6–$12
- Hole punch (single) or tag punch: $5–$18
- Optional: Craft knife for windows, corner rounder, wax seal kit
Seasonal Embellishments (Mix and Match)
- Ribbon (satin, grosgrain, velvet; 3/8" and 1" widths): $4–$12
- Twine (jute or baker’s twine): $3–$8
- Mini ornaments / bells (winter): $5–$15
- Faux florals (spring): $6–$20
- Citrus slices (dried) or fruit picks (summer): $6–$18
- Pinecones / faux leaves (fall): $4–$12
- Letter stickers or vinyl decals (names/labels): $5–$15
Seasonal Gift Box Ideas (Themes That Work for Parties)
Winter: Cozy Cocoa + Sparkle Box
- Colors: white, silver, navy, red
- Party use: holiday party favors, neighbor gifts, New Year’s dessert table
- Decor elements: velvet ribbon, metallic snowflakes, mini bell charm, faux pine sprig
- Filling ideas: hot cocoa packets, mini marshmallows, peppermint sticks, tea lights (battery)
Spring: Garden Party Favor Box
- Colors: pastel pink, sage, butter yellow, lavender
- Party use: bridal shower, baby shower, Easter brunch, tea party
- Decor elements: floral paper wrap, raffia bow, flower tag, tiny butterfly cutouts
- Filling ideas: seed packets, mini soaps, bath salts, macarons
Summer: Citrus Picnic Treat Box
- Colors: coral, lemon, aqua, white
- Party use: pool party, picnic birthday, backyard BBQ dessert station
- Decor elements: gingham ribbon, “slice” tag, striped straw accent
- Filling ideas: gummies, lemonade mix, sunscreen sample, mini bubbles
Fall: Harvest Thank-You Box
- Colors: rust, mustard, olive, cream
- Party use: Friendsgiving, fall birthday, Halloween treat table (non-spooky version)
- Decor elements: twine wrap, kraft tag, mini pinecone or faux leaf cluster
- Filling ideas: caramel candies, spiced nuts, mini candle, cookie packs
Step-by-Step: Make a Polished Seasonal Gift Box (Works for Any Theme)
This method turns a plain box into a boutique-style party decoration. Choose a box size, then customize with seasonal paper and a statement topper.
Step 1: Pick Your Box Size + Plan Your Layout
- Favor box: 4" cube (great for candy, small gifts)
- Gift box: 6" cube (great for candles, mugs, small toys)
- Rectangular treat box: 8" x 5" x 3" (great for cookies or cocoa kits)
Quick planning tip: Decide where your main decoration will sit—top center (classic), top corner (modern), or wrap-around belly band (clean and easy).
Step 2: Cut Seasonal Wrap Panels (Clean, Crisp Fit)
For a smooth wrapped look, cut panels slightly smaller than each side so you don’t fight the corners.
- For a 6" cube lid: cut a top panel 5 7/8" x 5 7/8"
- For each side panel: measure the side height and width, then cut panels 1/8" smaller on each dimension
Example: If a side is 6" wide and 2" tall, cut 5 7/8" x 1 7/8".
Step 3: Attach Panels (Tape Runner for Flat, Glue for Strong)
- Apply a tape runner around the edges and a few lines through the center.
- Place the panel down gently, then press from the center outward to prevent bubbles.
- Repeat on the lid top and sides (or just do a single statement panel on the top for a minimalist look).
Beginner-friendly option: Skip side panels and add only a top panel + ribbon. It still looks finished with less measuring.
Step 4: Add a Ribbon Wrap (The “Instant Gift” Upgrade)
A classic cross-wrap works for every season and makes your box look party-ready.
- Cut 1" satin or velvet ribbon about 3–4 times the box perimeter.
- Wrap around the box like a present: front-to-back, then side-to-side.
- Keep the ribbon snug but not tight (tight ribbon can crush lighter boxes).
- Tie a bow on top. Trim tails at a 45° angle for a crisp finish.
Tool tip: Use fabric scissors for clean ribbon cuts. For satin, lightly heat-seal ends (carefully) or use Fray Check.
Step 5: Make a Seasonal Topper (Choose One)
Option A: Tag + Mini Bundle (Fastest)
- Cut a tag: 2" x 3.5" (or use a tag punch).
- Punch a hole centered about 1/2" from the top.
- String with twine and add one small element:
- Winter: mini bell or snowflake charm
- Spring: faux flower head
- Summer: tiny citrus slice or paper “lemon”
- Fall: mini leaf + pinecone
Option B: Belly Band (Clean, Modern, Great for Patterns)
- Cut cardstock to 2"–2.5" tall.
- Wrap around the box lid and overlap by 1".
- Secure overlap with strong double-sided tape.
- Add a centered label (e.g., “Thank You,” name, or party date).
Option C: Statement Rosette (Advanced Party Table Look)
- Cut a paper strip: 1.5" x 12" (use two strips for a larger rosette).
- Score every 1/4" and accordion-fold.
- Glue ends to form a ring and press into a rosette.
- Add a center circle (about 1.5"–2") and attach with hot glue.
Step 6: Fill, Cushion, and Close Neatly
- Use crinkle paper shred or tissue to stabilize items.
- If gifting food items, use food-safe bags inside the box.
- Close the lid and do a final alignment check so patterns look straight.
Pro Tips, Variations, and Troubleshooting
Pro Tips for a Store-Bought Finish
- Measure once, template forever: Save a cardstock template for each box size.
- Match sheen levels: Pair metallic paper with satin ribbon; matte paper with twine or velvet.
- Use a bone folder: Crisp folds make DIY gift boxes look professionally made.
- Repeat one element across a set: Same tag shape or same ribbon color keeps party favors cohesive.
Seasonal Variations (Beginner to Advanced)
- Beginner: Plain kraft box + 1 ribbon + simple tag + sticker seal.
- Intermediate: Add patterned panels + layered tags (2–3 layers) + small charm.
- Advanced: Add a window cutout, acetate sheet, embossed label, or wax seal closure.
Troubleshooting
- Paper bubbling or lifting: Use tape runner for flat coverage; press from center out. If humidity is high, switch to stronger double-sided tape at edges.
- Corners look messy: Cut panels 1/8" smaller; avoid wrapping paper directly around tight corners unless it’s very thin.
- Ribbon slides off slick lids: Add a tiny dot of hot glue under the ribbon on the underside of the lid (hidden).
- Box feels flimsy: Reinforce the bottom inside with a cardstock square cut 1/8" smaller than the base.
Common Crafting Mistakes to Avoid
- Skipping dry-fit checks: Always position tags, belly bands, and toppers before committing with glue.
- Using school glue for everything: PVA is great for paper-to-paper, but ribbon and heavy embellishments need hot glue or strong tape.
- Overloading the topper: Too many bulky items can prevent lids from closing or make party favor boxes tip over.
- Not considering transport: If boxes will be stacked for a party decoration display, keep toppers low-profile or removable.
- Ignoring color balance: If your paper is busy, choose a solid ribbon; if your box is plain, let a patterned belly band shine.
FAQ: Seasonal Gift Boxes for DIY Parties and Handmade Gifting
1) What’s the easiest type of seasonal gift box for beginners?
A plain kraft box with a lid plus a cross ribbon wrap and a single tag. It’s forgiving, fast, and looks polished for party favors.
2) How do I make DIY gift boxes sturdier for heavier gifts?
Use 80–100 lb cardstock if building from scratch, reinforce the base with an extra cardstock layer, and choose strong double-sided tape at seams. For very heavy items, start with pre-made rigid gift boxes.
3) Can I prep these handmade gift boxes ahead of a party?
Yes. Assemble and decorate boxes 1–2 weeks ahead. Store them in a dry bin with a lid. Add food items or scented items (candles/soaps) closer to the event so everything stays fresh.
4) What’s a good size for cookie or treat boxes?
A rectangular box around 8" x 5" x 3" works well for cookies, brownies, or a hot cocoa kit. Add parchment or a food-safe bag inside for easy cleanup.
5) How can I match seasonal gift boxes to my party decorations?
Pull two main colors from your party theme, then repeat them across the boxes using ribbon, tags, and one consistent embellishment (like mini bells for winter or faux leaves for fall). This makes your DIY party decorations look coordinated without extra effort.
Wrap-Up: Make a Set and Turn Them Into Party Decor
Seasonal gift boxes are practical, creative, and surprisingly addictive once you start making sets. Try batching 6–12 at a time for party favors, stack a few on a dessert table as handmade decorations, or line them up as place-setting surprises. Pick one simple design, repeat it, and you’ll get that cohesive “styled party” look without stress.
Want more DIY crafts, party-ready handmade projects, and creative decorating ideas? Explore more tutorials and inspiration on smartpartyprep.com.
More Articles
 Personalized Origami Decorations Gifts
 How to Make Beaded Bracelets at Home
 How to Make a Paper Party Hat in Under 12 Minutes (No Glue Gun, No Scissors Required — Just Printer Paper & a Stapler)
 Budget DIY Slime Under $50
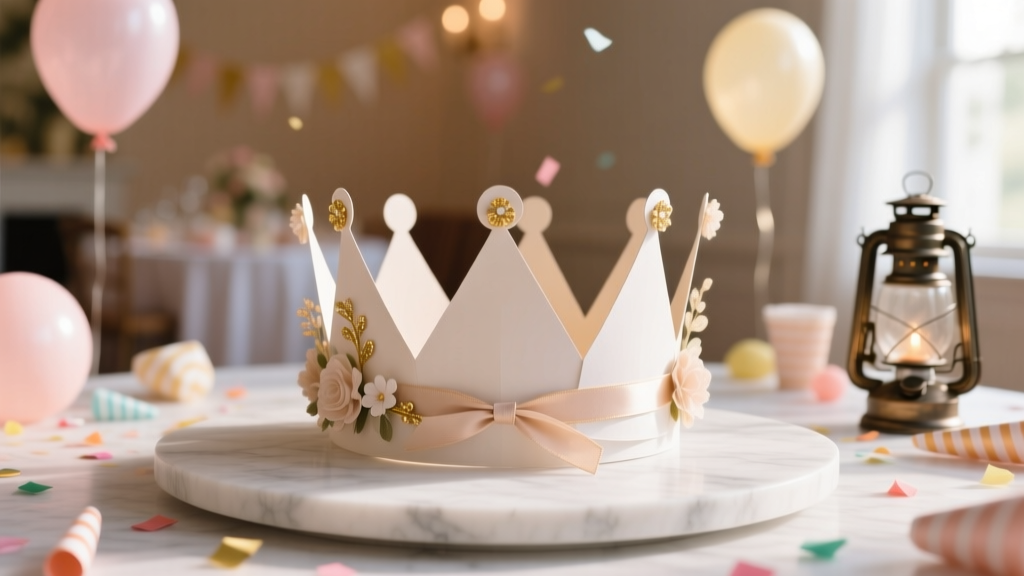 How to Make Crowns at Home
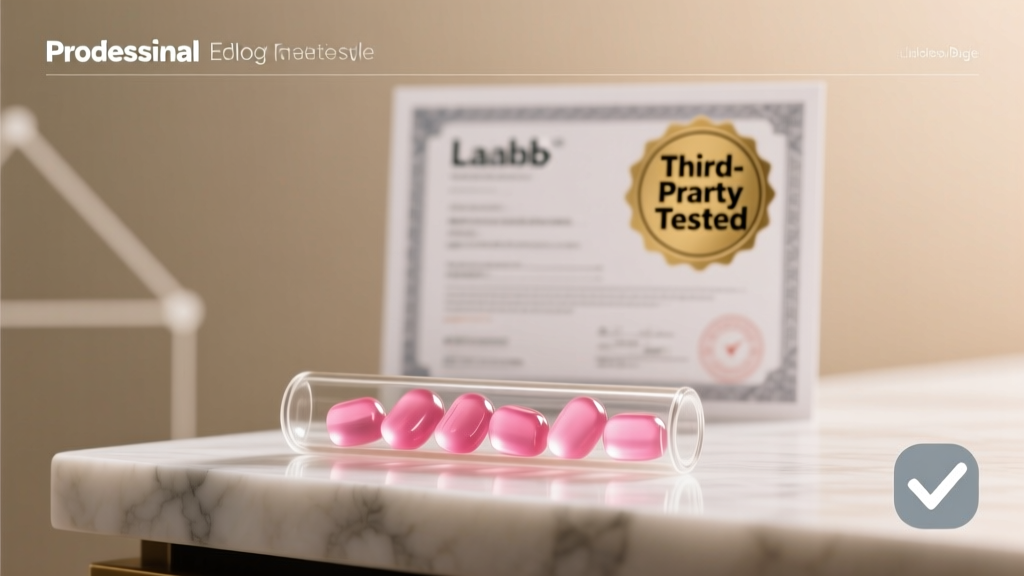 Are Create Creatine Gummies Third Party Tested? Here’s Exactly How to Verify Lab Certification (Without Paying for a Full Batch You Can’t Trust)
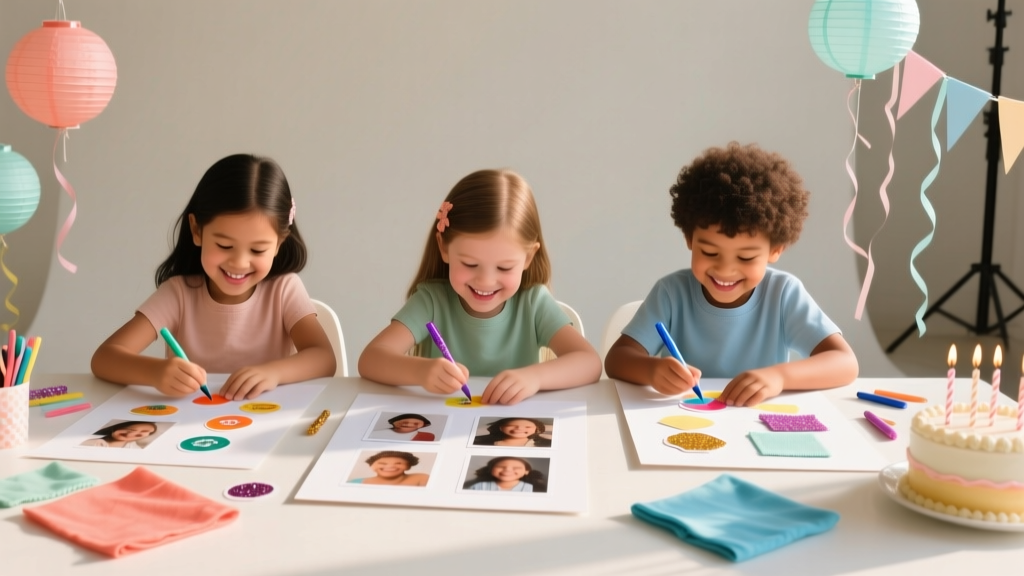 Kids' Craft: Vision Boards
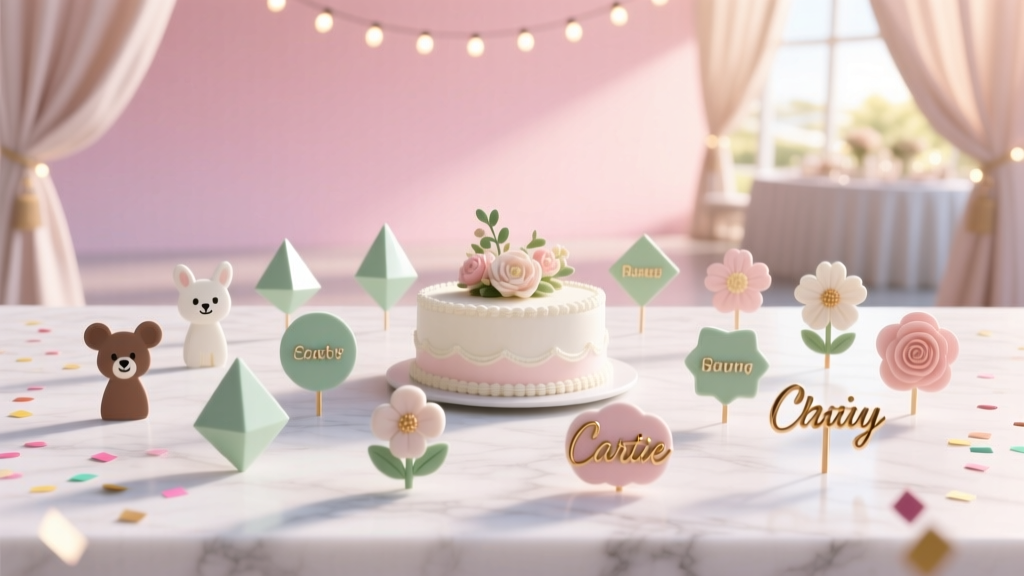 25 Creative Cake Toppers Ideas
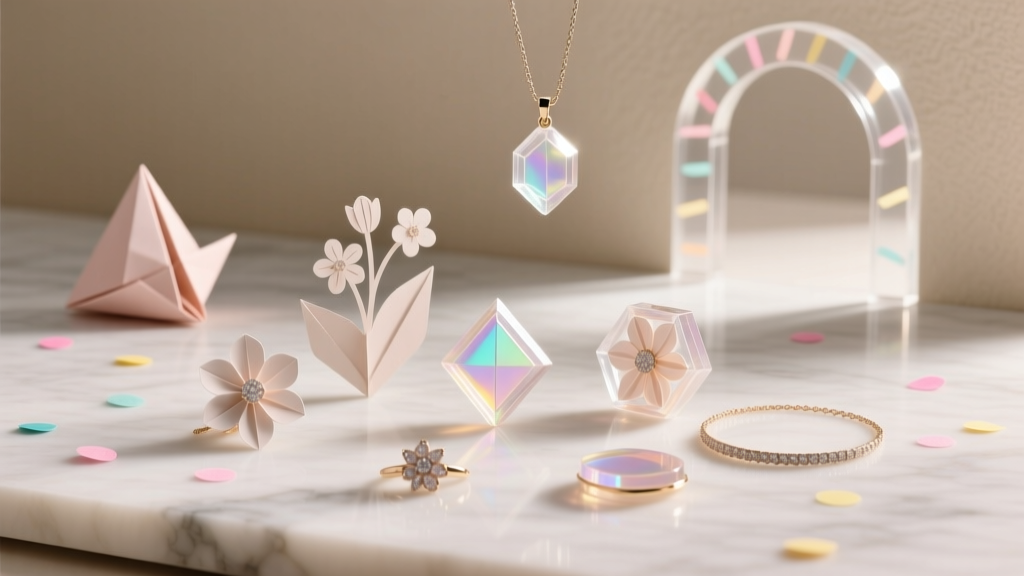 Paper Craft Resin Jewelry Ideas
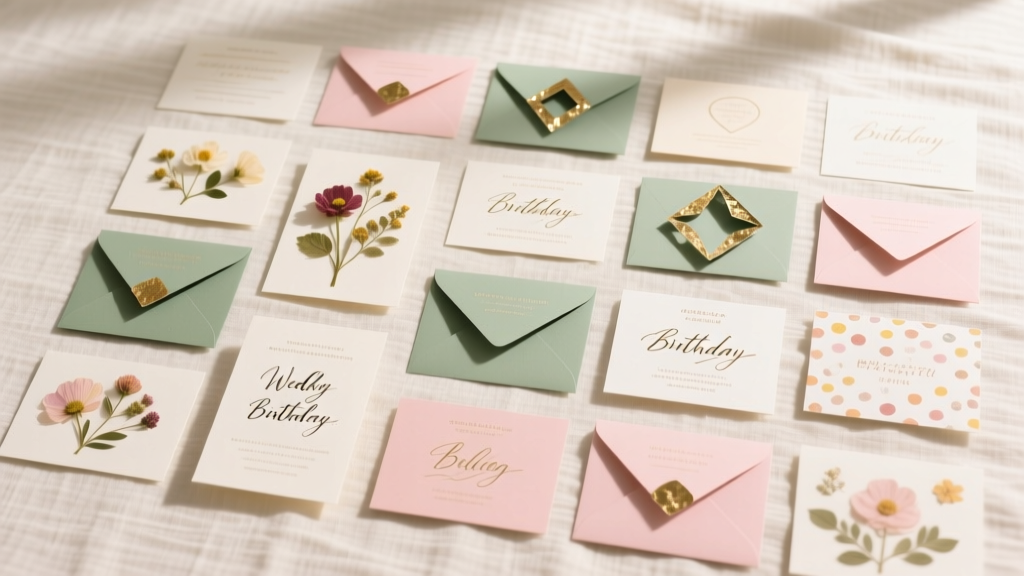 25 Creative Invitation Ideas (That You Can Make at Home)