25 Creative Invitation Ideas (That You Can Make at Home)
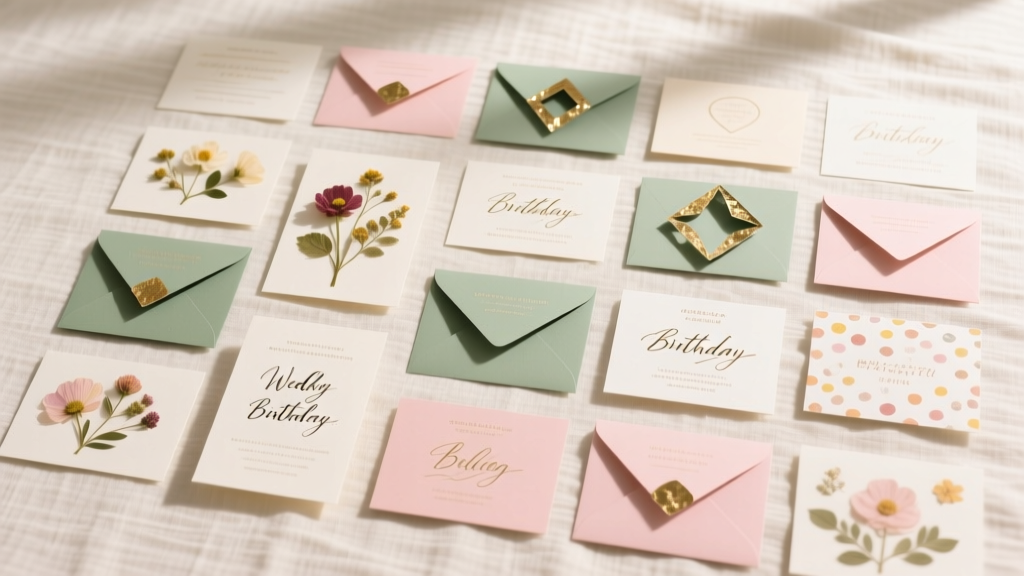
Handmade invitations do more than share the details—they set the mood for the whole celebration. Whether you’re planning a birthday bash, bridal shower, baby shower, graduation, holiday party, or a backyard BBQ, a DIY invitation adds personality guests can feel before the party even starts.
This is one of the most satisfying party-related DIY crafts because it’s quick to customize, easy to batch-produce, and surprisingly budget-friendly. You can keep it beginner-simple with cardstock and markers, or go all-out with layered paper art, wax seals, and interactive elements—without needing a full craft studio.
Below you’ll find 25 creative invitation ideas, plus a practical materials list, step-by-step instructions you can apply to any design, pro tips, troubleshooting, and common crafting mistakes to avoid. Pick one idea or mix-and-match elements to create a totally unique handmade invitation suite.
Quick Project Overview
- Skill level: Beginner to Advanced (each idea is labeled)
- Time estimate: 15–45 minutes for 5 invitations (simple); 60–120 minutes for interactive/layered sets
- Best for: DIY party decorations + handmade party details that match your theme
Materials & Tools (with Estimated Costs)
These are the most useful basics for DIY invitations. You won’t need everything—choose what fits your design.
Paper & Bases
- Cardstock (A4 or 8.5" x 11", 80–110 lb): $8–$15 (50–100 sheets)
- Blank folded cards (A2 size 4.25" x 5.5"): $10–$18 (50 pack)
- Patterned scrapbook paper (12" x 12" pads): $8–$20
- Vellum sheets (translucent): $6–$12 (20–40 sheets)
- Kraft paper or cardstock: $6–$12
Adhesives & Finishing
- Double-sided tape runner: $6–$12
- Foam adhesive dots (for 3D): $4–$8
- Glue stick (acid-free): $2–$5
- Hot glue gun + mini sticks: $10–$20
- Wax seal kit (optional): $12–$30
- Twine/ribbon (1/8" to 3/8" wide): $4–$12
Cutting & Measuring Tools
- Paper trimmer: $15–$35 (faster and cleaner than scissors)
- Metal ruler (12"): $6–$12
- Craft knife + self-healing mat: $10–$25
- Corner rounder punch (optional): $6–$15
- Hole punch (single): $4–$10
- Scoring board or bone folder: $8–$20
Decor & Specialty Supplies
- Stickers, die-cuts, or chipboard shapes: $4–$12
- Alphabet stamps + ink pad: $8–$25
- Paint pens or metallic markers: $6–$15
- Watercolor set + brush: $10–$25
- Confetti (paper or biodegradable): $3–$8
- Small photos (printed 2" x 3" or 4" x 6"): $5–$15 depending on quantity
Envelopes & Mailing
- A2 envelopes (4.375" x 5.75") or A7 (5.25" x 7.25"): $8–$18 (50 pack)
- Address labels or printable sticker paper: $6–$15
- Postage: varies; weigh one finished invite at the post office if you add bulky elements
Standard Sizes & Measurements (So Everything Fits)
- A2 invitation: 4.25" x 5.5" (folds from 8.5" x 5.5" scored at 4.25")
- A7 invitation: 5" x 7" (great for photos and bold designs)
- Typical insert card: 4" x 5.25" (fits inside A2 with a small margin)
- Envelope liner piece: trace inside flap and cut about 1/8" smaller all around
Step-by-Step: How to Make DIY Invitations (Works for Any Idea)
Use this workflow no matter which of the 25 creative invitation ideas you choose.
Step 1: Plan Your Invitation Layout (10–15 minutes)
- Choose size: A2 for easy mailing, A7 for impact.
- Write your party details first:
- Who/What: event name (Birthday Party, Baby Shower, etc.)
- When: day/date/time
- Where: address + helpful notes (gate code, parking)
- RSVP: name/number/email + deadline
- Dress code or theme (optional)
- Decide your vibe: playful, elegant, rustic, bold, minimalist.
Step 2: Cut and Prep the Base (10 minutes)
- Cut cardstock to size using a paper trimmer for clean edges.
- Score folds (for folded invitations) with a scoring board or bone folder.
- Round corners if you want a softer, modern look (optional).
Step 3: Build Layers and Add Decor (15–45 minutes)
- Dry-fit everything first (no glue yet): background paper, text panel, embellishments.
- Attach flat layers with a tape runner for wrinkle-free adhesion.
- Add 3D elements using foam dots (great for banners, icons, photo frames).
- Finish with details: ribbon, twine, stamps, wax seal, small sticker accents.
Step 4: Assemble, Proofread, and Prep for Mailing (10–20 minutes)
- Double-check spelling and date/time on one invitation before batching.
- Place in envelopes and check thickness—chunky embellishments may require extra postage.
- If hand-delivering, you can go bolder with pop-ups, confetti, and dimensional decor.
25 Creative Invitation Ideas (with Skill Level + How-To)
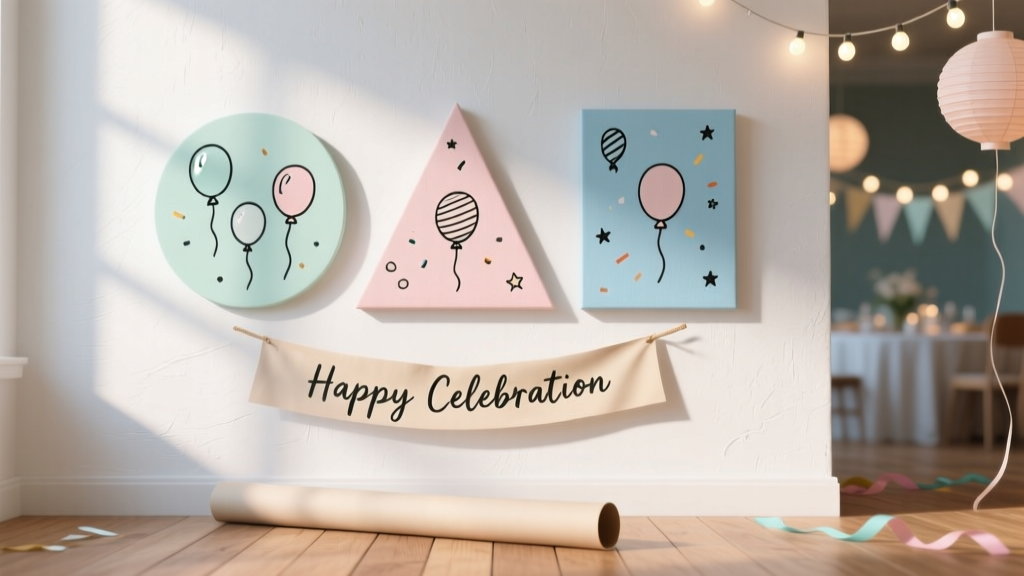
1) Balloon Bouquet Invitation (Beginner | 20 minutes)
Cut 5–7 mini balloons from colored paper (about 1" x 1.5" each). Glue to the top half of an A2 card and draw “strings” with a fine black marker. Add the party text on a white rectangle (3.5" x 4.75").
2) Confetti Pocket Invitation (Intermediate | 40 minutes)
Create a pocket from a 6" x 6" square paper: fold bottom up 2.5", tape sides. Add a 4" x 5.25" info card inside and sprinkle a pinch of flat confetti before sealing.
3) Ticket Stub Invite (Beginner | 25 minutes)
Cut a 2.5" x 7" strip and notch corners with scissors or a corner punch. Add “Admit One” and event details like a concert or movie ticket.
4) Scratch-Off Reveal (Advanced | 60–90 minutes)
Print the key detail (theme, location, or surprise) and cover it with a scratch-off sticker label. Guests scratch to reveal the fun.
5) Photo Strip Invitation (Beginner | 30 minutes)
Print a 2" x 6" photo strip (3–4 images). Mount it on cardstock and add details beside it for a playful, personal vibe.
6) Map & Pin Invitation (Intermediate | 45 minutes)
Use a small printed map snippet (about 3" x 4") as the background. Add a tiny paper pin icon and write the address clearly.
7) Watercolor Wash Invite (Beginner | 35 minutes + dry time)
Paint a soft watercolor wash on thick cardstock (140 lb watercolor paper works best). Once dry, write or print details on top.
8) Vellum Wrap + Wax Seal (Intermediate | 45 minutes)
Wrap a vellum band (about 2" tall) around a 5" x 7" invite and secure with a wax seal. Looks high-end with minimal effort.
9) Envelope Liner “Wow” Invite (Beginner | 30 minutes)
Line the envelope with patterned paper cut 1/8" smaller than the flap shape. It’s a simple upgrade guests notice instantly.
10) Pop-Up Cake Slice (Advanced | 90 minutes)
Create a simple pop-up by folding a 1" tab inside the card and attaching a paper cake slice. Keep it flat enough to close cleanly.
11) Floral Pressed-Look Invitation (Intermediate | 50 minutes)
Use faux pressed flower stickers or rub-ons (mail-friendly) for a botanical design without bulk.
12) “Build-a-Party” Checklist Invite (Beginner | 20 minutes)
Design a checklist: snacks, games, music, dress code. Guests check the vibe instantly—great for casual parties.
13) Puzzle Piece Invitation (Advanced | 90 minutes)
Print the invite design, mount to thin chipboard, and cut into 4–6 large puzzle pieces. Package in a small envelope.
14) Mini Banner Invitation (Beginner | 25 minutes)
String tiny triangle flags (each about 1" wide) across the top using baker’s twine. Add the party title on the banner.
15) Acrylic-Style “Clear” Invite (Intermediate | 60 minutes)
Use transparent printable sheets (or acetate) and print text on them. Pair with a cardstock backing for easy mailing.
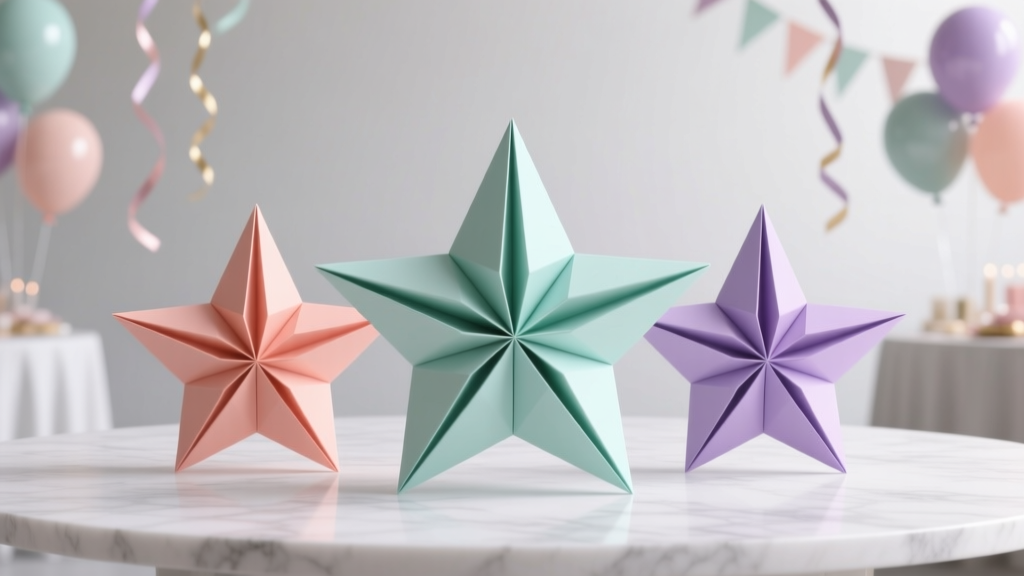
16) Origami Heart Seal Invitation (Intermediate | 45 minutes)
Fold a small origami heart from 3" x 3" paper and use it as the envelope seal.
17) Polaroid Frame Invite (Beginner | 30 minutes)
Cut a “Polaroid” frame from white cardstock (outer 4" x 5", inner window 2.75" x 3.25"). Place a photo or icon inside.
18) Glow Party Neon Invite (Beginner | 25 minutes)
Black cardstock + neon paint pens. Add dots, stars, and bold lettering for an instant glow-party aesthetic.
19) Garden Seed Packet Invite (Intermediate | 60 minutes)
Create a mini “seed packet” envelope and insert the invite. Great for garden parties; you can include real seeds for hand-delivery.
20) Recipe Card Invitation (Beginner | 20 minutes)
Format the party details like a recipe: “Ingredients: friends, cake, music.” Perfect for dinner parties and bridal showers.
21) Passport Invitation (Advanced | 90 minutes)
Fold a mini booklet (3.5" x 5") with “stamps” for date/time/location. Fun for travel-themed parties.
22) Comic Strip Invite (Intermediate | 60 minutes)
Create 3–4 panels showing “You’re invited!” with stick figures or themed characters. Keep text bubbles short and readable.
23) Rainbow Layered Paper Invite (Intermediate | 60 minutes)
Cut 4–6 arches from colored paper and stack with foam dots for dimension. Place the details in the center.
24) Minimalist Monogram Invite (Beginner | 15 minutes)
One bold monogram or number (like “30!”) in the center, with details in a clean block at the bottom. Elegant and fast.
25) QR Code + Handmade Border Invite (Beginner | 25 minutes)
Print a QR code linking to RSVP or party details, then frame it with a hand-drawn border (dots, vines, stars). Super practical for modern parties.
Pro Tips, Variations & Troubleshooting
Pro Tips for Clean, Professional Results
- Batch like a pro: cut all bases first, then all layers, then assemble.
- Use tape runner for flat pieces: it avoids wrinkling compared to liquid glue.
- Keep a 1/4" margin: don’t place text too close to edges, especially on 5" x 7" invites.
- Test one full invite: assemble one complete version before making 20.
Beginner-Friendly Adaptations
- Use pre-cut blank cards to skip measuring.
- Choose stickers over tiny glued embellishments.
- Print the details on plain paper and mount it onto cardstock with a border.
Advanced Variations (If You Love Details)
- Add a vellum overlay with a belly band.
- Create a multi-card suite: main invite + RSVP + details card (all 4" x 5.25" to fit A2).
- Use embossing powder for raised metallic text (requires heat tool).
Troubleshooting
- Paper keeps tearing when folding: score first with a scoring board or bone folder, then fold.
- Layers look crooked: use a ruler grid, or lightly mark center points in pencil before gluing.
- Warping from glue: switch to tape runner; if using liquid, apply tiny dots and let dry under a book.
- Invitation too bulky to mail: remove chunky elements (buttons, thick bows), use flat wax seals, or plan to hand-deliver.
Common Crafting Mistakes to Avoid
- Skipping a prototype: always make one test invitation and one test envelope fit.
- Using thin paper for paint or heavy ink: upgrade to thicker cardstock to prevent bleed-through.
- Over-decorating the text area: the party details must be readable at a glance.
- Forgetting dry time: paint, ink, and glue need time—stacking too soon causes smudges.
- Not checking postage early: dimensional DIY invitations can cost more to mail.
FAQ: DIY Invitations
How far in advance should I make and send handmade invitations?
Aim to finish DIY invitations 2–3 weeks before you want to mail them. Send them 3–6 weeks before the event (earlier for showers, weddings, or destination gatherings).
What’s the easiest invitation size for beginners?
A2 (4.25" x 5.5") is beginner-friendly: easy to cut from 8.5" x 11" cardstock, easy to find envelopes, and usually straightforward to mail.
How do I make my invitations look “store-bought” without fancy machines?
Use a paper trimmer for sharp edges, stick to 2–3 coordinating colors, and add one “hero” detail (vellum wrap, wax seal, or a clean layered border).
What adhesive is best for DIY paper crafts and party invitations?
For paper-to-paper, a tape runner is the cleanest. Use foam dots for dimension. Save hot glue for ribbons and thicker pieces (and use it sparingly).
Can I include confetti or small extras inside the envelope?
Yes—just keep it flat and lightweight. If you add bulky items (charms, thick bows, heavy wax seals), expect potential extra postage or plan to hand-deliver.
What if my handwriting isn’t great?
Print the details and focus your handmade touch on the design: layered paper, borders, stickers, stamps, and a neat envelope liner. You still get a beautiful handmade invitation without the stress.
Ready to Make Your Own?
Pick one idea from this list, gather a small set of supplies, and make a single prototype first—you’ll be amazed how quickly a DIY invitation comes together once your layout is set. Whether you go minimalist or fully interactive, these handmade party invitations are a creative way to turn your event into an experience before guests even arrive.
Happy crafting! Explore more DIY crafts, party decorations, and handmade project ideas at smartpartyprep.com.
More Articles
 Is Organic India Third Party Tested? We Investigated Lab Reports, Certifications & Hidden Gaps—Here’s What Independent Testing *Actually* Reveals About Their Turmeric, Ashwagandha & Triphala
 DIY Centerpieces Party Favors
 How Do You Make a Party Hat in Under 12 Minutes? 5 Foolproof Methods (No Glue Gun Needed) + Printable Templates & Pro Tips to Avoid Lopsided Crowns
 Easy Wall Art for Beginners
 Advanced Origami Decorations for Crafters
 Advanced Invitations for Crafters
 DIY Balloon Arches for Anniversaries
 How to Install 3rd Party Apps on Vizio Smart TV (Without Jailbreaking): A Step-by-Step Guide That Actually Works in 2024 — No Developer Mode Myths, No App Store Limits, Just Real Methods That Unlock Netflix Alternatives, Plex, and More
 How Do I Enable Third Party Cookies on My Mac? The Real Answer (Spoiler: You Can’t — But Here’s What Actually Works in 2024)
 Personalized Centerpieces Gifts