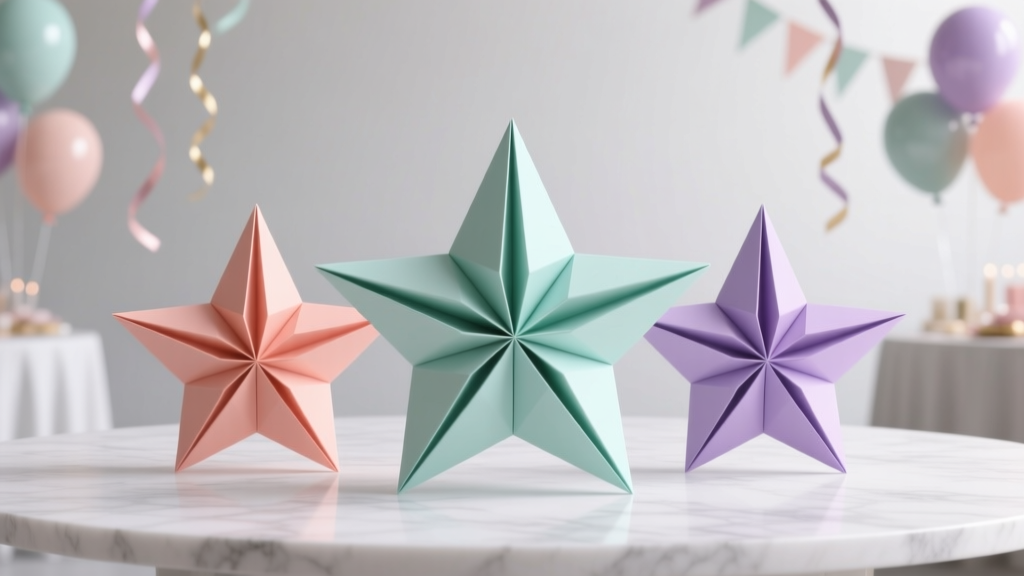
Advanced Origami Decorations for Crafters
When you want party decor that looks high-end but still feels personal, advanced origami hits the sweet spot. With a stack of beautiful paper and a few smart folding techniques, you can create centerpieces, backdrops, hanging installations, and table accents that photograph like a dream—without needing a cutting machine or a giant craft budget.
Even better: origami decorations are lightweight, easy to customize to your party theme, and surprisingly sturdy when folded well. Whether you’re planning a birthday, bridal shower, baby shower, graduation party, or a modern holiday gathering, handmade origami adds that “where did you buy that?” magic—while staying totally DIY.
This guide is written for crafters who already know basic folds (or are willing to practice a bit) and want next-level party decorations. You’ll get clear step-by-step directions, measurements, skill-level notes, and practical tips for getting crisp folds and polished results.
Project Overview: What You’ll Make
- Modular origami starburst medallions (perfect for backdrops and walls)
- Kusudama flower balls (stunning hanging decor or table centerpieces)
- Origami lantern wraps (safe, party-friendly accent lighting when paired with LED lights)
Skill Level + Time Estimates
- Skill level: Intermediate to Advanced (great “stretch project” for confident beginners)
- Time estimate:
- Starburst medallion (12–16 units): 45–75 minutes each
- Kusudama ball (12 flowers): 90–150 minutes
- Lantern wrap (1 wrap): 20–35 minutes
Materials & Tools (with Estimated Costs)
These are tried-and-true supplies for crisp folds and sturdy party decor. Costs vary by brand and location, but these estimates are typical for U.S. craft stores or online.
Paper (Choose 1–2 types)
- Origami paper, 6 in x 6 in (15 cm x 15 cm), 100-sheet pack – $6–$12
- Best for kusudama and modular units
- Look for “double-sided” or “color/white” packs for contrast
- Premium cardstock-weight decorative paper, 8.5 in x 11 in – $8–$15 (for 25–50 sheets)
- Best for large wall medallions and starbursts
- Tip: cardstock is harder to fold; use a bone folder
- Washi or metallic origami paper – $8–$18
- Great for glam party decorations and photo backdrops
- Use sparingly as “accent units”
Adhesives & Assembly
- Glue stick (acid-free) – $2–$5 (clean and wrinkle-resistant)
- Tacky glue – $3–$7 (strong hold for kusudama)
- Double-sided tape – $4–$10 (fast assembly, great for starbursts)
- Mini clothespins or binder clips – $2–$6 (hold pieces while drying)
Tools (Recommended)
- Bone folder – $6–$12 (crisper folds, less hand fatigue)
- Paper trimmer or craft knife + metal ruler – $10–$25 (accurate squares)
- Cutting mat – $8–$20 (protects surfaces)
- Fine-tip pencil – $1–$3 (light marking)
- Needle + strong thread or clear fishing line – $3–$8 (hanging decor)
- LED tealights or micro string lights – $6–$15 (for lantern displays)
Cost Snapshot for One “Party Set”
- 2 starbursts + 1 kusudama ball + 2 lantern wraps: ~$20–$45 (depending on paper choice)
Before You Fold: Measurements & Prep for Professional Results
- Use true squares: For most advanced origami decorations, accuracy matters. Trim printer paper or cardstock into squares (examples below).
- Suggested square sizes:
- 6 in x 6 in: kusudama flowers and modular units
- 8 in x 8 in or 10 in x 10 in: bold starbursts and statement pieces
- Score folds: Run a bone folder along every crease for sharp edges that hold shape.
- Work in batches: Fold all units first, assemble second. It speeds everything up and improves consistency.
Project 1: Modular Origami Starburst Medallion (Backdrop Favorite)
This is a party decor powerhouse: lightweight, dimensional, and easy to mount on walls, balloon garlands, or photo backdrops.
What You’ll Need
- 12–16 square sheets (start with 8 in x 8 in for dramatic size)
- Double-sided tape or glue stick
- Optional: circle of cardstock (5–7 inches wide) as a backing plate
- Optional: ribbon loop for hanging
Step-by-Step: Fold One Starburst Unit (Make 12–16)
- Start with a square sheet. Place it color-side down if using single-sided paper.
- Fold in half horizontally, then unfold. Crease sharply.
- Fold in half vertically, then unfold. You’ll have a “plus sign” crease grid.
- Make a diagonal fold corner-to-corner, then unfold. Repeat for the other diagonal. (You now have 8 crease lines.)
- Create a narrow “kite” shape: Bring the left and right edges toward the center vertical crease, aligning carefully. Press with a bone folder.
- Form the pocket tip: Fold the top point down about 1 inch (2.5 cm), then unfold. Use that crease as a guide.
- Lock the unit: Tuck the top triangular flap into the pocket created by the kite folds (you’ll feel it “catch”). Crease firmly.
- Repeat to create a stack of identical units. Consistency is what makes the medallion look store-bought.
Assemble the Starburst
- Arrange units in a circle. Overlap each unit slightly (about 1/2 inch / 1.3 cm) so the points radiate outward.
- Attach with tape or glue. Add adhesive on overlap areas only. If using glue, clip overlaps for 3–5 minutes to set.
- Reinforce (optional): Add a cardstock circle to the back as a stabilizer—especially if you’re using heavier paper or hanging the piece.
- Add a center accent: A small paper rosette, a metallic circle, or a layered origami flower makes the middle look finished.
Where to Use It (Party Decor Ideas)
- Photo backdrop wall (cluster 3–7 in mixed sizes)
- Behind a dessert table sign
- Over a gift table with ribbon streamers
- As oversized “gift toppers” on wrapped boxes
Project 2: Kusudama Flower Ball (Showstopper Hanging Decoration)
Kusudama balls look intricate because they are—but they’re also very doable when you break them into repeats. You’ll fold identical flower units, glue petals into flowers, then join the flowers into a sphere.
What You’ll Need
- 60 squares of origami paper, 6 in x 6 in (for 12 flowers × 5 petals)
- Tacky glue (or strong glue stick)
- Clips (clothespins or binder clips)
- Thread/fishing line + needle (optional for hanging)
Step-by-Step: Fold One Petal Unit (Make 60)
- Fold the square diagonally to form a triangle (color side out if you want a solid flower).
- Bring the left corner up to the top point to create a smaller diamond-like shape. Crease.
- Repeat with the right corner up to the top point. You now have a symmetrical shape with two flaps.
- Open one flap and squash fold it: Lift the top layer of the left flap, open it slightly, and press it flat into a triangle/diamond (this is the key “3D” move). Repeat on the right flap.
- Fold the outer edges inward on each side to sharpen the petal profile (align to the center line of each squash fold).
- Fold the small triangles down at the top edges to reduce bulk.
- Fold the sides inward along existing creases so the unit becomes a cone-like petal. Press firmly.
Glue Petals into Flowers (12 Flowers Total)
- Make one flower: Apply a thin line of tacky glue along one petal edge and join to the next petal. Repeat until you have 5 petals in a ring.
- Clip and dry: Use clips to hold each seam. Let set for 10–15 minutes.
- Repeat until you have 12 flowers.
Assemble the Kusudama Ball
- Make two half-spheres: Glue 6 flowers together into a dome. Repeat for the second dome.
- Join the domes: Glue the edges where the two halves meet, align carefully, and clip around the seam.
- Hanging option: Thread a needle with strong thread or fishing line. Pass through the top of the ball (between flowers) and tie a secure loop. For extra strength, tie around internal seams rather than piercing paper.
Party Styling Ideas
- Hang 3 kusudama balls at different heights over a cake/dessert table
- Use one as a centerpiece with a low vase and greenery
- Make mini versions (3 in squares) and hang them like a garland
Project 3: Origami Lantern Wrap (Fast Glam for Tables)
This project gives you the look of fancy lanterns using paper folding and a glass jar or LED candle base. It’s a great “batch craft” for party tables.
What You’ll Need
- 1 sheet of decorative paper: 8.5 in x 11 in (or larger for wider jars)
- Double-sided tape
- Glass jar or flameless LED candle (no real flame)
- Optional: vellum strip for a soft glow
Step-by-Step: Accordion Lantern Wrap
- Measure your jar: Wrap paper around the jar to check fit. Trim height to 4–6 inches depending on jar size.
- Mark fold lines: On the long side, mark every 1/2 inch (1.3 cm) for crisp accordion pleats.
- Accordion fold: Fold back-and-forth along marks. Use a bone folder for sharp creases.
- Wrap and secure: Use double-sided tape on the last pleat edge and attach to the first edge to form a cylinder.
- Optional glow diffuser: Tape a strip of vellum inside the wrap before forming the cylinder.
- Add light: Place around a glass jar with an LED tealight inside, or wrap around a flameless pillar candle.
Pro Tips for Crisp, Clean Origami Party Decorations
- Use the right paper for the job: Thin origami paper folds beautifully for kusudama; slightly heavier paper holds starburst points better.
- Pre-crease like a pro: If a model uses repeated folds, do all the creases first, then refine shape.
- Less glue looks better: Apply a thin, even layer. Too much causes wrinkles and warping.
- Keep hands clean and dry: Lotion and snack oils show up fast on light paper.
- Batch craft for parties: Fold all units during one session, assemble during a second session. It’s faster and more consistent.
Beginner-Friendly Adaptations
- Make a half starburst and mount it flat on a wall for an easy “3D look” with fewer units.
- Use larger paper (10 in squares) for starbursts—bigger folds are easier to control.
- Try a kusudama-style flower as a single bloom (5 petals only) and use it on napkin rings, gift tags, or a party banner.
Advanced Variations (When You Want Extra Wow)
- Ombre starbursts: Arrange units from light to dark around the circle.
- Double-layer medallions: Create a second smaller starburst and mount it on top with foam dots.
- Mixed textures: Alternate matte paper with metallic or vellum units for depth.
- Floral kusudama upgrade: Add pearl brads or tiny pom-poms to flower centers (glue lightly).
Troubleshooting: Fixes for Common Origami Issues
- My folds look puffy, not crisp.
- Use a bone folder and slow down on alignment. Crease with firm pressure.
- Try slightly thinner paper if layers stack too thick.
- The starburst won’t lay flat.
- Check that all units are identical size and folded symmetrically.
- Add a cardstock backing circle to stabilize the ring.
- Kusudama flowers keep popping open.
- Use tacky glue and clip seams until fully set (10–15 minutes per flower).
- Make sure glue is on the joining edges only, not the outer petal surface.
- Paper tears at tight folds.
- Score gently with a bone folder (don’t overwork a crease).
- Avoid brittle metallic paper for tight, layered models—use it as accents instead.
Common Crafting Mistakes to Avoid
- Skipping precise cutting: A “nearly square” sheet becomes a wobbly decoration. Trim carefully.
- Mixing paper thickness in one model: Keep thickness consistent for modular builds, or the units won’t interlock evenly.
- Using too much glue: It warps paper and leaves shiny spots—especially on dark colors.
- Rushing assembly: If seams aren’t set, the whole piece can shift out of alignment.
- Using real candles: For party lantern decor, stick with LED lights only.
FAQ: Advanced Origami Decorations for Parties
What paper is best for origami party decorations?
For kusudama and modular pieces, origami paper (60–90 gsm) is easiest. For starburst wall decor, a slightly heavier decorative paper works well, but use a bone folder to keep folds crisp.
How far in advance can I make these decorations?
Most origami decorations can be made 1–4 weeks ahead. Store them in a clean box with tissue paper between layers. Keep away from humidity to prevent soft creases.
How do I hang origami decorations safely?
Use clear fishing line or strong thread. For wall mounting, try removable poster strips on the backer circle (starbursts) or hang from a backdrop stand.
Can I make these if I’m not “good at origami” yet?
Yes. Choose one model, practice with cheap printer paper first, then switch to your decorative paper. Start with the lantern wrap or a smaller starburst before attempting a full kusudama ball.
How do I match origami decor to my party theme?
Pick 2–3 main colors plus one metallic or neutral. Repeat the palette across starbursts, kusudama balls, and table lantern wraps for a cohesive handmade party decoration setup.
What’s the fastest way to make a lot of origami decor for a big event?
Batch your workflow: cut all squares first, fold all units second, then assemble in a final session. Starburst medallions and lantern wraps are the quickest to mass-produce for a DIY party backdrop.
Ready to Fold Something Fabulous?
Advanced origami decorations are one of the most rewarding handmade party projects—each fold builds momentum, and the final result looks detailed and intentional. Start with one starburst or a small kusudama, refine your folds, then scale up into a full DIY party backdrop or hanging installation.
Want more DIY crafts, party decorations, and handmade project ideas? Explore more creative how-tos and smart celebration prep at smartpartyprep.com.
More Articles
 30 Creative Invitations Ideas
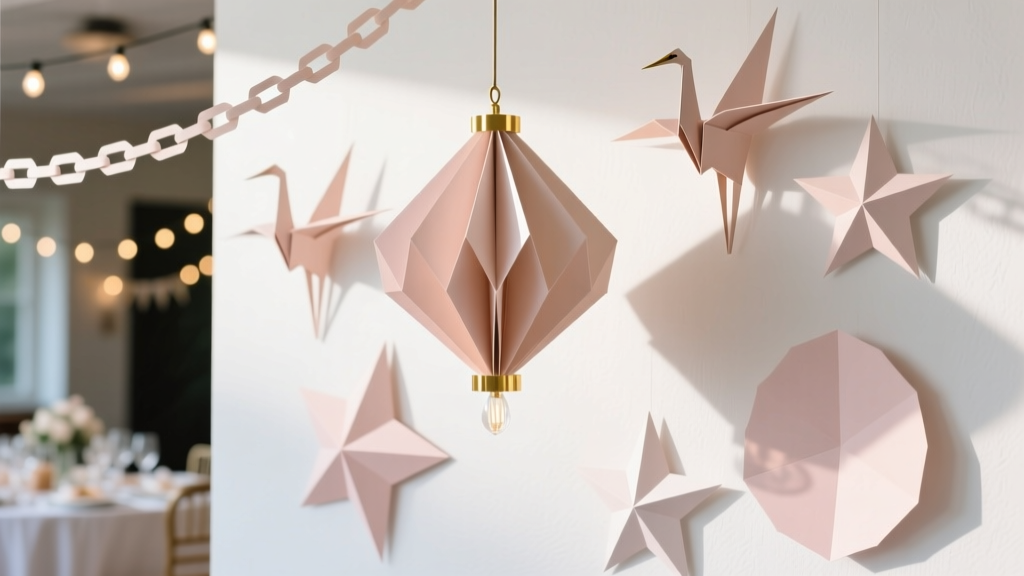 Paper Craft Wall Art Ideas
 How to Allow 3rd Party Cookies on iPad in 2024: A Step-by-Step Fix for Logins, Shopping, and Tracking That *Actually Works* (No Safari Tricks Needed)
 20 Creative Scrapbook Pages Ideas
 DIY Tote Bags for Baby Showers
 How to Unblock 3rd Party Session Cookies in 2024: The Only 5-Step Guide You’ll Need (No Extensions, No Coding, Works on Chrome, Safari & Edge)
 Seasonal Invitations Ideas
 How to Make a Partiful: The 7-Step No-Stress Guide That Turns Craft Panic Into Confident Creativity (Even If You’ve Never Glued Sequins Before)
 How to Unlock Mario Party 8 Characters: The Only Step-by-Step Guide That Actually Works (No Cheats, No Glitches, Just Verified Methods)
 Step-by-Step Paper Flowers Tutorial