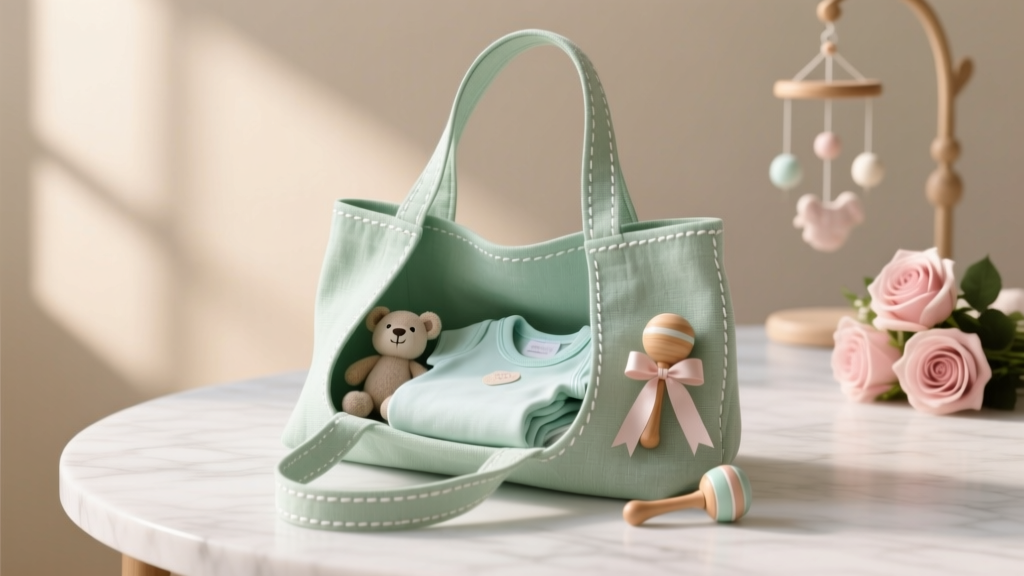
DIY Tote Bags for Baby Showers
Baby showers are full of sweet details—tiny outfits, themed treats, and those “aww” moments when guests feel genuinely celebrated. DIY tote bags fit right into that vibe because they’re both adorable and useful. Instead of disposable favor bags that get tossed, guests leave with a handmade keepsake they’ll actually reuse for errands, library runs, or diaper duty.
This project is especially fun because it can be as simple or as extra as you want. You can make quick, one-color designs in an hour, or create layered, personalized totes that look boutique-worthy. Plus, DIY tote bags for baby showers double as party decorations: stack them at a favor table, hang them from a backdrop stand, or use them as chair markers.
If you love DIY crafts, party decorations, and handmade projects that feel meaningful, you’re going to love this one. Grab a few blank totes, pick a theme, and let’s make something guests will rave about.
Why DIY Tote Bags Work So Well for Baby Showers
- They’re functional favors: Guests can use them immediately (to carry gifts) and later (groceries, beach, craft supplies).
- They double as décor: Coordinated totes instantly make your favor table look styled and intentional.
- They’re customizable: Match the shower theme (woodland, bows, lemons, “Baby in Bloom,” animals, celestial) with colors and graphics.
- They scale easily: Make 8 for an intimate shower or 40+ for a big celebration with assembly-line steps.
Skill Level, Timing, and Project Planning
Skill Level Indicators
- Beginner: Iron-on vinyl (HTV) or a simple stencil + fabric paint
- Intermediate: Multi-layer HTV, two-color stenciling, basic stamping patterns
- Advanced: Screen printing, hand embroidery accents, painted gradients, sewn pockets
Time Estimates (per 10 tote bags)
- Design setup: 20–45 minutes
- Cutting (vinyl or stencils): 30–60 minutes
- Applying designs: 45–90 minutes
- Dry/cure time: 1–24 hours depending on method
Best tip for party prep: Make your totes 2–3 days before the shower so paint can cure and vinyl can fully bond.
Materials List (With Estimated Costs)
Costs vary by brand and region, but these ranges will help you budget. Prices are estimated in USD.
Base Tote Bags
- 100% cotton canvas tote bags (12 oz canvas recommended for durability), size around 14" W x 15" H with 22" handles
Estimated cost: $2.00–$5.00 each (bulk packs are cheaper) - Mini totes (for kids’ tables or mini favors), around 8" W x 9" H
Estimated cost: $1.50–$3.50 each
Design Options (Choose One Main Method)
- Heat Transfer Vinyl (HTV) rolls/sheets (matte or glitter)
Estimated cost: $3–$6 per color for small rolls - Fabric paint (soft-finish recommended) + stencil vinyl or reusable stencils
Estimated cost: $3–$10 per color + $5–$10 for stencil material - Fabric markers (fine tip + brush tip set)
Estimated cost: $8–$20 per set
Tools You’ll Actually Use
- Craft cutting machine (optional but helpful for HTV/stencils) OR sharp craft knife + cutting mat
Estimated cost: $0 if you already own; $10–$25 for basic manual tools - Household iron or heat press (heat press is faster and more consistent)
Estimated cost: $0 if you own an iron; $180–$350 for a mid-range press - Weeding tools (for vinyl), scraper/squeegee for stencils
Estimated cost: $5–$12 - Painter’s tape (low tack) + lint roller
Estimated cost: $3–$10 - Cardstock or thin cardboard inserts (to prevent bleed-through)
Estimated cost: $0–$5
Optional Upgrades (Worth It for Baby Showers)
- Name personalization (extra vinyl or paint color): $3–$8
- Ribbon bows for handles (5/8"–1" wide satin/grosgrain): $4–$10
- Iron-on patches (stars, hearts, animals): $1–$4 each
- Hang tags (2" x 3.5") + twine: $5–$12
Design Sizes and Placement (So They Look Professional)
Before you press or paint anything, decide on consistent placement. Here are easy-to-repeat measurements that photograph beautifully for party décor.
- Standard tote (14" x 15"): Use a design size around 8"–10" wide and 6"–9" tall.
- Top margin: Place the top of your design about 3" down from the top seam of the tote.
- Centering trick: Fold the tote vertically, lightly finger-press the fold, then line up your design center on that crease.
Step-by-Step: DIY Baby Shower Tote Bags (3 Easy Methods)
Method 1: Heat Transfer Vinyl (HTV) Tote Bags (Crisp + Fast)
Best for: Clean lettering, themed icons, and quick batch-making
Tools: Cutting machine (optional), iron/heat press, parchment paper, weeding tool
Estimated time: 8–12 minutes per tote once set up
- Pick a simple baby shower phrase such as:
- “Baby in Bloom”
- “Oh Baby”
- “Little One on the Way”
- “Bundles & Bottles”
- Create your design sized to 9" wide (a safe standard for most totes).
- Mirror your design before cutting HTV.
- Cut and weed the vinyl, removing the extra pieces so only your design remains.
- Prep the tote:
- Lint roll the fabric.
- Insert cardboard inside the tote to keep layers separated.
- Pre-press with heat for 8–10 seconds to remove moisture and wrinkles.
- Position the design about 3" down from the top seam, centered.
- Press:
- With an iron: use cotton setting (no steam), press firmly for 15–25 seconds per section.
- With a heat press: follow vinyl instructions; a common starting point is 305°F for 10–15 seconds (adjust as needed).
- Peel carrier sheet (warm or cool peel depending on your vinyl type).
- Final press for 5–8 seconds with parchment paper on top to seal.
Method 2: Stencil + Fabric Paint (Soft, Handmade, Budget-Friendly)
Best for: Organic themes, watercolor looks, boho baby showers, and custom shapes
Tools: Stencil vinyl or reusable stencil, sponge dauber or stencil brush, fabric paint
Estimated time: 12–18 minutes per tote + dry time
- Cut or choose a stencil (example shapes: baby bottle, onesie, teddy bear, flowers, moons).
- Secure the tote on a flat surface and insert cardboard inside.
- Apply stencil: Smooth it down firmly, especially around thin lines and corners.
- Offload paint: Dab your brush into paint, then blot on scrap paper so the brush is damp—not loaded.
- Stencil with light layers: Tap up and down rather than brushing side-to-side to reduce bleed.
- Carefully lift the stencil while paint is still slightly wet.
- Dry and set: Let dry for at least 1–2 hours. Heat-set if your paint brand recommends it (often iron for 3–5 minutes with a pressing cloth).
Method 3: Fabric Markers (Great for Personalization Stations)
Best for: Small showers, interactive activities, letting guests write wishes for baby
Tools: Fabric markers, ruler, pencil, cardboard insert
Estimated time: 5–15 minutes per tote
- Sketch light guidelines with pencil (example: a box 9" wide x 7" tall for message placement).
- Add a simple header like “Wishes for Baby” or “Advice for Mom & Dad.”
- Let guests write messages in different colors.
- Set ink per marker instructions (often 24 hours to cure, or heat-set with an iron).
Pro Tips for Baby Shower-Worthy Results
- Batch your steps: Cut all vinyl first, then weed all, then press all. This speeds everything up.
- Use a pressing pillow or folded towel inside the tote when pressing near seams—seams can prevent even pressure.
- Keep designs bold: Tiny lettering can disappear on textured canvas. Aim for letter heights of 0.5"–1.25".
- Match your party palette: For cohesive party decorations, repeat 2–3 colors from invitations or the dessert table.
- Turn totes into table styling: Fill each tote with tissue paper and place them around the room like mini décor anchors.
Creative Variations (Beginner to Advanced)
Beginner-Friendly Adaptations
- Single-color “Oh Baby” in white vinyl on natural canvas
- One simple icon (heart, star, rattle) centered and oversized
- Pre-made iron-on patches + a name tag tied to the handle
Intermediate Ideas
- Two-layer vinyl: Outline + fill (example: a teddy bear silhouette with a name)
- Stencil ombré: Blend two fabric paint colors using a dry brush technique
- Handle bows: Tie 12"–14" ribbon pieces into neat bows for a polished shower look
Advanced Upgrades
- Screen printing: Ideal for 30+ guests—fast, consistent, and professional
- Embroidery accent: Add a small stitched heart or baby’s initial near the top corner
- Sewn pocket: Add a 6" x 6" front pocket in a coordinating fabric (great for “Baby in Bloom” florals)
Troubleshooting: Fixes for Common Tote Bag Craft Problems
- Vinyl isn’t sticking: Increase pressure, ensure no steam, and press longer in 5-second increments. Pre-press the tote to remove moisture.
- Vinyl looks wrinkled: Canvas texture can imprint. Use a pressing pillow and avoid overheating. A quick final press with parchment often smooths it.
- Paint bled under the stencil: Use less paint, stipple vertically, and seal stencil edges by pressing firmly. Consider a light “base coat” dab first.
- Design placement is crooked: Use the fold-crease centering trick and measure 3" down from the top seam on both sides before placing.
- Marker lines feathered: Insert thicker cardboard and use slower strokes; some canvas weaves absorb ink quickly.
Common Crafting Mistakes to Avoid
- Skipping the lint roller: Tiny fibers can create bumps under vinyl and ruin crisp edges.
- Using steam on HTV: Steam can prevent proper adhesion—always press dry.
- Pressing over seams without support: Uneven pressure leads to lifting corners later.
- Rushing cure time: Painted or marked totes need time before folding, stacking, or stuffing with favors.
- Choosing super thin tote fabric: Lightweight totes can warp with heat and show bleed-through. Aim for 10–12 oz canvas.
- Overcomplicating the design for a large guest count: For 20+ totes, pick a bold design with minimal weeding and only 1–2 colors.
FAQ: DIY Tote Bags for Baby Showers
How many tote bags should I make for a baby shower?
Make one per guest plus 1–2 extras. If you’re using totes as game prize bags, add 2–4 more depending on how many prizes you plan to give.
Can I wash the tote bags after decorating them?
Yes. For HTV, wait 24–48 hours before washing, then wash inside out on cold and air dry. For fabric paint/markers, follow the product’s cure instructions (often 72 hours for best durability).
What’s the easiest method for beginners with no cutting machine?
Stencil + fabric paint is very beginner-friendly, especially with a pre-made stencil. Fabric markers are also easy if you’re doing a “wishes for baby” activity tote.
What should I put inside the tote bags as baby shower favors?
Popular ideas: mini lotions, lip balm, candles, a cookie bag, a tea sachet, popcorn packs, or a small seed packet for “Baby in Bloom.” Add tissue paper and a tag for a polished party decoration look.
How do I personalize each tote without spending hours?
Keep the main design identical, then add names in a small area (like bottom right) using one vinyl color. Limit names to 2"–3" tall lettering for quick placement.
Is a heat press necessary, or can I use an iron?
An iron works well for DIY tote bags if you apply firm, even pressure and press in sections. A heat press is faster and more consistent for large batches.
Wrap-Up: Make Baby Shower Totes That Guests Will Actually Use
DIY tote bags for baby showers check every box: they’re practical favors, adorable party decorations, and a creative handmade project you can tailor to any theme. Start simple with one-color vinyl or a single stencil, then level up with layered designs, ribbons, and personalized names as you get comfortable.
When you’re ready for your next party craft, explore more DIY favor ideas, handmade decorations, and baby shower projects on smartpartyprep.com.
More Articles
 How to Enable Third Party Cookies in 2024: A Step-by-Step Browser Guide (Chrome, Safari, Firefox, Edge) — Because Yes, Some Sites Still Need Them (and Here’s Exactly How to Do It Safely)
 Budget DIY Photo Booth Props Under $25
 DIY Fabric Bunting for Birthdays
 How to Make Party Photo Booth in Under $40 (No Tech Skills Needed): A Foolproof 5-Step Guide That Guests Actually Love — Plus Free Printable Props & Backdrop Templates
 12 Do It Yourself Birthday Party Decorations That Take Under 30 Minutes Each (No Craft Store Runs, No Glue Gun Stress, Just Real Results You’ll Actually Use)
 25 Creative Painted Canvas Ideas
 How to Make Tie-Dye Shirts at Home
 How to Allow Third Party Cookies on Chrome in 2024: A Step-by-Step Guide That Actually Works (No More 'Blocked' Errors or Broken Logins)
 DIY Resin Jewelry Using Cricut
 DIY Party Hats Using Cricut