
DIY Balloon Arches for Anniversaries
Anniversary parties have a special kind of magic: they’re part celebration, part storytelling, and totally worth dressing up for. A DIY balloon arch instantly turns a living room, backyard, or restaurant corner into a photo-worthy backdrop—without needing a florist budget or a professional event team.
Balloon arches are also one of the most satisfying party decorations to make by hand. You’ll see it come together quickly, you can customize it to match any anniversary theme (classic gold, modern neutrals, bold jewel tones), and you can scale it up or down depending on your space. If you enjoy DIY crafts and handmade party decorations, this project delivers big impact with beginner-friendly steps.
Whether you’re planning a 1st anniversary dinner at home or a 25th anniversary bash, this guide walks you through materials, measurements, step-by-step assembly, and pro-level finishing touches—plus troubleshooting for the most common balloon arch hiccups.
Project Overview: Skill Level, Time, and Best Uses
- Skill level: Beginner to Intermediate (Advanced options included below)
- Hands-on time: 60–120 minutes (depending on size and add-ons)
- Best for: Photo backdrops, dessert tables, entryways, sweetheart table framing, gift table accents
- Typical size range: 6–10 ft wide arches; 7–9 ft tall “half arches”; 5–7 ft garlands
- Indoor vs. outdoor: Both work—outdoor needs heavier anchoring and weather planning
Choose Your Style: Arch Types That Work Great for Anniversaries
1) Garland-Style Arch (Most Beginner-Friendly)
A flexible balloon garland draped into an arch shape. You’ll attach it to a wall, frame, or backdrop stand using hooks or tape.
- Best for: Home parties, dessert tables, photo walls
- Pros: No heavy frame required, easy to adjust
- Cons: Needs attachment points (wall hooks, stand, or backdrop)
2) Full Round Arch (Classic “Walk-Through” Look)
A structured arch on a frame (PVC or a metal arch stand). Great for entrances and big photo moments.
- Best for: Larger parties, venues, outdoor celebrations
- Pros: Stable and dramatic
- Cons: Requires a frame and stronger anchoring
3) Organic Asymmetrical Arch (Trendy and Luxe)
Uses varied balloon sizes clustered in an uneven, natural-looking pattern. Perfect for modern anniversary themes.
- Best for: Milestone anniversaries, elegant setups
- Pros: High-end look, very customizable
- Cons: Needs more balloon sizes and a bit more patience
Materials List (With Product Types + Estimated Costs)
Costs vary by size and brand, but here’s a realistic shopping list for a 7–8 ft balloon arch/garland (fits most homes and party spaces).
Core Supplies
- Latex balloons (5", 10"/11", 12") in 2–4 colors (total 80–130 balloons) — $15–$35
- Recommended: professional-grade or “thick” party balloons for fewer pops
- Anniversary palettes: ivory + gold + champagne, black + gold, blush + rose gold, navy + silver
- Balloon decorating strip (balloon tape) 16 ft — $4–$8
- Hand pump or electric balloon pump — $8–$25
- Tool recommendation: an electric pump saves serious time if inflating 80+ balloons
- Balloon glue dots (for shaping clusters) — $4–$7
- Strong attachment method — choose one:
- Removable wall hooks (Command-style) — $6–$12
- Backdrop stand (adjustable 6–10 ft width) — $35–$80
- Zip ties + fishing line (for frames/stands) — $4–$10
Optional “Anniversary Upgrade” Add-Ons
- Foil number balloons (e.g., “10”, “25”, “50”) — $8–$18
- Metallic confetti balloons (use sparingly) — $6–$12
- Artificial greenery sprigs or faux flowers — $10–$25
- LED micro string lights (warm white) — $8–$15
- Balloon shine spray (for photos) — $8–$14
- Floor weights/sandbags (outdoor or freestanding) — $10–$25
Balloon Count + Sizing Guide (So You Don’t Underbuy)
For an “organic” look, you’ll use multiple sizes. A simple formula: more smaller balloons = fuller, higher-end finish.
- 5–6 ft garland: 60–80 balloons
- 7–8 ft arch/garland: 80–130 balloons
- 9–10 ft arch/garland: 130–180 balloons
Recommended mix for an 8 ft organic anniversary arch:
- 50–70 balloons in 10"/11"
- 20–35 balloons in 12"
- 15–25 balloons in 5" (for filling gaps and making it look “designer”)
Step-by-Step: How to Make a DIY Anniversary Balloon Arch
Step 1: Plan Your Placement and Measure (10–15 minutes)
- Pick your location: behind a dessert table, along a blank wall, over a doorway, or on a backdrop stand.
- Measure your width/height:
- Dessert table framing: aim for 6–7 ft garland length
- Photo backdrop: aim for 7–9 ft garland length
- Full arch frame: common is 7.2 ft (2.2 m) tall
- Decide the “heaviest” side: Organic arches usually look best with one fuller side (top left or top right).
Step 2: Inflate Balloons in Consistent Sizes (25–45 minutes)
Consistent sizing is what makes DIY balloon decorations look polished. If you have a balloon sizer tool, use it; if not, use a quick measuring trick.
- Quick sizing tip: Use a piece of string cut to 10" and 12" as a guide, or measure against a ruler on the table.
- Inflate most balloons to 10–11" for a tight, full look.
- Inflate a smaller batch to 12" to create “feature” balloons.
- Inflate the 5" balloons last (they’re easiest to place during shaping).
- Don’t overinflate: Leave balloons slightly soft so they’re less likely to pop during assembly.
Step 3: Build the Base Using a Balloon Decorating Strip (20–35 minutes)
- Lay your balloon strip out straight (start with 12–16 ft for a typical arch and trim later).
- Tie each balloon with a tight knot.
- Insert the balloon knot into the holes of the strip, alternating colors for a balanced pattern.
- Every 6–10 balloons, step back and check your color distribution.
Beginner-friendly pattern idea: 2 neutrals (ivory/champagne) + 1 metallic (gold) + 1 accent (blush or black) mixed evenly.
Step 4: Shape It into an Arch and Attach Securely (10–25 minutes)
How you attach depends on your setup style.
Option A: Wall + Hooks (Best for indoor parties)
- Place 2–3 removable hooks where the arch will start, peak, and end.
- Tie fishing line or sturdy string to the strip ends.
- Hang the garland, then adjust the curve until it looks natural.
Option B: Backdrop Stand (Most flexible and renter-friendly)
- Build the stand to 6–8 ft wide and 6–7 ft tall.
- Use zip ties to secure the garland to the top bar at multiple points.
- Let one side “cascade” lower for a trendy asymmetrical anniversary balloon arch.
Option C: Freestanding Arch Frame (Best for outdoors)
- Anchor the base with sandbags or water weights (at least 10–20 lb per side if breezy).
- Zip-tie the garland to the frame every 8–12 inches.
Step 5: Make It Look Organic (15–30 minutes)
This is where your handmade decoration goes from “balloons on a strip” to “event decor.”
- Add larger 12" balloons to create focal points (cluster them on the fuller side).
- Use glue dots to tuck 5" balloons into visible gaps.
- Rotate balloons so knots face inward or backward when possible.
- Add a few metallic or confetti balloons as highlights (not everywhere—think sparkle accents).
Step 6: Add Anniversary Details (5–20 minutes)
- Attach foil numbers (like “10” or “25”) near the center or slightly off-center.
- Weave warm white micro lights through the arch for evening parties.
- Tuck faux greenery near the “peak” and at one end for a romantic, styled finish.
Pro Tips for a Professional-Looking Balloon Arch
- Build it the day of (best): Latex balloons look freshest within 8–24 hours, especially indoors.
- Double-stuff for richer color: Put a darker balloon inside a lighter one before inflating (great for blush, sage, and dusty blue).
- Use balloon shine strategically: Spray lightly and wipe with a microfiber cloth for photo-ready gloss.
- Keep a “repair kit” nearby: extra balloons in every color, glue dots, scissors, and a hand pump.
- Step back often: Check shape from 6–10 feet away—the camera sees what you miss up close.
Creative Variations (Beginner-Friendly and Advanced)
Beginner-Friendly Adaptations
- Mini arch for a cake table: Make a 4–5 ft garland and attach it to a foam board or small stand.
- Two “columns” instead of an arch: Place matching garlands on both sides of a table for symmetry without the curve.
- Single-color elegance: All ivory or all black with 5" fillers looks modern and classy.
Advanced Variations (High-End Look)
- Layered arch: Build two garlands (one 6 ft, one 8 ft) and overlap them for extra depth.
- Floral cluster moments: Add 3–5 faux blooms grouped together (instead of scattering) for a styled “designer” effect.
- Balloon mosaic add-on: Create a small “LOVE” or number panel next to the arch for a milestone anniversary.
Troubleshooting: Quick Fixes for Common Problems
- The arch looks sparse: Add 5" balloons with glue dots, especially where you can see the strip.
- Colors look uneven: Pop in a few balloons of the underrepresented color in the empty pockets of the strip.
- The arch won’t hold its curve: Add one more attachment point at the “peak,” or tighten the fishing line.
- Balloons keep popping while tying: Slightly underinflate and switch to thicker, professional-grade latex.
- Outdoor wind is pulling it sideways: Add heavier weights, more zip ties, and avoid placing the arch where wind funnels (near corners or gates).
Common Crafting Mistakes to Avoid
- Buying exactly the balloon count you think you need: Always purchase 10–20% extra for popping and last-minute adjustments.
- Overinflating for “bigger impact”: Overinflated balloons pop more easily and look uneven.
- Skipping size variation: One size can look flat; adding 5" balloons instantly upgrades the finish.
- Using weak tape on textured walls: For reliable hanging, use removable hooks, fishing line, or a backdrop stand.
- Waiting too long to assemble: If you build 2–3 days early, latex balloons can oxidize (turn matte) and shrink.
- Forgetting the photo angle: Position the arch where lighting is good and clutter is minimized behind it.
FAQ: DIY Balloon Arches for Anniversary Parties
How far in advance can I make a balloon arch?
For the freshest look, assemble it the same day or the night before. If you must prep earlier, inflate balloons and store them in large trash bags indoors, then assemble within 24 hours of the event.
Do I need helium for a balloon arch?
No—most DIY balloon arches use air-filled latex balloons. They’re cheaper, last longer, and are easier to control. Helium is typically reserved for floating bouquets.
What size balloons are best for an organic arch?
A mix works best: 10"/11" as your main size, 12" for feature balloons, and 5" for filling gaps. This combination gives that full, professional party decoration look.
How do I keep balloons from popping while I work?
Underinflate slightly, avoid sharp jewelry or rough surfaces, and keep balloons away from heat, direct sun, and textured ceilings. Professional-grade latex balloons also make a big difference.
Can I make a balloon arch in an apartment or small space?
Yes! Make a 5–6 ft garland and attach it to a removable wall hook setup, or use a compact backdrop stand behind a small table. Smaller arches still look amazing in photos.
What’s the easiest anniversary color palette that looks expensive?
Try ivory + champagne + gold with a few 5" fillers. It photographs beautifully, matches most party themes, and feels timeless for anniversaries.
Wrap-Up: Your Anniversary Deserves a Handmade Wow Moment
A DIY balloon arch is one of those creative projects that pays off fast—guests notice it immediately, photos look more polished, and you get to say, “I made that.” Start with a simple garland-style arch, keep your balloon sizes consistent, and use small balloons to fill gaps for that professional finish.
If you try this for your next celebration, make it your own: add milestone numbers, greenery, lights, or a bold color accent that reflects the couple’s story. For more DIY crafts, party decorations, and handmade celebration ideas, explore more projects on smartpartyprep.com.
More Articles
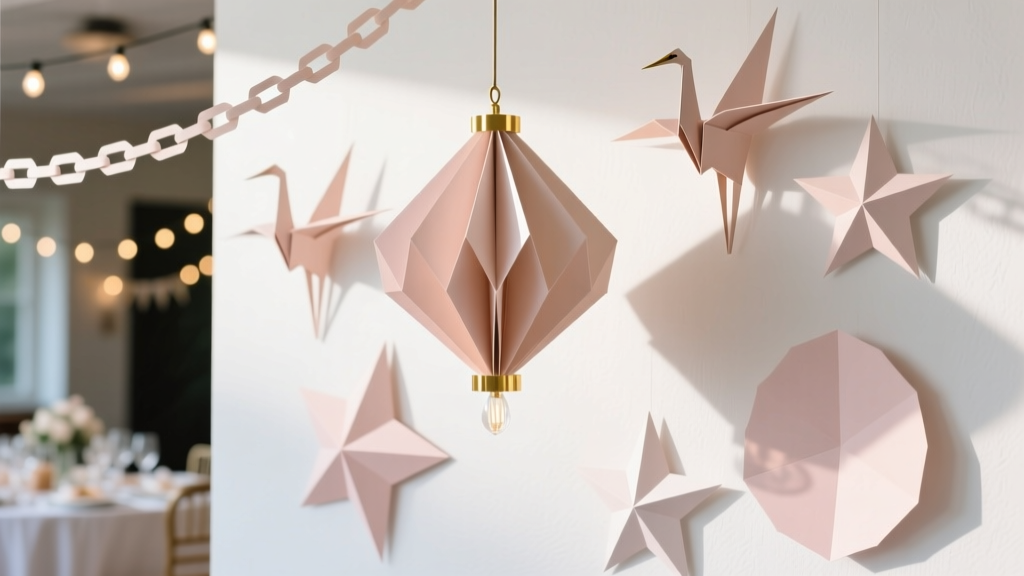
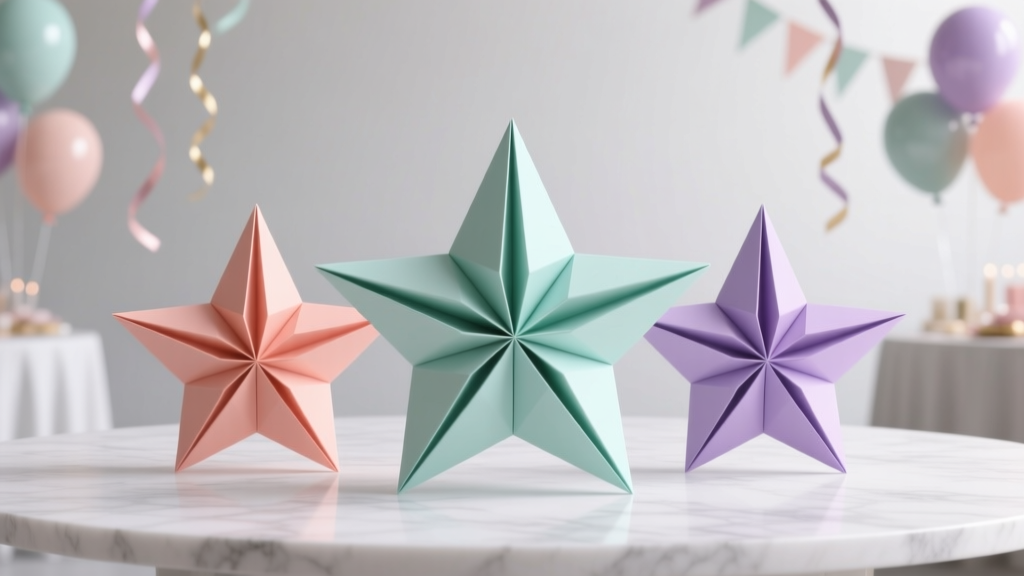 Advanced Origami Decorations for Crafters
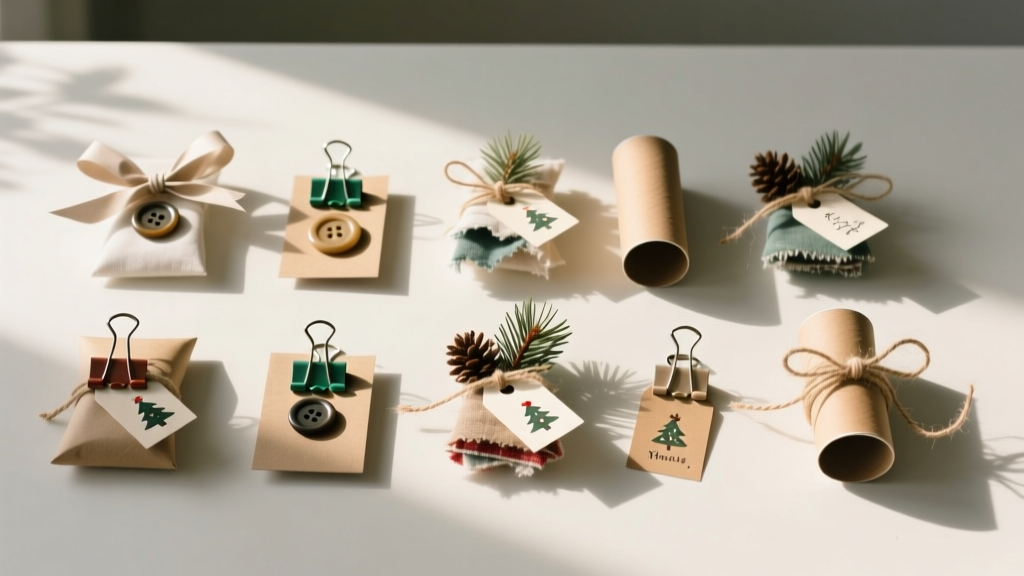 12 Do It Yourself Christmas Party Favors That Actually Impress Guests (No Craft Store Run Required — Just What’s in Your Junk Drawer + 20 Minutes)
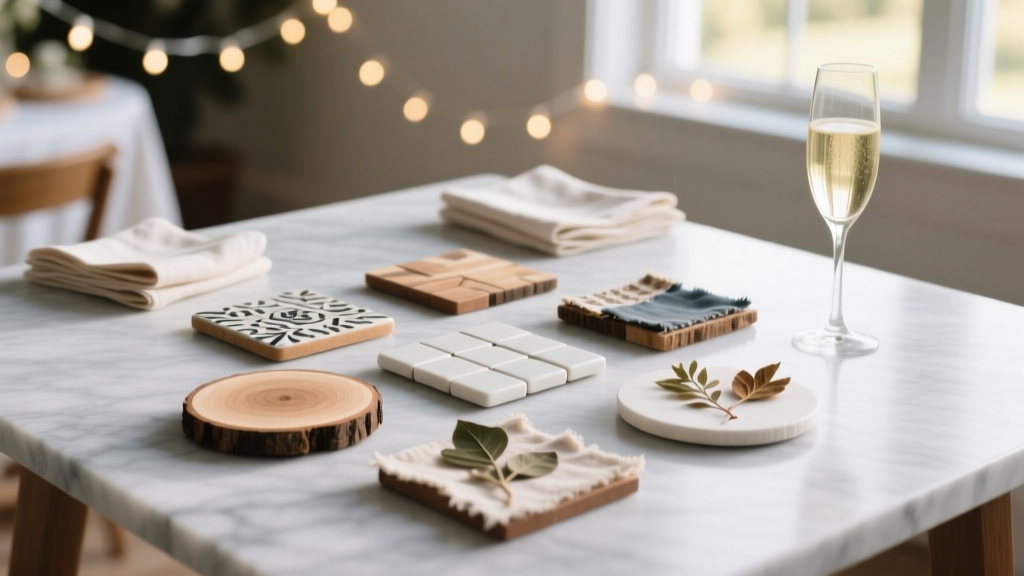 Budget DIY Coasters Under $50
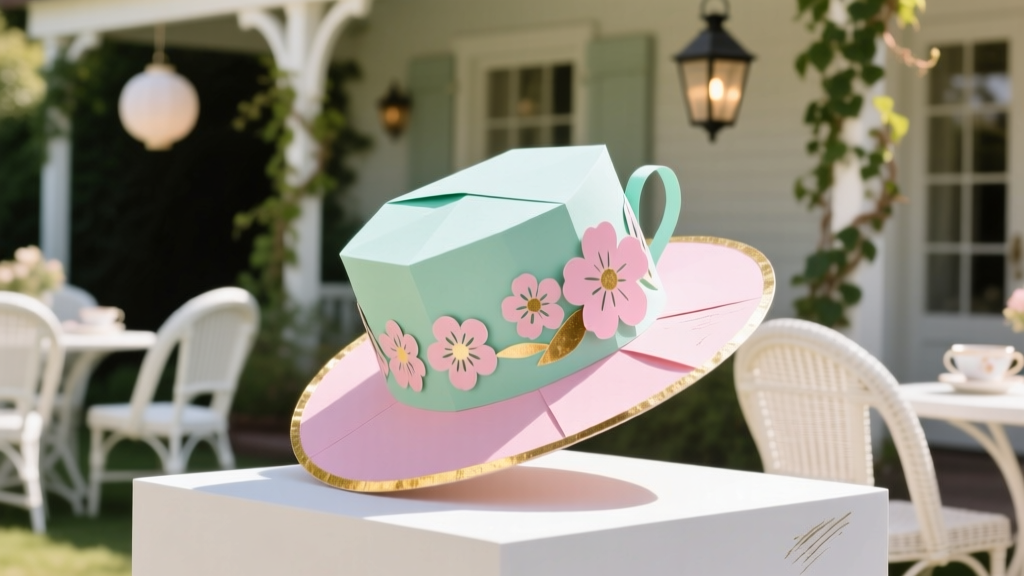 How to Make a Tea Party Hat in Under 45 Minutes (No Sewing, No Fancy Tools—Just Paper, Glue & Joy!)
 Modern Table Runners Designs
 Paper Craft Wall Art Ideas
 DIY Mugs for Home Decor
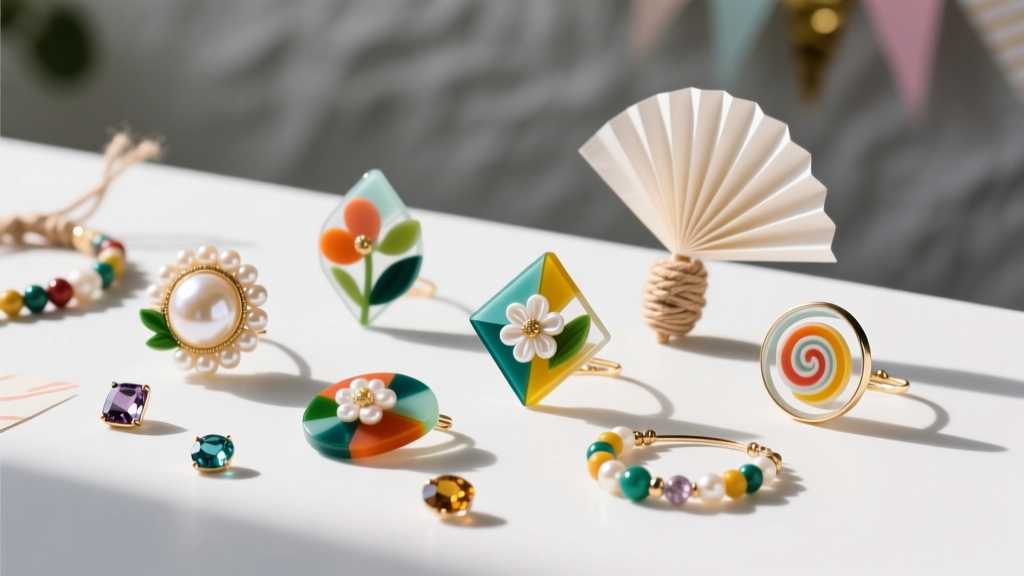 Budget DIY Resin Jewelry Under $15
 Is Nature's Truth 3rd Party Tested? We Investigated Every Batch Report, Lab Certificate, and Transparency Gap So You Don’t Have to Waste Time—or Risk Your Craft Projects on Unverified 'Natural' Claims
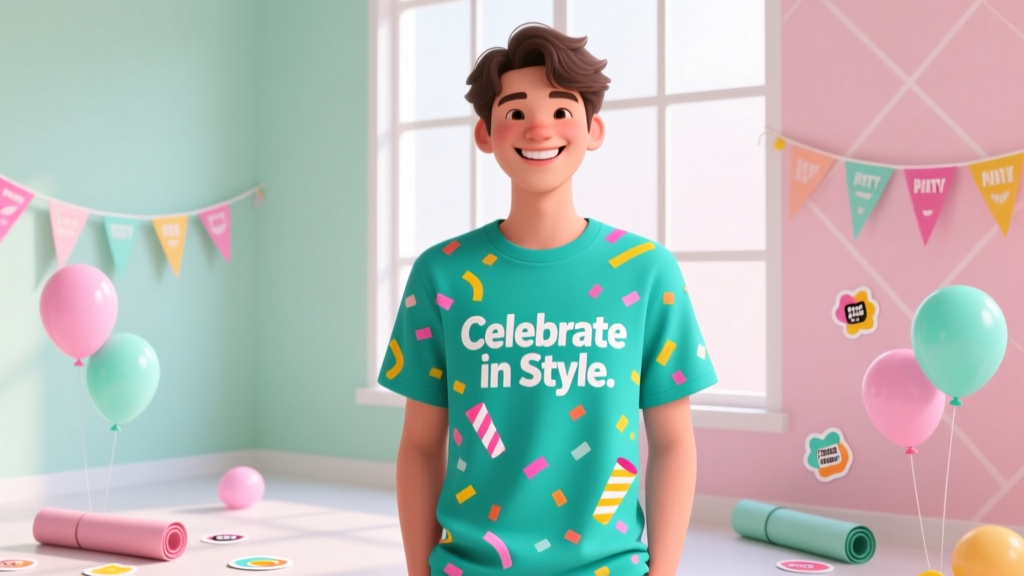 How to Make T-Shirts at Home