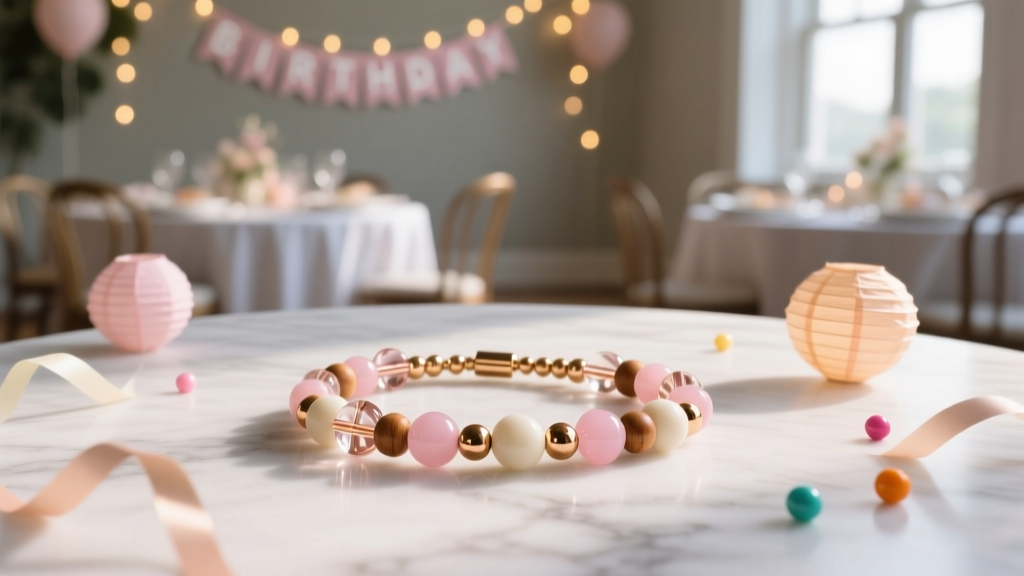
How to Make Beaded Bracelets at Home
Beaded bracelets are one of those DIY crafts that feel instantly rewarding: you pick colors you love, string them together, and suddenly you’ve made something wearable, giftable, and totally party-ready. Whether you’re prepping for a birthday bash, bridal shower, sleepover, or a “make-your-own jewelry” craft table, handmade bracelets keep guests busy and happy—and everyone leaves with a keepsake.
Even better, this project scales beautifully. You can make one simple stretchy bracelet in under 15 minutes, or create a whole coordinated set of party bracelets (think: matching colors for a theme, initials for place cards, or glow-in-the-dark beads for a nighttime celebration). It’s a budget-friendly handmade project, beginner-friendly with lots of creative upgrades for advanced crafters.
Grab your beads, pick a palette, and let’s turn your kitchen table into a mini DIY bracelet bar.
Project Overview: Skill Level, Time, and Best Uses
- Skill level: Beginner (stretch bracelets) to Intermediate/Advanced (crimped clasps, patterns, layered designs)
- Time estimate:
- Simple stretchy bracelet: 10–20 minutes
- Clasp bracelet with crimp beads: 25–45 minutes
- Party batch (10–12 bracelets): 1.5–3 hours (assembly-line style)
- Great for: DIY party crafts, handmade party favors, friendship bracelets, stocking stuffers, bridal shower activities, kids’ craft tables (with age-appropriate materials)
Materials & Tools (With Estimated Costs)
Costs vary by bead type and quantity, but you can build a solid starter kit without overspending. Below are common, easy-to-find product types and price ranges.
Beads (Choose One or Mix)
- Pony beads (6x9mm): Best for kids and bold party colors. $3–$8 per 500–1,000 pack
- Glass seed beads (size 6/0 or 8/0): Great for patterns and a polished look. $4–$15 per set of colors
- Clay heishi beads (6mm): Trendy “stacked” bracelets, easy and colorful. $6–$18 per assorted box
- Acrylic pearl beads (4–8mm): Perfect for bridal showers and elegant themes. $4–$10 per assortment
- Letter beads (7mm cubes or rounds): Names, initials, party words. $5–$12 per set
- Accent beads: Metallic spacers, heart beads, star beads, charms. $3–$12
Stringing Material (Pick Based on Style)
- Stretch cord (0.7–1.0mm clear elastic): Easiest for beginners. $4–$10 per spool
- Elastic beading cord (fabric-covered): Slightly thicker, strong grip. $5–$12
- Nylon beading thread (for seed beads): Great for detailed patterns; use with a clasp or sliding knot. $3–$8
- Beading wire (0.014–0.018 in): Best for clasps and a professional finish. $6–$15
Findings (Needed for Clasp Bracelets)
- Crimp beads or crimp tubes: $3–$8
- Lobster clasp + jump rings: $4–$10
- Crimp covers (optional, for a clean look): $3–$7
Tools (Recommended)
- Beading scissors (or sharp craft scissors): $3–$10
- Tape measure or soft measuring tape: $2–$6
- Beading needles (size 10–12 for seed beads): $2–$6
- Crimping pliers (for beading wire): $8–$18
- Needle-nose pliers (jump rings): $6–$15
- Bead mat or towel (stops rolling): $3–$10
- Optional: bead spinner (for seed beads), jewelry glue (for knots), organizer trays
Choosing Bracelet Size (Measurements That Actually Fit)
Getting the length right is the difference between “comfy favorite” and “never worn.” Use these quick guidelines:
- Measure the wrist: Wrap a measuring tape around the wrist where the bracelet will sit.
- Add ease:
- Stretch bracelets: add 0.25–0.5 in (0.6–1.3 cm)
- Clasp bracelets: add 0.5–1 in (1.3–2.5 cm)
Common Sizes
- Kids (5–8 years): 5.5–6 in (14–15.2 cm)
- Teens/Small adult: 6.5–7 in (16.5–17.8 cm)
- Average adult: 7–7.5 in (17.8–19 cm)
- Large adult: 8 in (20.3 cm)
Party tip: If you’re making bracelets as DIY party favors, aim for a flexible fit by using stretch cord and avoiding overly rigid bead layouts.
Step-by-Step: Easy Stretch Beaded Bracelet (Beginner Favorite)
This is the best “first bracelet” method and the easiest to teach at a party craft station.
What You’ll Use
- Stretch cord: 0.8mm (good all-around size)
- Beads: pony beads, heishi, pearls, or a mix
- Scissors
- Bead mat/towel
- Optional: clear jewelry glue (tiny dot)
Steps
- Cut cord: Cut a piece of stretch cord 10–12 in (25–30 cm) for a standard adult bracelet. For kids, 8–10 in (20–25 cm) often works. Extra length makes tying knots easier.
- Pre-stretch the cord: Gently pull the cord lengthwise a few times. This helps reduce looseness later.
- Stopper one end: Tape one end to the table or clip it with a binder clip so beads don’t slide off.
- String your beads: Add beads in your chosen pattern until the bracelet fits your target size. Test by wrapping it around your wrist (keep a bit of slack for tying).
- Check the fit: The bracelet should slide on comfortably but not droop. If it’s too tight, remove a bead or add smaller spacer beads for fine-tuning.
- Tie a secure knot: Use a double overhand knot:
- Cross ends and tie once.
- Tie a second time, pulling firmly but not so hard that the cord snaps.
- Optional: tie a third time for extra security.
- Optional glue: Add a tiny dot of jewelry glue on the knot (avoid soaking the cord). Let dry.
- Hide the knot: If your beads have large enough holes (pony beads or some pearls), gently slide the knot into the nearest bead.
- Trim ends: Cut cord tails to about 1/8 in (3 mm). If you used glue, wait until fully dry.
Step-by-Step: Clasp Beaded Bracelet (More “Jewelry-Like” Finish)
If you want bracelets that feel like boutique jewelry—great for bridal shower favors, themed party outfits, or handmade gifts—use beading wire plus a clasp.
What You’ll Use
- Beading wire: 0.014–0.018 in (choose thicker for heavier beads)
- Crimp beads/tubes
- Lobster clasp + jump ring
- Crimping pliers (recommended)
- Needle-nose pliers
Steps
- Cut wire: Cut wire about 4–6 in (10–15 cm) longer than your bracelet size.
- Add crimp + clasp: Thread one crimp bead onto the wire, then thread on the clasp ring. Pass the wire back through the crimp to form a small loop.
- Crimp securely: Use crimping pliers to compress the crimp. Tug the clasp gently to test strength.
- String beads: Add beads until you reach your desired length, leaving room for the finishing crimp.
- Finish the other end: Thread on a crimp bead and a jump ring. Pass the wire back through the crimp, forming a neat loop.
- Crimp and trim: Crimp tightly, then trim the wire tail close. If your beads have space, you can tuck a short tail into the last bead for a cleaner look.
Party-Perfect Design Ideas (Color Palettes & Themes)
- Birthday party bracelets: Use the party’s main colors + metallic spacer beads for a “custom merch” vibe.
- Bridal shower pearls: Pearl beads + gold spacers + a small heart charm.
- Kids craft-table rainbow: Pony beads with a repeating pattern (ABCDABCD) so it’s easy to follow.
- Name/place card bracelets: Letter beads + one accent bead on each side (great as wearable place markers).
- Glow party: Glow beads + black and neon seed beads for contrast.
- Holiday favors: Red/green (winter), orange/black (Halloween), pastels (spring), red/white/blue (summer).
Pro Tips for Better Results (Stronger, Neater, Prettier)
- Use the right cord thickness: If beads slide too freely, go thicker. If you struggle to thread, go thinner or use a needle.
- Keep patterns simple for groups: For party crafts, pick a “recipe” like: 1 spacer + 4 heishi + 1 spacer, repeat.
- Set up a bead station: Pour small amounts into cups or trays. Less spilling, faster crafting.
- Mix bead sizes: A few 8mm focal beads among 4–6mm beads adds a designer look without complicated techniques.
- Test before trimming: After tying or crimping, tug firmly and stretch gently to confirm durability.
- For stretch bracelets: Keep tension consistent while stringing so the bracelet doesn’t look wavy.
Variations: Beginner-Friendly to Advanced
Beginner Adaptations
- Heishi stack bracelet: Mostly 6mm heishi beads + 4–6 accent spacers. Quick and hard to mess up.
- Two-color pattern: Alternate colors (ABABAB) for an easy “intentional” look.
- Chunky pony bead bracelet: Bigger beads are easier for small hands and great for party crafts.
Advanced Upgrades
- Multi-strand bracelet: Create 2–3 strands and connect them to a clasp for a layered statement piece.
- Charm focal: Add a charm centered between beads using a jump ring (best with a clasp bracelet).
- Patterned seed bead design: Try a repeating motif (like stripes or chevrons) using size 8/0 beads and nylon thread.
- Sliding knot closure: Great for adjustable sizing—use nylon cord and a macramé sliding knot.
Troubleshooting: Fix Common Bracelet Problems
- Bracelet keeps breaking:
- Switch to stronger cord (0.8–1.0mm) or double the elastic through each bead if holes allow.
- Avoid sharp-edged beads that cut elastic.
- Pre-stretch elastic before tying.
- Knot won’t stay tied:
- Use a double or triple knot and pull steadily (not abruptly).
- Add a tiny dot of jewelry glue to the finished knot.
- Bracelet is too tight:
- Add 1–3 small spacer beads or remake with 0.25–0.5 in extra length.
- Bracelet looks uneven or “gappy”:
- Use consistent bead sizes or add small spacer beads between larger pieces.
- Maintain light, steady tension while stringing.
- Beads won’t thread:
- Use a beading needle or fold the cord end and tape it to make a stiff “needle.”
- Try thinner cord for tiny-hole beads (seed beads often need thread or 0.5–0.6mm elastic).
Common Crafting Mistakes to Avoid
- Cutting the cord too short: Always give yourself extra length for tying and adjustments.
- Skipping a fit check: Test around the wrist before tying or crimping.
- Overstretching while tying: Pull knots snug, but don’t yank the elastic at maximum stretch.
- Using the wrong bead-hole size: Match your cord/thread to bead holes to avoid fraying and frustration.
- Overloading with heavy charms on elastic: Save heavy charms for beading wire + clasp designs.
- Messy workspace: Beads roll fast—use a bead mat or towel and keep colors separated for party-craft sanity.
FAQ: Beaded Bracelet Making at Home
1) What’s the best elastic cord size for beaded bracelets?
For most stretch bracelets, 0.8mm is a great all-purpose choice. Use 0.6–0.7mm for smaller-hole beads, and 1.0mm for larger beads or extra durability.
2) How do I keep stretchy bracelets from snapping?
Pre-stretch the cord, use a secure double/triple knot, avoid sharp-edged beads, and don’t make the bracelet overly tight. A small dot of jewelry glue on the knot also helps.
3) Can kids make these bracelets at a party?
Yes! Pony beads or larger heishi beads with stretch cord are ideal. For younger kids, pre-cut cords, provide simple color patterns, and use cups/trays to reduce spills. Adult supervision is recommended due to small parts.
4) How many beads do I need for one bracelet?
It depends on bead size and wrist size. As a rough guide for an adult 7 in bracelet: about 90–110 size 8/0 seed beads, or 25–35 6mm round beads, or 40–60 6mm heishi beads (depending on thickness).
5) What’s better for a “professional” look: elastic or clasp?
Elastic is fast and comfortable, perfect for DIY party crafts and quick favors. A clasp bracelet using beading wire and crimp beads tends to look more like store-bought jewelry and holds up well with heavier beads and charms.
6) How do I store leftover beads for future handmade projects?
Sort by color/type into small containers or a bead organizer. Label sections by bead size (like 4mm, 6mm, seed beads) so your next DIY craft session starts smoothly.
Wrap-Up: Make a Bracelet (Then Make a Whole Party Set)
Once you make one bracelet, it’s hard to stop—especially when you realize how easy it is to match colors to a party theme, create personalized favors with letter beads, or set up a DIY bracelet station guests will talk about. Start simple with a stretchy bracelet, then level up with clasps, charms, and patterns as your confidence grows.
Keep experimenting, keep mixing textures and colors, and most of all, enjoy the process—handmade projects like these bring extra heart to celebrations. For more DIY crafts, party decorations, and creative handmade ideas, explore more projects on smartpartyprep.com.
More Articles
 25 Creative Slime Ideas
 What Is Party Craft? (And Why Your Next Celebration Doesn’t Need Store-Bought Decor — Here’s the Real, Low-Stress, High-Joy Definition Most People Get Wrong)
 DIY Memory Books for Anniversaries
 DIY Tie-Dye Shirts with Dollar Store Supplies
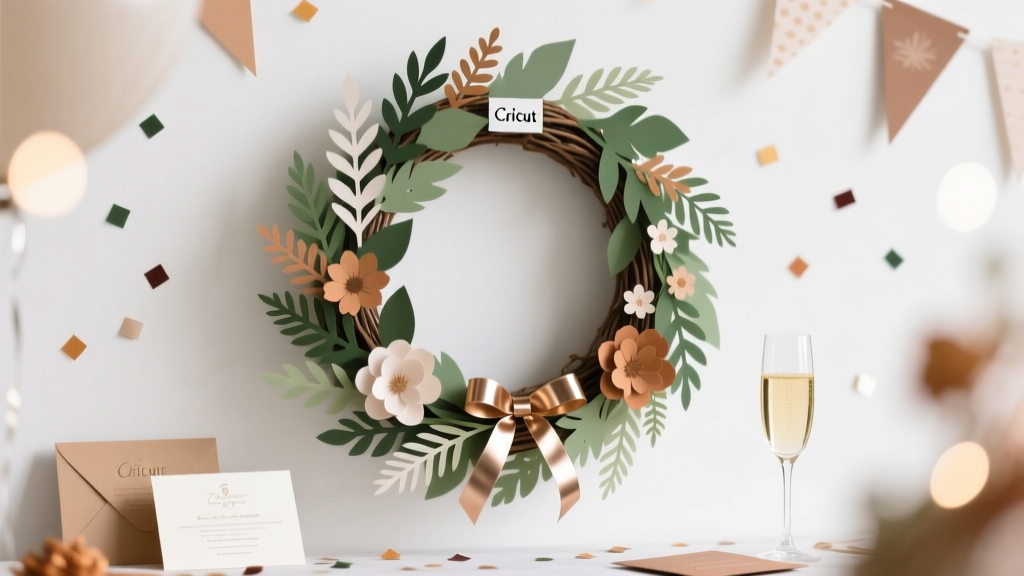 DIY Wreaths Using Cricut
 Budget DIY Party Banners Under $25
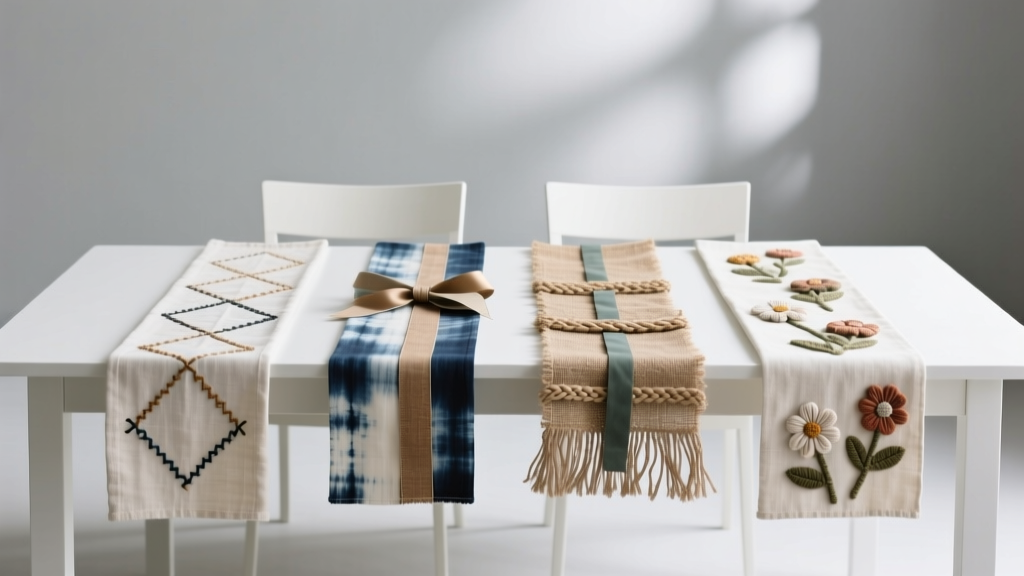 Budget DIY Table Runners Under $20
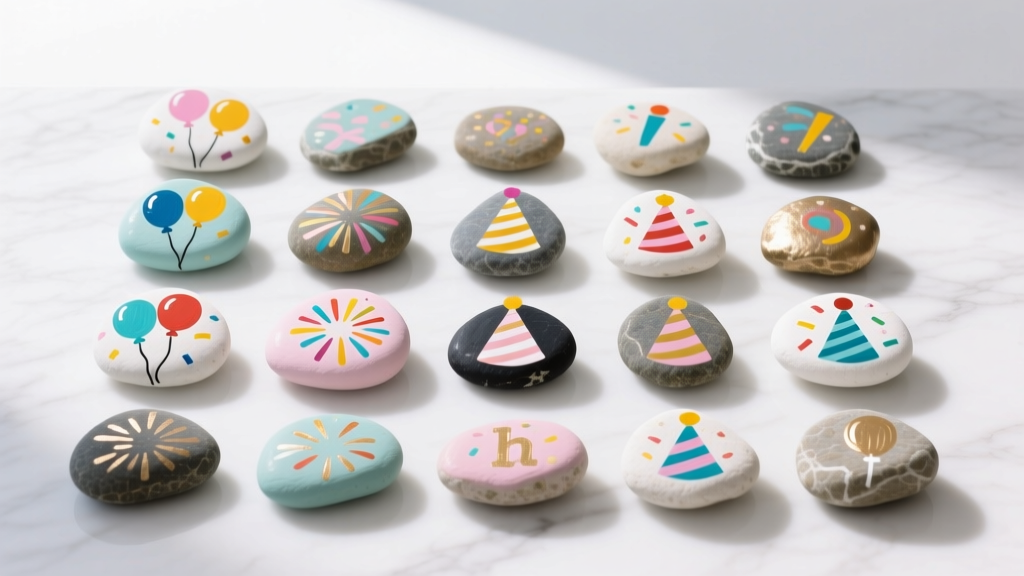 30 Creative Painted Rocks Ideas
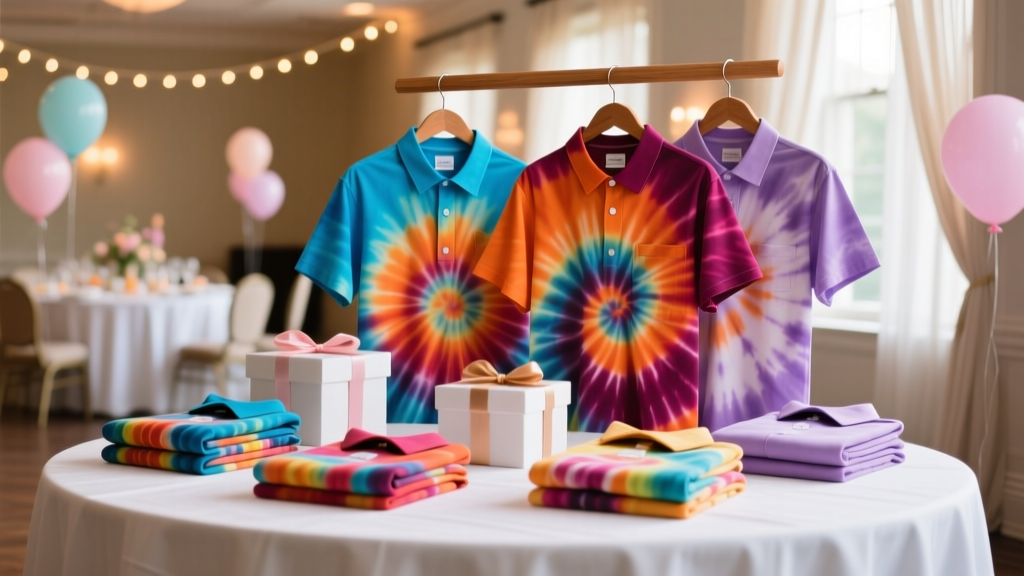 Personalized Tie-Dye Shirts Gifts
 Kids' Craft: Wreaths