30 Creative Painted Rocks Ideas
Painted rocks are one of those DIY crafts that feel instantly satisfying: you can finish a piece in a single sitting, the materials are inexpensive, and the results are surprisingly polished. Whether you’re planning a birthday party, baby shower, classroom celebration, or backyard gathering, painted rocks can become personalized party decorations, place cards, favors, and even interactive party games.
They’re also wonderfully flexible for every skill level. Beginners can start with simple dots, stripes, and smiley faces, while advanced crafters can try layered designs, metallic accents, and tiny lettering. Best of all, painted rocks are durable—perfect for outdoor party decor, garden-themed events, and keepsakes that guests can take home.
This guide shares 30 creative painted rocks ideas plus a practical, step-by-step process to make them look clean and party-ready. You’ll also get pro tips, troubleshooting, and easy ways to adapt each idea for your party theme.
Quick Project Overview (Skill Level + Time)
- Skill level: Beginner to Advanced (choose designs based on comfort)
- Time per rock: 10–25 minutes painting + 30–60 minutes dry time (sealant adds 15–30 minutes)
- Batch time: 12 party favor rocks in 1–2 hours, plus drying
- Best for: DIY party decorations, handmade party favors, place settings, party games, table centerpieces
Materials List (Product Types + Estimated Costs)
Costs vary by brand and what you already have. These estimates are typical for craft stores or online.
Rocks (Base)
- Smooth river rocks (2–3 inches wide): $6–$15 per 2–5 lb bag (great for painting and favor size)
- Flat stones (3–4 inches): $8–$18 per bag (excellent for place cards and messages)
- Optional: Landscaping pebbles (budget-friendly but often rough) $5–$10
Paint + Color Tools
- Acrylic craft paint (multi-pack): $10–$20 (matte or satin finish)
- Paint markers (fine + medium tips): $8–$20 (for outlines, lettering, small details)
- Metallic acrylic paint or metallic paint markers: $5–$12 (party glam accents)
Brushes + Detail Tools
- Brush set: $5–$12 (look for round sizes 0, 2, 4; flat size 6)
- Dotting tools or stylus set: $4–$10 (perfect for polka dots and mandalas)
- Toothpicks: $1–$3 (tiny dots, swirls, correcting edges)
Prep + Finishing
- Dish soap + old toothbrush: $2–$5 (cleaning rocks)
- White acrylic primer or gesso: $6–$12 (helps colors pop)
- Clear sealer spray (matte, satin, or gloss): $6–$12 (water-resistant finish)
- Optional outdoor sealer (UV/water resistant): $8–$15 (best for garden party décor)
Helpful Extras
- Painters tape (1 inch): $4–$7 (clean stripes and geometric designs)
- Palette (or paper plate): $1–$3
- Craft knife or small scissors: $3–$10 (for stencils/tape)
- Paper towels + cup of water: low cost
Step-by-Step: How to Paint Rocks (Party-Ready Finish)
Step 1: Choose the Right Rocks
- Pick rocks that are smooth and flat-ish so they sit well on tables.
- For place cards and table numbers, aim for 3–4 inches wide.
- For party favors, aim for 2–3 inches wide (easy to hold and pack).
Step 2: Wash and Dry
- Scrub rocks with dish soap and an old toothbrush.
- Rinse thoroughly and let dry fully (at least 30–60 minutes, or overnight for best results).
Step 3: Prime for Bright Colors (Optional but Recommended)
- Apply a thin coat of white primer/gesso to the paint side.
- Let dry for 15–30 minutes.
- Add a second coat if the stone is dark or speckled.
Step 4: Paint the Base Coat
- Use a flat brush size 6 for quick coverage.
- Apply 1–2 thin coats instead of one thick coat to avoid streaks.
- Dry time between coats: 10–20 minutes.
Step 5: Add the Design
- Sketch lightly with a pencil (optional) or start with paint markers for outlines.
- Layer details from largest shapes to smallest (background first, then outlines, then highlights).
- Let each layer dry 5–10 minutes before adding the next to prevent smudges.
Step 6: Seal for Durability
- Let paint dry at least 1 hour (longer if paint is thick).
- Apply 2–3 light coats of clear sealer spray, holding the can 8–12 inches away.
- Wait 10–15 minutes between coats.
- Cure time: 24 hours before handling heavily or packing as favors.
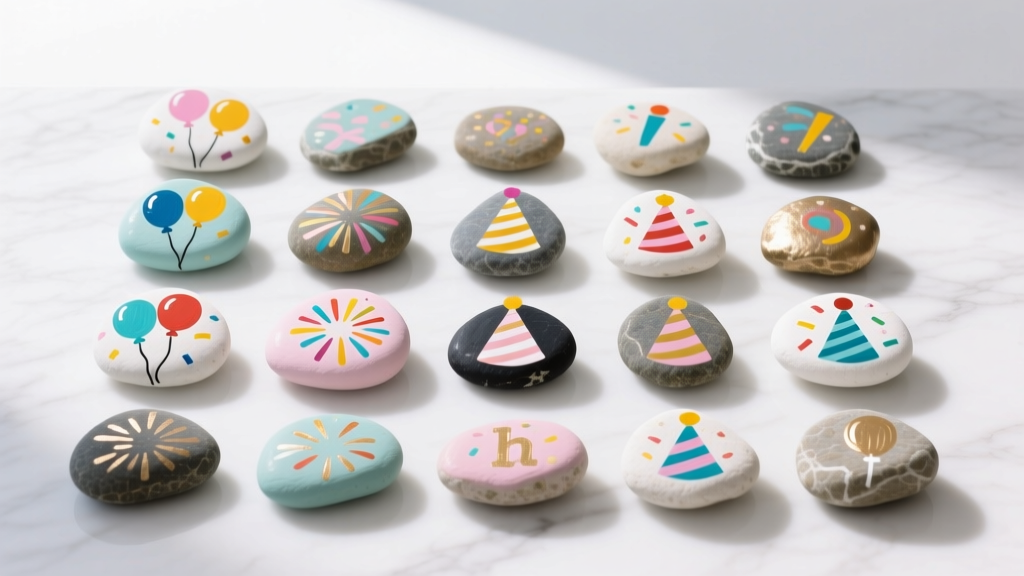
30 Creative Painted Rock Ideas (Perfect for Parties)
Party Table Decor + Place Settings
- 1) Name place cards: Paint a solid base color and write names with a fine paint marker. Add a tiny border in metallic gold.
- 2) Table numbers: Large “1–10” in bold lettering; use a contrasting background for easy visibility.
- 3) Mini menu rocks: Write 1–2 words like “Tacos,” “Cupcakes,” “Mocktails” and place by food stations.
- 4) Confetti dots: Bright polka dots in 5–6 colors for a fun birthday party vibe.
- 5) Rainbow stripes: Use painters tape for crisp lines; great for pride parties or cheerful themes.
- 6) Balloon rocks: Paint a balloon shape and add a thin string line; cluster several as a centerpiece scatter.
Handmade Party Favors Guests Will Keep
- 7) “Thank you” rocks: Simple script lettering; seal well so guests can display them on desks or shelves.
- 8) “Take one” favor bowl rocks: Paint a set that sits in a bowl with one message per rock (“Smile,” “Celebrate,” “Yay!”).
- 9) Birthstone color rocks: Match party month colors; add metallic speckles for a gem effect.
- 10) Photo prop rocks: Words like “CHEERS,” “BFF,” “PARTY,” “LOVE” for table photos.
- 11) Tiny heart patterns: Great for bridal showers and anniversaries; add initials in the corner.
- 12) Good luck tokens: Paint small clovers, stars, or horseshoes for graduation parties and new job celebrations.
Themed Party Rock Designs
- 13) Under-the-sea: Mini fish, bubbles, coral shapes; use turquoise and sandy beige backgrounds.
- 14) Tropical party: Pineapple silhouettes with yellow + green crown; add white highlights for shine.
- 15) Space party: Black base coat, splatter tiny white “stars,” then add planets in bright colors.
- 16) Dinosaur party: Simple dino footprints or cartoon dinos with big eyes.
- 17) Unicorn party: Pastel gradient base and a gold horn; add tiny star dots.
- 18) Superhero party: Comic-style words (“BAM!” “POW!”) with thick outlines and dotted “halftone” backgrounds.
Games + Activities Using Painted Rocks
- 19) Rock tic-tac-toe: Paint 5 X rocks and 5 O rocks. Use a small tray or draw a grid on cardstock (6 x 6 inches).
- 20) Story starter rocks: Paint icons (cake, hat, star, cat, balloon). Guests pick 3 and create a silly party story.
- 21) Scavenger hunt clue rocks: Paint arrows, numbers, or simple icons to guide guests around the yard.
- 22) Prize rocks: “Winner!” “Extra Turn!” “Pick a Prize!” for party games and raffles.
- 23) Kindness message rocks: Let guests paint a positive word and take it home (or hide later in the community).
- 24) Party bingo markers: Small dot rocks in 2 colors to mark bingo cards (seal thoroughly).
Seasonal + Holiday Party Rocks
- 25) Pumpkin faces: Orange base, black expressions; perfect for Halloween parties.
- 26) Snowman rocks: White base, carrot nose, scarf stripe; add glitter sealer for winter sparkle.
- 27) Firework bursts: Dark navy base with bright radial lines; great for New Year’s and summer celebrations.
- 28) Easter egg patterns: Pastel stripes, zigzags, dots; seal with gloss for a candy-like finish.
Advanced Showpiece Designs (Worth the Extra Time)
- 29) Mandala rocks: Layer dot rings using dotting tools; start from center and work outward in symmetrical color repeats.
- 30) Faux marble + gold veins: White base, swirl in gray using a damp brush, then add thin metallic gold lines.
Pro Tips for Cleaner Designs (And Faster Results)
- Thin coats win: If paint looks streaky, do another thin layer instead of pressing harder.
- Use a paint marker for outlines: Crisp lines instantly make beginner designs look professional.
- Work assembly-line style: Paint all base coats first, then all outlines, then all details—ideal for party prep.
- Hand stability trick: Rest your painting hand on the table and rotate the rock with your other hand.
- Make it party-proof: If rocks will be outdoors or handled by kids, use an outdoor/UV sealer and allow a full 24-hour cure.
Easy Variations (Beginner-Friendly + Advanced Options)
Beginner-Friendly Adaptations
- Sticker + paint: Place a simple sticker (star/heart), paint over the rock, peel the sticker for a clean shape.
- One-color + doodles: Solid base coat, then add simple white doodles (dots, leaves, swirls).
- Stamped dots: Use the end of a pencil eraser for consistent polka dots.
Advanced Variations
- Layered shading: Add highlights and shadows on balloons, fruit, or planets for a 3D look.
- Foil accents: Apply a thin line of glue, press metallic foil, then seal carefully (test first).
- Micro-lettering: Use a 0.7–1.0 mm paint marker for names, dates, or short quotes.
Troubleshooting: Fix Common Painted Rock Problems
- Paint is beading up: Rock still has dust/oil. Wash again, dry fully, and prime before repainting.
- Streaky base coat: Use a second thin coat after the first dries; consider priming with white.
- Smudged details: Let layers dry longer (10 minutes) or use paint markers for fast-drying lines.
- Sealant makes it tacky: Coats may be too heavy or humidity is high. Use lighter coats and allow extra cure time (24–48 hours).
- Marker bleeds under sealant: Test your marker brand with your sealer. Let marker dry longer (at least 30–60 minutes) before sealing.
Common Crafting Mistakes to Avoid
- Skipping cleaning: Even “clean-looking” rocks can reject paint. A quick scrub saves a lot of frustration.
- Painting thick layers: Thick paint cracks, stays soft longer, and smears under your hand.
- Not planning for drying time: If these are DIY party decorations, start at least 1–2 days early to allow sealing and curing.
- Overcrowding details: On a 2-inch rock, keep the main design under 1.5 inches wide so it reads clearly.
- Forgetting the back: If rocks will be favors, paint the back a solid color or add a small date/initial to make it feel finished.
FAQ: Painted Rocks for DIY Party Decorations
What paint works best for painted rocks?
Acrylic craft paint is the most reliable for DIY crafts because it’s affordable, easy to layer, and dries quickly. Paint markers are fantastic for outlines and lettering, especially for party place cards and messages.
Do I have to seal painted rocks?
If they’re for indoor decor and light handling, sealing is optional. For party favors, outdoor events, or kids’ activities, sealing is strongly recommended to help prevent chips and smudges.
How do I make painted rocks glossy like store-bought decor?
Use a gloss clear sealer (spray or brush-on). Apply 2–3 light coats, letting each coat dry 10–15 minutes. Full cure typically takes 24 hours.
Are painted rocks safe for kids’ parties?
Yes, with supervision. Use non-toxic acrylic paints and make sure rocks are large enough (at least 2 inches) to reduce choking risk. Adults should handle sealant sprays outdoors.
How many rocks should I make for a party?
A simple guideline: 1 per guest for favors, plus 6–12 extra for table scatter, game pieces, or signage. For place cards, make 1 per seat plus 2–3 spares.
Can I prep painted rocks ahead of time?
Absolutely. Paint and seal them 2–7 days ahead, then store in a single layer or between sheets of wax paper to prevent sticking and scuffs.
Wrap-Up: Make Your Party More Personal with Painted Rocks
Painted rocks are small, budget-friendly, and packed with personality—exactly what you want when you’re creating handmade party decorations and memorable DIY party favors. Start with a few easy designs (dots, stripes, names), then try one “wow” piece like a mandala or faux marble rock once you’re comfortable.
When you’re ready for your next celebration project, explore more DIY crafts, party decorations, and handmade ideas on smartpartyprep.com.
More Articles
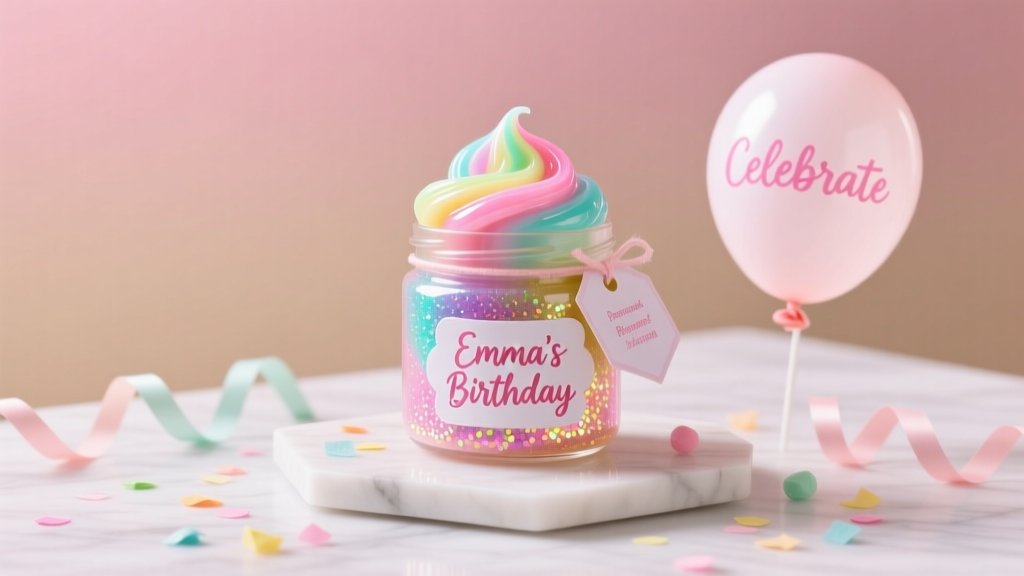 Personalized Slime Gifts
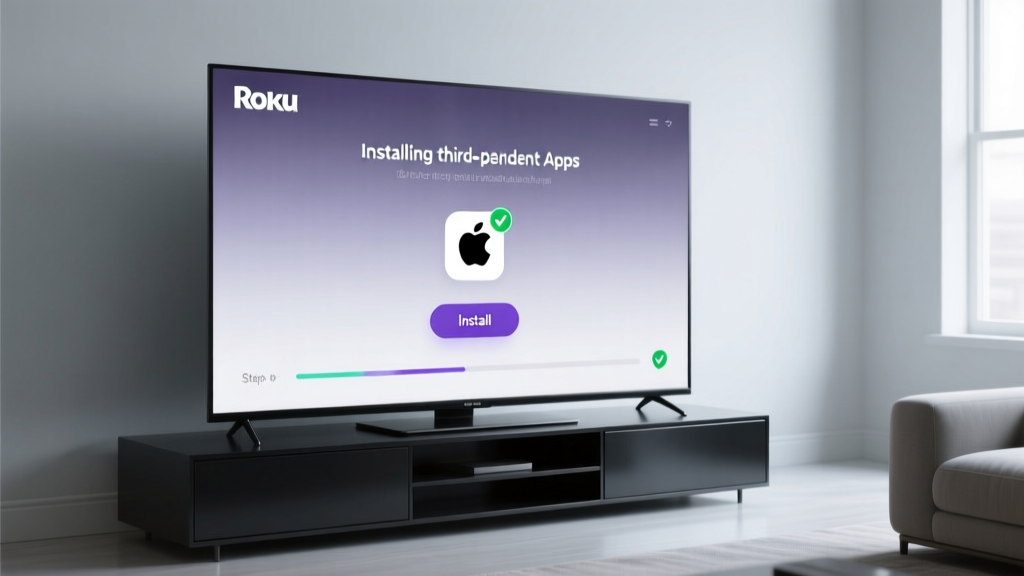 How to Install 3rd Party Apps on Roku TV (Without Jailbreaking): The Only Legal, Step-by-Step Method That Actually Works in 2024 — No Developer Mode Confusion, No Failed Sideloading, Just Real Results
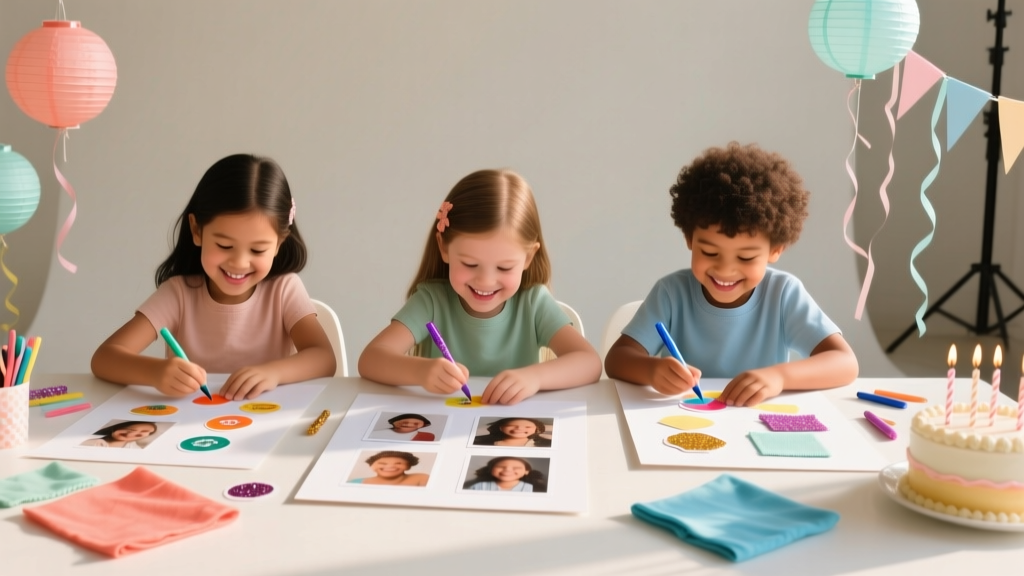 Kids' Craft: Vision Boards
 Rustic Embroidered Patches Ideas
 Advanced Invitations for Crafters
 Rustic Table Runners Ideas (DIY Projects for Parties, Showers, and Cozy Gatherings)
 Personalized Favor Bags Gifts
 How Do You Make a Party Hat in Under 12 Minutes? 5 Foolproof Methods (No Glue Gun Needed) + Printable Templates & Pro Tips to Avoid Lopsided Crowns
 How to Make a Party Hat from Paper in Under 8 Minutes (No Glue Gun, No Scissors Required — Just 3 Sheets & a Stapler)
 Budget DIY Memory Books Under $15