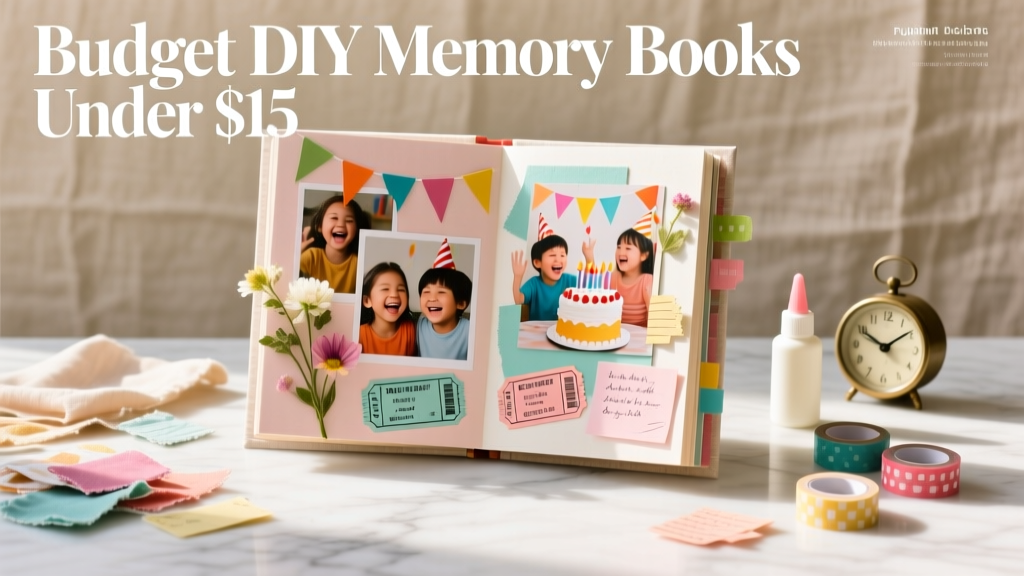
Budget DIY Memory Books Under $15
A great party doesn’t end when the last guest leaves—it lives on in photos, funny notes, and those little details you worked so hard to pull together. A DIY memory book is one of the most satisfying party-related handmade projects because it captures the celebration and doubles as a meaningful keepsake you’ll actually flip through.
Even better: you don’t need fancy scrapbook supplies or a huge craft budget. With simple materials (many you may already have), you can make a beautiful memory book for under $15 that looks polished, feels personal, and becomes a favorite post-party tradition.
This guide walks you through a few budget-friendly approaches, step-by-step instructions, and practical tips so you can create a memory book for birthdays, baby showers, graduation parties, bridal showers, family reunions, or any gathering that deserves a spotlight.
Project Overview: Skill Level, Time, and What You’ll Make
- Skill level: Beginner (with optional advanced upgrades)
- Total time: 60–120 minutes (plus drying time for glue/paint if used)
- Estimated cost: $8–$15 (depending on what you already own)
- Finished size: Typically 6 in x 8 in or 8.5 in x 11 in
- Best for: DIY party keepsakes, guest book alternative, handmade party decor that becomes a memory album
Materials List (Under $15) with Estimated Costs
Option A: “No-Bind” Binder Clip Memory Book (Fast + Super Budget)
- Cardstock (12x12 or letter size; 20–30 sheets): $4–$6
- Binder rings (1 in–1.5 in, pack of 6) or binder clips: $2–$4
- Hole punch (single or 3-hole; use what you have): $0–$6 (skip if you already own)
- Glue stick or double-sided tape: $1–$3
- Washi tape (optional): $1–$3
Option B: Dollar-Store Composition Notebook Upgrade (Neat + Durable)
- Composition notebook (wide-ruled or blank): $1–$3
- Scrapbook paper (2–4 sheets): $2–$4
- Mod Podge (small) or white glue: $2–$5
- Ribbon (1/4 in or 3/8 in, 2 yards) or twine: $1–$3
- Stickers or letter decals (optional): $1–$3
Option C: Mini 6x8 “Party Polaroid” Memory Book (Photo-Forward)
- 6x8 index cards or pre-cut cardstock (25–50 count): $3–$6
- 1 in binder rings (2–4 rings): $2–$4
- Fine-tip markers (black + one accent color): $2–$5
- Photo corners (optional) or double-sided tape: $2–$4
Tools to Make It Easier (Use What You Have)
- Scissors (8 in craft scissors recommended)
- Ruler (12 in)
- Pencil and eraser
- Corner rounder punch (optional, but makes pages look store-bought)
- Bone folder (optional; a gift card works for creasing)
Choose Your Memory Book Style
Style 1: Binder Ring Memory Book (Best for Parties with Lots of Notes)
This is the easiest way to get a “custom scrapbook” feel without learning binding. Pages can be added later (great for printing photos after the party).
Style 2: Upcycled Composition Notebook (Best for Grab-and-Go Guest Books)
Leave it on a table with pens and a few prompts. Guests can sign, add advice, or attach photo booth strips.
Style 3: Mini Card Flip Book (Best for Photo Booth + Instant Cameras)
Use index-card pages and add one photo + one note per page. It’s quick, adorable, and perfect for birthday parties and showers.
Step-by-Step Instructions: DIY Binder Ring Memory Book (Under $15)
Measurements and Planning
- Page size: 6 in x 8 in (easy to hold) or 8.5 in x 11 in (classic scrapbook feel)
- Cover: Same size as pages, using thicker cardstock or two layers glued together
- Binding margin: Leave 1 inch on the left side for holes and page movement
Step 1: Cut and Prep Pages (15–25 minutes)
- Choose 20–30 sheets of cardstock for inside pages.
- If using 12x12 scrapbook cardstock, measure and cut to 6 in x 8 in (you’ll get two pages from one 6x12 strip, depending on your cuts).
- Optional: round all corners using a corner rounder for a clean, professional look.
Step 2: Make the Cover (10–15 minutes)
- Cut two cover pieces in your chosen size.
- For a sturdier cover under budget, glue two cardstock pieces together (front and back). Press under a heavy book for 10 minutes.
- Decorate:
- Add a title (examples: “Ava’s 6th Birthday,” “Baby Shower Memories,” “Graduation Party 2026”).
- Use letter stickers, a hand-lettered title, or printed labels.
- Add washi tape borders in 1/4 in strips for a framed look.
Step 3: Punch Holes (10 minutes)
- Stack 3–5 pages at a time (too many at once can tear cardstock).
- Mark hole placement:
- For 6x8 pages, place holes 3/4 in from the left edge.
- Use 2 holes: one at 1.5 in from the top, one at 1.5 in from the bottom.
- Punch holes, keeping placement consistent.
Step 4: Assemble the Book (5 minutes)
- Stack pages between the front and back covers.
- Insert 2–3 binder rings (1 in rings work well for 20–25 pages).
- Flip through to ensure pages turn smoothly; if they catch, widen hole spacing slightly next time or increase ring size.
Step 5: Add Memory Prompts and Photo Spots (15–30 minutes)
To make your DIY memory book actually get used, add simple prompts and designated spaces.
- Memory prompt strips: Cut paper strips to 1 in x 5 in and glue at the top of pages.
- Photo space: Outline a rectangle 3.5 in x 5 in (great for 4x6 prints with a small border).
- Journaling box: Draw a box 5 in x 2 in for notes.
Easy prompt ideas:
- “My favorite moment was…”
- “A wish for the guest of honor…”
- “The funniest thing someone said…”
- “Advice for your next year…”
- “A memory we share…”
How to Set It Up as a Party Guest Book Station
Turn your memory book into party decor by styling it as an interactive table moment. This helps guests contribute on the spot (and saves you from chasing signatures later).
- Place the book on a tray or small cake stand to elevate it.
- Add a cup of pens:
- 1–2 black fine-tip pens
- 1 metallic marker (gold or silver looks great on dark cardstock)
- Include adhesive options:
- Double-sided tape
- Glue dots
- Washi tape
- Add a small sign (5x7 card) that says: “Write a note + add a photo!”
Pro Tips for a Polished Look (Even on a Tiny Budget)
- Stick to 2–3 colors. Choose party colors (example: blush + gold + white) for cohesive DIY party decorations that match your theme.
- Use a “layout formula.” Repeat the same page design:
- Top: prompt
- Middle: photo area
- Bottom: message area
- Prevent glue wrinkles. Use a glue stick or thin tape for paper-to-paper; liquid glue can warp cardstock.
- Upgrade with pockets. Tape 3 sides of a 4 in x 6 in piece of paper to create a pocket for confetti, invitations, or photo booth strips.
- Make it kid-friendly. Add a few coloring pages or sticker pages so younger guests can contribute.
Beginner-Friendly Adaptations
- No cutting tools? Use pre-cut 6x8 index cards and binder rings.
- No hole punch? Tie pages with ribbon by carefully snipping two 1/4 in slits on the left margin using scissors (do small stacks at a time).
- No scrapbooking supplies? Use wrapping paper scraps, greeting cards, or leftover party decorations as embellishments.
Advanced Variations (Still Budget-Friendly)
- Shaker cover window: Cut a 3 in x 4 in window in the cover, tape clear plastic (from packaging) behind it, and add a little confetti before sealing.
- Tabbed sections: Create tabs for “Photos,” “Notes,” “Gifts,” and “Behind the Scenes” using 1 in x 2 in cardstock tabs taped to page edges.
- Interactive flips: Add mini flip-up panels using washi tape as a hinge (great for “then vs. now” photos or hidden journaling).
Troubleshooting: Fix Common Issues Fast
- Pages rip at the holes:
- Reinforce holes with small paper “donuts” (hole reinforcements) or a tiny ring of clear tape.
- Use fewer pages per ring or switch to 1.5 in rings.
- Cardstock is curling:
- Too much liquid glue. Switch to glue stick/tape and press under heavy books for 20–30 minutes.
- Photos won’t stick:
- Use photo-safe double-sided tape or photo corners.
- Avoid watery glue on glossy photo paper.
- The book feels bulky:
- Reduce embellishments, use flatter adhesives, or spread content across two smaller books (Party Night + After Party).
Common Crafting Mistakes to Avoid
- Skipping a binding margin. If you decorate too close to the holes, pages won’t turn easily and details will get covered by rings.
- Using too much wet glue. It warps pages and makes the book look messy. Tape and glue sticks are your best friends for budget scrapbooking.
- Overloading the first pages. Spread photos and embellishments throughout so the book stays balanced and flips nicely.
- Not testing pens. Some markers bleed through thinner paper. Test on a scrap first, especially with dark markers.
- Forgetting to plan how guests will use it. A memory book works best when you provide prompts, pens, and a clear place to add photos or notes.
FAQ: Budget DIY Memory Books
1) Can I really keep this under $15 if I need everything?
Yes—choose the binder-ring version with cardstock, rings, and a glue stick. If you already own scissors and a hole punch, it’s usually $8–$12. If you need a hole punch too, look for a dollar-store option or borrow one.
2) What’s the best size for a party memory book?
6 in x 8 in is the sweet spot: easy for guests to write in, easy to store, and it doesn’t require large photos. If you want lots of writing space, go 8.5 in x 11 in.
3) How many pages should I make for a party?
For a group of 10–20 guests, aim for 20–30 pages. If you expect lots of photos or longer notes, bump it to 35 pages and use larger rings.
4) What adhesive is best for photos in a handmade memory book?
Use double-sided tape, glue dots, or photo corners. These hold well and won’t wrinkle your pages like liquid glue can.
5) Can I use this as a wedding or shower guest book alternative?
Absolutely. Add prompts like “Date night idea,” “Marriage advice,” or “Favorite memory with the couple,” and leave a space for a photo booth strip. It’s a guest book that becomes a true keepsake.
6) How do I protect the pages after the party?
Keep the book out of humidity and consider adding a simple belly band (a 2 in wide paper strip wrapped around the book) or store it in a gallon zip bag inside a memory box.
Wrap-Up: Your $15 Memory Book Starts a New Party Tradition
A budget DIY memory book is one of those handmade projects that feels meaningful from the first page—especially when it’s filled with guests’ handwriting, snapshots, and little party details like invitations or confetti. Whether you keep it simple with binder rings or dress it up with pockets and tabs, you’ll end up with a keepsake that’s personal, practical, and genuinely fun to make.
Pick a theme, grab a few supplies, and give yourself permission to keep it easy and imperfect—those real, handmade touches are what make it special. For more DIY crafts, party decorations, and creative handmade project ideas, explore smartpartyprep.com.
More Articles
 How to Enable 3rd Party Cookies on Safari in 2024: The Real Truth (Spoiler: You Can’t — But Here’s What Actually Works Instead)
 30 Creative Invitations Ideas
 17 Do It Yourself Party Favors That Actually Impress Guests (No Craft Store Run Needed — Just $5, 20 Minutes & What’s Already in Your Drawer)
 Personalized Backdrops Gifts
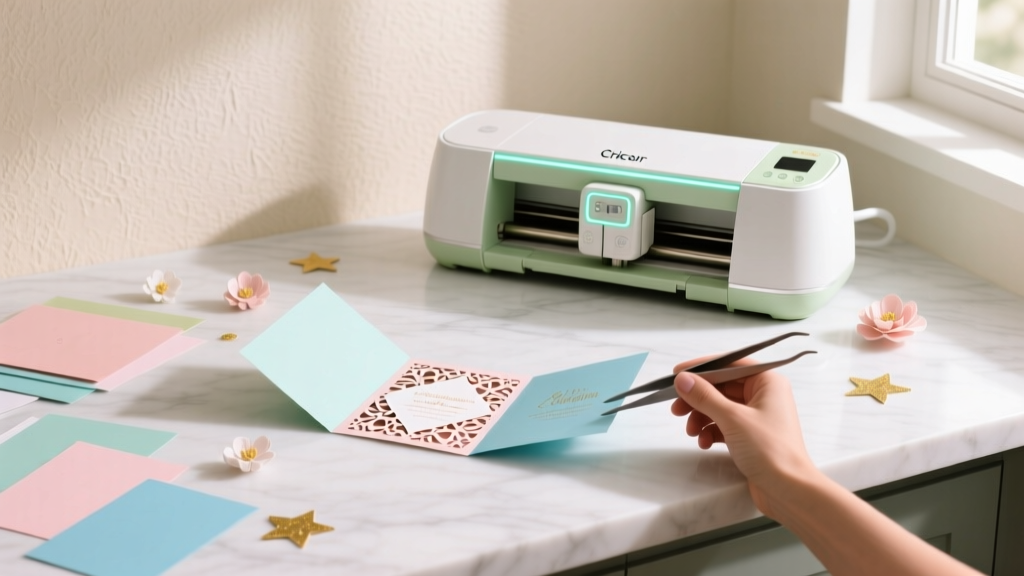 DIY Invitations Using Cricut
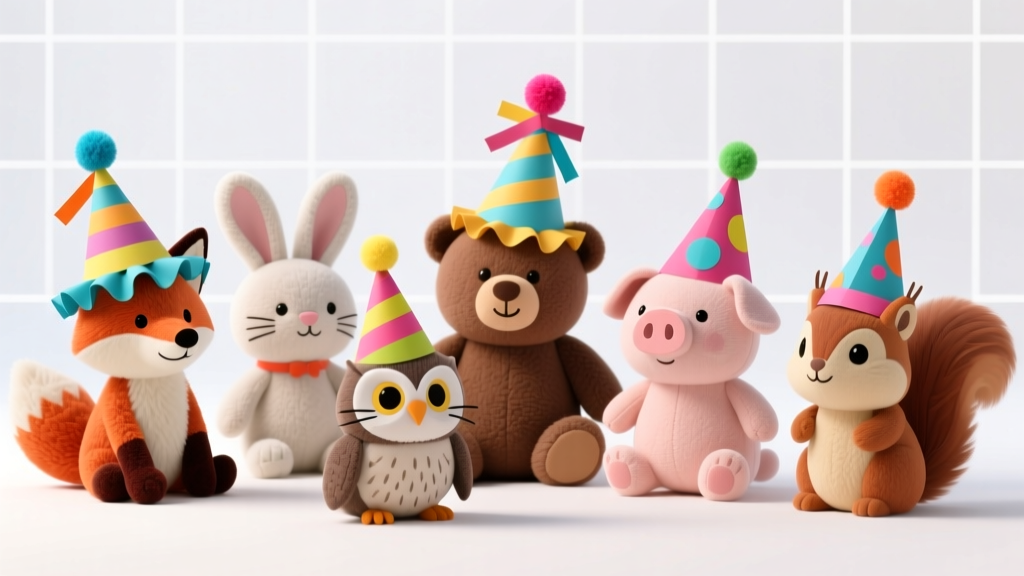 How to Make Party Hats for Stuffed Animals in Under 15 Minutes (No Sewing Required!) — 7 Adorable, Budget-Friendly Designs That Actually Stay On
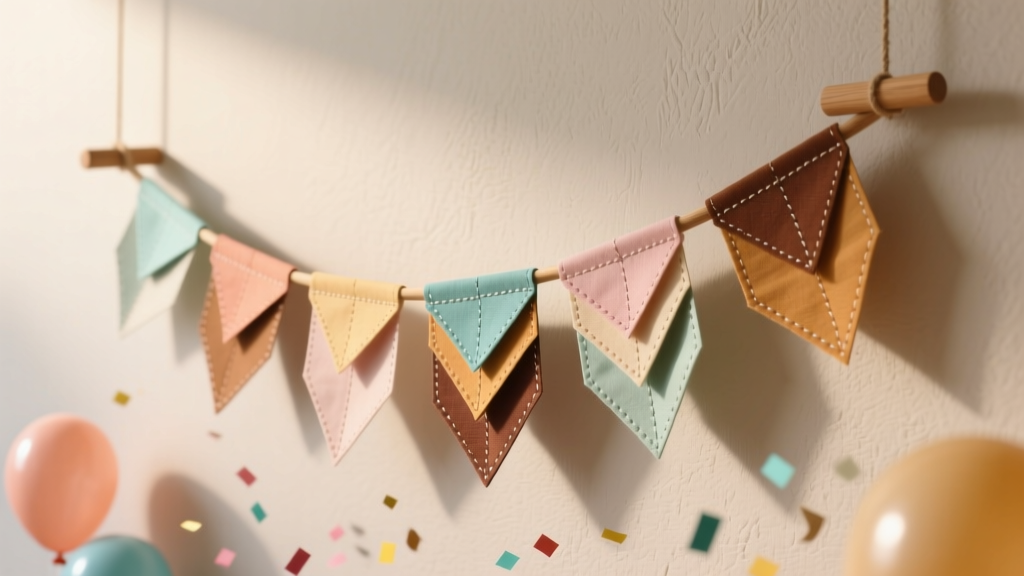 Paper Craft Fabric Bunting Ideas
 Seasonal Invitations Ideas
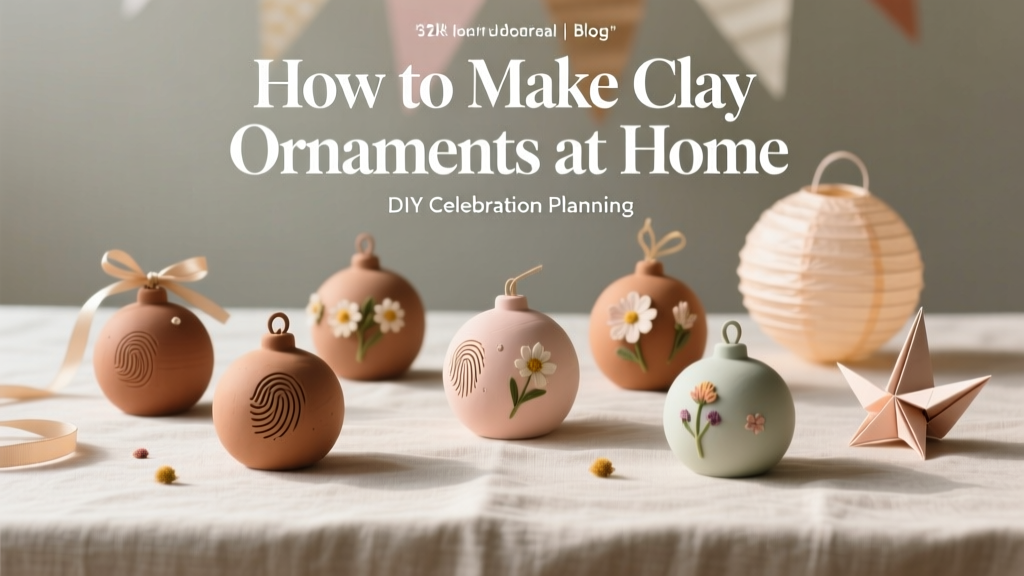 How to Make Clay Ornaments at Home
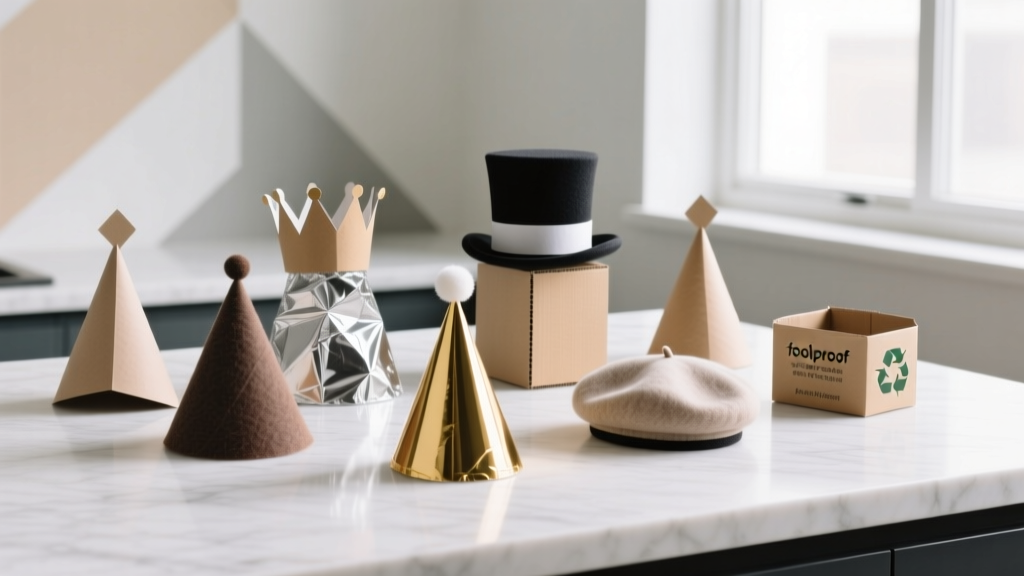 How to Make Mini Party Hats in Under 12 Minutes (No Glue Gun, No Scissors Required) — 7 Foolproof Methods That Actually Hold Their Shape