Personalized Origami Decorations Gifts
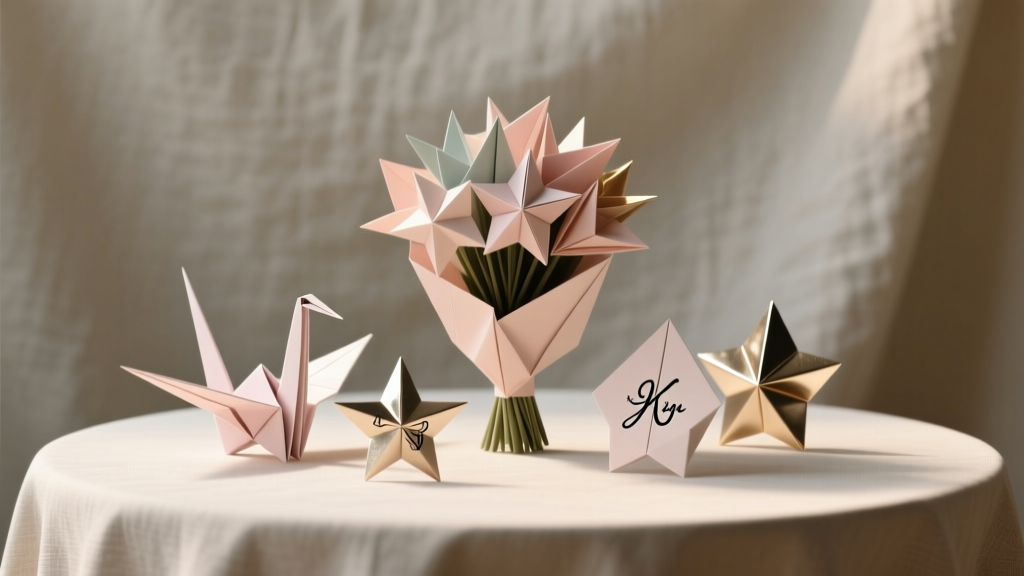
There’s something magical about turning a flat square of paper into a sculpture that feels like it was made just for someone. Personalized origami decorations are budget-friendly, surprisingly elegant, and perfect for party styling—think place settings, favor toppers, garlands, table centerpieces, and small handmade gifts guests can take home.
Origami is also a “big impact, small supply list” craft. You don’t need a cutting machine or expensive tools to create party-ready handmade decorations. With a few paper types and a handful of folds, you can make coordinated décor that matches your theme, carries names or messages, and looks like it came from a boutique.
This guide walks you through beginner-friendly origami projects plus elevated variations, with measurements, time estimates, and practical tips for clean folds and sturdy builds. Whether you’re planning a birthday, baby shower, wedding, graduation party, or holiday gathering, these DIY paper decorations can be customized to fit any celebration.
Project Overview: Skill Level, Time, and Best Uses
- Skill level: Beginner to Intermediate (with advanced variations included)
- Estimated time:
- Origami hearts: 3–5 minutes each
- Origami cranes: 7–12 minutes each
- Kusudama-style modular flowers (simple module): 10–18 minutes each flower (5 modules)
- Garland assembly: 20–40 minutes per 6–10 ft
- Best party uses: place cards, napkin rings, favor tags, hanging décor, photo backdrop accents, gift toppers, table scatter, centerpieces
Materials & Tools (With Estimated Costs)
Paper (choose 1–3 types for variety)
- Origami paper squares (6 in x 6 in / 15 cm x 15 cm, assorted colors): $6–$12 per 100 sheets
- Foil origami paper (6 in x 6 in): $8–$15 per 50 sheets (great for shimmer party decorations)
- Text-weight scrapbook paper (12 in x 12 in sheets): $0.75–$1.50 per sheet (cut into squares for larger pieces)
- Printer paper or lightweight cardstock (for custom prints, names, or patterns): $5–$12 per ream
- Vellum or translucent paper (for elegant wedding or baby shower décor): $6–$15 per pack
Adhesives & Hanging Supplies
- Glue runner or double-sided tape (clean + fast): $4–$10
- Clear-drying liquid glue (for modules or stronger holds): $3–$6
- Mini glue dots (perfect for securing to place cards): $4–$8
- Baker’s twine or cotton string (for garlands): $3–$8
- Fishing line (nearly invisible hanging): $3–$7
- Small binder clips or mini clothespins (temporary hanging on line): $3–$8
Tools (recommended for crisp, pro-looking folds)
- Paper trimmer (for cutting perfect squares): $15–$35
- Small sharp scissors (detail trimming): $5–$12
- Bone folder or scoring tool (clean creases; optional but helpful): $6–$12
- Ruler (12 in / 30 cm): $2–$6
- Pencil + eraser (light marks only): $2–$5
- Fine-tip marker or gel pen (names, messages): $2–$8
- Hole punch (1/8 in or standard): $6–$12
Optional personalization supplies
- Alphabet stamps + ink pad: $10–$25
- Metallic marker (gold/silver for formal events): $3–$6
- Small stickers or wax seals: $4–$12
Choosing the Right Paper Size (Quick Guide)
- 3 in x 3 in (7.5 cm): tiny hearts for confetti/table scatter (advanced folding due to size)
- 6 in x 6 in (15 cm): best all-around size for hearts, cranes, stars, and garlands
- 8 in x 8 in (20 cm): statement pieces for centerpieces and photo backdrop accents
- 12 in x 12 in (30 cm): large hanging décor; use thinner paper to avoid bulky folds
Step-by-Step Project 1: Personalized Origami Heart Place Cards
Perfect for: weddings, bridal showers, anniversary dinners, Valentine’s parties, baby showers
Time: 3–5 minutes per heart (plus writing names)
Skill level: Beginner
What you’ll make
- A simple origami heart that can sit on a plate, tuck into a napkin ring, or attach to a place card.
Measurements
- Use a 6 in x 6 in (15 cm x 15 cm) square for a heart about 2.5–3 in (6–7.5 cm) wide (varies by fold tightness).
Instructions
- Start color-side down (if your paper is two-sided). Rotate the square so it looks like a diamond.
- Fold in half top point to bottom point. Crease firmly and reopen.
- Fold in half left point to right point. Crease and reopen. You should see a cross crease.
- Fold the bottom point up to the center intersection. Crease well.
- Fold the left and right points inward to meet at the center line, creating a kite-like shape.
- Soften the top corners: fold the top left and top right corners down slightly to round the heart. Adjust until it looks balanced.
- Tuck/flatten the bottom edges if needed to help the heart sit flat. Use a glue dot on the back only if your paper springs open.
- Personalize: write each guest’s name with a fine-tip marker or metallic pen. For a cleaner look, write the name on a small strip (1 in x 3 in / 2.5 cm x 7.5 cm) and attach to the back with double-sided tape.
Beginner-friendly adaptation
- Use slightly thicker paper (light cardstock) so it holds shape better.
- If writing directly on the heart feels tricky, attach a mini tag instead.
Step-by-Step Project 2: Origami Crane Gift Topper (With Message Tag)
Perfect for: birthday gifts, graduation gifts, wedding favors, thank-you gifts
Time: 7–12 minutes per crane
Skill level: Intermediate (patient beginner-friendly with practice)
Measurements
- Use a 6 in x 6 in (15 cm x 15 cm) square for a topper size that reads well on gifts.
- For larger statement toppers, use 8 in x 8 in (20 cm x 20 cm).
Instructions (classic crane, simplified)
- Start color-side up. Fold diagonally corner to corner to make a triangle. Unfold.
- Fold the other diagonal corner to corner. Unfold. You now have an “X” crease.
- Flip paper over. Fold in half horizontally, unfold. Fold in half vertically, unfold. (You now have a star of creases.)
- Collapse into a square base: bring the left and right sides inward while the top collapses down into a smaller square (open end facing you).
- Make a kite shape: fold the lower left edge to the center line, then the lower right edge to the center line. Repeat on the back.
- Inside reverse fold (forming bird base): lift the top layer at the bottom point and fold upward along existing creases. Flatten into a long diamond. Repeat on the back if needed.
- Form head and tail: take the two thin points and fold one down slightly (inside reverse fold) to create the head. Leave the other as the tail.
- Make wings: fold both side flaps down to form wings. Adjust angle for a sleek or dramatic look.
- Finish: gently pull head and tail to shape the body. If desired, lightly curve wings with your fingers.
Attach as a gift topper
- Punch a small hole in a 1.5 in x 3 in (4 cm x 7.5 cm) tag and write a message.
- Tie crane + tag to ribbon using baker’s twine, or attach crane to the gift using a small loop of double-sided tape under the body.
Step-by-Step Project 3: Modular Origami Flower (Kusudama-Style) for Centerpieces
Perfect for: table centerpieces, backdrop décor, hanging party decorations
Time: 10–18 minutes per flower (plus glue drying time)
Skill level: Intermediate
What you’ll make
- A 5-petal modular flower made from 5 identical folded units, glued together.
Measurements
- Use 5 squares of 3 in x 3 in (7.5 cm x 7.5 cm) for small flowers.
- Use 5 squares of 4 in x 4 in (10 cm x 10 cm) for centerpiece-sized blooms.
Instructions (one module; make 5)
- Start color-side down. Fold in half diagonally to make a triangle.
- Bring the left corner up to the top point. Crease. Repeat with the right corner up to the top point. (You’ll have a diamond-like shape.)
- Fold each side flap outward: take the top layer on the left and fold it down/out so the edge aligns with the outer edge below. Repeat on the right.
- Fold the small top triangles down to tidy the top edges.
- Fold the sides inward so the module forms a cone/petal shape. Secure with a tiny dot of glue inside the cone.
Assemble the flower
- Glue the outer sides of two petals together, aligning edges neatly.
- Add petals one at a time until you have a ring of 5.
- Hold with mini clips for 2–3 minutes or until tacky. Let fully dry 10–15 minutes before hanging or arranging.
Display ideas
- Glue flowers to wooden skewers (trim to 8–10 in / 20–25 cm) and place in a vase with tissue paper filler.
- String flowers into a garland using a needle and thread through the base (or glue to a ribbon).
Personalization Ideas That Look Polished
- Name + date pairing: add tiny text like “Maya • 06.15.26” on hearts or tags for weddings and anniversaries.
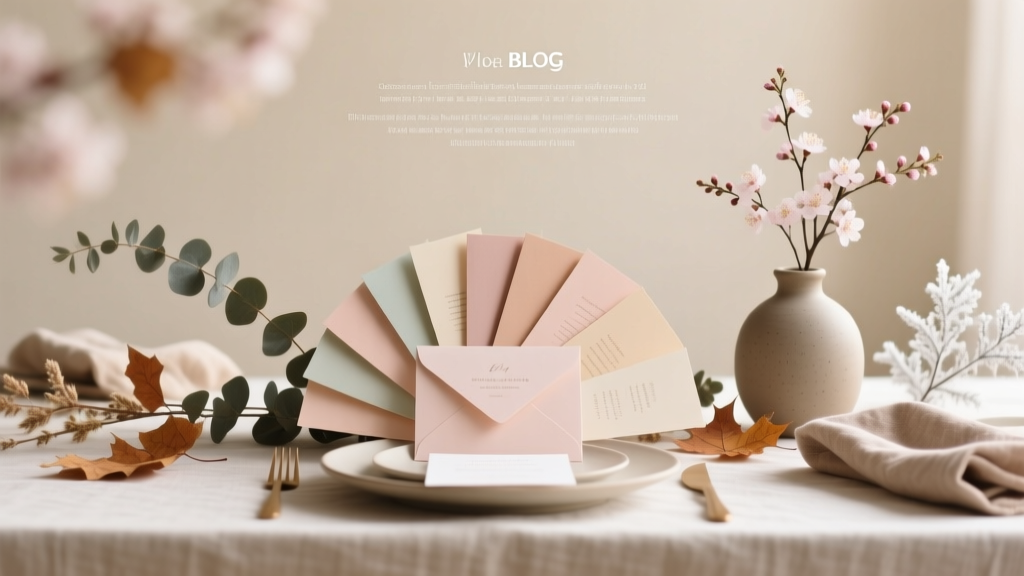
- Theme palettes: mix 2 solids + 1 metallic (example: blush + cream + gold) for cohesive party décor.
- Custom patterns: print your own designs (confetti dots, stars, florals) on printer paper, then cut into squares.
- Meaningful messages: write a short note inside a folded heart (hidden message) or on the underside of a crane wing.
- Monograms: stamp initials on the paper before folding (test placement first).
Pro Tips for Crisp Folds and Party-Ready Results
- Use a bone folder: run it along every crease for sharp edges—your origami decorations will look more “store-bought.”
- Work on a hard surface: a smooth table beats fabric-covered or textured surfaces for clean lines.
- Choose paper by model:
- Hearts: slightly thicker paper is fine
- Cranes: lighter paper folds cleaner (avoid very stiff cardstock)
- Modular flowers: medium paper works best for structure
- Batch your workflow: cut all squares first, fold all bases second, assemble last—perfect for party prep.
- Pre-test with 1 sheet: confirm size and look before committing to 30–100 units.
- Keep hands clean and dry: lotion or damp hands can wrinkle paper and leave marks (especially on metallic/foil paper).
Variations: Beginner-Friendly and Advanced Upgrades
Beginner-friendly variations
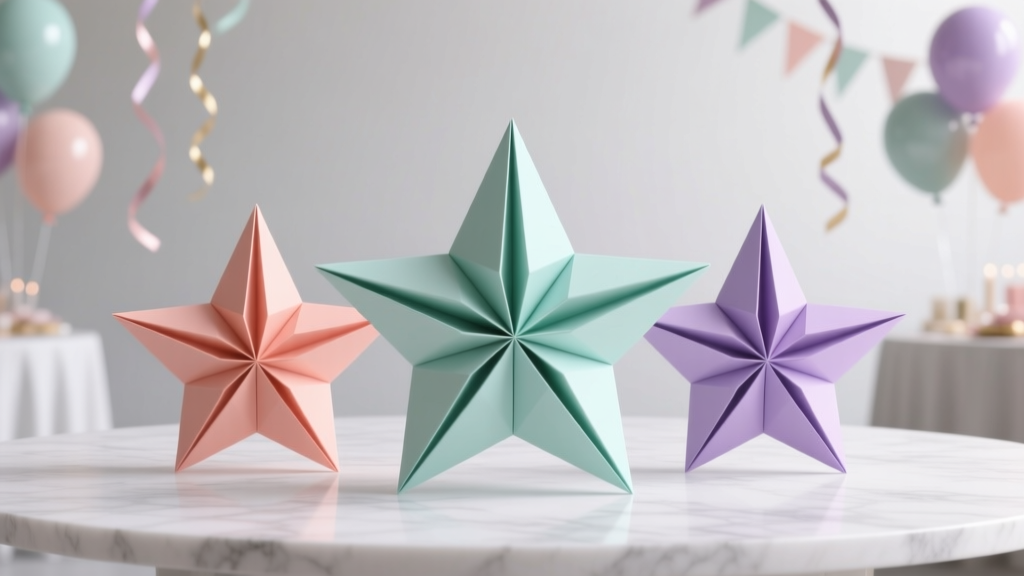
- Flat origami stars (lucky stars) as table scatter: use pre-cut paper strips (0.4 in x 10 in / 1 cm x 25 cm). Great for filling clear favor boxes.
- Heart garland: fold 20–40 hearts and clip onto twine with mini clothespins—no threading required.
- Napkin topper: slide a heart under the napkin fold and add a name tag.
Advanced variations
- Double-layer crane: fold a slightly smaller crane and nest it on top for a two-tone look.
- LED-lit origami flowers: place a warm micro-LED behind translucent vellum flowers for glowing centerpieces (keep heat low and never use real flame near paper).
- Giant backdrop pieces: use 12 in x 12 in paper for oversized hearts or cranes; hang with fishing line at varying heights.
Troubleshooting: Fixes for Common Origami Problems
- My folds don’t line up: slow down and match corners precisely before creasing. Lightly pinch the midpoint first, then crease outward.
- Paper keeps springing open: use a tiny glue dot on hidden layers (backside or inside cone), especially with thicker paper.
- Wrinkles and smudges: switch to slightly heavier origami paper or reduce handling. Metallic paper shows fingerprints—handle edges.
- Crane wings look uneven: check the symmetry at the square base stage. If the base is off, the final model will be off.
- Modular flower won’t hold: use tacky glue or a stronger liquid glue and clip petals together while drying.
Common Crafting Mistakes to Avoid
- Skipping the paper test: different brands fold differently; test one model before making a full set of party decorations.
- Using paper that’s too thick for detailed models: cranes and complex folds hate stiff cardstock—save it for simple hearts or tags.
- Over-gluing: excess glue warps paper and creates shiny spots. Use tiny dots or a glue runner.
- Rushing creases: crisp folds are the difference between “cute” and “wow.” Crease firmly, then move on.
- Not planning hanging weight: larger origami needs stronger string and secure knots; fishing line works best for floating effects.
- Forgetting party placement: measure your tables and backdrop space first so your DIY decorations fit the venue.
FAQ: Personalized Origami Decorations & Gifts
1) What’s the best paper for origami party decorations?
For most DIY party decorations, 6 in x 6 in origami paper is the easiest and most reliable. Use lighter paper for cranes and intricate folds, and slightly thicker paper for hearts or place-card toppers that need to sit upright.
2) How far ahead can I make origami decorations for a party?
You can fold most origami pieces 2–4 weeks in advance. Store them in a shallow box with a lid, layered with tissue paper. Keep them away from humidity to prevent curling.
3) How do I add names without ruining the folds?
Write names before folding if you know exactly where the name will land, or write on a small tag and attach with glue dots. Metallic pens look great for weddings and formal parties.
4) Can kids help with this project?
Yes. Kids can help cut squares (with supervision), make simple hearts, clip pieces onto garlands, and write names on tags. Save cranes and modular flowers for teens or adults who enjoy careful folding.
5) How do I hang origami cranes or flowers securely?
Use fishing line for a floating look. Tie a small knot through a hidden fold or lightly tape the line inside a layer. For heavier modular flowers, add a tiny dab of glue to reinforce the attachment point.
6) What’s a quick way to make everything look coordinated?
Pick a 3-color palette and repeat it across all pieces: one solid, one light neutral, and one metallic or patterned paper. This instantly makes your handmade decorations look intentional and party-ready.
Wrap-Up: Make It Personal, Make It Party-Ready
Personalized origami decorations gifts are one of the easiest ways to bring handmade charm to your celebration—without spending a fortune. Start small with heart place cards, level up with crane gift toppers, then go bold with modular flowers for centerpieces and backdrops. Every fold adds personality, and guests always notice the thoughtful details.
If you try one of these DIY crafts, make a mini set first (5–10 pieces), refine your process, then batch-produce for your party. You’ll be surprised how quickly your table, gift station, or photo area transforms with just paper, string, and a few clean creases.
Want more party-ready DIY craft ideas? Keep exploring smartpartyprep.com for creative handmade decorations, favor projects, and step-by-step party prep inspiration.
More Articles
 How to Allow Third Party Cookies on MacBook Air (2020–2024): A Step-by-Step Safari & Chrome Fix That Actually Works in 2024 — No Tech Degree Required
 Advanced Slime for Crafters
 Seasonal Invitations Ideas
 How to Make Party Photo Booth in Under $40 (No Tech Skills Needed): A Foolproof 5-Step Guide That Guests Actually Love — Plus Free Printable Props & Backdrop Templates
 How to Make a Party Hat Out of Construction Paper in Under 8 Minutes (No Glue Gun, No Scissors Required — Just 3 Supplies You Already Own)
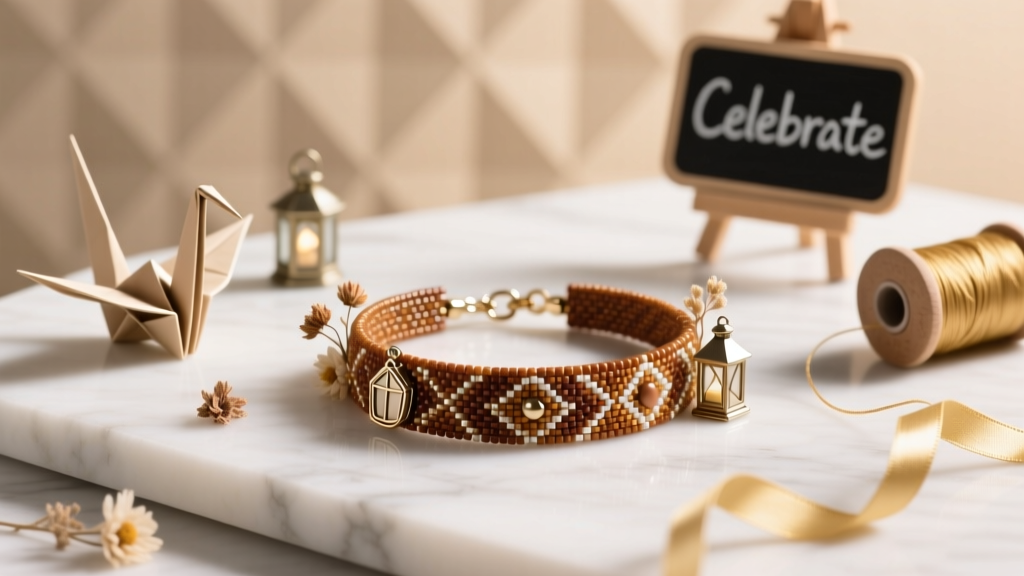 DIY Beaded Bracelets for Home Decor
 Advanced Origami Decorations for Crafters
 How to Automate Third Party Plugins in FL Studio: The 7-Step Blueprint That Cuts Your Mix Automation Time by 68% (No Coding Required)
 DIY Wreaths Using Cricut
 Seasonal Favor Bags Ideas