Seasonal Favor Bags Ideas
Handmade favor bags are one of those party details that guests remember—even after the last cupcake is gone. They’re useful (because everyone loves a take-home treat), but they’re also a chance to show off your creativity, match your theme, and add a personal touch without blowing your budget.
The best part? DIY favor bags are incredibly flexible. You can make them as simple as a stamped kraft bag with a ribbon, or as extra as layered tags, tissue paper “confetti,” and custom names for each guest. With a few basic supplies, you can create seasonal party favor bags for birthdays, holidays, baby showers, classroom parties, and backyard gatherings.
This guide is packed with seasonal favor bag ideas plus step-by-step instructions, practical measurements, material costs, and pro tips—so you can confidently craft favor bags that look polished, feel fun, and hold up through party day.
Quick Overview: Skill Level, Time, and Batch Planning
- Skill level: Beginner to Intermediate (advanced variations included)
- Time estimate: 45–90 minutes for 12 bags (depending on embellishments)
- Batch-friendly: Yes—assembly-line style crafting works great
- Best for: DIY party decorations, handmade party favors, seasonal celebrations
Materials List (With Product Types + Estimated Costs)
These supplies cover multiple seasons and styles. You can mix and match depending on your theme.
Favor Bag Bases (choose 1–2)
- Kraft paper treat bags (5 in x 7 in): $6–$12 for 50
- White paper treat bags (5 in x 7 in): $7–$14 for 50
- Clear cellophane bags (4 in x 9 in or 5 in x 11 in): $6–$12 for 100
- Muslin drawstring bags (4 in x 6 in): $12–$25 for 25 (reusable, great for weddings)
Adhesives + Closures
- Double-sided tape (1/4 in or 3/8 in): $4–$8
- Glue dots (mini): $4–$7
- Hot glue gun (low-temp recommended) + sticks: $10–$20 total
- Mini clothespins (1 in): $4–$8 for 50
- Stapler (basic): $5–$10
Papers, Tags, and Decorative Elements
- Cardstock (65–80 lb): $6–$12 per pack
- Patterned scrapbook paper (12 in x 12 in): $6–$15 per pad
- Pre-cut gift tags or tag punch: $4–$15
- Ribbon (3/8 in or 5/8 in): $3–$8 per spool
- Twine (jute/cotton): $3–$7
- Tissue paper (assorted colors): $4–$10
- Stickers (seasonal): $3–$8
- Wax seals (optional): $10–$25 starter kit
Tools (recommended)
- Scissors (8 in): $6–$15
- Paper trimmer (for clean, fast cuts): $15–$35
- Hole punch (single-hole 1/4 in): $4–$10
- Corner rounder punch (optional, makes tags look pro): $6–$12
- Ruler + pencil for measuring
- Marker or paint pen (white, gold, or black): $3–$8
Favor Fillers (budget-friendly ideas)
- Individually wrapped candies, mini chocolates, lollipops
- Stickers, temporary tattoos, bouncy balls (kids’ parties)
- Mini bubbles, crayons, mini Play-Doh
- Tea bags, hot cocoa packets, mini jam, seed packets (adult-friendly)
Core Method: DIY Seasonal Favor Bag Template (Works for Any Season)
This is your “go-to” method. Once you know the steps, you can swap colors and themes for spring, summer, fall, or winter without starting over.
Measurements That Make Bags Look Polished
- Tag size: 2 in x 3.5 in (classic) or 2.5 in x 4 in (bolder)
- Ribbon length per bag: 18–22 in (enough for a neat bow)
- Tissue paper: 10 in x 10 in squares (fluffs nicely in 5 in x 7 in bags)
Step-by-Step: Assemble 12 Favor Bags
-
Pick your bag base and theme colors.
Example palettes:- Spring: mint + blush + white
- Summer: turquoise + yellow + coral
- Fall: rust + kraft + cream
- Winter: navy + silver + white
-
Prep tags (fast batch method).
Cut 12 tags from cardstock using a paper trimmer:- Cut strips to 3.5 in tall
- Trim each to 2 in wide
- Round corners (optional) for a boutique look
- Punch a hole 1/2 in from the top edge
-
Write or decorate the tags.
Keep it simple and readable:- “Thank you!”
- Guest names (great for place-card + favor combo)
- Seasonal phrase (ideas below)
-
Fill each bag.
Aim for 2/3 full so you can fold the top cleanly without tearing. If using tissue paper:- Place 1–2 tissue squares inside first
- Add favors
- Fluff tissue above the top edge for a festive look
-
Close the bag.
Choose one:- Fold + tape: Fold top down 1 in, then again 1 in. Seal with double-sided tape.
- Fold + staple: Great for heavier items. Cover staple with a sticker or small label.
- Clothespin: Cute and quick; works best if the bag isn’t overstuffed.
-
Add ribbon/twine + tag.
Thread ribbon through tag hole, wrap around the folded top, and tie a bow. Trim tails on an angle for a crisp finish. -
Final “wow” detail (optional).
Add one simple extra:- Small sticker seal
- Tiny charm (snowflake, leaf, star)
- Mini sprig of faux greenery (winter) or dried flower (spring)
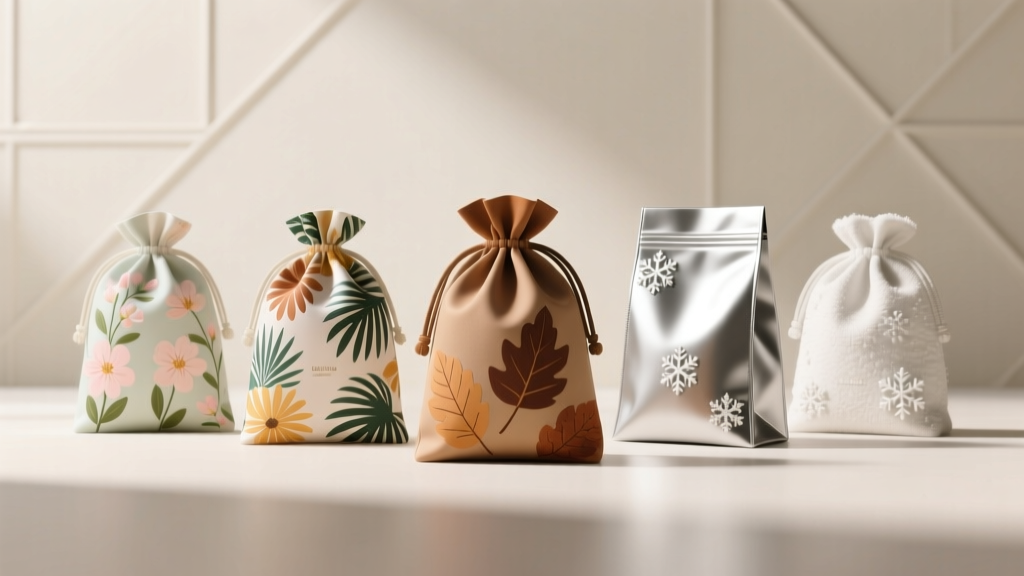
Season-by-Season Favor Bag Ideas (Themes + Details)
Spring Favor Bags: Fresh, Floral, and Light
- Idea: Pastel paper bags with a floral tag + twine
- Tag text ideas: “Blooming grateful,” “Thanks for celebrating,” “Hello, Spring!”
- Easy add-on: Glue a small paper flower (1.5–2 in wide) to the tag
- Filler ideas: Mini seed packets, flower-shaped candies, stickers, lip balm
Beginner-friendly adaptation: Use floral stickers instead of making paper flowers.
Advanced variation: Add a vellum wrap around the bag (cut vellum to 5 in x 7 in, wrap and tape on the back).
Summer Favor Bags: Bright, Bold, and Outdoor-Ready
- Idea: Clear cellophane bags tied with colorful ribbon and a “Sunshine” tag
- Tag text ideas: “Sweet summer,” “Thanks a bunch,” “You’re a ray of sunshine”
- Easy add-on: Mini sunglasses cutout or fruit sticker (watermelon, lemon)
- Filler ideas: Individually wrapped gummies, glow sticks, bubbles, mini sunscreen
Pro tip: For pool parties, avoid chocolate—choose gummies, mints, or toys that won’t melt.
Fall Favor Bags: Cozy, Rustic, and Texture-Rich
- Idea: Kraft bags with plaid paper tags and twine
- Tag text ideas: “Warm wishes,” “So thankful,” “Fall in love”
- Easy add-on: Attach a small artificial leaf (about 2–3 in) with a glue dot
- Filler ideas: Caramel candies, cinnamon gum, mini honey sticks, hot cocoa packets
Advanced variation: Use a small strip of burlap ribbon (about 8 in) layered under twine for extra texture.
Winter Favor Bags: Sparkly, Elegant, and Holiday-Friendly
- Idea: White bags with metallic (silver/gold) accents and a snowflake tag
- Tag text ideas: “Warm & cozy,” “Let it snow,” “Thanks for coming”
- Easy add-on: Seal the bag with a foil star sticker
- Filler ideas: Peppermints, mini candy canes, tea, hand warmers, ornaments
Pro tip: If you’re using glitter cardstock, keep it on the tag only (not the bag) so it doesn’t shed onto food or hands.
Pro Tips for Assembly-Line Crafting (Cleaner + Faster)
- Set up stations: cutting → writing → filling → closing → decorating
- Cut everything first: tags, ribbon lengths (cut 12 pieces at 20 in)
- Use a ruler for consistent folds: fold tops down 1 in twice for a sturdy closure
- Choose the right adhesive:
- Glue dots = fast and no drying time
- Double-sided tape = cleanest for paper
- Hot glue = strongest (but can warp thin paper)
- Make 1 “perfect sample” first: then copy it 11 times
Variations to Match Party Themes (Beyond Seasons)
- Birthday party favor bags: Add number stickers (turning 5, 10, 21) to tags
- Baby shower: Soft colors + mini clothespin closure + tiny heart sticker
- Wedding: Muslin bags + stamped initials + satin ribbon (5/8 in)
- Classroom parties: Pre-write “From: ____” and “To: ____” on tags
- Eco-friendly style: Kraft bags + compostable twine + paper confetti (hole-punched scraps)
Troubleshooting: Fix Common Favor Bag Problems
Problem: Bag won’t close neatly
- Cause: Overfilled bag
- Fix: Remove 1–2 items; aim for 2/3 full. Use a clothespin or staple if items are bulky.
Problem: Tags look uneven or “homemade” (not in a cute way)
- Cause: Hand-cut tags without measuring
- Fix: Use a paper trimmer; batch cut to 2 in x 3.5 in. Round corners for consistency.
Problem: Ribbon bows flop or untie
- Cause: Slippery ribbon or too-short tails
- Fix: Cut 20–22 in per bag. Use twine or grosgrain ribbon (less slippery than satin).
Problem: Stickers peel off
- Cause: Dusty bag surface or textured paper
- Fix: Press firmly for 10 seconds; reinforce with a glue dot underneath.
Common Crafting Mistakes to Avoid
- Skipping a test bag: Always make one fully finished sample before mass-producing.
- Using high-temp hot glue on thin bags: It can warp or burn through—use low-temp or tape.
- Choosing messy embellishments near food: Loose glitter and shedding trims can end up in treats.
- Not matching tag size to bag size: Tiny tags look lost; oversized tags make bags top-heavy. Stick to 2 x 3.5 in for most treat bags.
- Forgetting transport: Tall toppers can bend in boxes. If you’re stacking bags, keep embellishments flat.
- Writing names last-minute: Ink smudges happen—write tags early and let them dry.
FAQ: Seasonal DIY Favor Bags
How far in advance can I make DIY favor bags?
You can assemble the bags and tags 2–4 weeks ahead. If you’re adding food, fill them 1–3 days before the party for best freshness (especially for baked goods or unwrapped treats).
What’s the easiest favor bag option for beginners?
Kraft paper treat bags + a seasonal sticker seal + twine and a simple tag. Minimal cutting, no fancy tools, and it still looks like a thoughtful handmade party decoration.
How do I make favor bags look “coordinated” without buying expensive supplies?
Limit yourself to 2 main colors plus one neutral (kraft/white). Repeat the same tag shape and the same ribbon type across all bags for a cohesive set.
What size bag should I use for small favors?
For a few candies or a small toy, 5 in x 7 in paper treat bags are the sweet spot. For taller items (like a glow stick), use 4 in x 9 in cellophane bags.
How can I make my favor bags more eco-friendly?
Choose paper bags, natural twine, and paper tags. Skip plastic confetti and use hole-punched paper scraps instead. Reusable muslin bags are also a great option for weddings and showers.
Can I personalize favor bags without a cutting machine?
Yes—use letter stickers, a metallic marker, or a simple name stamp. For consistent handwriting, lightly pencil names first, then trace with pen.
Wrap-Up: Your Seasonal Favor Bags, Your Way
Seasonal favor bags are a budget-friendly DIY craft that instantly upgrades party decorations. Once you nail the basic method—bag, filler, closure, tag—you can create endless looks just by switching colors, textures, and tiny seasonal details.
Pick one season to start, make a single “test bag,” and enjoy the process. A dozen handmade favor bags on a table has a way of making the whole party feel more special.
Want more party-ready DIY crafts and handmade decoration ideas? Visit smartpartyprep.com for more creative projects you can make, personalize, and proudly show off at your next celebration.
More Articles
 How to Enable 3rd Party Cookies on Safari in 2024: The Real Truth (Spoiler: You Can’t — But Here’s What Actually Works Instead)
 Kids' Craft: Confetti
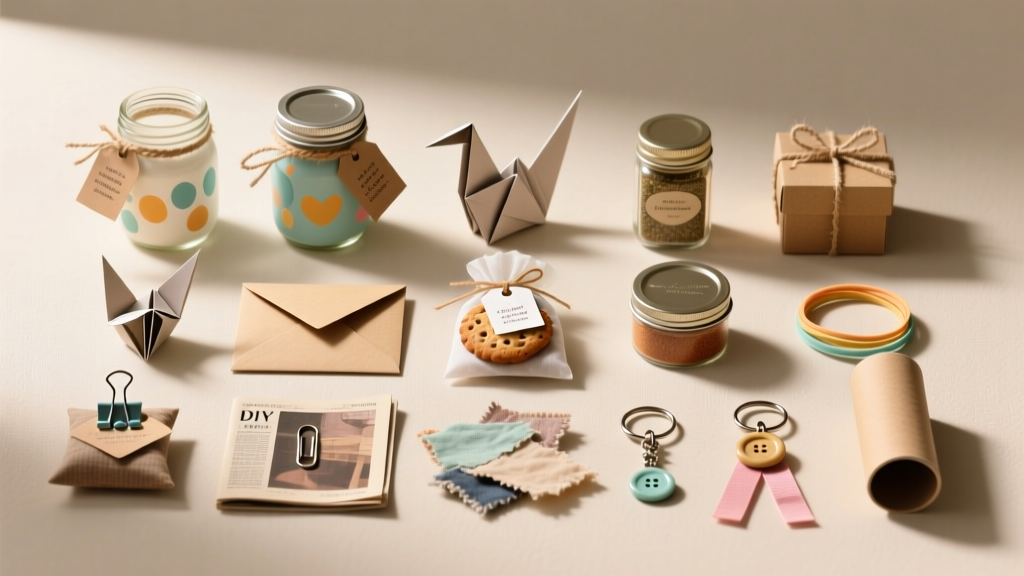 17 Do It Yourself Party Favors That Actually Impress Guests (No Craft Store Run Needed — Just $5, 20 Minutes & What’s Already in Your Drawer)
 How to Enable Third Party Cookies on Mac in 2024: A Step-by-Step Safari & Chrome Guide (Plus Why You Might Not Want To)
 Step-by-Step Invitations Tutorial
 How to Make Balloon Arches at Home
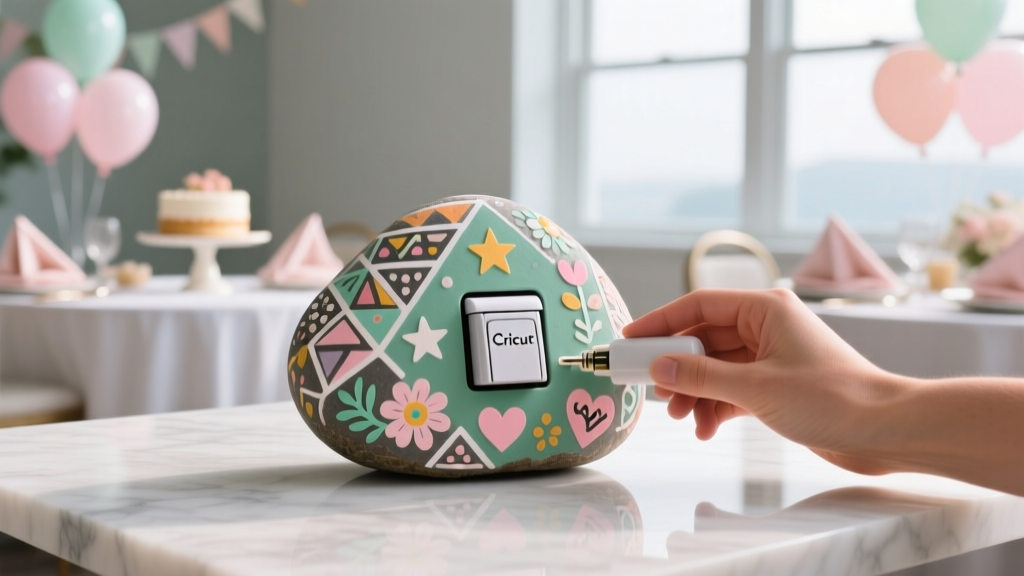 DIY Painted Rocks Using Cricut
 How to Enable 3rd Party Cookies in Chrome (2024): A Step-by-Step Fix for Blocked Logins, Ad Retargeting & SSO Failures — Before Google Shuts Them Down Completely
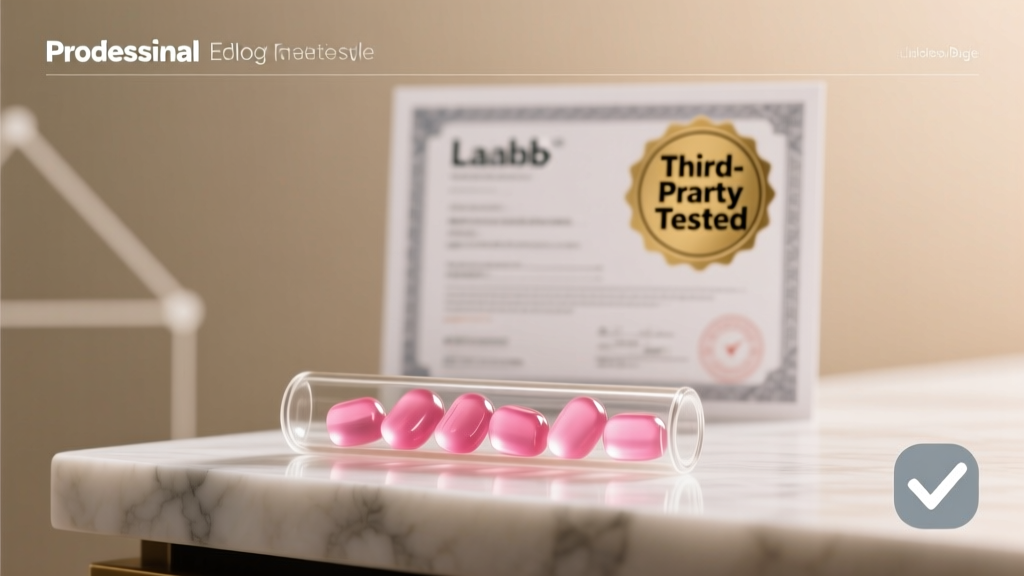 Are Create Creatine Gummies Third Party Tested? Here’s Exactly How to Verify Lab Certification (Without Paying for a Full Batch You Can’t Trust)
 How to Enable Third Party Cookies in 2024: A Step-by-Step Browser Guide (Chrome, Safari, Firefox, Edge) — Because Yes, Some Sites Still Need Them (and Here’s Exactly How to Do It Safely)