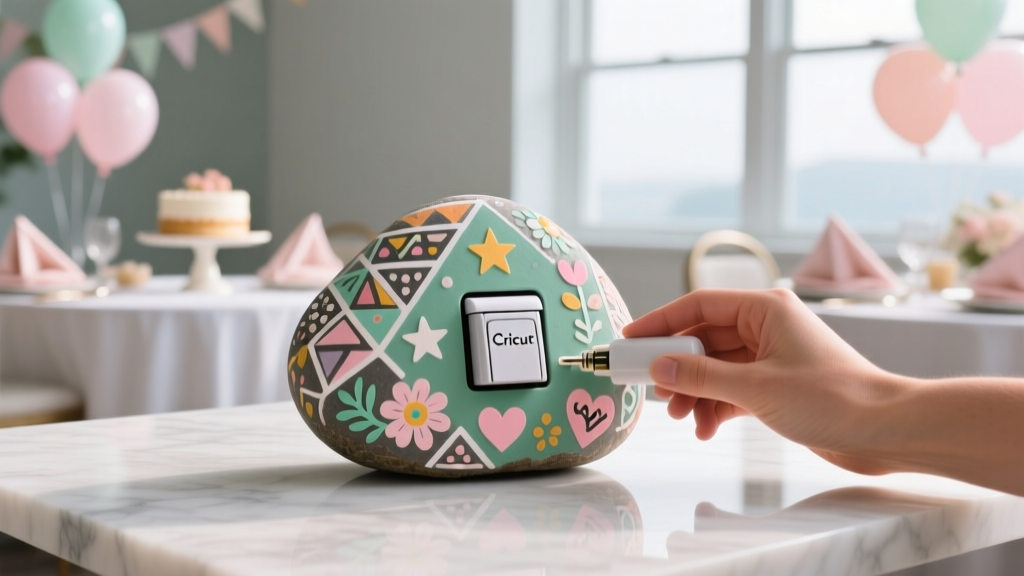
DIY Painted Rocks Using Cricut
Painted rocks are one of those feel-good crafts that are equal parts relaxing and useful. You can make them as party decorations, table accents, guest favors, or even a playful “find-a-rock” game for kids at a birthday party. The best part: they look impressive without needing fancy painting skills—especially when you bring a Cricut into the mix for crisp designs and clean lettering.
Using a Cricut for DIY painted rocks gives you professional-looking results with minimal frustration. You can cut stencils for paint, use removable vinyl as a mask, or add permanent vinyl decals for quick, durable designs. Whether you’re prepping a themed baby shower, a graduation party, or a backyard BBQ, these handmade decorations are small, affordable, and packed with personality.
This tutorial walks you through the whole process step-by-step, including beginner-friendly options and advanced variations. You’ll also get pro tips, troubleshooting, and party-ready ideas so your rocks look polished and photo-worthy.
Project Overview
- Skill level: Beginner to Intermediate (Advanced options included)
- Total time: 60–120 minutes for 6–12 rocks (plus drying time)
- Hands-on time: About 10 minutes per rock
- Drying/curing time: Paint: 20–60 minutes between coats; Sealer: 1–2 hours touch-dry, 24 hours to fully cure (varies by product)
- Best for: Party favors, place cards, centerpiece accents, themed décor, kids’ party activities
Materials & Estimated Costs
Costs vary by brand and what you already have. The list below focuses on practical product types that work well for DIY crafts and party decorations.
Core Supplies
- Smooth rocks (2–4 inches wide): river rocks or flat garden stones; 12-pack typically $8–$18
- Acrylic craft paint (multi-surface recommended): 2 oz bottles; $1–$3 each (you’ll want 3–6 colors)
- Paintbrush set: flat brush (1/2 inch), small round detail brush, optional foam brush; $5–$12
- Cricut machine: Cricut Explore Air 2 / Explore 3 / Maker series (any that cuts vinyl)
- Vinyl for stencils: removable vinyl rolls or sheets; $7–$15
- Transfer tape: standard grip; $5–$12
- Weeding tool: basic hook tool; $6–$12
- Cutting mat: StandardGrip (green) or LightGrip (blue); $10–$15
- Sealer: clear acrylic spray sealer (matte or gloss) or brush-on sealer; $6–$12
Helpful Extras (Highly Recommended)
- Primer (optional but helpful): white gesso or multi-surface primer; $6–$12
- Fine-grit sandpaper (220–400 grit): for smoothing; $3–$6
- Rubbing alcohol (70%+): for cleaning before vinyl; $2–$4
- Lint-free cloth or paper towels: $2–$5
- Painters tape: for quick masking; $4–$7
- Heat tool or hair dryer (optional): speeds drying; $15–$30
Party Display Options
- Small place card holders or mini easels: for table settings; $8–$15
- Organza bags or favor boxes: for gifting; $6–$15
- Permanent marker or paint pen: for names and last-minute edits; $2–$5
Choosing Rocks That Work Well
Not all rocks are equally friendly for vinyl stencils. For the best results, look for these features:
- Flatter front surface: a gentle curve is okay; avoid extremely bumpy textures for small designs.
- Size range: 2–4 inches wide is ideal for party place cards and mini messages.
- Weight: heavier rocks stay put as outdoor party décor.
Quick rock prep measurements
- Stencil size sweet spot: 1.25–2.5 inches wide for most 2–4 inch rocks
- Letter height for names: 0.35–0.6 inches tall for readability on table settings
Step-by-Step: DIY Painted Rocks Using Cricut
Step 1: Clean and Prep the Rocks (10–15 minutes)
- Wash rocks with warm water and a drop of dish soap. Scrub off dirt and dust.
- Rinse thoroughly and let them dry completely.
- Optional smoothing: If a rock has sharp edges or gritty spots, lightly sand with 220–400 grit sandpaper.
- Wipe the front surface with rubbing alcohol right before applying vinyl (helps it stick cleanly).
Step 2: Paint the Base Coat (20–45 minutes including drying)
- Apply a thin base coat of acrylic paint using a 1/2-inch flat brush or foam brush.
- Let dry 20–30 minutes (or per paint label). Use a hair dryer on low if you want to speed things up.
- Apply a second thin coat for solid coverage. Dark rocks may need a third coat.
- Beginner tip: White, cream, or pastel base coats make Cricut stencil designs pop and are very forgiving.
- Party idea: Match base colors to your theme—blush and gold for bridal showers, bright primary colors for kids’ parties, black and silver for milestone birthdays.
Step 3: Design Your Stencil in Cricut Design Space (10–20 minutes)
Pick simple shapes and bold fonts to start. Tiny details can lift on textured stone.
- Good beginner design ideas: stars, hearts, balloons, confetti dots, simple floral outlines, “THANK YOU,” names, “TAKE ONE,” “GRAD,” age numbers.
- Font tip: choose thicker fonts; avoid super thin script on heavily curved rocks.
Recommended sizing: Start with a design 1.5–2 inches wide, then adjust based on your rock’s flat area.
Step 4: Cut and Weed the Vinyl Stencil (10–25 minutes)
- Place removable vinyl on your Cricut mat (shiny side up).
- Select a vinyl cut setting (your machine will guide you).
- Cut your design.
- Weeding: Remove the parts where paint should go through (for stencils, you usually remove the design itself so the paint fills it in).
- Tool recommendation: A weeding tool + tweezers makes small stencil pieces much easier.
- Advanced option: Use stencil vinyl (more rigid) for crisp edges, especially on smoother rocks.
Step 5: Apply the Stencil to the Rock (5–10 minutes)
- Cut a piece of transfer tape slightly larger than your design.
- Burnish the transfer tape onto the stencil (use a scraper tool or an old gift card).
- Peel the stencil backing away slowly.
- Place on the rock and press from the center outward to avoid bubbles.
- Burnish the stencil edges especially well—this helps prevent paint bleed.
Step 6: Paint Over the Stencil (10–20 minutes including drying)
- Use a small sponge dabber or a stiff brush and pounce paint straight down (instead of brushing side to side).
- Apply 2–3 light layers rather than one heavy coat.
- Let the final layer dry until it’s just barely dry to the touch (often 5–10 minutes depending on thickness).
- Carefully peel the stencil off at a low angle.
- Pro tip for sharper edges: After applying the stencil, paint a thin layer of your base coat color over stencil edges first. Let it dry, then paint your design color. This “seals” the stencil line and reduces bleeding.
Step 7: Seal for Durability (10 minutes + cure time)
Sealing is what turns this from a quick craft into party décor that lasts.
- Let painted rocks dry at least 1 hour before sealing (longer if paint feels tacky).
- Spray sealer in a well-ventilated area. Hold can 8–12 inches away and apply light coats.
- Let dry between coats per label (often 15���30 minutes).
- Apply 2–3 coats for party favors that will be handled.
- Cure for 24 hours before bagging them as favors or stacking in a bin.
Party-Friendly Ideas & Variations
Beginner-Friendly Designs
- Place card rocks: Paint rocks one solid color. Add guests’ names with a Cricut stencil or permanent vinyl letters.
- Thank-you favor rocks: “THANKS,” “SWEET,” “TAKE ONE,” or mini hearts/stars.
- Confetti rocks: Dot patterns using a sponge and 2–3 colors (no stencil needed), then add one bold Cricut-cut word.
Advanced Variations
- Layered stencil designs: Cut multiple stencil layers (example: balloon + highlight + string) and paint in stages.
- Metallic accents: Add gold or silver paint details with a fine brush after removing the stencil.
- Reverse stencil (negative space): Paint the entire rock a bright color, stencil a shape, then paint the surrounding area a second color.
- Glow party rocks: Use glow-in-the-dark paint as the design layer for nighttime backyard parties.
Pro Tips for Clean, Crisp Results
- Use removable vinyl for stencils: it peels more cleanly than permanent vinyl.
- Keep designs bold: thicker lines survive the rock’s texture better.
- Pounce, don’t brush: brushing pushes paint under stencil edges.
- Work with thin paint layers: thick paint creates ridges and can tear when peeling the stencil.
- Peel at the right time: remove the stencil when paint is set but not fully cured to reduce cracking.
- Seal after everything is fully dry: sealing too early can cause cloudiness or tackiness.
Troubleshooting: Fixes for Common Issues
Paint bled under the stencil
- Burnish the edges more firmly next time.
- Use less paint and apply multiple light coats.
- Try the “base coat seal” trick before your design color.
- Quick fix: Touch up with a tiny detail brush and your base coat color.
Vinyl won’t stick to the rock
- Make sure the rock is fully dry and wiped with rubbing alcohol.
- Choose smoother rocks or keep the stencil larger and simpler.
- Warm the vinyl slightly with your hands before applying so it conforms better.
Stencil tears or lifts paint
- Use removable vinyl (not permanent) for stencils.
- Peel slowly at a low angle.
- Let paint dry a bit more before peeling, but don’t wait hours for stencil removal.
Sealer stays sticky
- Apply lighter coats and allow longer dry times.
- Avoid sealing in high humidity if possible.
- Make sure paint is fully dry before sealing.
Common Crafting Mistakes to Avoid
- Skipping cleaning: Dust and oils prevent vinyl from sticking and cause peeling later.
- Using super detailed designs on rough rocks: small cuts and thin lines are harder to weed and more likely to bleed.
- Applying thick paint over the stencil: it seeps under edges and creates raised ridges.
- Rushing dry times: paint smudges and sealers can cloud or wrinkle if layered too quickly.
- Forgetting to test on one rock first: a quick test saves time when you’re making batches for party favors.
- Sealing indoors without ventilation: spray sealers need airflow—use a garage with the door open or an outdoor protected spot.
FAQ: DIY Painted Rocks with Cricut
1) Is a Cricut required to make painted rocks?
No, but it makes lettering and shapes much cleaner and faster—especially for party decorations like place cards or matching themed favors. Without a Cricut, you can use paint pens, stickers, or hand-cut stencils.
2) Should I use removable or permanent vinyl for stencils?
Use removable vinyl for stencils (masking). Permanent vinyl can grip too strongly and may pull paint up when removed. Save permanent vinyl for decals you want to leave on the rock, then seal over it.
3) What size should I cut my design for a 3-inch rock?
A great starting range is 1.5–2.25 inches wide, depending on how flat the surface is. For names, aim for letters around 0.4–0.6 inches tall so they’re readable from across the table.
4) What’s the best sealer for party favors that will be handled?
A clear acrylic spray sealer is quick and durable for batch crafting. Use 2–3 light coats and let the rocks cure 24 hours before packaging them in favor bags or boxes.
5) Can kids do this craft for a party activity?
Yes! Prep the rocks and base coats ahead of time. For kids, use larger stencils (bold shapes), sponge dabbers, and quick-dry acrylic paint. Adult help is best for weeding vinyl and using spray sealer.
6) How do I make painted rocks weather-resistant for an outdoor party?
Choose multi-surface acrylic paint and apply multiple coats of outdoor-rated clear sealer. Let them cure fully (about 24 hours) before setting them outside. If rain is expected, bring them under cover to keep them looking fresh.
Wrap-Up: Make a Batch for Your Next Party
DIY painted rocks using Cricut are a simple way to add handmade charm to your party décor. They’re easy to batch-produce, budget-friendly, and endlessly customizable—perfect for place settings, themed decorations, and take-home favors that guests actually want to keep.
If you try this project, make a small test rock first, then start a mini assembly line for painting, stenciling, and sealing. You’ll be surprised how quickly you can create a coordinated set that looks store-bought (but way more personal).
Want more party-ready DIY crafts and handmade decoration ideas? Explore more creative projects on smartpartyprep.com and keep the celebration beautifully homemade.
More Articles
 12 Stunning Do It Yourself Western Party Decorations You Can Make in Under 2 Hours (No Craft Store Run Needed — Just Dollar Store & Recycled Supplies!)
 Paper Craft Tote Bags Ideas
 DIY Painted Rocks for Holidays
 How to Make Tents for a Slumber Party: 7 No-Sew, Budget-Friendly Ideas That Take Under 20 Minutes (Plus Pro Tips to Keep Them Standing All Night!)
 Advanced Coasters for Crafters
 Paper Craft Party Banners Ideas
 Seasonal Wooden Signs Ideas
 How to Enable Third Party Cookies on Mac: A Step-by-Step Safari & Chrome Fix (2024 Verified — No More 'Blocked' Errors or Broken Logins)
 DIY Dream Catchers with Dollar Store Supplies
 How to Record Xbox Party Chat in 2024: The Only Step-by-Step Guide That Actually Works (No Capture Card Required)