
Paper Craft Tote Bags Ideas
Paper craft tote bags are one of those party-friendly DIY projects that feel instantly rewarding: you cut, fold, glue, and suddenly you’ve created something you can actually use. They’re cute enough to display at a dessert table, practical enough to hold party favors, and customizable for any theme—birthdays, baby showers, graduations, holidays, or even a “just because” craft night.
These handmade paper tote bags also make your party prep look extra polished without requiring fancy tools. You can keep it simple with kraft paper and twine for a rustic vibe, or go bold with patterned cardstock, glitter accents, and personalized name tags. Whether you’re making 6 bags for a small gathering or 30 for a classroom celebration, the steps scale beautifully.
Below you’ll find multiple paper tote bag ideas, step-by-step instructions, pro tips, and party-ready variations—plus beginner shortcuts and advanced upgrades. Grab your paper, clear a little table space, and let’s make something fun.
Skill Level, Time Estimates, and Best Uses
- Skill level: Beginner to Intermediate (advanced variations included)
- Time per bag:
- Simple favor-size bag: 15–25 minutes
- Medium tote with reinforced handles: 25–40 minutes
- Batch-making (10+ bags): about 8–12 minutes per bag after the first few
- Best for: Party favors, treat bags, small gift bags, candy buffets, bridal shower takeaways, kids’ party “loot bags,” handmade decorations, place settings, and craft fair packaging
Materials and Tools (With Estimated Costs)
Paper Options (Choose One)
- Kraft paper roll (brown, 30–36 in wide) – sturdy and budget-friendly; great for rustic party decorations. Estimated cost: $8–$15 per roll
- Heavy cardstock (80–110 lb) – crisp folds, bright colors, best for smaller favor totes. Estimated cost: $6–$12 per pack
- Scrapbook paper (double-sided) – cute patterns; use with reinforcement pieces. Estimated cost: $5–$10 per pad
- Paper grocery bags (upcycled) – easy “hack” base for quick party favor bags. Estimated cost: free–$3
Adhesives (Pick Based on Strength Needed)
- Double-sided tape (strong/“super sticky”) – clean and fast for batch-making. Estimated cost: $4–$10
- Craft glue (PVA) – strong bond; needs drying time. Estimated cost: $3–$7
- Hot glue gun + mini glue sticks – best for handles and embellishments. Estimated cost: $10–$25 (gun), $3–$8 (sticks)
Handle Materials
- Cotton twine or baker’s twine – classic, party-friendly. Estimated cost: $3–$8
- Ribbon (3/8 in to 7/8 in wide) – pretty for showers and holidays. Estimated cost: $4–$12
- Paper handles (folded cardstock strips) – fully paper-based look. Estimated cost: included if using cardstock
Tools (Recommended)
- Ruler (12 in or longer) – $2–$8
- Pencil – $1–$3
- Scissors or craft knife – $3–$12
- Cutting mat (if using a craft knife) – $8–$20
- Bone folder (or the edge of a gift card) for crisp folds – $5–$12
- Hole punch (single or 1/4 in) for handles – $6–$15
- Binder clips or clothespins to hold seams while drying – $2–$8
Idea Gallery: Paper Craft Tote Bags for Parties
1) Mini Favor Tote (Perfect for Candy, Stickers, Small Toys)
- Best paper: 80–110 lb cardstock
- Party use: Kids’ birthdays, classroom celebrations, treat tables
- Decor idea: Add a name tag and a themed sticker (unicorn, pirate, rainbow, sports)
2) Rustic Kraft Treat Tote (Fast, Neutral, Always Cute)
- Best paper: kraft paper roll
- Party use: baby shower favors, bridal shower takeaways, fall parties
- Decor idea: Twine bow + a stamped label (“Thank You,” “Take a Treat”)
3) Boutique-Style Party Gift Tote (With Reinforced Base)
- Best paper: kraft paper + cardstock base insert
- Party use: hostess gifts, VIP party bags, small handmade gifts
- Decor idea: Paper rosette, tissue paper peek, and metallic accents
4) Character or Theme Tote (Face, Animal, or Icon)
- Best paper: colored cardstock
- Party use: themed birthdays (animals, superheroes, mermaids)
- Decor idea: Add ears, eyes, or a simple cutout emblem to the front panel
Step-by-Step: Basic Paper Tote Bag (Medium Size)
This is the go-to pattern that works for party favor totes, small gift totes, and handmade treat bags.
Finished Size (Approx.)
- Height: 8 in
- Width: 6 in
- Depth (gusset): 3 in
Cut Size (One Paper Rectangle)
- Paper rectangle: 16 in (wide) x 11 in (tall)
Why these measurements work: The width wraps around the front, side, back, and side panels (6 + 3 + 6 + 3 = 18), but we’ll overlap the seam with a glue tab and tighten the folds slightly. If you prefer exact paneling, use 18.5 in wide for more overlap; 16 in is a good “cardstock-friendly” size that still forms a sturdy tote with a narrower gusset.
Step 1: Score and Fold the Side Panels
- Place your paper rectangle horizontally (16 in wide).
- Lightly mark vertical lines from the left edge at:
- 6 in (front panel)
- 9 in (side panel, 3 in)
- 15 in (back panel, 6 in)
- 16 in (glue tab, 1 in)
- Use a ruler + bone folder to score each line, then fold:
- Fold at 6 in, 9 in, and 15 in to form the box shape.
- Fold the 1 in glue tab inward.
Step 2: Create the Bottom Fold
- Along the bottom edge, measure up 3 in and score a horizontal line across the entire width.
- Fold the bottom flap upward along that line, then unfold (you’re creating a crease).
- Open the bag shape slightly and push the side panels inward to form gussets.
Step 3: Glue the Side Seam
- Apply strong double-sided tape or a thin line of craft glue to the 1 in glue tab.
- Bring the opposite edge over to meet the tab and press firmly.
- Hold with binder clips for 2–5 minutes if using liquid glue.
Step 4: Form the Boxed Bottom
- Fold the bottom flap up again on the 3 in crease.
- You’ll see two triangular flaps at the sides. Fold them inward toward the center.
- Fold the front bottom flap inward (toward center), then fold the back bottom flap over it like an envelope.
- Secure with:
- Best: strong double-sided tape across all contact points
- Extra strong: add a cardstock base insert (see Step 5)
Step 5 (Recommended): Add a Reinforced Base Insert
- Cut a piece of cardstock: 5 3/4 in x 2 3/4 in (slightly smaller than the bag’s base).
- Drop it into the bottom of the bag.
- Optional: tape it in place with a loop of double-sided tape so it doesn’t shift.
Step 6: Fold the Top Edge for a Clean Rim
- Fold the top edge down 3/4 in all around.
- Fold down another 3/4 in to hide raw edges and strengthen the opening.
- Tape or glue the rim in 3–4 spots (front/back/sides) so it stays crisp.
Step 7: Add Handles
- Mark handle holes on the front and back panels:
- Down from top rim: 1 in
- In from each side edge of the front panel: 1 1/4 in
- Make two holes per side (front), and repeat on back.
- Punch holes with a 1/4 in hole punch.
- Cut two lengths of twine or ribbon: 12–14 in each (adjust for taller handles).
- Thread each handle through two holes and knot on the inside.
- Reinforcement tip: Tape a small cardstock square (about 1 in x 1 in) over each knot inside the bag.
Beginner-Friendly Shortcut: No-Measure “Upcycled Grocery Bag Tote”
If measuring and scoring feels intimidating, start with a plain paper grocery bag and decorate it into a party tote.
- Trim the bag to your preferred height (try 8–10 in).
- Fold the top edge down twice (3/4 in each fold) and tape it.
- Punch holes and add ribbon or twine handles.
- Cover the front with scrapbook paper, stickers, or a printed label for a themed party favor bag.
Pro Tips for Stronger, Neater Paper Tote Bags
- Score before you fold: Crisp folds make the bag look store-bought and help panels align.
- Use tape for speed: Double-sided tape is cleaner than glue for party batch-making.
- Reinforce stress points: Add small cardstock patches inside at handle holes and a base insert at the bottom.
- Pick the right paper for the job:
- Lightweight scrapbook paper looks pretty but needs a kraft/cardstock layer to hold weight.
- Cardstock holds shape best for small tote sizes.
- Make a template: Once you love the size, create a reusable paper pattern with all fold lines marked.
- Batch method: Cut all rectangles first, score all lines second, assemble all seams third, then do bottoms and handles last.
Creative Variations (Party Themes + Advanced Upgrades)
Theme Variations (Easy)
- Birthday party favor totes: Add number decals (turning “5,” “10,” “21”), confetti stickers, and bright ribbon handles.
- Baby shower totes: Soft pastel cardstock, tiny clothespin “pacifier” charms, and “Thank you” tags.
- Holiday treat bags: Red/green for Christmas, orange/black for Halloween, metallics for New Year’s.
- Graduation mini totes: Black cardstock with gold paper tassels and a year label.
Advanced Upgrades (More Durable + More “Tote Bag” Look)
- Laminated finish: Cover panels with clear contact paper before assembly for wipeable, glossy bags.
- Grommets/eyelets: Add metal eyelets to handle holes for a boutique finish (requires an eyelet setter).
- Handle tubing: Wrap twine handles with paper straws or rolled paper tubes for comfort.
- Box-bottom precision: Increase the gusset depth to 4 in and add a thicker chipboard base (great for heavier favors).
Troubleshooting: Fixes for Common Problems
- My bag won’t stand up.
- Add a cardstock base insert (or chipboard) cut slightly smaller than the bottom.
- Make sure bottom folds are symmetrical and firmly creased.
- The side seam pops open.
- Switch from glue stick to strong double-sided tape or PVA glue.
- Increase glue tab to 1 1/2 in for more surface area.
- Handles tear through the paper.
- Reinforce behind holes with cardstock patches (inside and/or outside).
- Don’t overload; paper tote bags are best for lightweight party favors.
- My folds look uneven or crooked.
- Use a ruler and score lines before folding.
- Trim paper edges square before starting (especially if you tore from a roll).
Common Crafting Mistakes to Avoid
- Using thin paper for a tote meant to carry weight: Printer paper will sag fast—choose cardstock, kraft paper, or reinforced layers.
- Skipping reinforcement at handles: Handles are the first failure point; always patch behind holes.
- Over-gluing: Too much liquid glue warps paper. Use a thin line and press with clips.
- Not letting glue dry before stuffing: Give liquid glue at least 15–30 minutes to set before adding favors.
- Forgetting to plan decorations before assembly: Flat panels are easier to stamp, label, or sticker neatly.
- Making the rim too narrow: A double fold of 3/4 in adds strength and keeps the top from collapsing.
FAQ: Paper Craft Tote Bags
1) What paper is best for DIY paper tote bags?
Kraft paper and 80–110 lb cardstock are the most reliable. For patterned scrapbook paper, plan to reinforce with cardstock on the inside or use it as an outer decorative layer over a sturdier base.
2) How much can a paper tote bag hold?
Paper tote bags are best for lightweight party favors: candy, small toys, stickers, mini bubbles, gift cards, tea bags, cookies in a sleeve, or small bath items. Add a reinforced base and handle patches for better strength, but avoid heavy jars or multiple canned drinks.
3) Can kids make these as a party activity?
Yes—with a few tweaks. Pre-cut and pre-score pieces for them, use double-sided tape instead of hot glue, and offer stickers/markers for decorating. A mini favor tote size is the easiest for little hands.
4) How do I make the bags look more “professional”?
Use a bone folder for crisp edges, keep measurements consistent with a template, add a double-fold rim, and finish with matching handles plus a neat tag. A simple label on the front panel makes a big difference for party decorations.
5) Can I make these in bulk for a big party?
Absolutely. Use a batch workflow (cut all, score all, assemble all) and choose strong double-sided tape for speed. Expect the first bag to take the longest; once you find your rhythm, you’ll fly through them.
6) How do I customize for a party theme without buying lots of supplies?
Pick one statement detail: a printed tag, a themed sticker, or a stamped icon. Pair it with neutral kraft paper and twine, and your handmade party favor bags will still look coordinated and intentional.
Wrap-Up: Your Party Prep Just Got More Personal
Paper craft tote bags bring that “handmade magic” to party planning—practical, adorable, and easy to tailor to your theme. Start with the basic tote pattern, make a few in your party colors, then try one fun variation like a character face or boutique-style reinforced base. Every bag you finish is one more party detail you won’t have to scramble for at the last minute.
When you’re ready for more DIY crafts, party decorations, and handmade project ideas, visit smartpartyprep.com and keep the creativity going.
More Articles
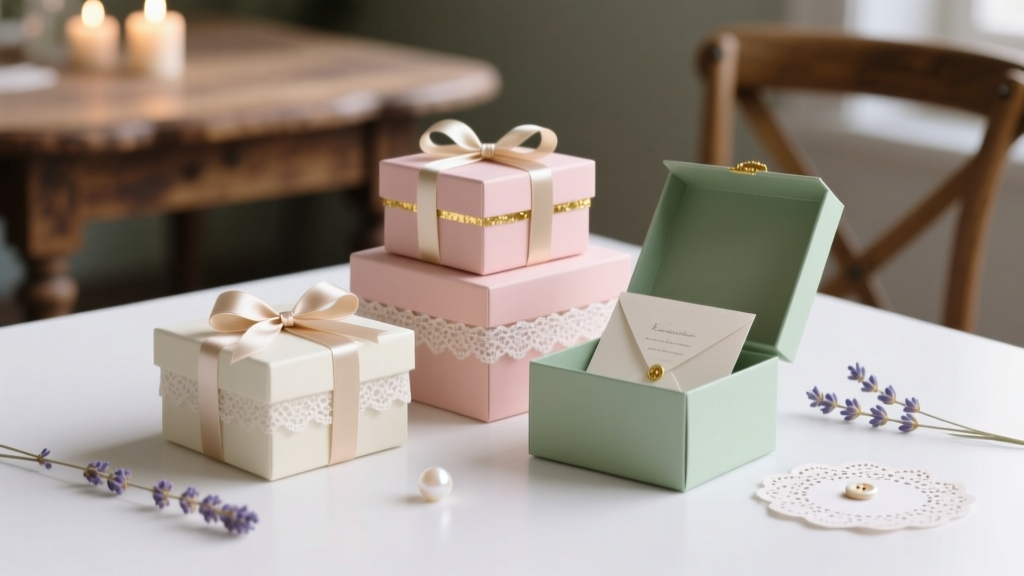 DIY Gift Boxes for Weddings
 Easy Origami Decorations for Beginners
 Easy Masks for Beginners
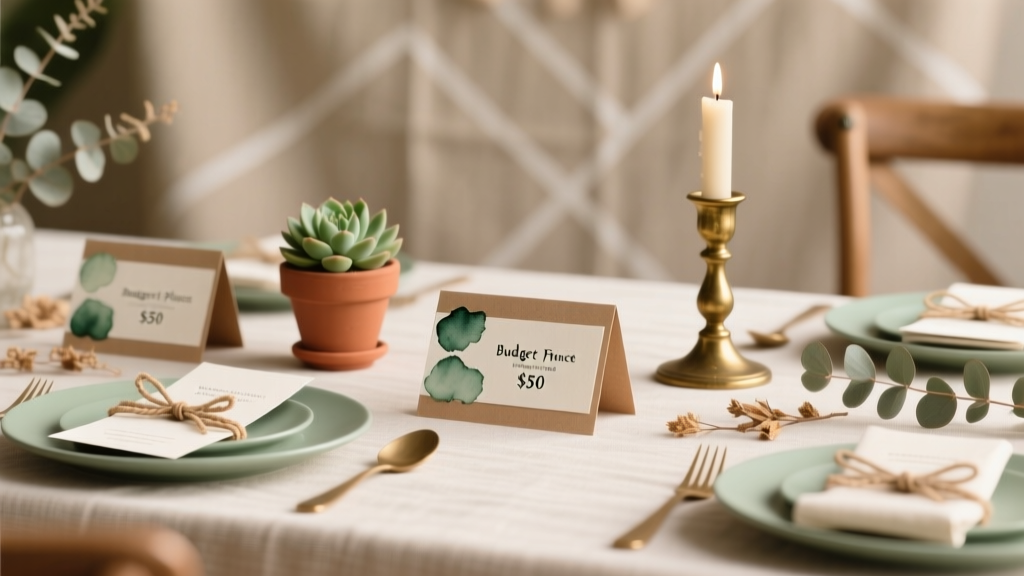 Budget DIY Place Cards Under $50
 Upcycled Clay Ornaments from Recycled Materials
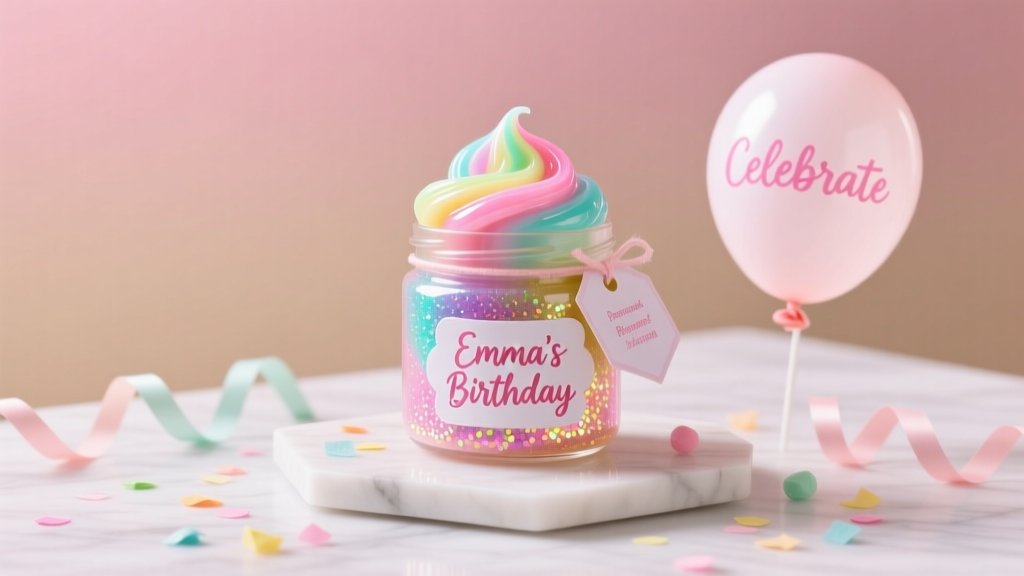 Personalized Slime Gifts
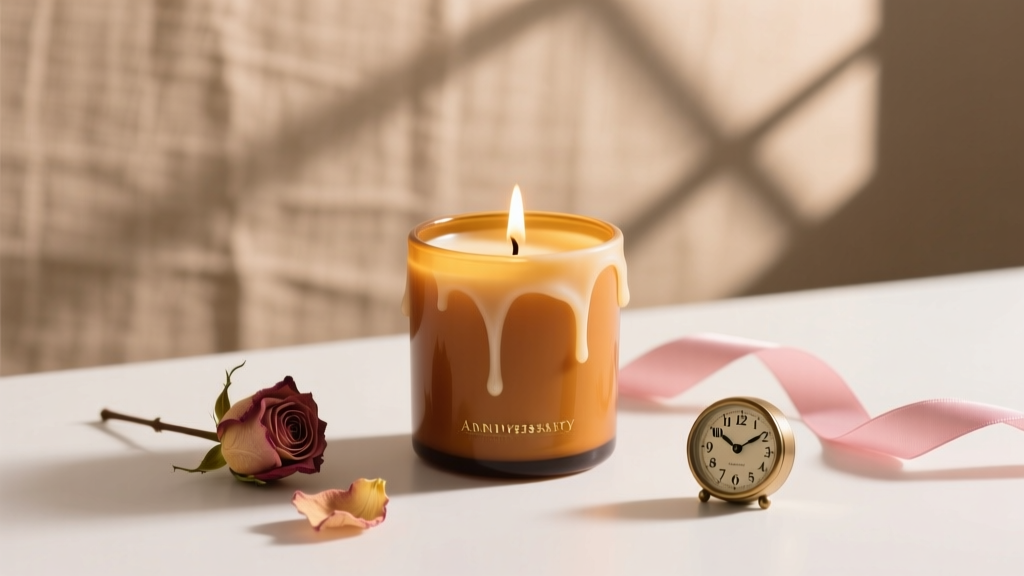 DIY Candles for Anniversaries
 Kids' Craft: Thank You Cards
 Advanced Photo Frames for Crafters
 12 Do It Yourself Halloween Party Decorations That Take Under 30 Minutes Each (No Glue Gun? No Problem — We Tested 47 Materials So You Don’t Waste Time or Money)