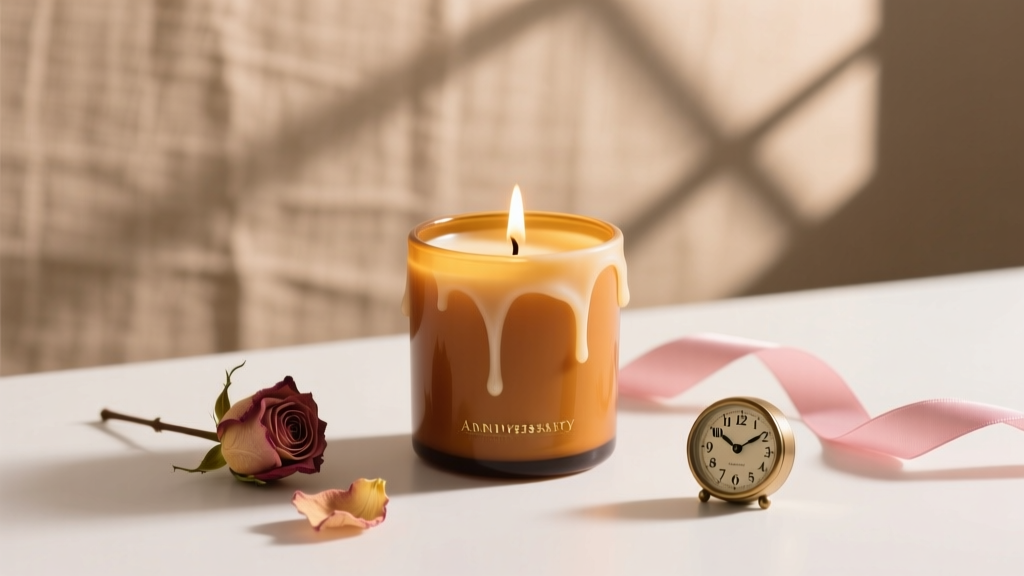
DIY Candles for Anniversaries
Anniversaries are built on tiny rituals: a favorite song, a shared dessert, a photo from “that” trip—and warm candlelight that instantly makes everything feel more intentional. Making your own DIY anniversary candles is one of those party-ready handmade projects that looks luxe, feels personal, and doubles as both party decor and a meaningful gift.
Whether you’re setting a romantic tablescape, planning an intimate dinner party, or putting together a cozy celebration corner with flowers and photos, handmade candles are a budget-friendly way to add glow and sentiment. You can customize the scent to match a memory, choose colors to match your party decorations, and label each candle with a date, quote, or inside joke.
This guide walks you through beginner-friendly candle-making plus elegant upgrades for experienced crafters. You’ll get a clear materials list (with estimated costs), step-by-step instructions, pro tips, troubleshooting, and variations tailored for anniversaries.
Project Overview
- Skill level: Beginner to Intermediate (advanced variations included)
- Active time: 45–75 minutes
- Cooling/curing time: 4–6 hours to set (best scent throw after 48 hours)
- Estimated cost: $18–$45 depending on supplies you already have
- Yield: 3–6 medium candles (depending on vessel size)
Materials & Tools (With Estimated Costs)
Wax Options (Choose One)
- Soy wax flakes (beginner-friendly, clean burn): 2 lb bag, $12–$20
- Coconut-soy blend wax (creamy look, great scent throw): 2 lb, $18–$28
- Beeswax pellets (natural honey tone, longer burn): 2 lb, $22–$35
Wicks
- Pre-tabbed cotton wicks (easiest): pack of 20, $6–$10
- Wood wicks (modern look, soft crackle): pack, $8–$14
- Wick stickers or hot glue sticks (to secure wick): $3–$8
Fragrance & Color
- Candle fragrance oil (skin-safe, candle-rated): 1–2 oz, $6–$12
- Essential oils (optional, lighter scent throw): 10–30 ml, $8–$20
- Candle dye blocks or liquid dye (optional): $4–$10
Containers (Vessels)
- Heat-safe glass jars (8 oz / 240 ml) or tins: 4-pack, $10–$18
- Vintage teacups (advanced; must be heat-safe): thrifted, $2–$6 each
Tools (Recommended)
- Pouring pitcher (candle making pitcher): $10–$18
- Kitchen scale (grams/ounces): $10–$20
- Thermometer (digital probe is great): $8–$15
- Stir tool (silicone spatula or disposable wooden sticks): $2–$6
- Wick centering device (or clothespins/chopsticks): $3–$10
- Heat gun (helpful for smoothing tops): $18–$35
Anniversary Finishing Touches
- Printable label paper or kraft labels: $4–$10
- Twine/ribbon, wax seal stickers, mini dried flowers (decorative only): $3–$12
- Gift boxes or cellophane bags for party favors: $6–$15
Choosing a Romantic Scent & Theme
For anniversary party decorations, choose scents and colors that connect to your story or your party palette. A simple theme helps your candles look cohesive on a dessert table, dining table, or gift station.
Scent Pairing Ideas
- Classic Romance: rose + vanilla, amber + sandalwood
- Cozy Night In: lavender + tonka, vanilla + cashmere
- Fresh & Bright: bergamot + jasmine, citrus + neroli
- Memory Lane: “coffee shop,” “ocean breeze,” “pine cabin,” or a bakery-inspired scent
Color Palette Ideas
- Elegant: ivory, champagne, soft gold
- Modern: matte black labels + white wax
- Playful: blush, coral, or ombré layers
Step-by-Step: DIY Anniversary Jar Candles
This is the go-to method for handmade party decor and thoughtful anniversary gifts. The steps below are written for soy wax in 8 oz (240 ml) jars, but the flow is the same for most wax types.
1) Prep Your Work Area (5–10 minutes)
- Cover surfaces with parchment paper or kraft paper.
- Wash and fully dry containers (water droplets can cause wick issues).
- Pre-plan your labels so you know where the “front” of the jar will be.
2) Measure Wax (5 minutes)
Rule of thumb: An 8 oz jar typically holds about 6–7 oz of wax by weight once melted and poured (varies by jar shape).
- For 4 jars (8 oz each), start with about 28 oz (800 g) wax flakes to be safe.
- If you’re making fewer candles, a good starting batch is 14 oz (400 g) of wax for 2 jars.
3) Melt the Wax (10–15 minutes)
Use a double boiler method for control and safety.
- Add a few inches of water to a saucepan and bring to a gentle simmer.
- Place wax in your pouring pitcher and set the pitcher in the saucepan.
- Stir occasionally until fully melted.
Temperature target: Melt soy wax to around 170–185°F (77–85°C).
4) Attach and Center the Wick (5 minutes)
- Place a wick sticker (or a dot of hot glue) on the wick tab.
- Press firmly into the center of the container’s bottom.
- Use a wick centering tool or rest chopsticks across the jar to keep the wick straight.
5) Add Fragrance (5 minutes)
For a noticeable but not overpowering scent, aim for 6–10% fragrance load (by wax weight), depending on your wax’s recommendations.
- Example: For 400 g wax, use 24–40 g fragrance oil.
- Let melted wax cool to about 150–165°F (65–74°C).
- Add fragrance and stir gently for 2 full minutes to bind scent to wax.
6) Pour the Candles (5 minutes)
- Pour slowly into each container, leaving about 1/2 inch (1.3 cm) headspace.
- Keep the wick centered.
Pour temperature: Many soy waxes pour well around 135–150°F (57–66°C). If you get rough tops often, experiment within this range.
7) Cool, Top Off, and Trim (4–6 hours set time)
- Let candles cool undisturbed at room temperature (avoid moving them for the first hour).
- If a small sinkhole forms, poke 2–3 relief holes near the wick with a skewer and do a small “top off” pour with leftover warm wax.
- Once fully set, trim wick to 1/4 inch (6 mm).
8) Label and Gift (10–20 minutes)
Anniversary-ready labeling ideas:
- “Est. 2016” + names
- “Our First Dance” (match the scent to the venue vibe)
- Coordinates of where you met or got married
- “Light This When…” prompts (e.g., “you miss me,” “it’s date night”)
Beginner-Friendly Adaptations
- Use pre-tabbed wicks instead of cutting wick rolls.
- Skip dye your first time for fewer variables; natural wax looks romantic and elegant.
- Choose tins if you’re nervous about glass (they’re durable and travel well as party favors).
- Make one signature scent for the whole batch to keep it simple.
Advanced Variations (Showstoppers for Anniversary Party Decor)
Personalized Layered “Milestone” Candles
Create subtle layers—each one representing a year or a meaningful phase (first home, first trip, etc.).
- Pour each layer at about 1/2–3/4 inch thick.
- Let each layer set until firm but slightly warm before pouring the next to reduce separation lines.
Gold-Fleck Anniversary Candles (Decorative Finish)
- Add a gold foil label or gold wax seal sticker.
- Use metallic paint marker to write the anniversary year on the lid (keep markers away from flame/heat).
Wood Wick Luxe Candles
- Use wood wicks sized for your container width.
- Wood wicks need very straight centering and careful trimming (about 1/8 inch / 3 mm above wax).
Pro Tips for Beautiful, Smooth Candles
- Pre-warm containers slightly (not hot) to reduce jump lines—set near your workspace or warm briefly with a heat gun.
- Stir gently to avoid air bubbles.
- Use a thermometer every batch—temperature control is the difference between “homemade” and “handcrafted.”
- Heat gun fix: If the top is bumpy, a quick pass with a heat gun can remelt the surface for a glossy finish.
- Best scent: Let candles cure 48 hours before gifting or burning for the strongest fragrance throw.
Troubleshooting: Quick Fixes
- Problem: Sinkhole near wick
Fix: Poke relief holes and do a small top-off pour, or remelt the top layer with a heat gun. - Problem: Frosting (white crystal look on soy)
Fix: This is natural for soy wax. Reduce by pouring slightly warmer and cooling slowly, but don’t stress—performance is usually fine. - Problem: Wick drowning (flame goes out)
Fix: Wick may be too small, or fragrance load too high. Try a slightly larger wick size and stay within recommended fragrance percentages. - Problem: Sooty flame
Fix: Trim wick to 1/4 inch before each burn. Avoid drafts and ensure the wick isn’t oversized. - Problem: Wet spots (wax pulling from glass)
Fix: Often cosmetic. Reduce temperature swings; pre-warm jars and cool candles away from cold windows.
Common Candle-Making Mistakes to Avoid
- Skipping the scale: Measuring by “eye” leads to inconsistent scent and burn. Use a kitchen scale for repeatable results.
- Overloading fragrance: More oil isn’t always better—too much can cause sweating, poor burn, or wick problems.
- Pouring too hot into cool jars: This can increase wet spots or glass stress. Aim for controlled temps and steady cooling.
- Using non-heat-safe containers: Not all glass is safe for flame. Use candle-rated jars/tins whenever possible.
- Decorating with flammables: Dried flowers, herbs, and glitter can catch fire if placed in the wax near the wick. Keep decorations on the outside only.
- Not testing a burn: If you’re making party favors, test one candle first to confirm wick size and scent strength.
Anniversary Display Ideas (Party-Ready)
- Memory table: Arrange candles with framed photos and a small timeline card.
- Centerpiece runner: Place 3–5 matching jars down the center with greenery (keep foliage away from flames).
- Party favor lineup: Set candles on a tray with “Thank you for celebrating with us” tags.
- Date-night basket: Pair a candle with matches, a mini dessert, and a handwritten note.
FAQ: DIY Candles for Anniversaries
How many candles can I make with 2 lb (907 g) of wax?
Most 8 oz (240 ml) jar candles use about 6–7 oz (170–200 g) of wax by weight. With 2 lb of wax, you can usually make 4–5 medium candles, depending on jar shape and headspace.
Can I use essential oils instead of fragrance oils?
Yes, but the scent throw is often lighter, and some essential oils don’t perform well in candles. For the most reliable results (especially for party favors), use candle-rated fragrance oils and follow recommended usage rates.
Why did my candle top turn bumpy or uneven?
This is common with soy wax. Temperature shifts and pour temperature can cause texture. Smooth it by gently warming the surface with a heat gun, and try pouring slightly warmer next batch.
How long should I wait before gifting or burning my candles?
They can be used once fully set (usually 4–6 hours), but for the best scent performance, let them cure for 48 hours before gifting or lighting.
What wick size should I use?
Wick size depends on container diameter, wax type, and fragrance load. Start with the wick sizing chart from your wick supplier. If the melt pool doesn’t reach the edges after 2–3 hours, size up; if it soots or burns too hot, size down.
Are homemade candles safe as party decorations?
Yes, when used responsibly: keep flames away from drafts and decor, place on heat-safe surfaces, never leave burning candles unattended, and trim wicks before lighting.
Make It Yours and Light Up the Celebration
DIY candles bring a special kind of glow to anniversaries—romantic, personal, and totally customizable for your theme. Make a matching set for your dinner table, create meaningful party favors, or design one “signature scent” candle that instantly becomes part of your tradition.
When you’re ready for your next handmade party project, explore more creative DIY crafts, party decorations, and handmade project ideas on smartpartyprep.com.
More Articles
 How to Make Party Hat in 7 Minutes Flat — No Glue Gun, No Scissors, No Stress (Just Paper, Tape & Joy)
 DIY Clay Ornaments Party Favors
 How to Make Pet Party Invitations That Actually Get RSVPs: 7 Foolproof Steps (No Design Skills Needed + Free Templates Inside)
 Modern Wall Art Designs (DIY Party-Ready Decor You Can Make at Home)
 How to Enable 3rd Party Cookies on iPad (2024): The Real Reason Safari Blocks Them & Exactly What You Lose If You Don’t Fix It in Under 90 Seconds
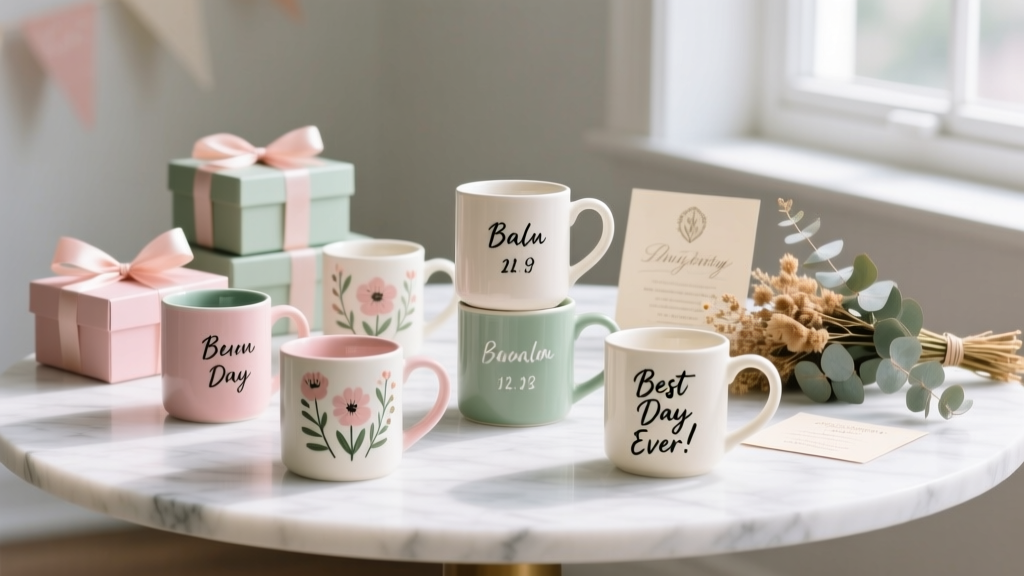 Personalized Mugs Gifts (DIY Party Favors & Handmade Keepsakes)
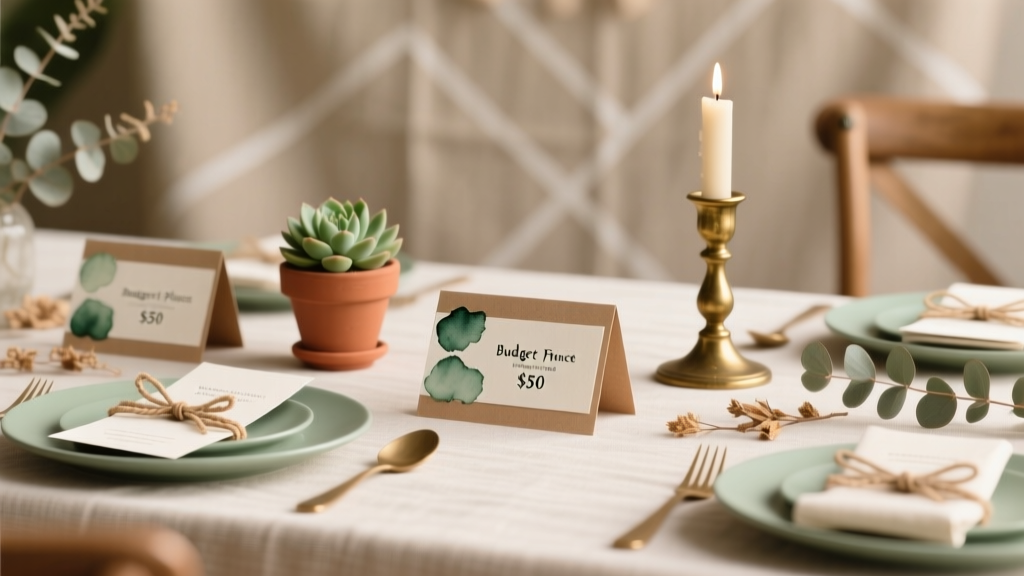 Budget DIY Place Cards Under $50
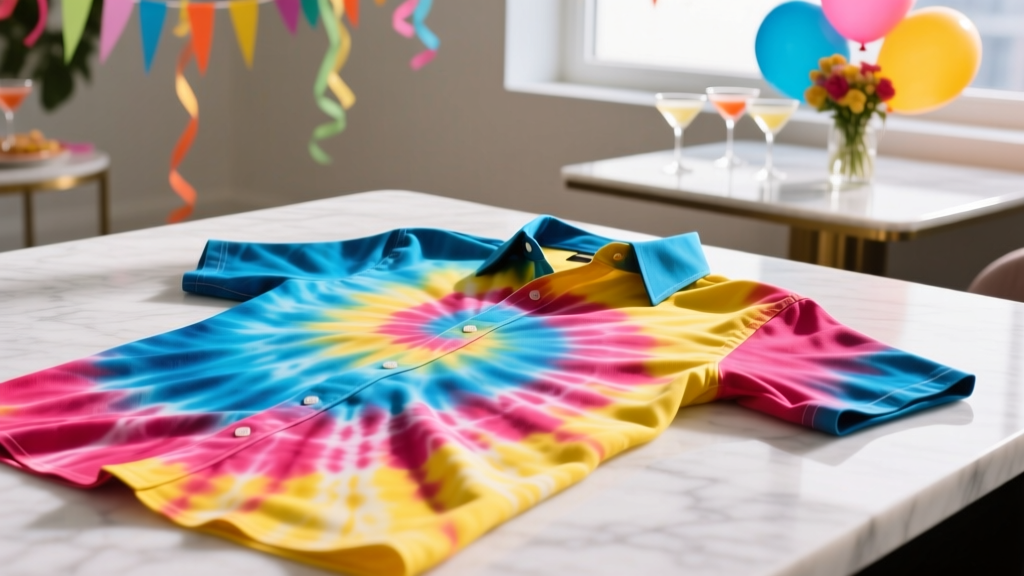 How to Make Tie-Dye Shirts at Home
 How to Make a Hat for a Tea Party in Under 90 Minutes (No Sewing Machine Needed!) — 5 Foolproof Styles That Impress Guests & Boost Your Confidence
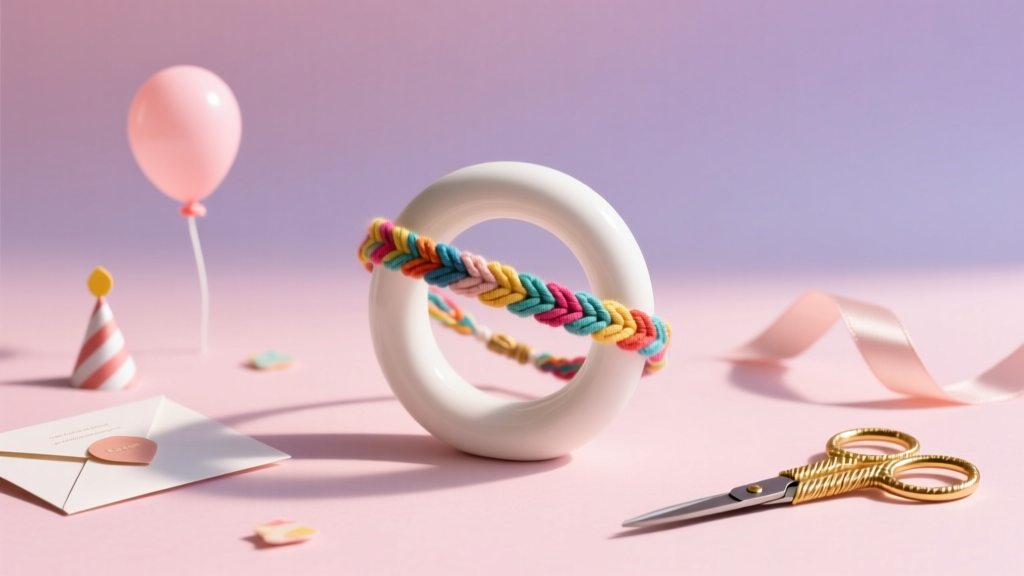 DIY Friendship Bracelets for Birthdays