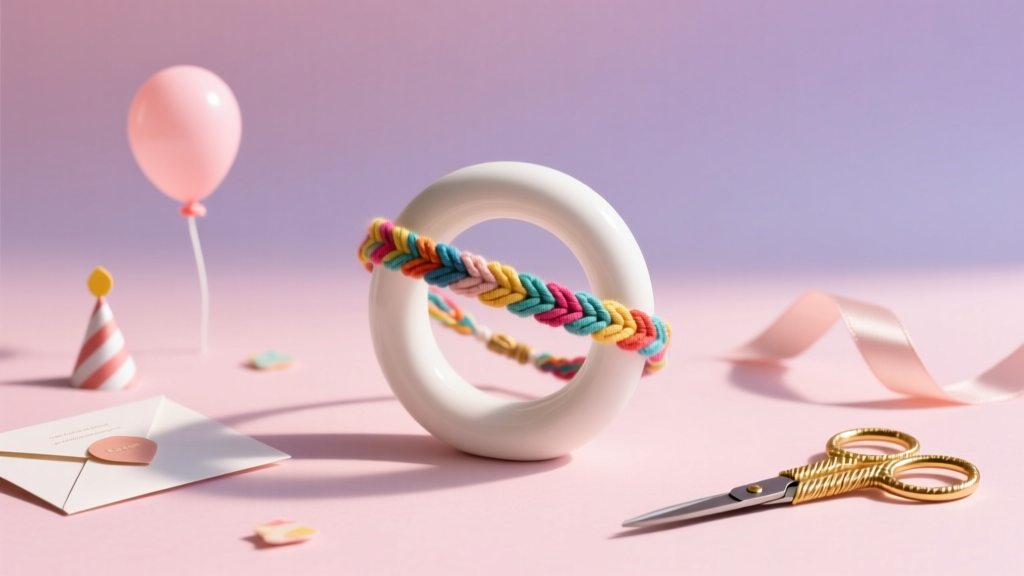
DIY Friendship Bracelets for Birthdays
There’s something instantly joyful about friendship bracelets at a birthday party: they’re colorful, wearable, and full of meaning. Instead of party favors that get forgotten in a drawer, a handmade bracelet becomes a tiny keepsake your guests can wear home—especially when it matches the birthday theme or includes a special color combo for the guest of honor.
This project is also a win because it works for nearly every age and party style. You can set up a “bracelet bar” as an activity station, pre-make a bundle of bracelets as party favors, or craft one extra-special bracelet as a birthday gift topper. Whether you’re a beginner who just wants a cute, sturdy braid or an advanced crafter ready for patterns and charms, there’s a version here that fits your time and skill level.
Grab your favorite colors, put on a playlist, and get ready to make birthday party decor and handmade gifts that feel personal—without needing fancy tools.
Project Overview (Skill Level + Time)
- Skill level: Beginner to Advanced (choose your pattern)
- Time estimate per bracelet:
- Simple braid or bead string: 10–20 minutes
- Classic chevron: 25–45 minutes
- Name/letter bead bracelet: 15–30 minutes
- Advanced patterns + charms: 45–75 minutes
- Great for: Birthday party activities, DIY party favors, handmade gifts, themed party decorations
- Recommended ages: Ages 7+ with supervision; teens and adults love the advanced options
Materials & Tools (With Estimated Costs)
These are easy-to-find craft staples. Choose one “string” style (embroidery floss or elastic cord) and add beads/charms as you like.
Core Materials
- Embroidery floss (8–20 colors) – cotton, 6-strand floss (e.g., craft store multipacks) $6–$15
- Stretch cord (0.8 mm–1.0 mm) – clear elastic cord for bead bracelets $4–$8
- Waxed nylon cord (0.8 mm–1.5 mm) – great for adjustable sliding knots $5–$10
- Letter beads (acrylic, 6–7 mm) – for names and “BFF” messages $6–$12
- Pony beads (9x6 mm) or seed beads (2/0–6/0) – choose based on style and age $4–$12
- Charms (birthday, stars, hearts, numbers) – optional but extra fun $5–$15
- Jump rings (4–6 mm) – if attaching charms to cord/floss $3–$6
Helpful Tools
- Scissors – sharp craft scissors $3–$10
- Tape (masking tape or painter’s tape) or clipboard – to hold strands steady $2–$8
- Beading needle (thin, collapsible eye) – helps with small beads $2–$6
- Ruler or measuring tape – for consistent sizing $1–$5
- Small pliers – for jump rings (optional) $5–$12
- Fray check or clear-drying craft glue – for sealing knots (optional) $4–$7
Budget Tip
For a full birthday bracelet station for 8–12 guests, expect $20–$45 depending on bead/charms choices. Embroidery floss and pony beads are the most cost-effective.
Prep: Sizing and Party Planning
Quick Bracelet Size Guide
- Kids (ages 6–10): 5.5–6 inches finished length
- Tweens/teens: 6–6.75 inches finished length
- Adults: 6.5–7.5 inches finished length
Easy method: Wrap a measuring tape around the wrist, add 0.5 inch for comfort. For adjustable bracelets, you don’t need perfect sizing—just leave longer ties.
Party Station Setup (Bracelet Bar)
- Pre-cut floss bundles (labeled by color palette: “Rainbow,” “Pastel,” “Neon,” “Birthday Theme”)
- Small bowls for beads (separate letters, colors, and spacers)
- A printed “pattern card” for beginners (braid, chevron, name beads)
- One clipboard per guest or painter’s tape strips on the table
Bracelet #1: Simple 3-Strand Braid (Beginner-Friendly)
This is the fastest option for a birthday party activity and works great with thick embroidery floss bundles or waxed cord.
Cutting Measurements
- Cut 3 strands of embroidery floss, each 36 inches (91 cm) long
- If you want a fuller look, use 2 strands per color (total 6 strands) and treat each color pair as one “strand” while braiding
Step-by-Step Instructions
- Align strands and tie an overhand knot about 3 inches (7.5 cm) from one end.
- Secure the knot to a clipboard or tape it to the table.
- Braid evenly: cross right strand over center, then left over center, repeating until the bracelet reaches your desired length.
- Check fit by wrapping around the wrist (don’t tie it on yet).
- Finish with another overhand knot, leaving 3 inches of tail for tying.
Best Birthday Uses
- Quick party favors (make a bunch in theme colors)
- Layering bracelets for the birthday kid/teen
- “Buddy bracelets” for pairs of guests
Bracelet #2: Classic Chevron Friendship Bracelet (Party Favorite)
Chevron bracelets look impressive but become easy once you learn the knot rhythm. Perfect for handmade birthday gifts and colorful party photos.
Cutting Measurements
- Use 6 or 8 strands total for a nice chevron
- Cut each strand 48 inches (122 cm) long (chevron uses more length than a braid)
- Suggested beginner color set (6 strands): A, A, B, B, C, C
Tools
- Clipboard or tape
- Ruler (optional, for keeping “V” centered)
Step-by-Step Instructions (Forward/Backward Knots)
- Arrange strands in a mirror pattern: A B C | C B A (or A A B B C C split symmetrically).
- Tie a top knot about 4 inches (10 cm) from the end. Secure to a clipboard.
- Left side: Take the far-left strand and make forward knots over each strand moving toward the center. A forward knot is two half-hitches in the same direction.
- Right side: Take the far-right strand and make backward knots over each strand moving toward the center.
- Center join: When the left and right “working” strands meet in the middle, tie them together with a double knot to form the point of the “V.”
- Repeat rows: After finishing a row, the outermost strands become the next working strands.
- Finish when the bracelet reaches wrist length, then tie off with a knot and leave tails for tying or add a closure.
Beginner Shortcut
Use 6 strands and two colors (A A A | A A A) for a bold, fast pattern that still looks “designed.”
Bracelet #3: Name/Message Bead Bracelet (Perfect Birthday Keepsake)
Letter beads turn a bracelet into a personalized birthday favor—great for guests to spell their name, “BDAY,” “BESTIE,” or the birthday person’s nickname.
Materials
- Stretch cord 0.8–1.0 mm
- Letter beads + spacer beads
- Scissors
- Optional: beading needle, clear glue
Cutting Measurement
- Cut elastic cord to 12–14 inches (30–36 cm) per bracelet (gives room for knotting)
Step-by-Step Instructions
- Plan the word and lay beads in order on the table. Add spacers (like hearts or stars) on both sides for a balanced look.
- Pre-stretch the cord gently by pulling it a few times. This helps reduce future stretching.
- String beads onto the elastic. If beads are small, use a beading needle.
- Test size around the wrist before tying. Adjust bead count if needed.
- Tie a surgeon’s knot (double overhand): cross ends, pull tight; repeat once more for security.
- Optional seal: add a tiny dot of clear-drying glue on the knot. Let dry 10–15 minutes.
- Hide the knot by pulling the bracelet so the knot slips into a bead hole if possible.
Closures: Ties, Sliding Knots, and Simple Clasps
Easy Tie-On (Best for Floss)
- Leave 3–4 inches of braided tail on each end and tie a bow or double knot.
Adjustable Sliding Knot (Great for Party Favors)
- Best with waxed nylon cord or thicker floss bundles
- Create two overlapping ends and tie 6–8 tight wraps around both cords, then pull snug
- Allows guests to adjust size without help
Charm Add-On (Optional)
- Attach a charm using a 4–6 mm jump ring and small pliers
- Place charm at center (chevron point) or near the knot for a subtle accent
Pro Tips for Neat, Durable Bracelets
- Keep tension consistent: snug knots make crisp patterns; too tight can cause curling.
- Use a clipboard: it’s the easiest tool upgrade for cleaner results and less frustration.
- Seal smartly: for elastic bracelets, a tiny glue dot on the knot helps longevity (let it dry fully before wearing).
- Color planning: match party themes (mermaid: teal/purple; soccer: black/white/green; pastel: blush/mint/lavender).
- Batch cutting: pre-cut floss for parties so guests start immediately.
- Comfort check: bracelets should slide slightly but not spin wildly; add or remove 1–2 beads to adjust.
Fun Variations (Beginner to Advanced)
Beginner Variations
- Two-tone twist: hold two floss colors together as one strand and braid
- Pony bead braid: braid 3 thick cords and add a pony bead every 1 inch
- Birthday color stack: make 3 thin bracelets instead of 1 thick one for a trendy layered look
Advanced Variations
- Chevron + beads combo: add a bead at the center join every other “V” row
- Alpha patterns (lettered designs): create names using a grid pattern (takes longer but looks amazing as a birthday gift)
- Charm centerpiece: build the bracelet around a central charm using jump rings or knotting on either side
- Ombre chevron: arrange strands from dark-to-light on each side for a gradient effect
Troubleshooting: Fix Common Bracelet Issues
- Bracelet is curling: loosen tension slightly; for chevron, make sure forward/backward knots are even and not overly tight.
- Chevron “V” is off-center: confirm strands are mirrored; count knots per row (left and right should match).
- Elastic knot keeps slipping: use a surgeon’s knot and add a tiny glue dot; ensure cord size matches bead holes.
- Floss is fraying: trim fuzzy ends and consider a tiny dab of fray check at the finish knots.
- Bracelet too short: add an adjustable closure next time, or tie on small extender cords to lengthen.
Common Crafting Mistakes to Avoid
- Cutting strands too short: chevron patterns need longer floss (aim for 48 inches per strand to be safe).
- Skipping a fit test: check size before final knots—especially with bead bracelets.
- Mixing bead sizes randomly: it can make the bracelet bulky or uneven; group similar sizes together for a clean look.
- Overloading elastic cord: heavy charms and large beads can stretch and weaken it; consider waxed cord for chunkier designs.
- Not securing your work: bracelets get messy fast if the top knot slides around—use tape or a clipboard every time.
- Rushing knot consistency: uneven knots create wavy patterns; slow down for the first few rows, then speed up.
FAQ: DIY Friendship Bracelets for Birthday Parties
How many bracelets should I plan for a birthday party?
For party favors, plan 1 bracelet per guest plus 2–3 extras for last-minute arrivals or breakage. For an activity station, expect many guests to make 1–2 bracelets each if you keep options beginner-friendly.
What’s the easiest bracelet for kids to make at a party?
A 3-strand braid with embroidery floss or a pony bead bracelet on stretch cord. Pre-cut strands and set out simple color palettes to reduce decision overload.
How do I keep friendship bracelets from unraveling?
Tie firm finishing knots and leave 3–4 inch tails for tying. For extra security, add a tiny dot of clear-drying glue to the knot (especially helpful for younger kids who tug on ties).
What cord size should I use for letter beads?
Most acrylic letter beads work well with 0.8–1.0 mm stretch cord. If beads have smaller holes, use a beading needle or switch to thinner elastic.
Can I use friendship bracelets as party decorations too?
Yes! String finished bracelets into a mini garland for the gift table, wrap them around napkin rings, or tie one onto each favor bag as a wearable name tag.
How far ahead can I make bracelets for a birthday?
You can make floss bracelets weeks ahead and store them flat in a zip bag. Elastic bracelets are best made 1–7 days before the party to keep the cord feeling fresh and snappy.
Wrap-Up: Make Birthdays More Personal with Handmade Bracelets
DIY friendship bracelets bring the best kind of birthday energy: creative, thoughtful, and hands-on. Whether you’re setting up a bracelet-making station as party entertainment or crafting a personalized “bestie” bracelet for the guest of honor, these handmade projects turn simple materials into meaningful party keepsakes.
Pick one beginner pattern for fast success, then add a few advanced options for guests who want a challenge. Your birthday party favors, decorations, and photos will be brighter—and everyone leaves with something they actually want to wear.
Happy crafting! Explore more DIY crafts, party decorations, and handmade celebration ideas at smartpartyprep.com.
More Articles
 Easy Wall Art for Beginners
 Seasonal Masks Ideas
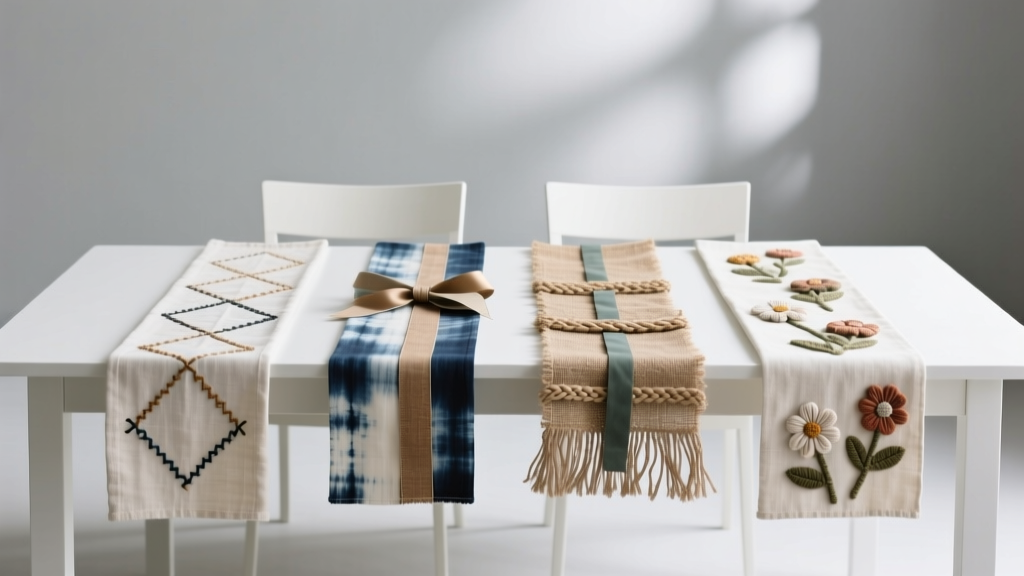
 Modern Table Runners Designs
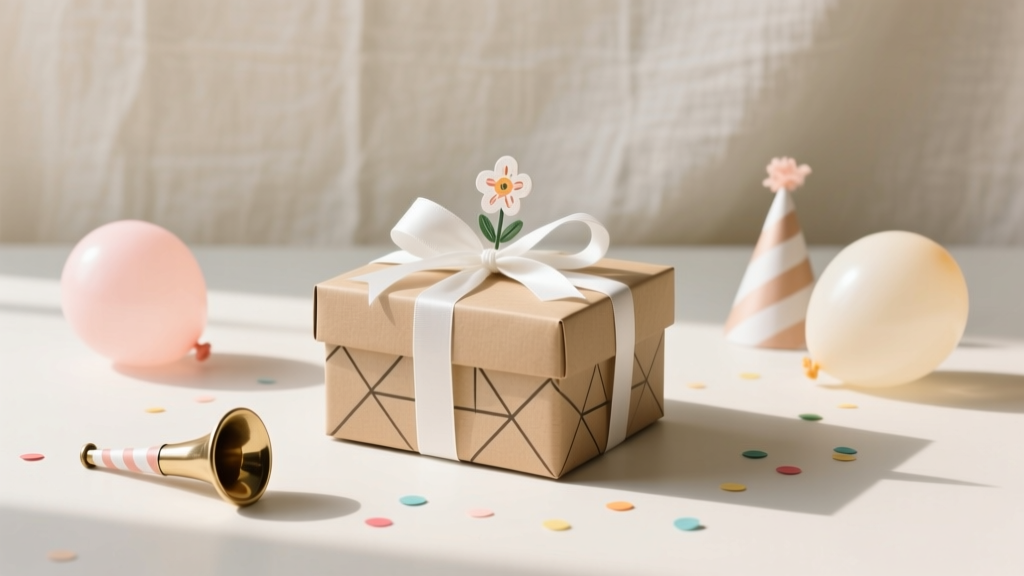 DIY Gift Boxes for Birthdays
 Budget DIY Table Runners Under $20
 ‘Is Just Ingredients Third Party Tested?’ — The Truth Behind Label Claims (and How to Verify What You’re Really Buying)
 Advanced Coasters for Crafters
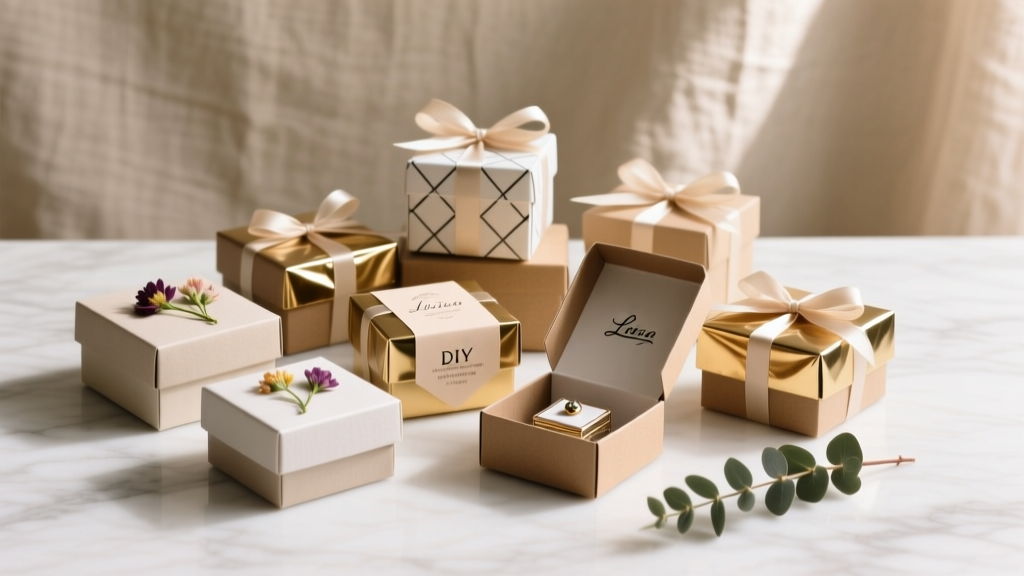 DIY Gift Boxes Party Favors
 DIY Mugs Party Favors
 How to Install 3rd Party Apps on Roku TV (Without Jailbreaking): The Only Legal, Step-by-Step Method That Actually Works in 2024 — No Developer Mode Confusion, No Failed Sideloading, Just Real Results