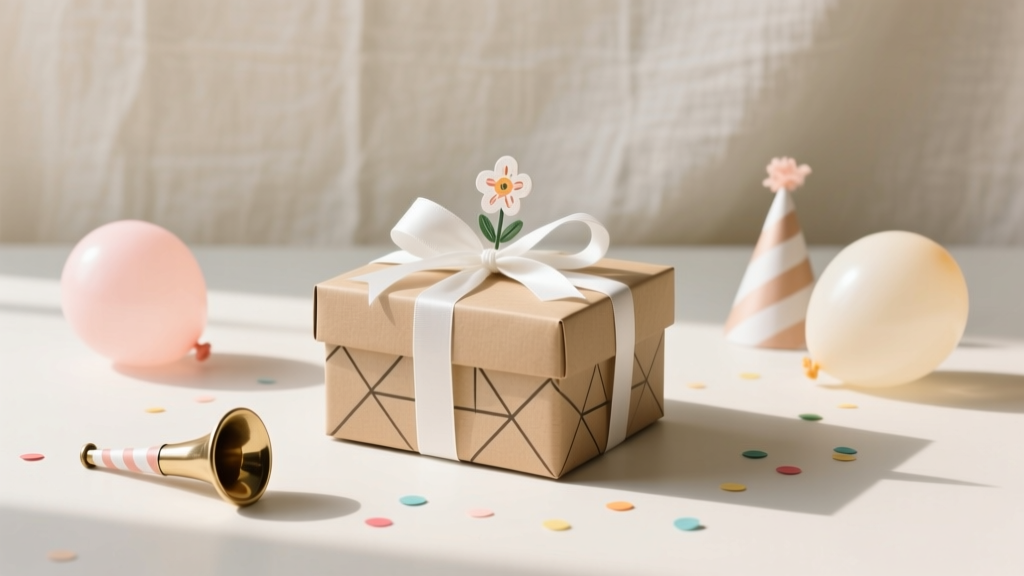
DIY Gift Boxes for Birthdays
Handmade birthday gift boxes are one of those DIY crafts that feel magical every single time you make them. You’re not just wrapping a present—you’re creating a little “wow” moment before the gift is even opened. A simple box, customized with colors, textures, and party-themed details, turns a small present into a full experience.
Even better: DIY gift boxes are practical. They stack neatly, protect fragile items, and look amazing on a gift table alongside party decorations. Whether you’re prepping for a kid’s party, a milestone birthday, or a cozy at-home celebration, a handmade box can match the theme perfectly—think confetti colors, floral prints, or sleek minimalist designs.
This guide walks you through several beginner-friendly box styles, plus advanced variations for crafters who love crisp folds and specialty finishes. Grab your cardstock, a ruler, and your favorite embellishments—your next birthday gift wrap upgrade starts here.
Project Overview: Skill Level, Time, and Finished Sizes
- Skill level: Beginner to Intermediate (advanced options included)
- Time estimate: 20–40 minutes per box (plus dry time for glue/paint if used)
- Best for: Party favors, small gifts, gift cards, jewelry, candles, mini toys, treats
Recommended Finished Box Sizes
- Small: 3 in x 3 in x 2 in (great for jewelry, candy, mini candles)
- Medium: 4 in x 4 in x 3 in (great for party favors, small toys, soaps)
- Large: 6 in x 6 in x 4 in (great for mugs, small plush, bundled treats)
Materials and Tools (with Estimated Costs)
These are the product types that make DIY gift boxes sturdy, neat, and party-ready. Costs vary by brand and location, but these estimates help you budget.
Core Materials
- Cardstock (80–110 lb / 216–300 gsm): solid color or patterned, 12x12 in sheets or letter size. Estimated cost: $6–$15 per pack
- Chipboard (optional, for extra-sturdy boxes): 1–2 mm thick sheets. Estimated cost: $5–$12 per set
- Adhesive:
- Double-sided tape (¼ in or ⅜ in wide) for clean edges. $4–$10
- Craft glue (PVA) or tacky glue for strong hold. $3–$7
- Hot glue gun (optional) for quick assembly on embellishments. $10–$25
- Ribbon or twine: ⅜ in satin ribbon, grosgrain, or baker’s twine. $3–$10
- Embellishments (choose a few): stickers, washi tape, paper flowers, mini pom-poms, confetti, faux gems. $3–$12
Tools (Recommended)
- Paper trimmer: for straight, fast cuts. $15–$40
- Metal ruler + craft knife: for precision cutting. $8–$20
- Scoring tool: bone folder or scoring stylus (or use the back of a butter knife carefully). $4–$12
- Cutting mat: protects your table and improves accuracy. $10–$25
- Corner rounder punch (optional): for a polished look. $6–$15
- Binder clips or clothespins: to hold glued seams while drying. $2–$6
DIY Gift Box Style #1: Classic Lidded Box (Sturdy and Party-Perfect)
This is the go-to handmade gift box for birthdays. It looks polished, stacks well on a party table, and can be customized with themed decorations.
Measurements (Makes a 4 in x 4 in x 2 in Box + Lid)
- Box base cardstock: 8 in x 8 in
- Lid cardstock: 8 ⅛ in x 8 ⅛ in (the tiny extra helps it fit)
Step-by-Step Instructions: Box Base
- Cut cardstock to 8 in x 8 in.
- Score all four sides at 2 inches from each edge (you’ll create a grid with a 4 in square in the center).
- Snip along the score lines at each corner up to the intersecting score line (4 cuts total per side area).
- Crease all score lines sharply using a bone folder for crisp edges.
- Assemble: Apply double-sided tape or a thin line of tacky glue to the outer tabs. Fold up the sides and press tabs into place.
- Hold seams with binder clips for 2–3 minutes (or until secure).
Step-by-Step Instructions: Lid
- Cut cardstock to 8 ⅛ in x 8 ⅛ in.
- Score all sides at 2 inches.
- Snip corner cuts the same way as the base.
- Crease and assemble with tape or glue.
Birthday Decorating Ideas for the Classic Box
- Party theme label: add a “Happy Birthday” tag with the guest of honor’s name
- Washi tape frames: outline the lid edges for a boutique look
- Ribbon wrap: wrap ribbon around the box and tie a bow on top
- Confetti shaker top (advanced): cut a window in the lid, add acetate, and fill with confetti
DIY Gift Box Style #2: Pillow Box (Fast, Cute, Great for Party Favors)
Pillow boxes are ideal when you need multiple favor boxes for a birthday party. They’re lightweight, quick to make, and look adorable lined up on a dessert table.
Measurements (Makes a 4.5 in Wide Pillow Box)
- Cardstock: 6 in x 8 in
- Template guide: score at 1 in on both 6 in sides (creates glue flaps and structure)
Step-by-Step Instructions
- Cut cardstock to 6 in x 8 in.
- Score along the long direction: make score lines at 1 in from each 6 in edge (so you have 1 in flap + 4 in center + 1 in flap).
- Curve the pillow ends: Use a round object (like a large jar lid) to trace a gentle curve on each short end, then cut. Keep it symmetrical.
- Form the tube: Roll the cardstock and tape/glue the 1 in flap to create a tube.
- Create pillow shape: Pinch the curved ends inward to form the pillow closure.
- Close one side, add the gift (candies, small toys, gift card), then close the other side.
Decorating Ideas for Pillow Boxes
- Sticker seal: easy and kid-friendly
- Ribbon tie: punch a small hole on each side and tie twine through
- Mini tag: “Thanks for celebrating!” for party favor vibes
DIY Gift Box Style #3: Matchbox Slider Box (Great for Gift Cards and Small Jewelry)
This “drawer” style box feels extra special for birthdays—like opening a tiny present inside a present. It’s also a fun handmade alternative to a basic gift card envelope.
Measurements (Fits a Standard Gift Card)
- Inner drawer: Start with cardstock 6 ¾ in x 5 ¼ in
- Outer sleeve: Start with cardstock 7 ⅛ in x 5 ½ in
Step-by-Step: Inner Drawer
- Score all four sides at 1 inch.
- Cut corner tabs: snip up to the score intersections.
- Assemble into a shallow tray using tape or glue.
Step-by-Step: Outer Sleeve
- Score along the 7 ⅛ in length at 2 ¼ in, 3 ¼ in, and 5 ½ in. This creates panels that wrap around the drawer.
- Fold on score lines and wrap around the drawer to test fit (it should slide smoothly, not squeeze).
- Glue the sleeve seam and hold with clips until set.
- Add a pull: glue on a small ribbon loop or attach a brad/button on the drawer front.
Pro Tips for Crisp Folds, Clean Edges, and Strong Boxes
- Score before you cut small details: scoring first prevents awkward bends and misalignment.
- Use double-sided tape for seams: it’s cleaner than wet glue and reduces warping—perfect for gift boxes that need sharp corners.
- Burnish folds: run a bone folder along every score line for a professional finish.
- Reinforce heavy gifts: add a second layer of cardstock inside the base or glue cardstock onto chipboard for a rigid “keepsake” box feel.
- Theme-match your paper: patterned scrapbook paper instantly ties your DIY project into your party decorations.
Fun Variations (Beginner-Friendly and Advanced)
Beginner-Friendly Upgrades
- Window lid: cut a 2.5 in square window, tape acetate behind it, and decorate the edge with washi tape.
- Two-tone look: use one color for the base and a contrasting color for the lid.
- Pre-made embellishments: use sticker letters, store-bought bows, or foam shapes for instant birthday flair.
Advanced Variations for Experienced Crafters
- Magnetic closure: add small adhesive magnets to a flap-style box for a luxe finish.
- Layered lid topper: cut layered shapes (balloons, stars, age number) with a cutting machine and foam tape for dimension.
- Fabric-wrapped box: wrap chipboard panels in cotton fabric, then assemble for a keepsake-quality birthday gift box.
Troubleshooting: Fix Common Gift Box Issues
- Box won’t hold shape: Use thicker cardstock (100–110 lb), reinforce the base with a second layer, or switch to chipboard construction.
- Lid is too tight: Make the lid paper slightly larger (add 1/16–1/8 in to width and height) or reduce lid side height by 1/16 in.
- Lid is too loose: Increase lid side height slightly or add a thin cardstock liner inside the lid.
- Warping or bubbling: Use tape instead of wet glue, or apply glue in a very thin layer and press under a book for a few minutes.
- Messy corners: Trim tabs slightly at an angle so they overlap neatly without bulging.
Common Crafting Mistakes to Avoid
- Skipping scoring: Folding without scoring often causes cracks and uneven edges—especially on glitter or metallic cardstock.
- Using flimsy paper: Regular printer paper won’t hold up as a gift box. Choose cardstock in the 80–110 lb range.
- Rushing glue time: If you’re using wet glue, give seams a minute to grab before handling.
- Measuring “by eye” for lids: A tiny difference matters. Use a ruler and keep notes of what fits your preferred cardstock thickness.
- Over-embellishing the lid: Puffy decor can prevent the box from stacking or sliding into a gift bag—keep dimension mostly on top, not edges.
FAQ: DIY Birthday Gift Boxes
1) What cardstock is best for DIY gift boxes?
Look for 80–110 lb (216–300 gsm) cardstock. For heavier gifts, use 100–110 lb, or reinforce the base with an extra layer. Patterned scrapbook cardstock works well for party-themed gift boxes.
2) Can I make these boxes without a scoring board?
Yes. Use a metal ruler and a bone folder (or the back of a butter knife) to score along the ruler edge. Score lightly—just enough to create a fold guide.
3) How do I make a box bigger or smaller?
Keep the same method and adjust the center panel size and side height. For example, a classic box uses a grid: (side height) + (base size) + (side height) in both directions. If you want a 5 in base with 2 in sides, cut cardstock to 9 in x 9 in and score at 2 in from each edge.
4) What’s the best adhesive for clean-looking gift boxes?
Double-sided tape gives the cleanest seams with minimal warping. Use tacky glue when you need extra strength, and keep a few binder clips handy to hold edges while it sets.
5) Are DIY gift boxes good for party favors?
Absolutely. Pillow boxes and small lidded boxes are perfect for birthday party favors like candy, mini toys, stickers, and small treats. They also double as party table decorations when color-coordinated with your theme.
Wrap It Up: Make One Box, Then Make It Yours
The best part about DIY gift boxes for birthdays is how quickly they become your signature party detail. Start with one classic lidded box to learn the folds, then experiment with pillow boxes for favors or a matchbox slider for gift cards. With a few sheets of cardstock and the right tools, you can create handmade gift packaging that looks custom, coordinates with your party decorations, and makes every birthday feel more special.
Want more DIY crafts, party decoration ideas, and handmade projects that make celebrations easier (and prettier)? Keep exploring fresh creative inspiration on smartpartyprep.com.
More Articles
 How to Accept 3rd Party Cookies on Mac in 2024: A Step-by-Step Safari & Chrome Guide (No Tech Degree Required)
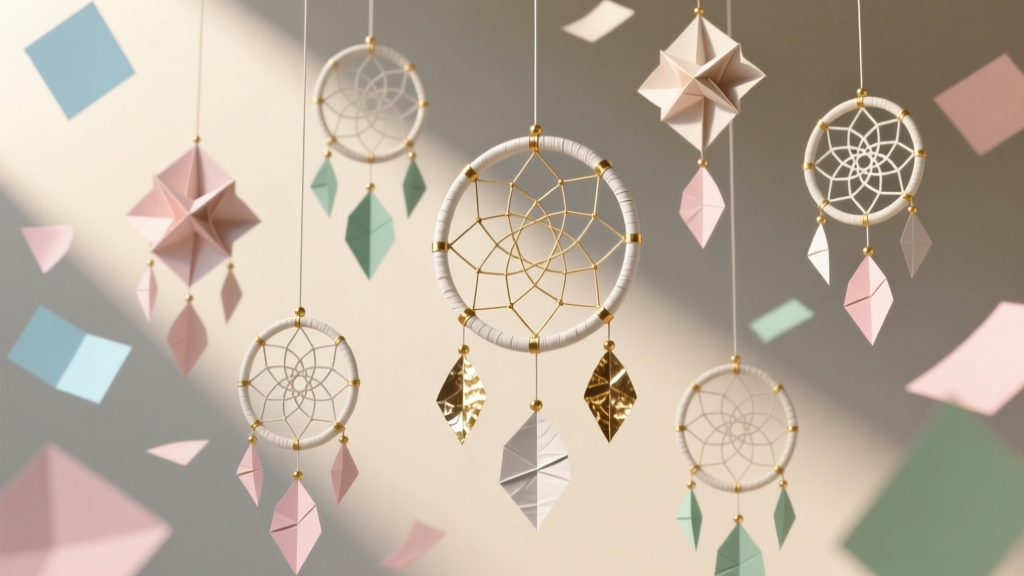 Paper Craft Dream Catchers Ideas
 ‘Is Just Ingredients Third Party Tested?’ — The Truth Behind Label Claims (and How to Verify What You’re Really Buying)
 Is Nature's Way Third Party Tested? We Investigated Every Batch Report, Lab Certificate, and FDA Compliance Gap So You Don’t Have to Waste Time—or Risk Your Craft Projects on Unverified Supplements.
 DIY Greeting Cards in 1 Hour
 Step-by-Step Dream Catchers Tutorial
 How to Turn On 3rd Party Cookies in 2024: A Step-by-Step Guide for Chrome, Safari, Firefox & Edge (Without Breaking Your Privacy or Site Functionality)
 Step-by-Step Wall Art Tutorial (Perfect for Party Backdrops & Handmade Decor)
 DIY Party Hats Using Cricut
 How to Unblock Third Party Cookies on iPad in 2024: A Step-by-Step Guide That Actually Works (No More ‘Blocked by Safari’ Errors)