
Step-by-Step Dream Catchers Tutorial
Dream catchers are one of those handmade decorations that instantly add texture, movement, and “wow” to a party space. They look magical hanging above a dessert table, clustered in a photo booth backdrop, or used as chair décor for a bridal shower. Even better: they’re lightweight, customizable to any theme, and surprisingly beginner-friendly once you know the basic wrapping and weaving steps.
This project is also a budget-friendly way to create DIY party decorations that feel personal. You can match colors to your event palette, add meaningful charms, or keep it simple and modern with clean lines and neutral tones. Whether you’re crafting for a birthday, baby shower, wedding, boho picnic, or a cozy sleepover party, a handmade dream catcher fits right in.
Grab a comfy seat, put on your favorite playlist, and let’s make a dream catcher you’ll be proud to hang up (or gift!).
Skill Level, Time, and Finished Size
- Skill level: Beginner to Intermediate (advanced options included below)
- Time estimate: 45–90 minutes per dream catcher (depending on detail level)
- Finished size: Ring diameter 6–10 inches; hanging length 18–30 inches
- Best for: DIY party decorations, handmade party backdrops, kids’ craft nights (with supervision)
Materials List (with Product Types + Estimated Costs)
These are common craft store items (or easy to order online). Costs vary by brand and quantity, but this will help you plan your party craft budget.
Core Supplies
- Hoop/ring (metal macramé ring or wooden embroidery hoop), 6–10 in: $1–$6
- Wrapping material (suede lace, faux leather cord, satin ribbon, or cotton yarn), 3–6 yards: $2–$8
- Web string (waxed cotton cord, crochet thread size 10, or strong embroidery floss), 4–7 yards: $2–$6
- Feathers (craft feathers or dyed natural feathers), pack: $3–$10
- Beads (wood, acrylic, glass, pony beads, or metal spacers), assorted: $2–$8
- Charms (optional) (moon/star charms, heart charms, letter beads): $2–$8
Adhesives and Tools
- Scissors (sharp craft scissors): $5–$15
- Hot glue gun (low-temp for safety) + glue sticks: $10–$20
- Craft needle (large-eye tapestry needle helps threading beads): $1–$4
- Measuring tape or ruler: $1–$5
- Optional: jewelry pliers (for jump rings/charms): $5–$12
Recommended Measurements (Per One 8-Inch Dream Catcher)
- Wrapping ribbon/cord: 4–5 yards
- Web string: 5–6 yards
- Hanging strands: 3–7 strands, each 18–28 inches long (cut longer than you think; you can trim later)
How to Make a Dream Catcher: Step-by-Step
Step 1: Choose Your Color Palette and Party Style
Before you cut anything, decide how your dream catcher will work as party décor:
- Boho party backdrop: neutrals, creams, tan suede, natural feathers
- Baby shower: soft pastel yarn, tiny beads, fluffy feathers
- Birthday party: bright ribbon tails, metallic thread, star charms
- Wedding/bridal shower: lace wrap, pearl beads, white feathers
Quick design tip: Pick 2–3 main colors + 1 accent (like gold or white). This keeps the finished piece looking polished and photo-ready.
Step 2: Wrap the Hoop (Neat Finish = Big Impact)
- Anchor the wrap: Add a tiny dot of hot glue to the hoop and press the end of your ribbon/cord onto it.
- Wrap tightly: Wrap at a slight angle so each loop sits snugly next to the previous one (no gaps).
- Keep tension steady: Pull the ribbon/cord gently as you wrap to prevent loosening later.
- Secure the end: When you reach the starting point, cut the material and glue the end down neatly on the inside of the hoop.
Measurement guide: For an 8-inch hoop, expect to use about 4–5 yards of ribbon/yarn depending on thickness.
Step 3: Add a Hanging Loop (So It’s Ready to Display)
- Cut a 10–14 inch piece of cord or ribbon.
- Tie it to the top of the hoop with a double knot.
- Add a dot of hot glue on the knot if you want extra security (especially for party setups and outdoor events).
Step 4: Create the Classic Web (Simple Pattern, Beautiful Results)
This web is made with a series of evenly spaced loops around the hoop. Don’t stress about perfection—slight variations look handmade and charming.
- Cut web string: Start with 5–6 yards for an 8-inch hoop.
- Attach the string: Tie the string to the hoop near the top using a double knot. Leave a 4-inch tail and glue it down if desired.
- Make your first loop: Measure about 1.5–2 inches along the hoop. Pass the string behind the hoop, pull it forward, then tuck the working end through the loop you created (a lark’s head–style loop). Tighten gently.
- Repeat around the hoop: Continue making the same loop every 1.5–2 inches until you reach the start.
- Start the next row: Instead of looping around the hoop, you’ll loop around the middle of each previous loop. This draws the web inward.
- Continue inward: Repeat row by row. The web will naturally form a polygon shape and then tighten toward the center.
- Add a center bead (optional): When the center opening is about 1–1.5 inches, thread a bead onto the string and continue one more loop.
- Finish off: Tie a secure knot near the final loop. Add a tiny dot of glue to lock it in place.
Beginner-friendly adaptation: Use thicker yarn instead of thread. The loops become easier to see and handle, and the web builds faster.
Step 5: Add Hanging Strands (Ribbons, Lace, and Feathers)
The hanging pieces are where your dream catcher turns into party-ready décor with movement and color.
- Plan your strand count: For an 8-inch hoop, 3–7 strands looks balanced.
- Cut strands: Cut ribbon, yarn, lace, or cord to 18–28 inches each (cut longer than needed).
- Attach strands to the bottom: Fold each strand in half and attach with a simple lark’s head knot around the hoop, spacing evenly.
- Add beads: Thread beads onto individual strands. A tapestry needle helps, or wrap the strand end with tape to create a “needle tip.”
- Add feathers:
- Option A: Tie feathers directly with thin thread.
- Option B: Use hot glue sparingly at the feather quill and wrap with thread for a clean look.
- Trim ends: Hang it up temporarily and trim strands into a soft “V” shape, straight line, or staggered lengths.
Step 6: Final Check (Party-Ready Durability)
- Gently tug each knot to ensure it’s tight.
- Check for sharp glue strings and remove them.
- Make sure your hanging loop is centered so it doesn’t tilt in photos.
Pro Tips for Clean, Professional-Looking Dream Catchers
- Use consistent spacing: Mark light guide dots on the hoop with a pencil every 1.5–2 inches before webbing.
- Control fraying: Seal ribbon ends with a tiny bit of clear-drying craft glue or carefully heat-seal synthetic ribbon ends (adult-only).
- Keep the web centered: Maintain gentle, even tension—pull tight enough to shape the web, but not so tight it warps the hoop.
- Photogenic palette: Mix textures (lace + satin + matte yarn) while keeping colors cohesive for event styling.
- Batch-making for parties: Wrap all hoops first, then web all hoops, then add strands assembly-line style.
Variations for Different Party Themes (Beginner to Advanced)
Beginner Variations
- Ribbon-only dream catcher: Skip the web and tie 8–12 ribbon strands around the hoop for a quick party decoration (great for kids’ crafts).
- Single-row web: Make just one outer row of loops, then add a large center charm.
- Pre-made web insert: Use a small lace doily stretched inside the hoop and glued on the back.
Intermediate Variations
- Two-tone wrap: Wrap half the hoop in one color and half in another, blending slightly in the middle.
- Beaded web: Add a bead every 3–4 loops for sparkle.
- Mini cluster set: Make 3 dream catchers in 4-inch, 6-inch, and 8-inch sizes and hang them together as a party backdrop piece.
Advanced Variations
- Double-hoop dream catcher: Attach a smaller hoop inside a larger hoop with thread bridges, then web each section.
- Macramé fringe: Replace ribbons with knotted macramé cords and add a combed fringe.
- LED glow effect: Wrap micro-LED fairy lights around the hoop for nighttime parties (use a small battery pack and secure it behind the hoop).
Troubleshooting: Fixes for Common Issues
- Problem: The web looks uneven.
Fix: Loosen the last row and re-tighten with more consistent spacing. If needed, start with fewer anchor points (wider spacing is more forgiving). - Problem: The hoop wrap has gaps.
Fix: Unwrap a few inches and rewrap with more tension. Slightly overlapping wraps can cover thin spots. - Problem: Strands slide around the hoop.
Fix: Add a tiny dot of hot glue under each lark’s head knot on the backside. - Problem: Feathers fall off.
Fix: Use a combination of tying + a small amount of glue. Let glue fully cool before moving. - Problem: The dream catcher hangs crooked.
Fix: Adjust the hanging loop knot position. You can also add a small bead to one side of the top as a counterweight.
Common Crafting Mistakes to Avoid
- Cutting strands too short: Always cut longer and trim at the end. Short strands limit design options.
- Using stretchy string for the web: Elastic cord makes the web sag. Choose waxed cotton, crochet thread, or embroidery floss.
- Over-gluing: Too much hot glue can look messy and stiffen the fibers. Use tiny dots where needed.
- Pulling the web too tight: Excess tension can warp the hoop into an oval shape.
- Ignoring weight balance: If you add heavy charms to one side, the piece may tilt—distribute heavier elements evenly.
FAQ: Dream Catcher Crafting Questions
What’s the best hoop size for a party backdrop?
For a photo booth or dessert table backdrop, 8–12 inches is the sweet spot. For a fuller display, mix sizes (4", 6", 8", 10") and hang them at different heights.
Can kids make dream catchers?
Yes—with a few tweaks. Use a larger hoop (8–10 inches), thicker yarn for the web, and skip hot glue unless an adult is helping. A ribbon-only version is the easiest kids’ party craft.
How do I match dream catchers to my party theme?
Choose wrapping and ribbon colors that match your tableware, balloons, or invitations. Add theme-specific charms—stars for a celestial party, seashells for a beach theme, hearts for a bridal shower, or letter beads for a name/age.
What can I use instead of feathers?
Try tassels, ribbon fringe, lace strips, fabric scraps, faux greenery sprigs, or felt shapes. These alternatives work especially well for modern, minimalist DIY party decorations.
How do I hang dream catchers for an event?
Use removable adhesive hooks, clear fishing line, or backdrop stands. For outdoor parties, secure with extra knots and a small dot of glue on key knots to prevent slipping in the breeze.
How far in advance can I make them?
You can make dream catchers weeks ahead. Store them flat in a large box or hang them in a closet so the strands don’t crease.
Wrap-Up: Your Handmade Dream Catcher Is Ready to Shine
A dream catcher is the kind of DIY craft that looks impressive without requiring fancy tools, and it doubles as meaningful décor long after the party ends. Make one as a statement piece, or create a whole set for a stunning handmade party backdrop—either way, you’ll end up with something unique, camera-friendly, and full of personality.
Want more party-ready DIY crafts, handmade decorations, and creative project ideas? Explore more tutorials and inspiration on smartpartyprep.com and keep the crafty momentum going.
More Articles
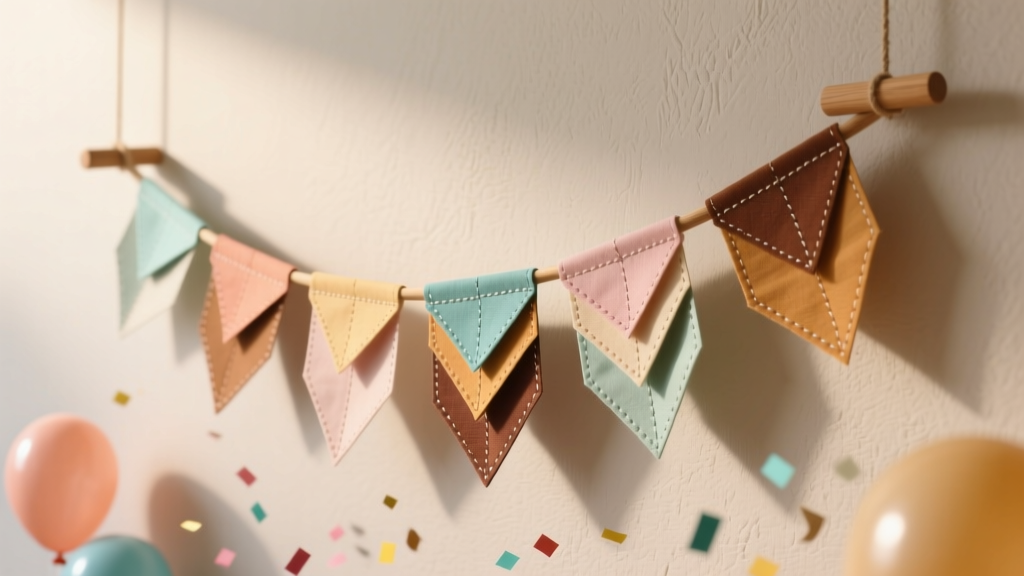 Paper Craft Fabric Bunting Ideas
 Budget DIY Party Banners Under $25
 Advanced Invitations for Crafters
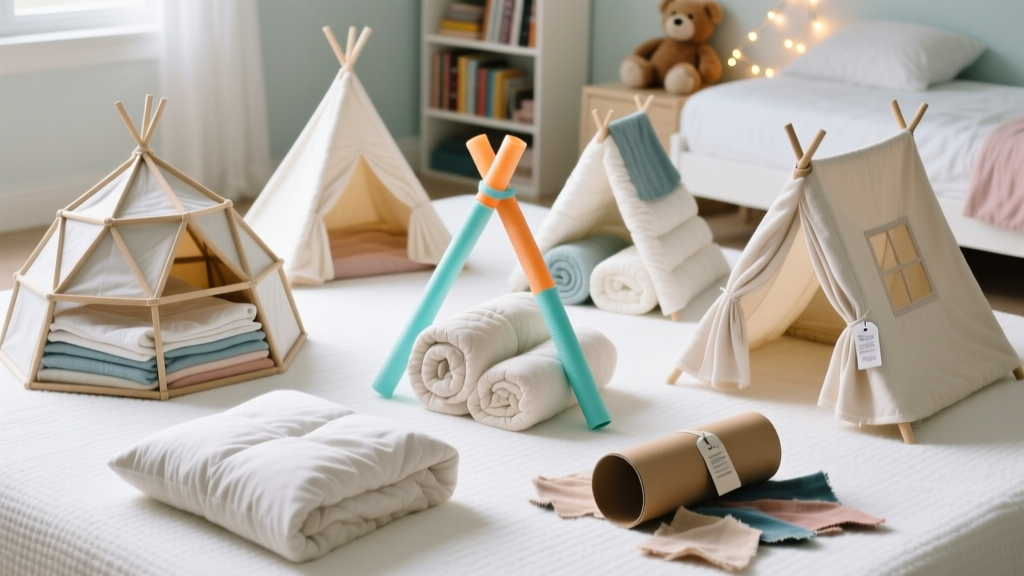 How to Make Tents for a Slumber Party: 7 No-Sew, Budget-Friendly Ideas That Take Under 20 Minutes (Plus Pro Tips to Keep Them Standing All Night!)
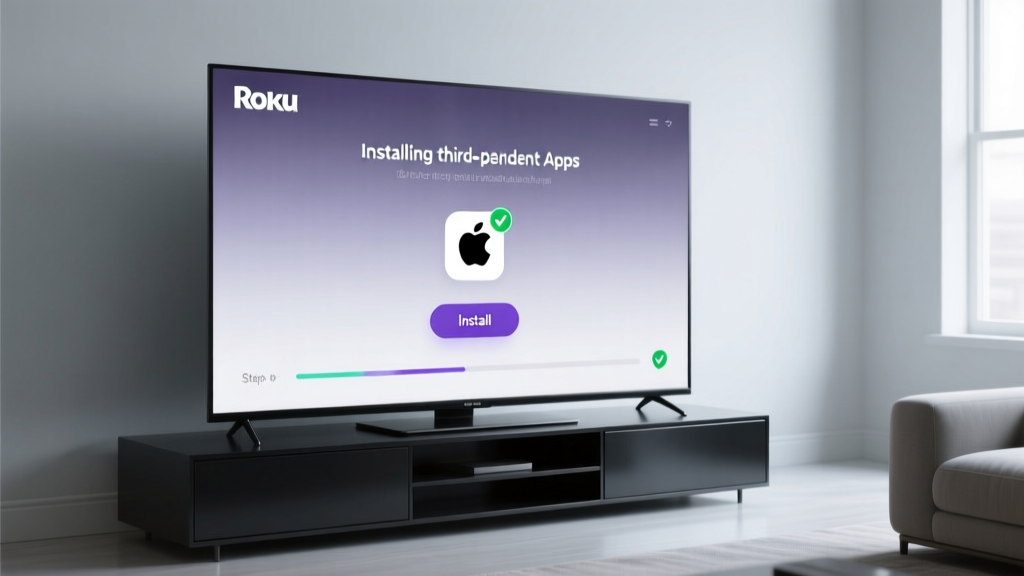 How to Install 3rd Party Apps on Roku TV (Without Jailbreaking): The Only Legal, Step-by-Step Method That Actually Works in 2024 — No Developer Mode Confusion, No Failed Sideloading, Just Real Results
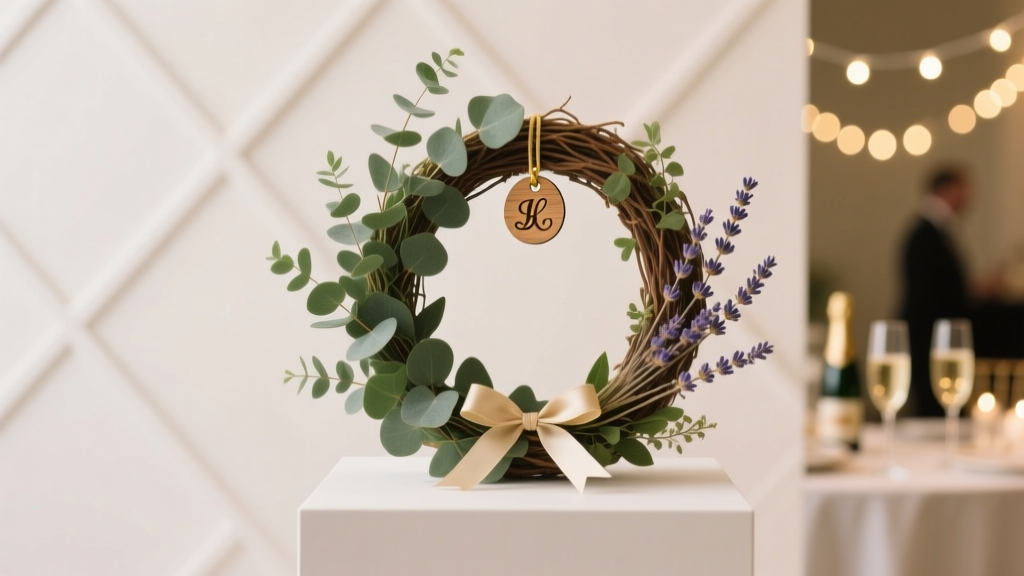 Personalized Wreaths Gifts
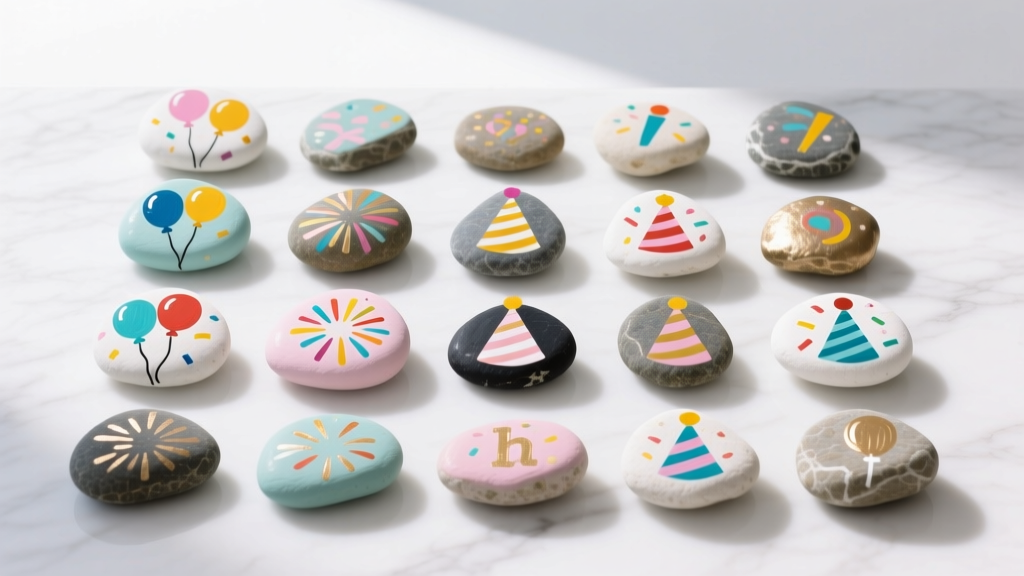 30 Creative Painted Rocks Ideas
 How to Make a Backdrop for Party in Under 90 Minutes (No Sewing, No Pro Tools — Just $12 & Your Dining Table)
 How to Enable Third Party Cookies on Mac in 2024: A Step-by-Step Safari & Chrome Guide (Plus Why You Might Not Want To)
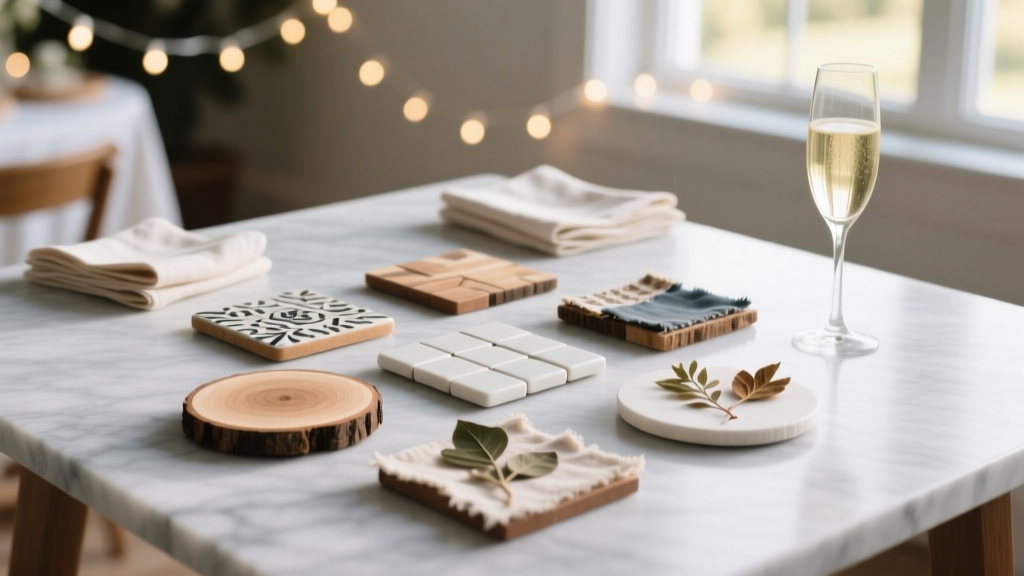 Budget DIY Coasters Under $50