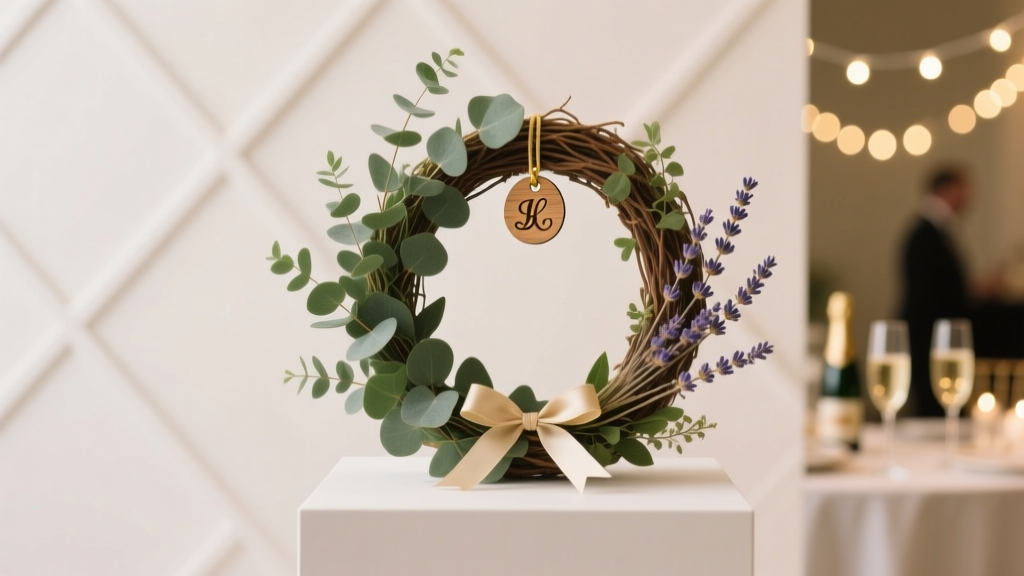
Personalized Wreaths Gifts
Nothing says “I made this just for you” like a personalized wreath. It’s cheerful, practical, and instantly party-ready—whether you’re gifting a hostess, celebrating a birthday, welcoming a new baby, or dressing up your own front door for an upcoming gathering. The best part: wreaths can be customized in endless ways without needing fancy tools or advanced crafting skills.
This project is especially fun for DIY enthusiasts because it blends creativity with quick wins. You can keep it simple (a ribbon bow and a name tag) or go big with layered florals, themed colors, and playful party accents. Personalized wreaths also make great pre-party prep—hang one at the entrance, use it as a photo backdrop prop, or gift smaller versions as party favors.
Below you’ll find beginner-friendly instructions, advanced upgrades, cost estimates, and troubleshooting tips so you can confidently create a handmade wreath gift that looks polished and feels meaningful.
Project Overview: Skill Level, Time, and Best Occasions
- Skill level: Beginner (basic bow + name tag) to Intermediate/Advanced (layered florals, wired elements, LED accents)
- Active crafting time: 45–120 minutes (depending on complexity)
- Dry time: 30–60 minutes if using strong glue (optional but recommended before gifting)
- Finished size options:
- Standard front door wreath: 16–20 inches
- Apartment/indoor wreath: 12–14 inches
- Mini gift wreath: 6–10 inches (great as party favors or place-setting decor)
- Perfect for: Housewarming, bridal shower, baby shower, birthdays, holiday parties, graduation, engagement parties, “welcome home,” and hostess gifts
Materials & Tools (With Estimated Costs)
Wreath Base Options
- Grapevine wreath (12–18 inch): $6–$18
- Best for rustic, floral, seasonal designs
- Metal wire wreath frame (12–16 inch): $2–$8
- Best for mesh, ribbon, and fuller party-style wreaths
- Foam wreath form (10–14 inch): $4–$10
- Best for clean, modern looks and lightweight designs
Decor & Personalization Supplies
- Ribbon (1.5 inch and/or 2.5 inch wired ribbon, 3–6 yards): $4–$15
- Artificial florals/greenery (2–6 stems): $8–$30
- Lettering for personalization:
- Vinyl letters (permanent or removable): $5–$12
- Wood letters (2–4 inch tall) or a wooden monogram: $2–$15
- Acrylic name plaque/tag blank (4–8 inch): $5–$18
- Paint pen or permanent marker for hand lettering: $3–$8
- Accent items (optional): mini balloons, faux berries, seasonal picks, mini pennant banner, party tassels, pom-poms, small photo frame ornament: $3–$20
- Hanging hardware: wreath hanger or 12–18 inch ribbon loop: $2–$10
Adhesives & Fasteners
- Hot glue gun (high-temp recommended): $10–$25
- Hot glue sticks (standard 0.44 inch): $3–$8
- Floral wire (22–26 gauge) or pipe cleaners: $3–$7
- Zip ties (6–8 inch): $3–$6
Tools (Recommended)
- Wire cutters (for floral stems and wire): $8–$15
- Scissors (sharp craft scissors for ribbon): $6–$15
- Ruler or measuring tape: $2–$8
- Optional: mini staple gun (for ribbon on foam), Cricut/cutting machine for vinyl personalization, heat tool for shaping ribbon tails
Estimated total cost per wreath: $15–$55 (budget-friendly if you use dollar-store florals and repurpose ribbon; higher-end if you choose premium stems and custom plaques).
Step-by-Step: How to Make a Personalized Wreath Gift
Step 1: Choose a Theme and Color Story (10 minutes)
Start with the recipient and the occasion. Pick 2–3 main colors plus 1 neutral (greenery, white, kraft paper, black, or gold).
- Birthday party wreath: bright ribbon + mini pennant + name
- Baby shower wreath: soft florals + “Welcome Baby” + name
- Housewarming wreath: greenery + wood monogram + simple bow
- Holiday party wreath: seasonal picks + plaid ribbon + initial
Measurement tip: For a balanced design on a 16–18 inch wreath, plan for your main decoration cluster to cover about 1/3 of the wreath (roughly a 6–8 inch wide area).
Step 2: Prep the Wreath Base (5–10 minutes)
- Grapevine base: shake off loose bits; clip stray twigs with wire cutters.
- Wire frame: decide where the “top” will be; add a hanging loop using floral wire.
- Foam base: if you want a polished look, wrap it with 1.5 inch ribbon:
- Start on the back; glue the ribbon end down.
- Wrap at a slight angle, overlapping by about 1/2 inch each pass.
- Glue every 6–8 inches to prevent slipping.
Step 3: Build Your Decoration Cluster (20–45 minutes)
Work in layers: greenery first, then flowers/feature elements, then smaller fillers.
- Add greenery (the foundation):
- Cut stems to 3–5 inches so they sit close to the wreath.
- Attach with floral wire for strength; reinforce with a small dab of hot glue if needed.
- Add feature florals or statement items:
- Use 1–3 larger focal flowers (like peonies, roses, sunflowers) spaced in a triangle.
- Angle blooms slightly outward so they show from the curb/entry view.
- Fill gaps with smaller pieces:
- Add baby’s breath-style sprigs, eucalyptus, berries, or mini picks.
- Keep filler pieces shorter (2–3 inches) to avoid a messy silhouette.
Beginner-friendly shortcut: Use one pre-made floral swag or bouquet, cut it into 3–5 mini bundles, then attach bundles around your chosen area for a cohesive look without overthinking.
Step 4: Make a Big Bow (10–20 minutes)
A bow instantly makes your wreath gift-worthy. Wired ribbon is easiest to shape.
- Cut 2 ribbon tails, each 12–16 inches long (longer for a larger wreath).
- Create 4–6 loops (each loop about 5–7 inches long for an 18 inch wreath).
- Pinch the center tightly and wrap with floral wire.
- Fluff loops and trim tails into a neat V-cut or diagonal cut.
Attach the bow: Use floral wire through the back of the bow and twist it around the wreath base. Hot glue alone often fails on doors in changing temperatures—wire is your best friend.
Step 5: Add the Personalization (15–30 minutes)
This is where your wreath becomes a personalized gift. Choose one of these approaches:
Option A: Name/Initial Sign (Most Durable)
- Use a wood monogram (8–12 inches wide for a standard wreath).
- Paint with acrylic paint (2 coats) or leave natural for a rustic vibe.
- Attach using floral wire or zip ties through the wreath base.
Option B: Vinyl on a Plaque or Ribbon (Clean, Modern Look)
- Apply adhesive vinyl letters to an acrylic or wooden tag (4–8 inches wide).
- Hang the tag with a 6–10 inch ribbon loop from the wreath center or lower third.
Option C: Hand-Lettered Tag (Fast + Charming)
- Cut cardstock or kraft board to about 4 x 6 inches.
- Write the name with a paint pen; add a small border or confetti dots.
- Laminate with clear packing tape for light protection, then attach with wire.
Placement tip: Personalization looks best either centered in the open space or tucked slightly into the decoration cluster—avoid placing it too close to the outer edge where it can get bumped.
Step 6: Secure, Balance, and Finish (10–15 minutes)
- Lift the wreath and view it from 6–8 feet away (the “front door distance”).
- Check for:
- Loose stems (add wire or glue)
- Gaps (add a small filler sprig)
- Bow tilt (adjust before the glue sets)
- Add a hanging loop:
- Cut a 14–18 inch piece of ribbon, tie ends together, and wire it to the back top.
Gift-ready touch: Tie a small gift tag to the hanger loop with twine and include a short note (“Made for your new home!” or “Happy Birthday, [Name]!”).
Pro Tips for a Polished, Party-Ready Wreath
- Use wire first, glue second: Wire holds through heat, cold, and door slams. Glue is best as a helper, not the main support.
- Limit your “star” elements: Choose one main feature (big bow, large monogram, or statement flowers). Too many focal points can look cluttered.
- Repeat shapes/colors: If you use gold letters, repeat gold in a small ribbon edge or a couple of picks for a cohesive look.
- Keep it lightweight for gifting: Especially for apartment doors or indoor hooks. Foam bases and fewer heavy wooden pieces help.
- Protect surfaces: Add 3–4 small felt pads to the back to prevent scratching doors.
Creative Variations (Beginner to Advanced)
Beginner-Friendly Adaptations
- One-bow-and-a-tag wreath: Wrap a foam wreath with ribbon, add a large bow, then hang a hand-lettered name tag.
- Single floral cluster: Use 3 stems total (1 focal flower + 2 greenery) for a clean design that still looks intentional.
- Pre-made elements: Buy a ready-made bow or a floral pick bundle and focus on personalization.
Intermediate Upgrades
- Layered ribbon tails: Stack 2–3 ribbon patterns (each tail 12–16 inches) behind the bow for a boutique look.
- Mini banner name: Spell the name on tiny pennants (about 1 x 1.5 inches each) strung across the center.
- Seasonal swap pieces: Attach accents with pipe cleaners so the recipient can swap themes (birthday → holiday → everyday).
Advanced Variations
- LED fairy lights: Wrap a 6–10 ft battery pack light strand through the wreath; hide the battery pack behind greenery (secure with zip ties).
- 3D personalization: Use raised acrylic letters or layered cardstock letters sealed with Mod Podge for durability.
- Party-photo charm: Add a small lightweight frame (3 x 4 inches) with a photo from the celebration—perfect for milestone birthdays or engagements.
Troubleshooting: Fixes for Common Wreath Problems
- My bow won’t stay fluffed.
- Use wired ribbon, or add a second wire wrap at the center.
- Shorten loops slightly; oversized loops droop more.
- Things keep popping off.
- Switch to floral wire or zip ties for heavy items.
- Clean dusty surfaces before gluing (quick wipe with a dry cloth).
- The wreath looks lopsided.
- Add one small filler sprig or ribbon tail on the lighter side.
- Rotate the wreath and check from a distance; sometimes the hanger loop is off-center.
- The personalization is hard to read.
- Increase contrast: light letters on dark ribbon, or dark letters on light plaque.
- Use larger lettering: for a standard door wreath, aim for 2–4 inch tall letters.
Common Crafting Mistakes to Avoid
- Relying only on hot glue for heavy decor: Heat and humidity can weaken glue. Use wire/zip ties for stability.
- Overcrowding the design: Leaving a little open space makes your focal elements and personalization stand out.
- Cutting ribbon tails too short: Short tails can look stubby. For 16–18 inch wreaths, start with 12–16 inch tails and trim later.
- Skipping the “distance check”: What looks full up close can look messy from far away. Step back several times as you build.
- Using too many different flower styles: Stick to 1–2 flower types plus greenery for a cohesive handmade decoration.
FAQ: Personalized Wreath Gift Questions
1) What’s the best wreath base for beginners?
A foam wreath form is the easiest to wrap and decorate neatly, especially for simple ribbon designs. Grapevine is also beginner-friendly if you like a more natural, forgiving look.
2) How do I make a personalized wreath that works for any season?
Use evergreen-style greenery (eucalyptus, boxwood, fern) plus a neutral bow, then attach seasonal accents (berries, ornaments, mini banners) with pipe cleaners so they’re removable.
3) How can I keep my wreath from scratching a door?
Add adhesive felt pads to the back in 3–4 spots. If the wreath is heavy, use a sturdy wreath hanger and avoid dragging it across the door surface.
4) Can I ship a personalized wreath as a gift?
Yes. Choose a lighter base (foam or wire frame), wire down all decor, and pack in a snug box with tissue paper support around the bow and florals. Avoid overly fragile add-ons like glass ornaments.
5) How do I make the personalization look professional without a cutting machine?
Use a paint pen on a simple tag or plaque, and keep lettering bold and high-contrast. You can also buy pre-cut wood letters and paint them to match the party theme.
6) What size wreath should I make for a front door gift?
A 16–18 inch wreath is a safe, versatile size for most doors. If the recipient has a narrow door, apartment entry, or indoor space, a 12–14 inch wreath can be more practical.
Wrap-Up: Make It Personal, Make It Party-Ready
Personalized wreaths hit the sweet spot between thoughtful and functional—an eye-catching handmade decoration that feels tailor-made for the recipient. Start with a simple base, build one beautiful focal cluster, and add a name or initial that ties it all together. With a few smart supplies and the step-by-step approach above, you’ll have a wreath gift that’s ready to impress at any celebration.
Want more DIY crafts, party decorations, and creative handmade project ideas? Browse more tutorials and smart celebration prep inspiration at smartpartyprep.com.
More Articles
 How Do I Make a Party Hat in Under 12 Minutes? (No Glue Gun, No Scissors Required — Just Paper, Tape & 3 Clever Hacks That 92% of First-Timers Miss)
 Easy Tie-Dye Shirts for Beginners
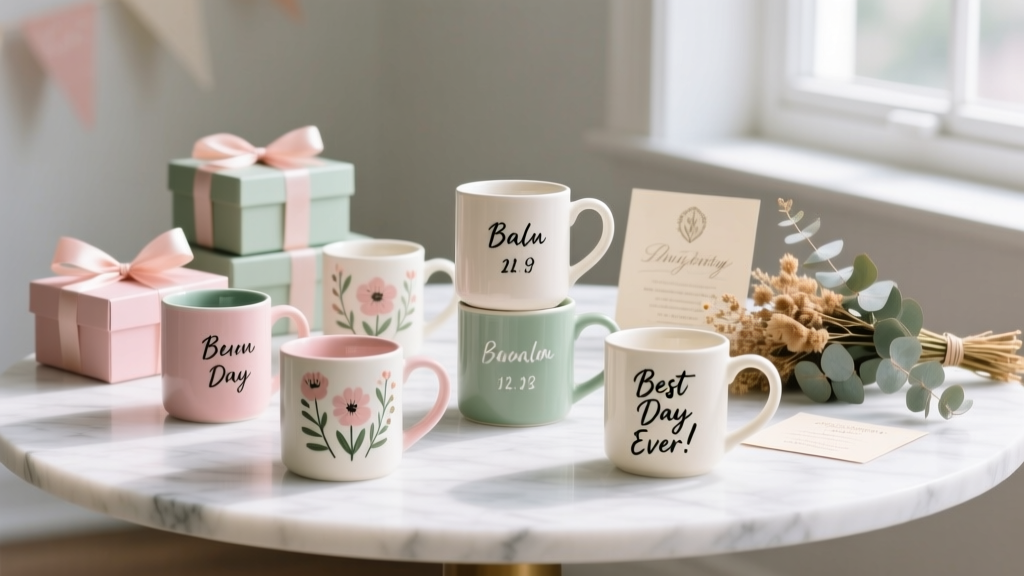 Personalized Mugs Gifts (DIY Party Favors & Handmade Keepsakes)
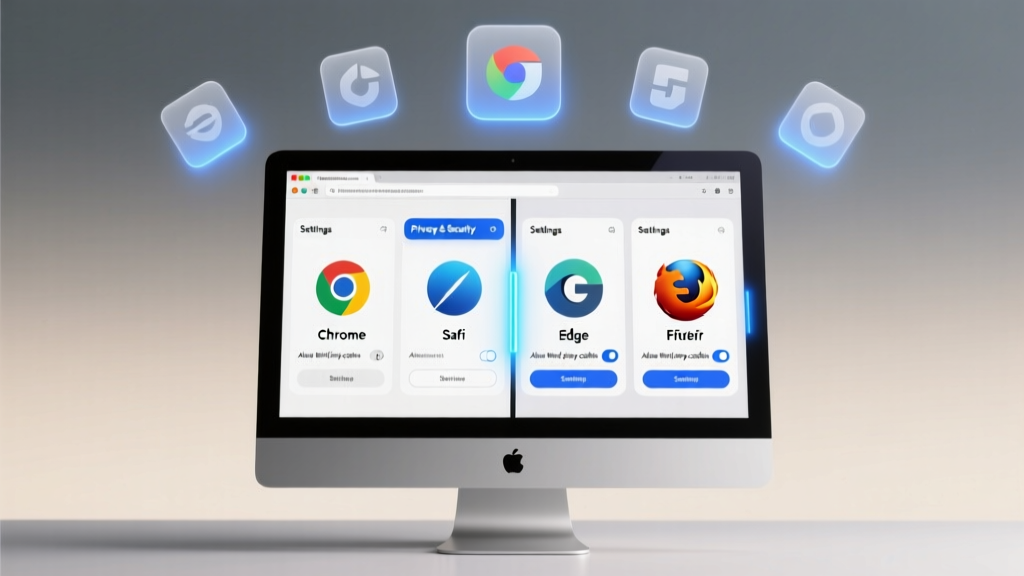 How to Update Settings to Allow 3rd Party Cookies in 2024: A Step-by-Step Fix for Chrome, Safari, Edge & Firefox (No Tech Degree Required)
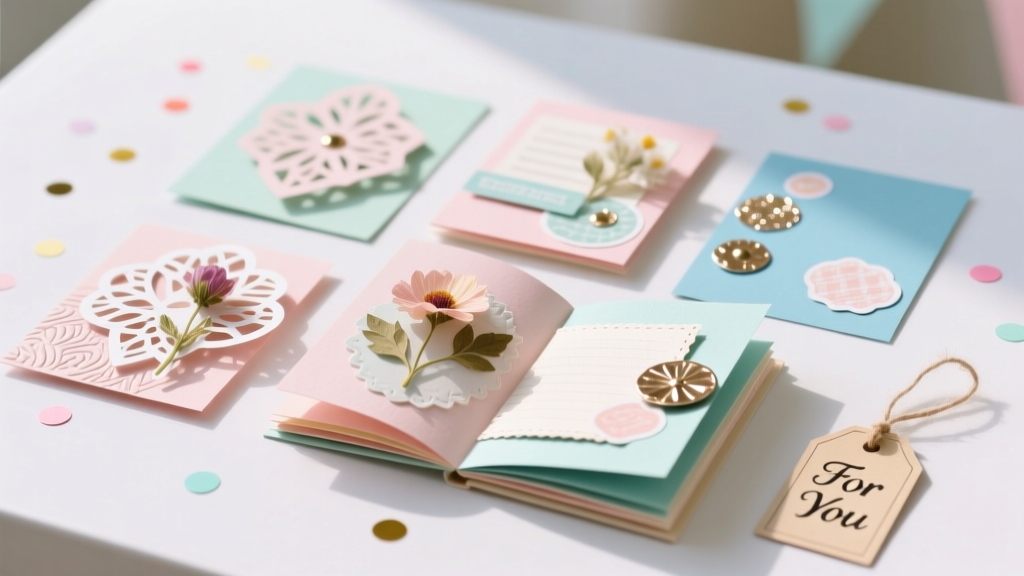 DIY Scrapbook Pages Party Favors
 How to Make a Party Popper in 7 Minutes (No Glue, No Mess, No Store-Bought Kits) — A Foolproof DIY Guide That Actually Works Every Time
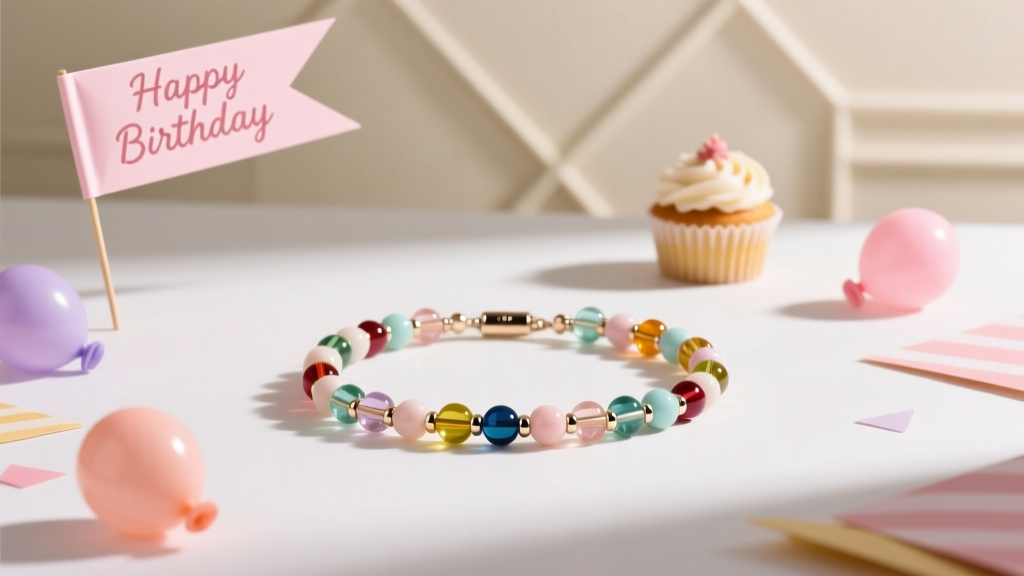 Kids' Craft: Beaded Bracelets
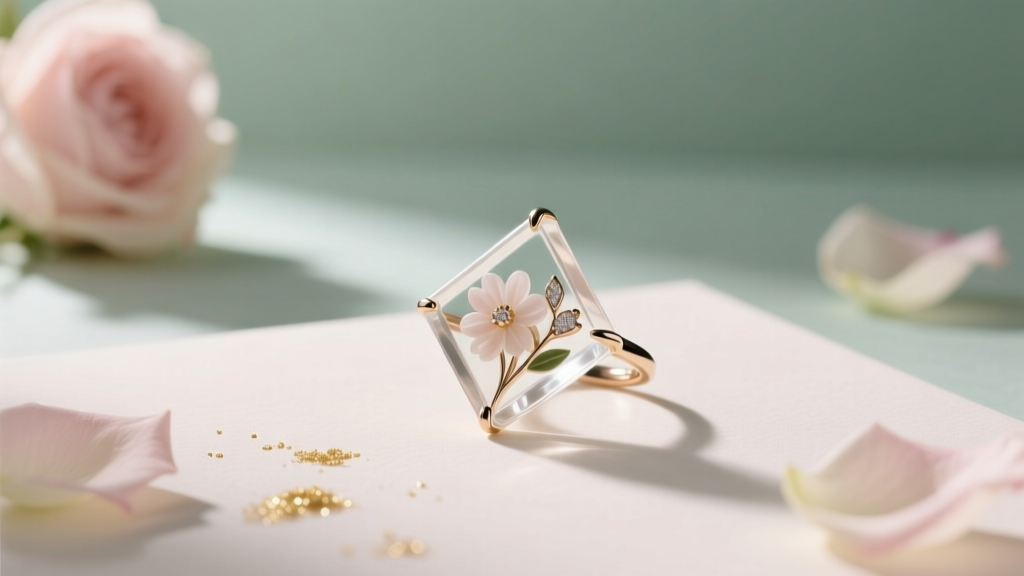 DIY Resin Jewelry for Weddings
 How to Unblock Third Party Cookies on MacBook: A Step-by-Step Guide That Actually Works in 2024 (No Tech Degree Required)
 Modern Wall Art Designs (DIY Party-Ready Decor You Can Make at Home)