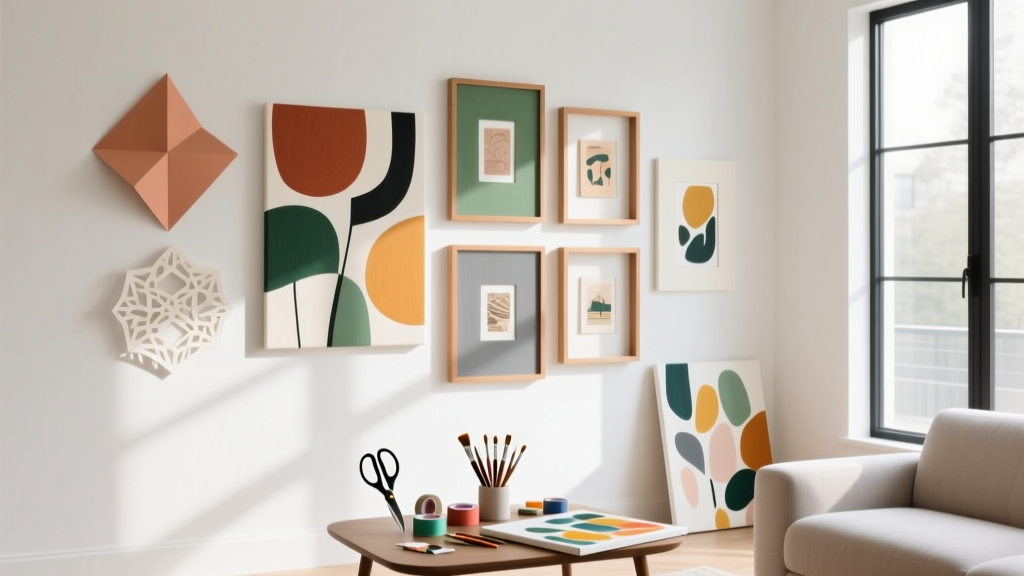
Modern Wall Art Designs (DIY Party-Ready Decor You Can Make at Home)
Modern wall art is one of those DIY crafts that feels instantly rewarding: you start with a blank canvas (sometimes literally) and end with a statement piece that makes your party space look styled and intentional. The best part? You can tailor the colors to your party theme—birthday neon, chic black-and-white, boho terracotta, or pastel baby shower vibes—without paying gallery prices.
These handmade decorations also pull double duty. Make them for a party backdrop, entry table vignette, dessert station, or photo booth wall, then keep them as everyday home decor afterward. If you love crafting and want party decorations that feel custom and modern, these projects are perfect for you.
Below you’ll find three beginner-to-advanced modern wall art designs, each with step-by-step instructions, cost estimates, time and skill levels, plus pro tips and troubleshooting. Pick one design or mix and match a mini “gallery wall” set for maximum impact.
Quick Project Overview
- Skill levels: Beginner to Intermediate (with optional Advanced upgrades)
- Total time: 45 minutes to 3 hours per piece (plus drying time)
- Best party uses: Photo booth backdrop, dessert table decor, gift table styling, entryway statement, themed gallery wall
- Core DIY craft keywords you’ll use: acrylic paint, textured wall art, geometric wall decor, gallery wall, handmade party decorations
Materials & Tools (With Estimated Costs)
Core Materials (Choose Based on the Design)
- Canvas panels (12" x 16" or 16" x 20", pack or single): $8–$25
- Wood cradle panels (12" x 12" or 16" x 16" for a modern look): $12–$35
- Acrylic craft paint (matte or satin; 2 oz bottles): $1–$3 each (plan 4–6 colors)
- Acrylic paint marker (white, black, or metallic gold): $6–$12
- Painters tape (1" and/or 0.94"): $6–$10
- Lightweight spackle or joint compound (for texture art, 8–16 oz): $6–$12
- Gold leaf flakes or metallic foil sheets (optional glam accent): $6–$15
- Matte clear sealer (spray or brush-on): $8–$15
- Command strips (picture hanging, medium/large): $6–$12
Tool Recommendations
- Foam brushes (1" and 2"): $3–$6
- Flat paintbrush set (1/4"–1"): $6–$12
- Palette knife or plastic putty knife (for texture): $4–$10
- Craft ruler (12" or 18") + pencil: $2–$8
- Scissors or craft knife (careful cutting tape edges): $3–$10
- Hair dryer (optional for faster drying): already owned or $15–$30
- Drop cloth or trash bags for table protection: $2–$8
Estimated Cost Per Finished Piece
- Budget-friendly: $12–$25 (canvas panel + 2–3 paints + tape)
- Mid-range: $25–$45 (wood panel + more colors + sealer)
- Textured/metallic: $35–$65 (texture paste + gold accents)
Design 1: Geometric Color-Block Wall Art (Crisp, Modern, Party-Perfect)
Skill level: Beginner
Hands-on time: 45–75 minutes
Dry time: 30–60 minutes (more if layering)
Best for: Birthday party backdrop panels, graduation parties, modern baby shower decor
Measurements & Layout Options
- Single statement piece: 16" x 20"
- Trio set: three canvases at 12" x 16" each
- Clean modern shapes: triangles, diagonals, arches, blocks
Step-by-Step Instructions
- Prep your surface. If using a canvas, lightly smooth any fuzz with a dry cloth. Optional: paint a quick white base coat and let dry 10–15 minutes.
- Plan your color palette. For a party theme, pick:
- 1 neutral (white, cream, light gray)
- 2 main colors (match balloons or tableware)
- 1 accent (black, deep navy, or metallic gold)
- Mark your design. Use a ruler and pencil to sketch light guide lines. Example layout for a 16" x 20" canvas:
- Diagonal line from top-left corner to a point 6" from bottom-right corner
- Second diagonal creating a narrow accent band about 1" wide
- Tape for crisp edges. Apply painters tape along your pencil lines. Press the tape down firmly, especially at intersections.
- Seal the tape edge (pro trick). Paint a thin layer of your base color (or white) over the tape edge. Let dry 5 minutes. This helps prevent paint bleed.
- Paint your sections. Use foam brushes for smooth coverage. Apply 2 thin coats instead of 1 thick coat, drying 5–10 minutes between coats.
- Peel tape at the right time. Remove tape while paint is slightly tacky (not fully cured) for the cleanest edge. Pull back slowly at a 45-degree angle.
- Add an optional modern detail. Use a paint marker to add:
- a thin 1/8" line along one edge
- tiny dot clusters in one corner
- a simple arch motif
- Seal and hang. After fully dry (about 1 hour), apply matte sealer. Hang with Command strips for party-friendly, renter-safe decor.
Party Styling Ideas
- Place behind the cake stand as a backdrop layer.
- Lean on an entry table with a sign and a small balloon garland.
- Group three pieces in a row for a photo booth wall.
Design 2: Textured Minimalist Wall Art (High-End Look, Surprisingly Easy)
Skill level: Beginner to Intermediate
Hands-on time: 60–120 minutes
Dry time: 4–24 hours depending on thickness
Best for: Bridal showers, engagement parties, modern neutral party themes, “soft luxe” decor
Recommended Size & Texture Thickness
- Size: 12" x 12" (easy starter) or 16" x 16" (statement)
- Texture thickness: 1/16"–1/8" for quick drying; up to 1/4" for dramatic sculpted ridges
Step-by-Step Instructions
- Choose your base. Wood panels handle texture beautifully, but canvases work too. If using canvas, avoid ultra-heavy pressure that could dent it.
- Map your design lightly. Pencil in a simple pattern:
- curved arch
- wide sweeping waves
- half-and-half texture block
- Apply spackle/joint compound. Use a palette knife to spread a thin layer. For a modern look:
- Hold the knife at a 30–45° angle for smooth “plaster” sweeps.
- Drag in one consistent direction for clean ridges.
- Rotate your wrist gently for curved wave textures.
- Create intentional texture. Add 2–3 “hero” ridges and smooth the rest. Too much texture everywhere can look busy.
- Let it dry fully. Leave flat on a protected surface. Thick areas may need overnight drying.
- Paint it modern. Options:
- Minimalist monochrome: paint the entire piece warm white or greige.
- Two-tone: paint the background matte white and dry-brush the raised areas with a slightly darker shade.
- Glam accent: add a thin metallic gold swipe across one ridge.
- Seal (optional). Matte sealer keeps it looking gallery-like and reduces scuffs—helpful if it’s used near a party snack table.
Beginner-Friendly Adaptation
- Skip complex patterns. Do one big arch in the center and smooth everything else.
- Use a plastic gift card as a mini trowel if you don’t have a palette knife.
Advanced Variation
- Embed subtle gold leaf flakes into the still-tacky texture for a modern “vein” effect.
- Create a diptych: two 12" x 16" panels with a wave pattern that continues across both.
Design 3: Modern Abstract Line Art (Minimal Supplies, Maximum Style)
Skill level: Beginner (Intermediate if freehand)
Hands-on time: 45–90 minutes
Dry time: 30–60 minutes
Best for: Cocktail parties, milestone birthdays, chic graduation parties, modern holiday gatherings
Step-by-Step Instructions
- Paint a background. On a 12" x 16" canvas, apply one solid matte background color (cream, blush, sage, or charcoal). Let dry 15–20 minutes.
- Lightly sketch your line art. Use a pencil to sketch:
- one continuous face outline
- a simple botanical stem
- abstract curves crossing the canvas
- Trace with a paint marker. Use black on light backgrounds or white on dark backgrounds. Work slowly; keep your hand anchored on the canvas edge for steadier lines.
- Add modern accents. Pick one:
- 3–5 tiny dots in a corner
- a single gold circle behind the line art
- a soft color block behind the drawing (tape it for crisp edges)
- Seal for party durability. A quick matte spray sealer helps prevent marker smudges if guests touch it during photos.
Pro Tips, Variations & Troubleshooting
Pro Tips for Clean, Modern Results
- Use thin coats. Modern wall decor looks best when it’s smooth and intentional, not lumpy.
- Pick a tight palette. 3–4 colors total feels contemporary and cohesive for party decorations.
- Repeat one accent. If you use gold, repeat it in your party setup (napkin rings, balloon tails, cupcake toppers).
- Scale matters. For a photo booth backdrop, multiple 12" x 16" pieces read better than one small canvas.
Troubleshooting
- My paint bled under the tape.
- Fix: Touch up with a small flat brush and the background color.
- Prevent: Press tape edges firmly and “seal” with base color before painting.
- Texture art is cracking.
- Fix: Sand lightly, then apply a thinner skim coat and let dry longer.
- Prevent: Don’t apply super-thick compound in one layer; build texture in two thinner layers.
- My line art looks shaky.
- Fix: Thicken the line slightly to smooth wobbles, or incorporate intentional “double lines.”
- Prevent: Sketch first, then trace slowly with a marker.
- Colors look dull.
- Fix: Add one high-contrast accent (black line, white block, or metallic detail).
- Prevent: Start with a white base coat when using bright colors on canvas.
Common Crafting Mistakes to Avoid
- Rushing dry time. Taping over damp paint or sealing too early can cause peeling and cloudiness.
- Using cheap tape for crisp lines. Painters tape matters—especially for geometric wall art.
- Overcomplicating the design. Modern wall art shines when there’s breathing room and clean shapes.
- Too many finishes at once. If you have texture + metallic + bold patterns, the piece can feel chaotic. Choose one “star” feature.
- Hanging without a plan. For party setups, mock your layout on the floor first and measure spacing (2"–3" between pieces looks polished).
FAQ: Modern Wall Art Designs for DIY Party Decorations
1) What’s the easiest modern wall art design for a total beginner?
Geometric color-block art with painters tape is the most beginner-friendly. The tape does the hard work of keeping edges crisp, and you can stick to simple triangles and rectangles.
2) How far in advance should I make these for a party?
Aim for 2–3 days ahead if you’re doing textured wall art (drying time can be overnight). For painted or marker designs, 24 hours ahead is usually plenty so everything cures and won’t smudge during setup.
3) Can I match my wall art to balloons and tableware?
Yes—bring one napkin or a balloon photo as your color reference. Use a palette of 1 neutral + 2 theme colors + 1 accent (like black or gold) for a coordinated party look.
4) What’s the best way to hang wall art without damaging walls?
Command strips are ideal for party decorations and rentals. Clean the wall first, use the weight-rated strips, and press firmly for 30 seconds. For larger panels, use 2–4 strips.
5) Do I need to seal acrylic paint wall art?
Sealing isn’t required, but it’s helpful for party settings where pieces may be handled or placed near food and drinks. A matte sealer keeps the finish modern and reduces scuffs.
6) How do I make a DIY gallery wall look cohesive?
Repeat two things across all pieces: a shared color (like cream) and one consistent element (thin black lines, gold accents, or the same texture style). Keep spacing consistent at about 2"–3" between frames/canvases.
Wrap-Up: Your Party Space, Upgraded with Handmade Modern Wall Decor
Modern wall art designs are a fun, practical DIY craft because they’re customizable, budget-friendly, and genuinely useful for parties—especially when you want your decorations to look curated instead of cookie-cutter. Start with one canvas, keep the shapes simple, and let your party color palette guide the rest. Once you see how much impact a handmade piece adds to a backdrop or dessert table, you’ll want to make a whole set.
Try one design this week, snap a photo of your setup, and build a mini collection you can reuse for birthdays, showers, and celebrations all year long. For more DIY party decorations, handmade projects, and creative crafting ideas, explore smartpartyprep.com.
More Articles
 How to Make Slumber Party Tents That Actually Stay Up (No Glue Guns, No Tears): 7 Foolproof Methods Using Stuff You Already Own — From Cardboard Castles to Fairy-Light Canopies
 How to Enable Third Party Cookies in My Browser (2024 Guide): Step-by-Step Fixes for Chrome, Safari, Firefox & Edge — Because Yes, You *Can* Still Do It (Without Compromising Security)
 DIY Resin Jewelry for Weddings
 Advanced Scrapbook Pages for Crafters
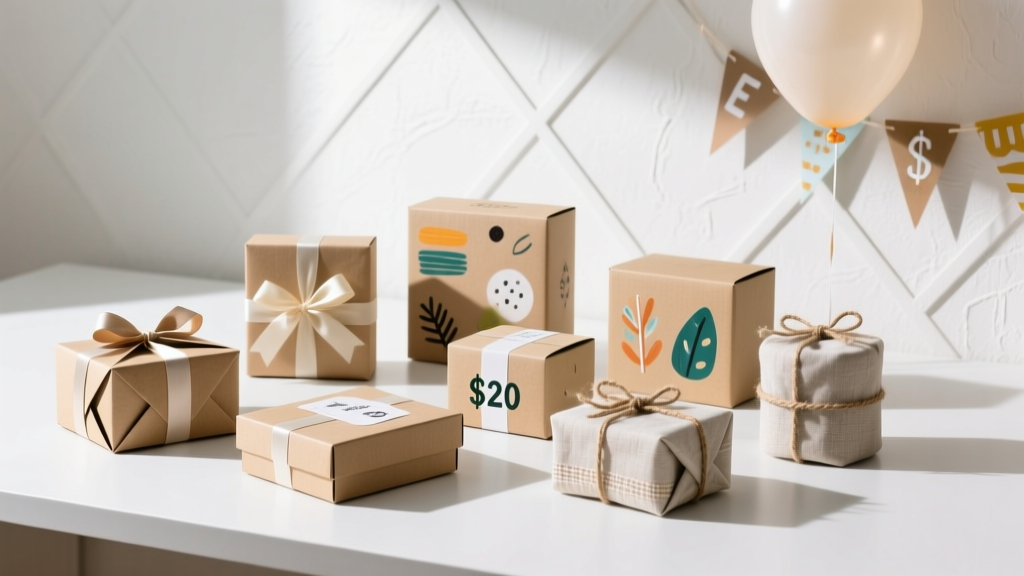 Budget DIY Gift Boxes Under $20
 What Is the Cocktail Party Effect Psychology? The Surprising Truth About How Your Brain Filters Noise — And Why You Miss Critical Signals (Even When You're 'Listening')
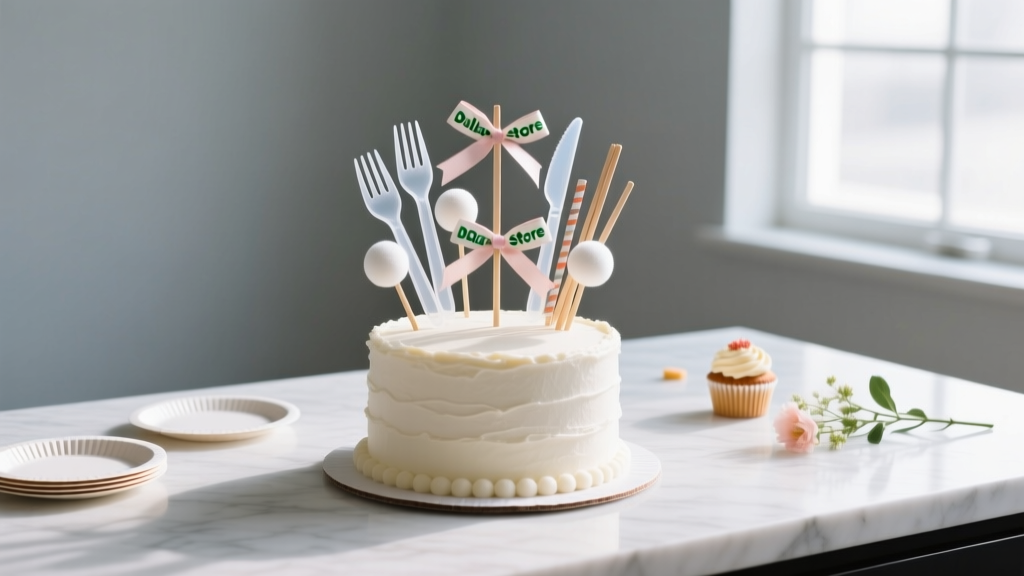 DIY Cake Toppers with Dollar Store Supplies
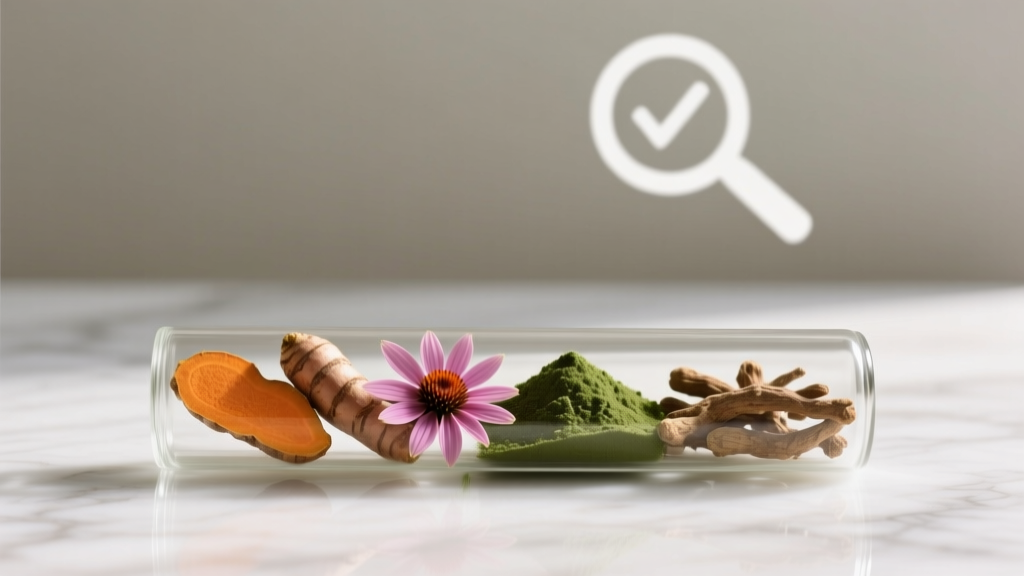 ‘Is Just Ingredients Third Party Tested?’ — The Truth Behind Label Claims (and How to Verify What You’re Really Buying)
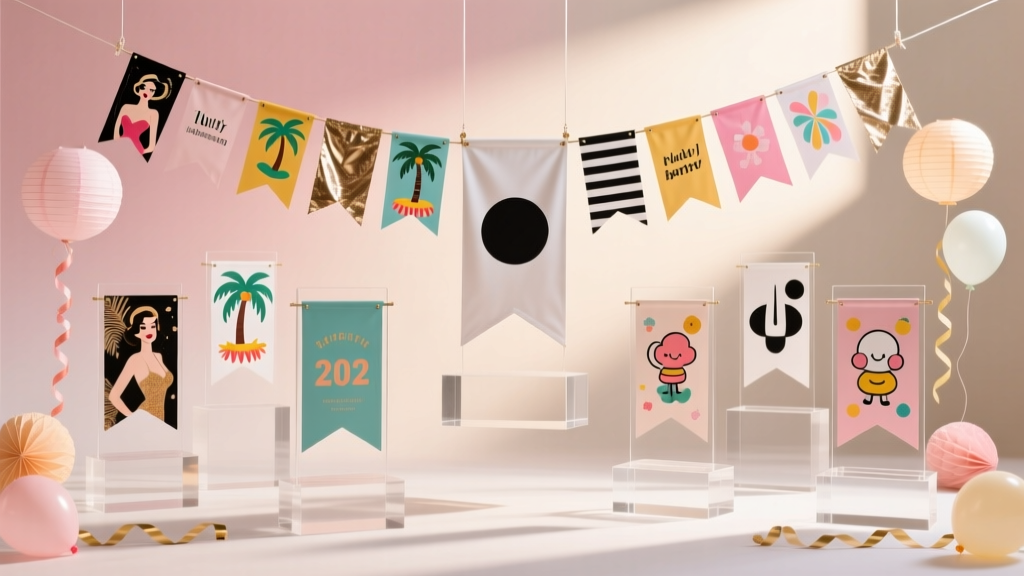 30 Creative Party Banner Ideas
 Step-by-Step Invitations Tutorial