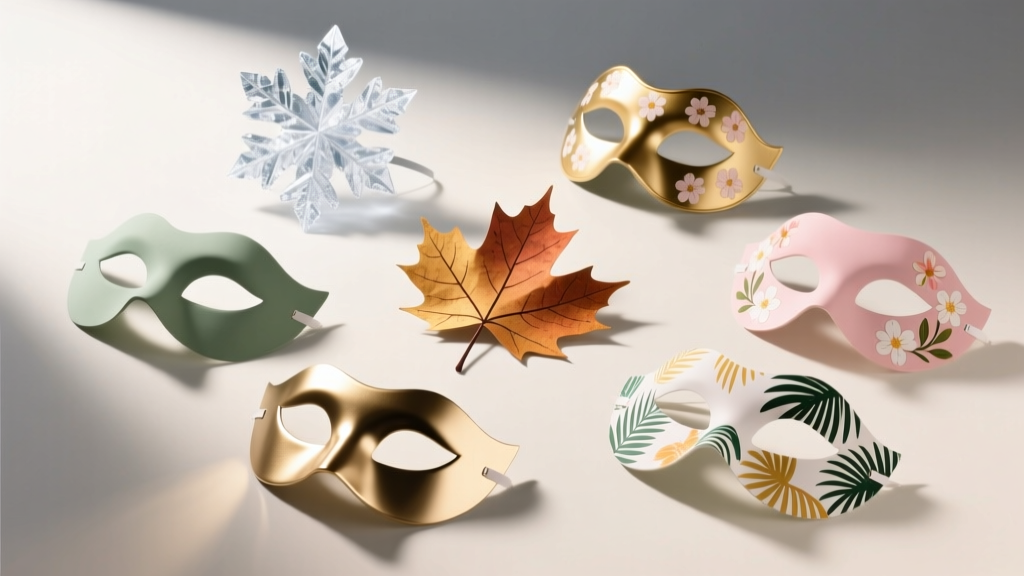
Seasonal Masks Ideas
Seasonal masks are one of those party crafts that feel instantly festive the moment you put them on. Whether you’re planning a Halloween bash, a winter holiday open house, a springtime birthday, or a summer backyard party, DIY masks double as both an activity and a take-home favor. Guests get something fun to wear for photos, and you get a handmade party decoration that looks amazing strung on a garland or displayed on a wall.
The best part: these masks can be as simple or as fancy as you want. A beginner can create a cute animal mask in under 30 minutes, while an advanced crafter can layer paint, metallic foil, and 3D elements for a show-stopping masquerade vibe. This guide covers multiple seasonal mask ideas, supplies with estimated costs, and step-by-step instructions you can use for kids’ parties, adult events, classroom celebrations, and DIY photo booth setups.
Quick Planning Guide (Skill Level & Time Estimates)
- Beginner: Paper plate or cardstock masks (20–45 minutes each)
- Intermediate: Felt + layered embellishments (45–90 minutes each)
- Advanced: EVA foam, heat-shaping, metallic finishes, 3D textures (1.5–3 hours each)
- Batch-making for parties: Plan on 8–12 masks per hour once you have templates cut.
- Dry time: Add 20–60 minutes for paint/glue drying (use fans to speed it up).
Materials List (With Specific Product Types & Estimated Costs)
Prices vary by region and brand, but these ranges help you budget for DIY party decorations and handmade projects.
Base Materials
- Heavy cardstock (65–110 lb) or poster board (12" x 18" sheets): $0.50–$2 per sheet
- Paper plates (9") for quick kid-friendly masks: $2–$6 per pack
- EVA craft foam sheets (2 mm thickness) for durable masks: $1–$3 per sheet
- Felt sheets (9" x 12"): $0.50–$1.50 per sheet
Adhesives & Fasteners
- Hot glue gun (mini is fine) + glue sticks: $10–$25 + $3–$8
- Tacky glue (strong paper/felt bond): $3–$7
- Double-sided tape (for glitter paper/quick assembly): $4–$10
- Elastic cord (1/8") or round elastic (for wearable masks): $3–$8
- Wooden dowels (1/8" to 1/4" diameter) or paper straws (for photo booth handles): $3–$10
Tools (Recommended)
- Sharp scissors + detail scissors: $5–$15
- Craft knife (X-Acto) + cutting mat (best for clean eye holes): $6–$20
- Hole punch (single-hole): $5–$12
- Ruler (12") + pencil + eraser: $3–$10
- Optional: heat tool or hair dryer (for shaping EVA foam): $15–$30
Decor & Finishes (Choose by Season)
- Acrylic paint (2 oz bottles) + foam brushes: $1–$3 each + $3–$8
- Glitter paper or glitter glue: $4–$12
- Feathers (assorted pack): $4–$10
- Sequins/rhinestones or flatback gems: $3–$10
- Metallic paint pen or gold/silver leaf sheets: $3–$12
- Ribbon (3/8" to 1") for ties or trim: $3–$8
Mask Fit Basics (So They’re Comfortable)
Before you decorate, make sure your base shape fits most faces—especially for party crafts where guests may be wearing them for photos.
- Standard adult mask width: 7.5"–8.5"
- Standard child mask width: 6.5"–7.5"
- Eye holes: 1.25" wide x 0.75" tall (adjust as needed)
- Elastic length (average): 12"–14" for kids, 14"–16" for adults (measure around head at eye level)
Two Wearing Options
- Elastic strap: Best for dancing and hands-free wear.
- Handle (stick mask): Best for photo booths, dessert tables, and quick party moments.
Seasonal Mask Ideas (Step-by-Step Projects)
1) Spring Flower Crown Mask (Bright, Garden-Party Ready)
Skill level: Beginner–Intermediate
Time: 35–60 minutes per mask
What You’ll Need
- Cardstock or poster board base
- Artificial mini flowers (1/2"–1" blooms) or paper flowers
- Green cardstock for leaves
- Tacky glue or hot glue gun
- Elastic cord or ribbon ties
Steps
- Cut the base. Cut a simple oval mask shape about 8" wide x 4" tall (adult). Mark eye holes and cut with a craft knife for clean edges.
- Add a nose curve (optional). Lightly score a vertical line down the center and bend slightly to fit the face.
- Create leaves. Cut 6–10 leaf shapes about 1.5"–2" long. Curl them gently by pulling over a ruler edge.
- Glue the greenery. Attach leaves along the top edge like a crown (hot glue works best for faux florals).
- Place flowers. Cluster 5–9 blooms along the top edge. Use odd numbers for a natural look.
- Add strap or handle. Punch holes 1/2" from each side edge and knot elastic. Or glue a dowel handle to one side with a cardstock reinforcement tab.
Party Variation
- Make a DIY mask-making station with pre-cut bases, bowls of flowers, and sample designs for quick inspiration.
2) Summer Sunshine & Beach Mask (Perfect for Pool Parties)
Skill level: Beginner
Time: 25–45 minutes per mask
What You’ll Need
- Yellow cardstock or foam sheet (2 mm EVA)
- Orange or gold glitter paper for sun rays
- Blue marker/paint for wave accents
- Double-sided tape or glue
- Paper straw or dowel handle
Steps
- Cut the sun base. Make a rounded mask base 8" wide, then extend the top edge into a gentle arc.
- Cut rays. Cut 10–14 triangles about 1" wide x 1.5"–2" tall from glitter paper.
- Attach rays. Tape or glue rays behind the top edge, alternating sizes for dimension.
- Add beach details. Paint two thin wave lines across the bottom (about 1/4" thick). Add dots for “bubbles.”
- Add a handle. Glue a paper straw to the back, angled slightly inward for comfortable holding.
Advanced Upgrade
- Use EVA foam and heat-shape the mask: warm it briefly with a hair dryer, curve it over a bowl, let cool, then decorate.
3) Autumn Woodland Mask (Fox, Owl, or Leaf Motif)
Skill level: Intermediate
Time: 45–90 minutes per mask
What You’ll Need
- Felt sheets (rust orange, brown, cream) or cardstock
- Hot glue gun
- Optional: faux leaves, twine, mini pinecones
- Black marker or paint pen for details
- Elastic strap
Steps (Fox Mask Example)
- Cut the base. Cut an 8" wide mask base from brown felt or cardstock.
- Layer the face shapes. Cut two cheek triangles (about 2.5" tall) and one forehead piece in rust orange. Glue to the base.
- Add inner ears. Create two ear shapes about 2" tall. Glue them to the top edge. Add smaller cream inner ear pieces.
- Define the snout. Cut a cream oval about 2" wide and glue at the center bottom. Add a small black nose triangle.
- Cut eye holes last. Once layers are attached, cut eye holes so everything aligns cleanly.
- Attach elastic. Punch holes and knot elastic. Add a felt patch behind the holes for extra strength.
Leaf Motif Option
- Skip the animal face and glue overlapping felt leaves (2"–3") around the perimeter like a wreath. Great for fall party decorations and Thanksgiving place settings.
4) Winter Wonderland Masquerade Mask (Glitter + Metallic Magic)
Skill level: Intermediate–Advanced
Time: 60–120 minutes per mask (plus dry time)
What You’ll Need
- Cardstock or EVA foam base
- Metallic acrylic paint (silver, pearl white) or metallic spray paint (use outdoors)
- Fine glitter (iridescent) and/or flatback gems
- Feathers (white/silver) optional
- Ribbon ties (two pieces, each 18" long) or elastic
Steps
- Cut a classic masquerade shape. Aim for 8" wide x 3.5"–4" tall with a slight dip at the center.
- Paint the base. Apply two thin coats of pearl white or silver acrylic paint. Dry 15–20 minutes between coats.
- Add shimmer. While the second coat is tacky, dust fine glitter lightly along the top edge and around the eye openings.
- Embellish. Place gems in a pattern: one center gem + symmetrical clusters at the corners. Use a dot of tacky glue for each gem.
- Add feathers (optional). Glue feathers at one outer corner, angled upward and back for drama.
- Add ribbon ties. Punch holes 1/2" from each side edge. Knot ribbon securely. Trim ends at an angle.
Photo Booth Tip
- Make 6–10 winter masks and hang them on a ribbon line with mini clothespins as a functional DIY party decoration guests can grab for pictures.
5) Halloween Spooky Chic Mask (Bat, Pumpkin, or Skull)
Skill level: Beginner–Advanced (depends on detail)
Time: 30–90 minutes per mask
Easy Bat Mask Steps
- Cut a black base (8" wide) and extend the top corners into bat wings (add points).
- Cut sharp eye shapes or round ones for a cute look.
- Decorate with silver paint pen details, tiny gem “stars,” or a light dusting of purple glitter.
- Add elastic or a handle for trick-or-treat photo ops.
Advanced Upgrade
- Use EVA foam and add raised brows or cheekbones with extra foam pieces for a 3D sculpted look.
Pro Tips, Variations & Troubleshooting
Pro Tips for Clean, Professional-Looking Masks
- Reinforce the back. Add a second layer of cardstock behind thin masks, especially near strap holes.
- Cut eye holes with a craft knife. Scissors can bend paper and create jagged edges.
- Work in layers. Base color first, then trim, then small details (gems, dots, highlights).
- Symmetry shortcut: Fold the base lightly in half and mark matching points before cutting eyes.
Beginner-Friendly Adaptations
- Use paper plates: cut a shallow curve for the face, then cut eyes.
- Swap hot glue for double-sided tape when crafting with kids.
- Pre-cut bases and eye holes before the party so guests only decorate.
Troubleshooting
- Mask won’t curve to the face: Lightly score the center line and gently bend. For EVA foam, warm it and shape over a bowl.
- Elastic feels too tight: Replace with a longer piece; aim for gentle tension. Add 1" at a time until comfy.
- Glitter is shedding: Use a thin coat of decoupage sealer or clear-drying school glue diluted 1:1 with water.
- Embellishments fall off: Use tacky glue for porous materials and hot glue for heavier items like pinecones or thick gems.
Common Crafting Mistakes to Avoid
- Cutting eye holes too high/low: Hold the base up to your face and mark eye centers first (about 1.25"–1.5" below the top edge for most masks).
- Overloading the front with heavy decor: Too many heavy items can make the mask tip forward. Balance weight near the sides.
- Skipping dry time: Paint and glue need a few minutes to set, or details will slide.
- Using thin paper for strap masks: Printer paper tears. Choose heavy cardstock, poster board, or EVA foam.
- Hot glue burns: Use a low-temp glue gun for group crafting and keep a small bowl of cool water nearby just in case.
FAQ: Seasonal DIY Masks for Parties
What’s the best material for durable party masks?
EVA craft foam (2 mm) is the most durable and comfortable for wearable masks. Heavy cardstock works great for photo booth masks and quick party crafts.
How do I make masks that fit both kids and adults?
Create two base template sizes: 7" wide for kids and 8"–8.5" wide for adults. Keep eye holes similar, then adjust spacing slightly wider for adult masks.
Can I prep these as a DIY party station?
Yes. Pre-cut the bases and eye holes, set out small bins of embellishments, and provide double-sided tape plus a low-temp glue gun for supervised tables. Add a sample mask or two as party decor and inspiration.
What’s the easiest no-sew strap option?
Elastic cord tied through punched holes is quick and adjustable. For ribbon ties, use two 18" lengths and knot them through the sides.
How do I keep paint from warping cardstock?
Use light coats and let each coat dry. If you’re painting heavily, switch to poster board or glue two cardstock layers together before painting.
Are these masks safe for little kids?
For younger children, skip small gems (choking hazard) and use paper straws as handles instead of elastic straps. Adult supervision is recommended for scissors and all glue guns.
Wrap-Up: Make the Season Part of the Party
Seasonal masks bring instant personality to any celebration—plus they’re a fun way to combine DIY crafts, party decorations, and handmade projects into one creative activity. Start with a simple template, pick a season, and let your embellishments do the storytelling. After a couple of masks, you’ll find your own signature style—glittery, rustic, elegant, spooky, or all of the above.
When you’re ready for your next party craft, browse more DIY ideas, printables, and celebration inspiration on smartpartyprep.com.
More Articles
 ‘Is Just Ingredients Third Party Tested?’ — The Truth Behind Label Claims (and How to Verify What You’re Really Buying)
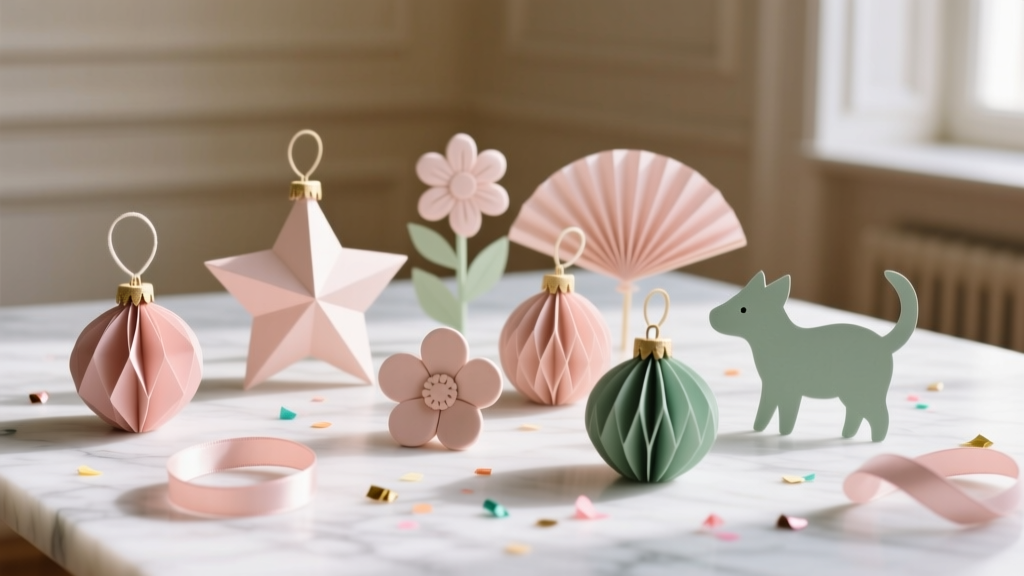 Paper Craft Clay Ornaments Ideas
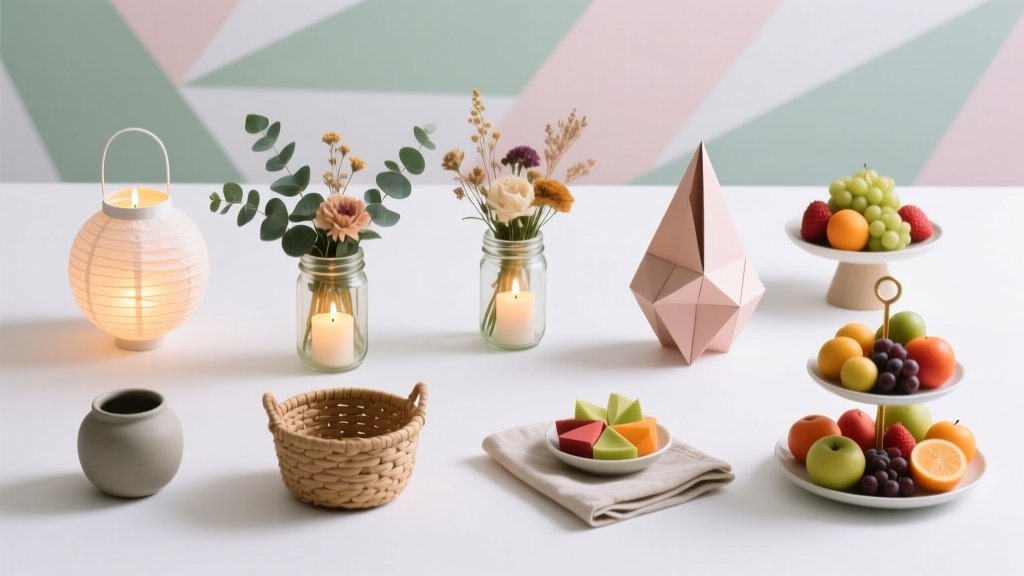 12 Stunning Do It Yourself Party Centerpieces You Can Make in Under 30 Minutes (No Craft Experience Needed — Seriously)
 How to Make a Balloon Arch for a Birthday Party: 7 Foolproof Steps (No Glue Gun, No Experience, No Stress — Just Gorgeous Results in Under 90 Minutes)
 How to Draw Party Scenes in 7 Minutes (Even If You Can’t Draw a Stick Figure): A Step-by-Step Guide That Turns Doodles Into Delightful Decorations for Birthdays, Graduations & More
 How to Draw Party Hat in 5 Minutes (Even If You Can’t Draw): A Foolproof Step-by-Step Guide for Kids, Teachers & DIY Crafters Who Hate Frustrating Tutorials
 Is Nature's Truth 3rd Party Tested? We Investigated Every Batch Report, Lab Certificate, and Transparency Gap So You Don’t Have to Waste Time—or Risk Your Craft Projects on Unverified 'Natural' Claims
 DIY Gift Boxes for Birthdays
 Seasonal Paper Flowers Ideas
 How to Make Mini Party Hats in Under 12 Minutes (No Glue Gun, No Scissors Required) — 7 Foolproof Methods That Actually Hold Their Shape