Paper Craft Clay Ornaments Ideas
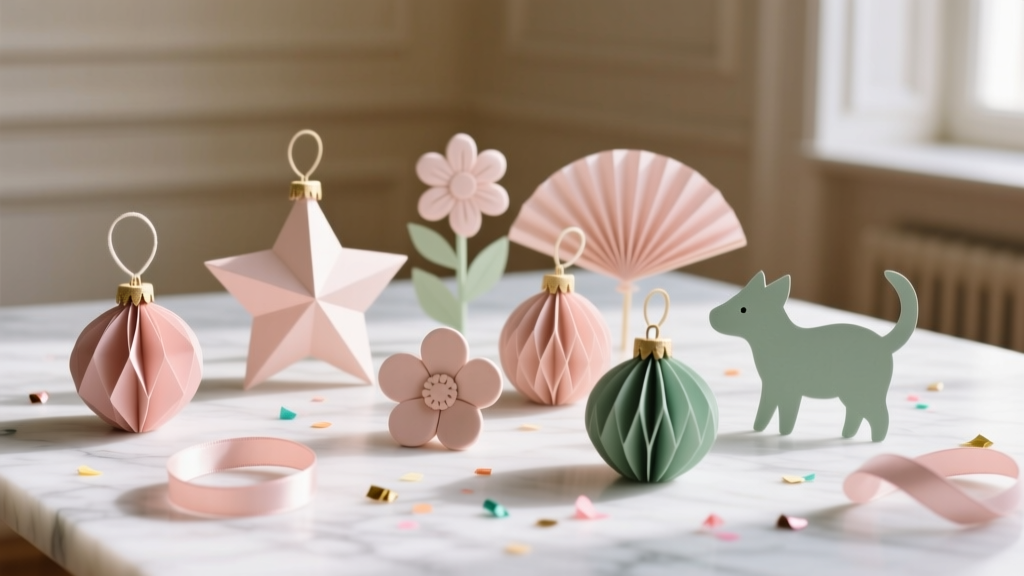
Paper craft clay ornaments are one of those feel-good DIY projects that checks all the boxes: budget-friendly, beginner-friendly, and endlessly customizable for parties and seasonal decorating. With a simple paper-based clay (often called paper clay), you can create lightweight ornaments that look like ceramic—without a kiln or fancy equipment.
These ornaments are especially useful when you’re planning party decorations and want something handmade that feels personal. Make a batch of mini charms for favor bags, craft name tags that double as keepsakes, or hang themed shapes on a dessert table backdrop. They’re also easy to prep ahead, making them ideal for birthdays, baby showers, bridal showers, holidays, and classroom celebrations.
Best of all, paper clay is forgiving. If a piece cracks or warps, you can patch it, sand it, paint it, and still end up with a polished result. Let’s make ornaments you’ll be proud to display (and happy to gift).
What Is Paper Craft Clay (and Why It Works for Ornaments)?
Paper craft clay is an air-dry modeling clay that includes paper fibers or cellulose. Those fibers make the clay:
- Lightweight (great for hanging decorations)
- Strong once dry (especially with sealing)
- Easy to sand for smooth edges and crisp details
- Budget-friendly compared to many specialty clays
For party-related handmade decorations, paper clay shines because you can produce multiples quickly—stars for a celestial party, citrus slices for a summer brunch, bows for a coquette theme, or tiny pumpkins for a fall gathering.
Skill Level, Time Estimates, and Batch Planning
- Skill level: Beginner (basic shapes) to Advanced (layered, stamped, and textured designs)
- Hands-on crafting time: 45–90 minutes per batch (10–20 ornaments)
- Dry time: 24–48 hours (depending on thickness and humidity)
- Paint + seal time: 60–120 minutes (plus drying between coats)
Best thickness for ornaments: 1/8 inch to 3/16 inch (3–5 mm). Thicker pieces take longer to dry and can warp more easily.
Materials List (with Recommended Types and Estimated Costs)
Costs vary by brand and location, but these estimates help you plan a party craft budget.
Core Supplies
- Paper craft clay (air-dry paper clay), 16–32 oz – $10–$25
Look for “paper clay,” “cellulose clay,” or “lightweight air-dry clay.” - Acrylic paint set (multi-color) – $8–$20
- Paintbrushes (round #2 for details, flat 1/2 inch for base coats) – $5–$12
- Sealer (choose one):
- Water-based polyurethane (matte or satin) – $12–$20
- Acrylic spray sealer (clear matte/gloss) – $8–$15
- Decoupage sealer (great for paper/gold leaf effects) – $8–$12
- Ribbon or twine (1/8–1/4 inch ribbon works well) – $4–$10
Tools (Party-Craft Friendly)
- Acrylic roller / brayer (or a smooth rolling pin) – $6–$12
- Clay cutting tools (craft knife + small cutters) – $5–$15
- Cookie cutters (stars, hearts, circles) – $3–$10
- Drinking straw (for hanging holes) – $0–$2
- Silicone mat or parchment paper – $5–$12
- Sanding sponge or fine sandpaper (220 and 400 grit) – $4–$8
Optional Add-Ons for Extra “Wow”
- Alphabet stamps (for names and dates) – $8–$20
- Rubber texture mats / lace pieces (for impressions) – $5–$15
- Metallic paint pens (gold/silver/white) – $6–$15
- Fine glitter or mica powder – $4–$12
- Gold leaf flakes – $6–$15
Before You Start: Prep for Clean, Consistent Ornaments
- Set up a flat drying area where pieces can sit 24–48 hours undisturbed.
- Use guides for even thickness: place two craft sticks (or two stacks of cardboard) on either side of your clay and roll between them.
- Keep a small cup of water for smoothing cracks and joining pieces.
Step-by-Step: Basic Paper Clay Ornaments (Perfect for Parties)
Batch size: 10–20 ornaments
Recommended ornament size: 2.5–3.5 inches (6–9 cm) across
- Condition the clay (2–3 minutes).
Knead a fist-sized portion until soft and pliable. If it feels dry or crumbly, dampen your fingers lightly and knead again. - Roll the clay to 1/8–3/16 inch (3–5 mm).
Roll on a silicone mat or parchment paper to prevent sticking. Aim for consistent thickness so pieces dry evenly. - Cut your shapes.
Use cookie cutters for clean edges (stars, circles, hearts) or cut custom shapes with a craft knife (balloons, bows, letters, seashells). - Add a hanging hole.
Use a straw to punch a hole about 1/4 inch (6 mm) from the top edge. Twist the straw slightly as you lift to keep edges clean. - Smooth edges and refine details.
Use a damp fingertip or a small paintbrush dipped in water to soften rough edges. If you want crisp edges, keep water minimal and do final sanding later. - Add texture or personalization (optional).
Press lace, a texture mat, or rubber stamps gently into the clay. For names, press alphabet stamps straight down and lift carefully. - Dry completely (24–48 hours).
Let ornaments dry on a flat surface. After 6–8 hours, flip them to help the back dry evenly. If your space is humid, allow extra time. - Sand for a smooth finish (10–20 minutes).
Use 220 grit to smooth edges, then 400 grit for a refined surface. Wipe dust off with a dry cloth. - Paint your design (30–60 minutes).
Apply a base coat of acrylic paint. Two thin coats look smoother than one thick coat. Let each coat dry 10–20 minutes (or per paint instructions). - Seal for durability (15–30 minutes + dry time).
Seal front and back. If using spray sealer, do light coats and let dry fully between coats. For brush-on sealers, avoid overworking the surface. - Add ribbon or twine.
Cut 8–10 inches (20–25 cm) of ribbon, thread through the hole, and tie a double knot or bow.
Paper Craft Clay Ornament Ideas (Party Themes + Seasonal Favorites)
1) Personalized Name Tag Ornaments (Party Place Cards That Guests Keep)
- Shape: 3 x 2 inches (7.5 x 5 cm) rounded rectangle or scalloped circle
- How to style: Stamp each guest’s name, paint in party colors, and tie onto favor bags or napkins.
- Advanced variation: Add a raised border by rolling a thin clay “rope” and attaching with a tiny bit of water.
2) Garland-Ready Mini Ornaments (Photo Backdrop or Dessert Table Decor)
- Shape size: 1.5–2 inches (4–5 cm)
- Best shapes: stars, moons, hearts, flowers, confetti circles
- Pro move: Punch two holes (left and right) instead of one at the top so you can string them into a garland.
3) Balloon and Confetti Ornaments (Birthday Party Favorite)
- Balloon shape: 3 inches (7.5 cm) tall with a tiny “knot” detail
- Paint idea: Bright color + white highlight + metallic paint pen for shine
- Extra detail: Glue on a short twine “string” after sealing
4) Citrus Slice Ornaments (Summer Brunch, Pool Party, or Tropical Theme)
- Shape: 3-inch (7.5 cm) circle
- Technique: Score wedge lines with a toothpick before drying
- Color palette: lemon yellow, lime green, orange + white pith ring
5) Elegant Monochrome Ornaments (Bridal Shower, Engagement, New Year’s)
- Look: All-white or cream with texture + satin sealer
- Personalization: Initials stamped or painted with a gold paint pen
- Advanced variation: Add gold leaf accents and seal again lightly
Pro Tips for Smooth Results and Strong Ornaments
- Roll evenly: Uneven thickness is the #1 cause of cracking and warping.
- Flip during drying: Flip after 6–8 hours for flatter pieces.
- Keep holes generous: A straw hole is usually perfect. Tiny holes can close as clay shrinks slightly.
- Use thin paint layers: Thick paint can hide texture and leave brush marks.
- Seal both sides: Sealing only one side can encourage curling over time.
- Test your ribbon: For small ornaments, choose lighter ribbon (1/8 inch) so it doesn’t overwhelm the piece.
Variations for Beginners (Easy Wins) and Advanced Crafters (Showstoppers)
Beginner-Friendly Adaptations
- Cookie-cutter sets only: Skip detailed cutting and focus on painting.
- One-color + paint pen: Base coat in a single color, then add dots, names, or outlines with a metallic pen.
- Texture + no paint: Press lace texture, let dry, then seal for a natural matte look.
Advanced Variations
- Layered ornaments: Cut a base shape and add a smaller raised shape on top (stars on circles, bows on hearts). Attach with a tiny amount of water and gentle pressure.
- Embedded hanger: Insert a small metal eye pin or bent paperclip into the top before drying (great for sturdy hanging).
- Faux ceramic finish: Paint, then add a glossy topcoat for a glazed look.
- Stamped border patterns: Use mini stamps around the edge for a professional finish.
Troubleshooting: Fix Common Paper Clay Ornament Problems
- Cracks while drying:
- Cause: Too thick, uneven thickness, or drying too fast.
- Fix: Fill cracks with a tiny amount of clay or clay + water paste (“slip”), smooth, and let dry again.
- Warping/curling:
- Cause: One side drying faster than the other or uneven rolling.
- Fix: Flip more frequently; dry on a flat surface; seal both sides after painting.
- Rough edges:
- Cause: Clay tearing during cutting.
- Fix: Smooth with a damp finger before drying, then sand after drying.
- Paint looks streaky:
- Cause: Paint applied too thick or clay not sealed/primed.
- Fix: Use two thin coats; consider a quick base coat of white acrylic as a primer.
- Hole broke or chipped:
- Cause: Hole too close to edge or clay too thin at the top.
- Fix: Re-punch slightly lower; or glue on a small ribbon loop to the back as an alternative hanger.
Common Crafting Mistakes to Avoid
- Making ornaments too thick: Aim for 3–5 mm. Thick pieces dry slowly and can crack.
- Skipping the flip: Leaving pieces face-up the whole time increases warping risk.
- Punching the hole last-minute: Punch while clay is fresh; drilling later can cause splits.
- Painting before fully dry: Trapped moisture can cause paint bubbling or soft spots.
- Sealing only the front: Seal front and back for long-lasting, party-ready decorations.
- Rushing batch consistency: For party decor sets, roll all clay to the same thickness so ornaments look cohesive.
FAQ: Paper Craft Clay Ornaments
How long do paper clay ornaments last?
When fully dried and sealed on both sides, paper craft clay ornaments can last for years indoors. Store them in a dry box with tissue paper between layers to prevent scuffs.
Can I make these ornaments as party favors?
Yes—paper clay ornaments are excellent DIY party favors. Add names, dates, or short messages, then package each in a small cellophane bag with ribbon for a polished handmade touch.
Do I need to bake paper craft clay?
No. Most paper craft clays are air-dry. Baking can cause cracking unless the product specifically says it’s oven-safe. Check your clay’s label for the manufacturer’s instructions.
What’s the best way to prevent warping?
Roll evenly (3–5 mm), dry on a flat surface, and flip after 6–8 hours. Sealing both sides also helps keep ornaments flat over time.
Can kids make paper clay ornaments?
Kids can help with rolling, cookie-cutter shapes, and painting. An adult should handle craft knife cutting, sanding, and spray sealers. For kid-friendly parties, use brush-on non-toxic sealers and simple shapes.
How do I attach embellishments like glitter or gems?
Add glitter by mixing it into wet paint or dusting onto a tacky layer of sealer. For gems, glue them on after sealing the paint layer, then add a final light seal coat around (not over) delicate gems if needed.
Wrap-Up: Make a Batch, Then Make It Your Own
Paper craft clay ornaments are a creative way to turn simple supplies into meaningful handmade decorations. Whether you’re making a birthday party garland, personalized place-card ornaments, or elegant tags for favors, you’ll love how customizable (and giftable) these little pieces are.
Try one theme first—stars, hearts, citrus, bows—then build a matching set. Each batch gets easier, and you’ll quickly find your favorite techniques for texture, painting, and finishing.
Want more party-ready DIY crafts and handmade decoration ideas? Explore more creative projects on smartpartyprep.com and keep the inspiration going.
More Articles
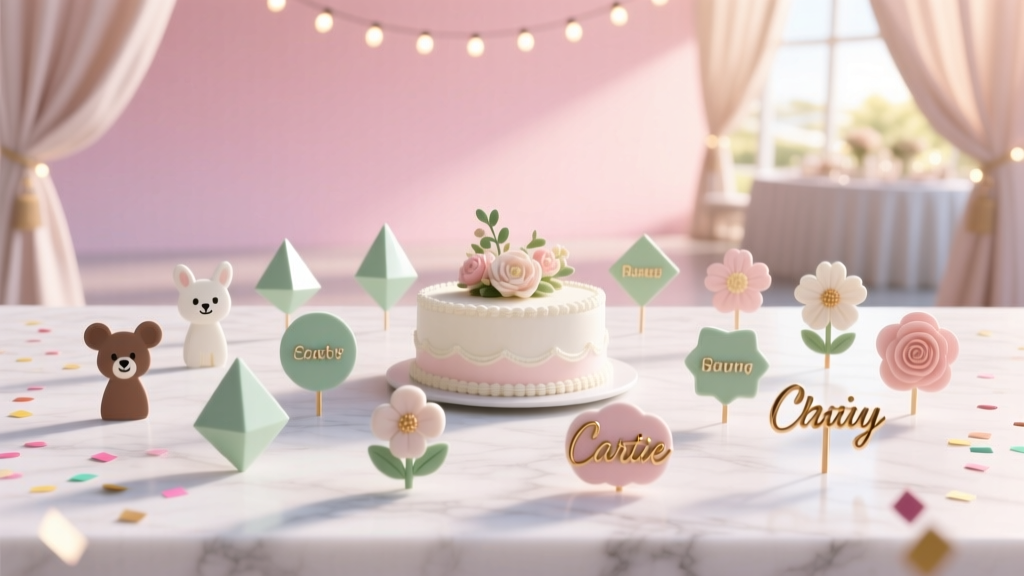 25 Creative Cake Toppers Ideas
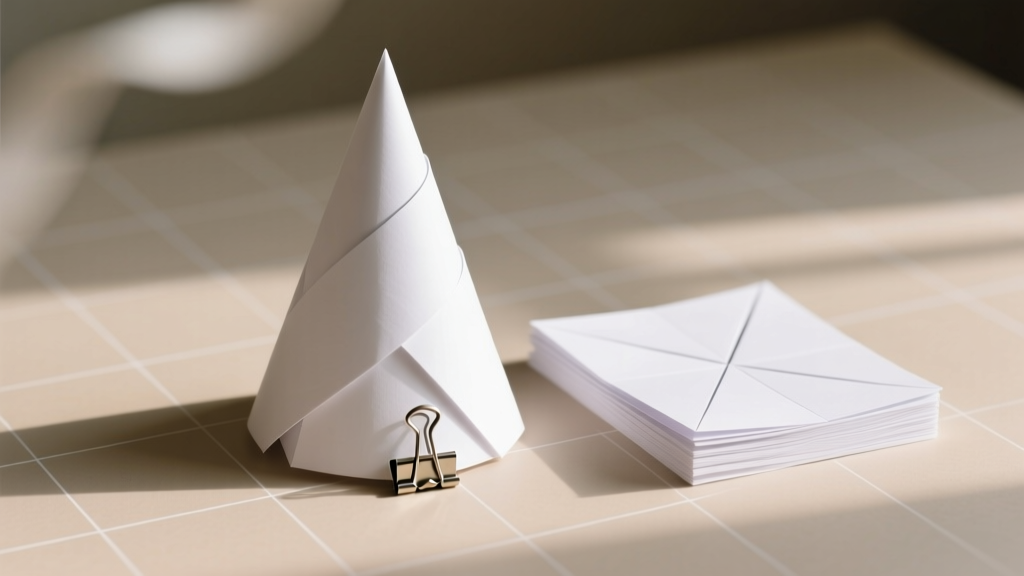 How Do You Make a Party Hat Out of Paper in Under 10 Minutes? (No Glue Gun, No Scissors Required — Just 3 Sheets & 1 Stapler)
 How to Enable Third Party Cookies on iPhone in 2024: The Real Truth (Spoiler: You Can’t — But Here’s What Actually Works Instead)
 How to Make a Hat for a Tea Party in Under 90 Minutes (No Sewing Machine Needed!) — 5 Foolproof Styles That Impress Guests & Boost Your Confidence
 How to Draw Party Scenes in 7 Minutes (Even If You Can’t Draw a Stick Figure): A Step-by-Step Guide That Turns Doodles Into Delightful Decorations for Birthdays, Graduations & More
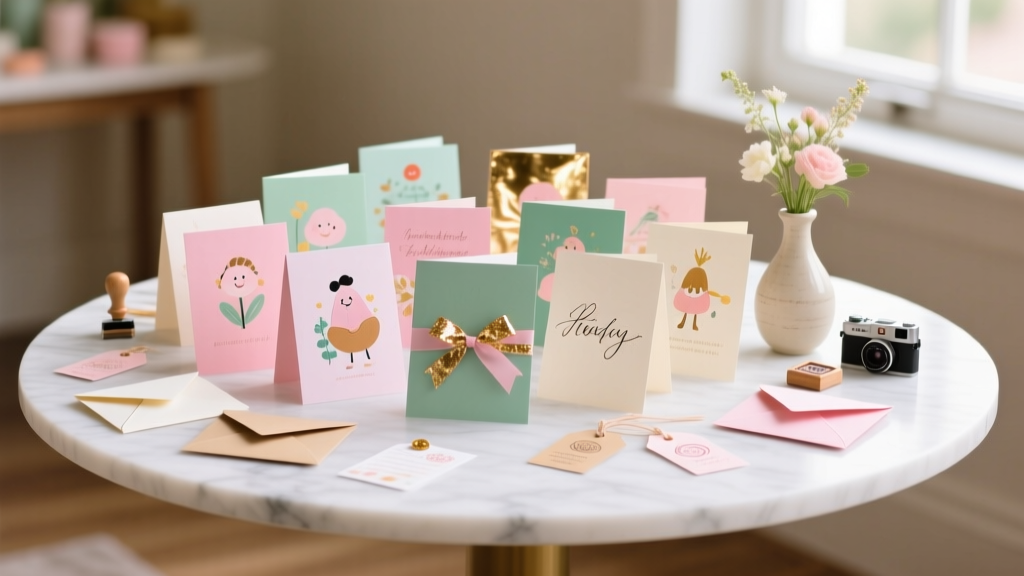 DIY Greeting Cards Party Favors
 Personalized Photo Frames Gifts
 DIY Resin Jewelry for Weddings
 Easy Masks for Beginners
 DIY Tie-Dye Shirts for Home Decor