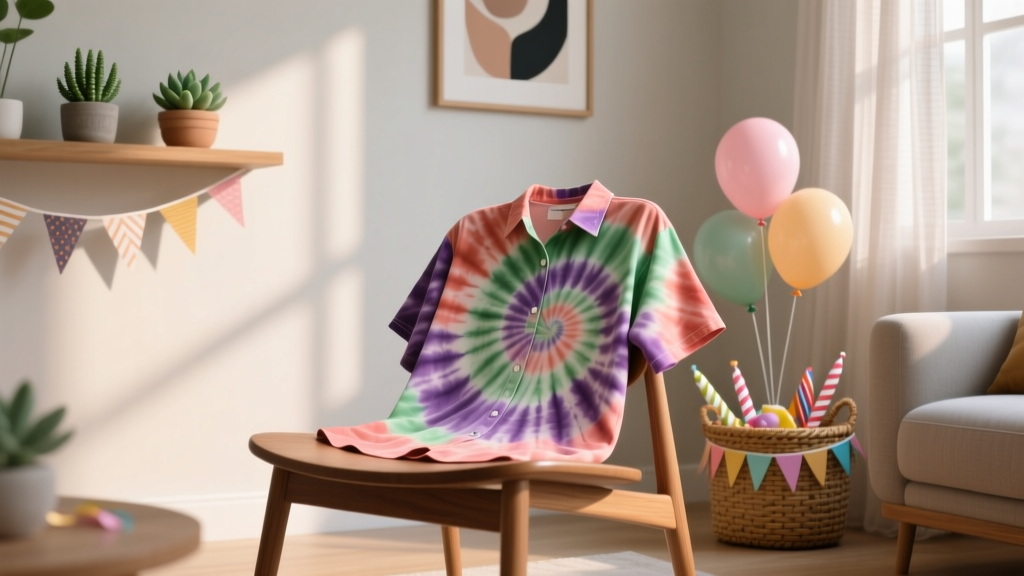
DIY Tie-Dye Shirts for Home Decor
When you think of tie-dye, you probably picture colorful tees at summer camp or music festivals—but tie-dye shirts can do so much more than live in a drawer. With a few smart tweaks, you can turn simple dyed shirts into bold, handmade home decor that doubles as party decoration, photo-backdrop magic, and everyday cozy style.
This project is especially fun because it’s flexible: you can go bright and playful for birthdays, soft and dreamy for baby showers, or chic and modern for a boho dinner party. Plus, tie-dye is forgiving. Even “happy accidents” usually look intentional—perfect for beginner DIY crafters who want a creative win without fancy tools.
Whether you’re making pillow covers, table runners, wall hangings, or a themed party banner, these DIY tie-dye shirts let you decorate on a budget and still look like you hired a stylist. Let’s turn basic tees into handmade decor you’ll actually use.
Project Overview: Skill Level, Time, and Best Uses
Skill Level
- Beginner-friendly for basic spirals, scrunch dyeing, and single-color designs
- Intermediate for multi-color ombré, stripes, and symmetry folds
- Advanced for ice dye, geode patterns, and placement-dye designs
Time Estimates
- Prep + folding: 15–30 minutes per shirt
- Dye application: 10–20 minutes per shirt
- Batch resting time: 6–24 hours (hands-off)
- Rinsing + wash/dry: 20–40 minutes (active time)
Great Home Decor + Party Decoration Ideas
- Pillow covers: Tie-dye tees become soft, washable covers
- Table runner: Layer multiple shirts into a long runner for party tables
- Chair sashes: Wrap dyed shirt fabric around chairs for a DIY party look
- Wall hanging/backdrop: Hang several dyed shirts on a rod for a color-themed party photo spot
- Reusable gift wrap: Wrap party favors in tie-dye fabric (furoshiki style)
Materials List (with Recommended Product Types + Estimated Costs)
Costs vary by brand and what you already have at home. The estimates below are typical for U.S. craft stores or online shopping.
Core Supplies
- 100% cotton shirts (white or light colors), 3–6 pack: $12–$30
- Best types: basic crew neck tees, oversized tees, or men’s tees for more fabric
- Fiber-reactive dye kit (Procion MX style) or squeeze-bottle tie-dye kit: $12–$35
- Product type to look for: “fiber reactive dye” for brighter, longer-lasting results on cotton
- Soda ash (fixative) if not included in kit: $6–$12
- Plastic squeeze bottles (8–16 oz), 3–6 pack: $6–$15
- Rubber bands (variety pack): $3–$8
- Plastic table cover or trash bags to protect surfaces: $2–$8
Tools + Protective Gear
- Nitrile gloves: $4–$10
- Apron or old clothes: $0–$15
- Measuring cups/spoons (dedicated to crafts): $3–$10
- Large plastic bin or deep tray for dyeing: $5–$15
- Zip-top plastic bags (1–2 gallon) or plastic wrap for batching: $3–$8
- Wire rack (optional, helps prevent puddling): $6–$15
Nice-to-Have Add-Ons for Decor Projects
- Iron-on interfacing (for stiffening banners or runners): $5–$12
- Wood dowel (36–48 inches) for wall hangings: $4–$10
- Binder clips or small clamps: $3–$10
- Basic sewing kit or no-sew fabric tape: $3–$10
Prep Work: Set Yourself Up for Bright, Wash-Fast Color
1) Pick the Right Shirts
- Choose 100% cotton for the most vibrant tie-dye.
- Avoid “stain-resistant” or “moisture-wicking” finishes; they can block dye.
- For home decor pieces like pillow covers and runners, oversized shirts give you more fabric to work with.
2) Pre-Wash (Don’t Skip This)
Wash shirts in warm water with a small amount of detergent. Skip fabric softener. This removes factory sizing that can cause patchy dye results.
3) Optional Soda Ash Soak (Highly Recommended for Cotton)
If your dye kit uses soda ash, this step makes color pop.
- Mix: 1 gallon (3.8 L) warm water + 1 cup soda ash
- Soak time: 15–30 minutes
- Wring out so the shirt is damp, not dripping.
Step-by-Step: How to Tie-Dye Shirts for Home Decor
Step 1: Protect Your Workspace
- Cover your table with plastic.
- Set up a tray/bin to catch excess dye.
- Put on gloves and keep paper towels nearby.
Step 2: Choose a Pattern (3 Decor-Friendly Options)
Option A: Soft “Scrunch” (Beginner, Great for Boho Decor)
- Lay the damp shirt flat.
- Pinch the center and scrunch loosely into a flat “bun” about 8–10 inches wide.
- Wrap 2–4 rubber bands around it to hold shape (don’t over-tighten).
Option B: Classic Spiral (Beginner/Intermediate, Bold Party Decor)
- Lay the shirt flat. Choose the spiral center (middle for classic, off-center for modern).
- Pinch the fabric and twist until the shirt coils into a circle.
- Use 4–6 rubber bands to create wedge sections like a pizza.
Option C: Shibori-Inspired Stripes (Intermediate, Clean and Modern)
- Fold the shirt lengthwise (hot dog style).
- Accordion fold into 2-inch pleats.
- Add rubber bands every 1–2 inches for tight stripes, or every 3–4 inches for wider bands.
Step 3: Mix Dye (If Using Powder)
Follow your dye brand instructions. For many fiber-reactive dyes:
- Typical mix: 1–2 teaspoons dye powder per 8 oz warm water in a squeeze bottle
- Shake very well (with the cap on tight).
Tool recommendation: Use a small funnel for neat bottle filling.
Step 4: Apply Dye Strategically (Think “Decor Palette”)
- For party decorations, stick to 2–3 colors that match your theme.
- Apply dye to one side, then flip and repeat so the color reaches the back.
- For softer looks, leave more white space and use fewer colors.
Coverage tip: If the fabric is thickly bunched, gently open folds and add dye inside—otherwise you’ll get white pockets (which can be cool, but should be a choice).
Step 5: Batch (Let the Dye React)
- Place the dyed shirt in a zip-top bag or wrap in plastic.
- Let it rest in a warm spot.
- Minimum: 6–8 hours
- Best color payoff: 12–24 hours
- Ideal temperature: 70–90°F (21–32°C)
Step 6: Rinse, Wash, and Dry
- Rinse in cold water first (while still tied) until the runoff slows.
- Remove rubber bands and continue rinsing.
- Wash in warm/hot water with a small amount of detergent.
- Dry completely (dryer or air-dry).
Beginner-friendly tip: Wash dyed items separately the first 1–2 washes to avoid color transfer.
Turn Tie-Dye Shirts Into Home Decor (3 Easy Projects)
1) No-Sew Tie-Dye Pillow Cover (Party Lounge Area Favorite)
- Best shirt size: Adult L–XXL for a 16" or 18" pillow insert
- Time: 15–25 minutes
- Lay the shirt flat, design side down.
- Place a 16" x 16" pillow insert centered on the shirt.
- Fold the bottom up and the top down like wrapping a package.
- Tuck sleeves inward tightly (or knot them if you want a casual look).
- Flip over and fluff. Adjust folds so the opening is hidden on the back.
Advanced upgrade: Add safety pins on the back folds or sew a simple envelope closure for a more secure cover.
2) Tie-Dye Table Runner From Two Shirts (Great for Dessert Tables)
- Finished size: approx. 14–18" wide x 60–72" long (depending on shirts)
- Time: 30–60 minutes
- Cut shirts open along side seams and shoulders to create flat panels.
- Trim panels into rectangles (aim for 18" x 36" each).
- Join two rectangles end-to-end:
- No-sew: Use fabric tape on the underside seam
- Sew: Straight stitch with a 3/8" seam allowance
- Optional: Iron on lightweight interfacing to give it a crisp party-table look.
3) Tie-Dye Shirt Backdrop Wall (Photo Booth-Ready)
- Backdrop size goal: 5–6 ft wide x 6 ft tall
- How many shirts: 6–10 adult tees
- Time: 30–45 minutes assembly (after dyeing)
- Hang a curtain rod, or attach a 48" dowel to the wall with removable hooks.
- Clip each tie-dye shirt to the rod using binder clips or small clamps.
- Stagger lengths and color placement for a full, layered look.
- Add string lights behind the shirts for a soft glow (optional).
Party keyword win: This makes an awesome DIY photo booth backdrop for birthdays, graduations, and backyard celebrations.
Pro Tips for Better Results (Brighter Color, Cleaner Designs)
- Use damp fabric: Damp shirts help dye spread smoothly for softer blends.
- Control muddiness: Limit overlapping complementary colors (like red + green) unless you want earthy tones.
- Apply dye inside folds: Especially for thicker spirals or stripes.
- Batch longer for richer color: Overnight is your friend.
- Use a wire rack: Setting shirts on a rack reduces puddles and back-bleed.
- Test your palette: Dye a small scrap of cotton (or an old white sock) to preview color intensity.
Creative Variations (Beginner to Advanced)
Beginner Variations
- Monochrome tie-dye: One color in light/medium/dark saturation for modern decor.
- Two-tone ombré dip: Dip the bottom third in dye, then blend upward with a diluted mix.
- Reverse (negative space) look: Use fewer rubber bands and more white space for airy, minimalist decor.
Advanced Variations
- Ice dye (cool, crystalline patterns): Place shirt on a rack, cover with ice, sprinkle dye powder, let melt. Batch 24 hours for strong color.
- Geode tie-dye: Fold into a long strip, scrunch into an oval, band tightly at intervals, dye between bands with high contrast colors.
- Placement dye for decor: Dye only the bottom half of shirts to create a coordinated “dip-dyed” backdrop set.
Troubleshooting: Fix Common Tie-Dye Problems
- Colors look dull: Use soda ash, batch longer, and confirm fabric is 100% cotton.
- Too much white: Add dye deeper into folds and apply to both sides.
- Muddy colors: Reduce colors per shirt (2–3 max) and avoid heavy overlap.
- Backside is lighter than front: Flip and dye both sides, or use a rack to prevent puddles.
- Dye rinses out a lot: Normal at first; rinse cold first, then warm wash. Make sure batching time was long enough.
Common Crafting Mistakes to Avoid
- Skipping the pre-wash: Factory sizing can block dye and create random blotches.
- Over-tight rubber bands: Too tight can prevent dye from reaching folds and create harsh, unintended white lines.
- Using the wrong fabric: Polyester-heavy blends often yield pale results unless you use dye formulated for synthetics.
- Overloading with dye: More dye isn’t always better; it can puddle and blur designs.
- Unplanned color combos: Four or five random colors often turn brownish. Pick a theme palette for party-ready decor.
- Rushing the batch time: If you unwrap too soon, you’ll lose intensity and wash-fastness.
FAQ: DIY Tie-Dye Shirts for Home Decor
Can I use tie-dye kits from craft stores for these decor projects?
Yes. A standard squeeze-bottle tie-dye kit works well for DIY crafts and party decorations. For the brightest, most washable results on cotton, choose a fiber-reactive style dye or a kit that includes soda ash.
Do I have to use soda ash?
If your kit is designed for cotton and includes soda ash, use it. If it doesn’t, you can still dye shirts, but colors may be softer and may fade faster. For home decor that gets washed (like pillow covers), soda ash is worth it.
How do I keep colors from bleeding onto my couch pillows or table?
Rinse thoroughly, then wash the shirt in warm/hot water with detergent before using it as decor. If you’re making pillow covers, consider washing twice the first time. Once properly washed and dried, well-set dye is much more stable.
What colors work best for party-themed home decor?
Try these easy palettes:
- Birthday party: turquoise + fuchsia + yellow
- Baby shower: pastel blue + lavender + blush
- Boho: terracotta + mustard + olive
- Modern neutrals: charcoal + tan + a tiny pop of teal
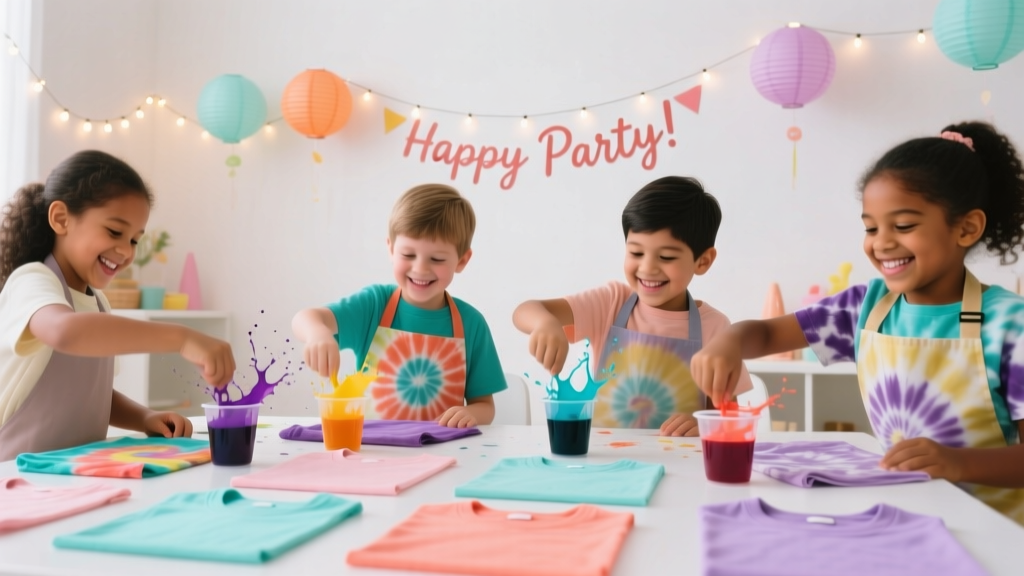
Can I make this project kid-friendly?
Yes—with supervision and a simpler setup. Use pre-mixed dyes, set up a covered table outdoors, and stick to one or two colors per shirt. Keep gloves on, and let an adult handle batching bags and rinsing.
What’s the easiest tie-dye pattern for beginners that still looks “decor-worthy”?
The scrunch method. It creates organic texture that looks great in home decor, especially for pillow covers and table runners, and it doesn’t require precise folding.
Wrap-Up: Make Tie-Dye Decor That Feels Like a Party
Tie-dye shirts aren’t just wearable crafts—they’re budget-friendly building blocks for handmade projects that brighten your home and instantly level up party decorations. Pick a palette that matches your celebration, keep the pattern simple (or go bold), and let the dye do its colorful thing. One batch day can set you up with a pillow cover, a table runner, and a photo backdrop that guests will remember.
Want more DIY crafts, party decoration ideas, and handmade project inspiration? Keep exploring creative how-tos at smartpartyprep.com.
More Articles
 Kids' Craft: Tie-Dye Shirts
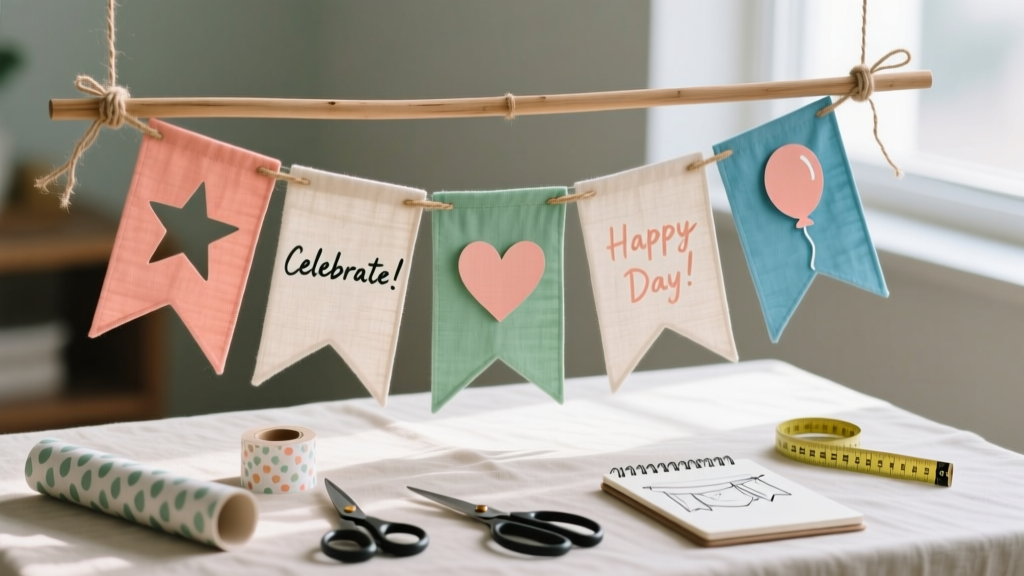 Budget DIY Party Banners Under $25
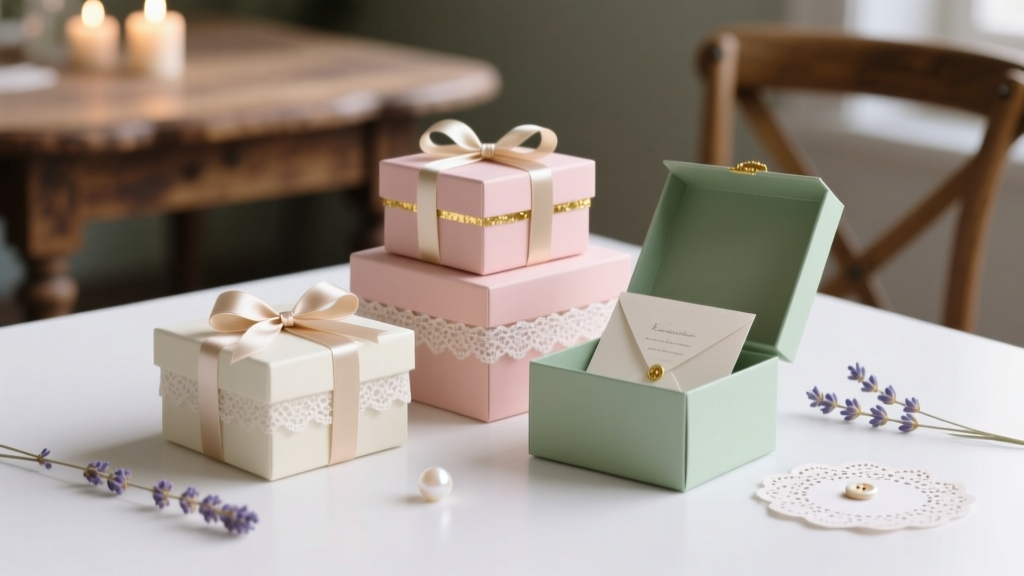 DIY Gift Boxes for Weddings
 How to Allow Third Party Cookies on a Mac in 2024: A Step-by-Step Safari & Chrome Guide (No Tech Degree Required)
 DIY Garlands for Home Decor
 No-Sew Masks Tutorial
 30 Creative Painted Rocks Ideas
 How Do You Make a Party Hat Out of Paper in Under 10 Minutes? (No Glue Gun, No Scissors Required — Just 3 Sheets & 1 Stapler)
 How to Buy a House as a Secured Party Creditor: The Truth About UCC-1 Filings, Property Titles, and Why 97% of These Attempts Fail Legally (and What Actually Works Instead)
 How to Enable Third Party Cookies on iPad in 2024: A Step-by-Step Guide That Actually Works (No More 'Blocked' Errors or Broken Logins)