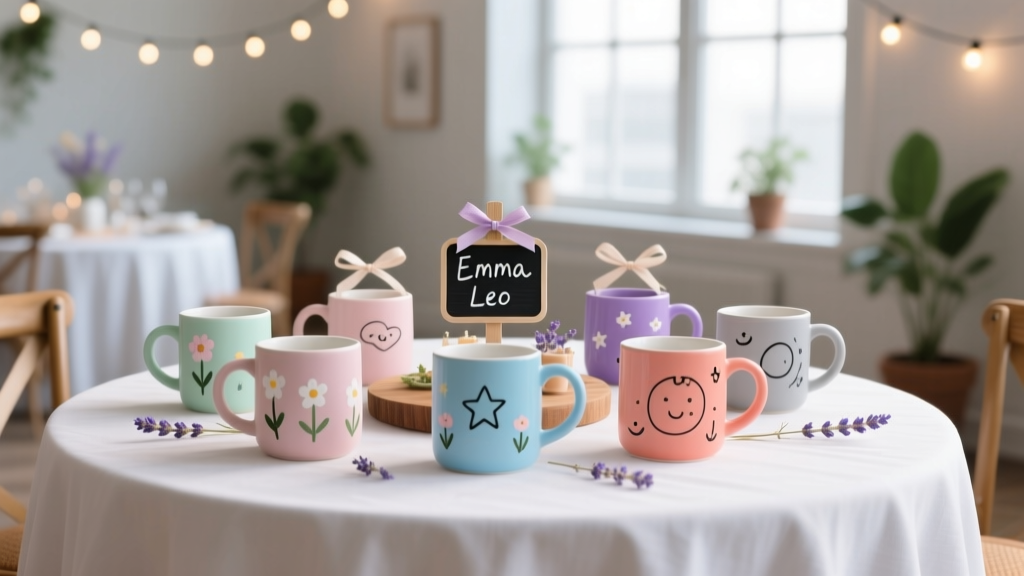
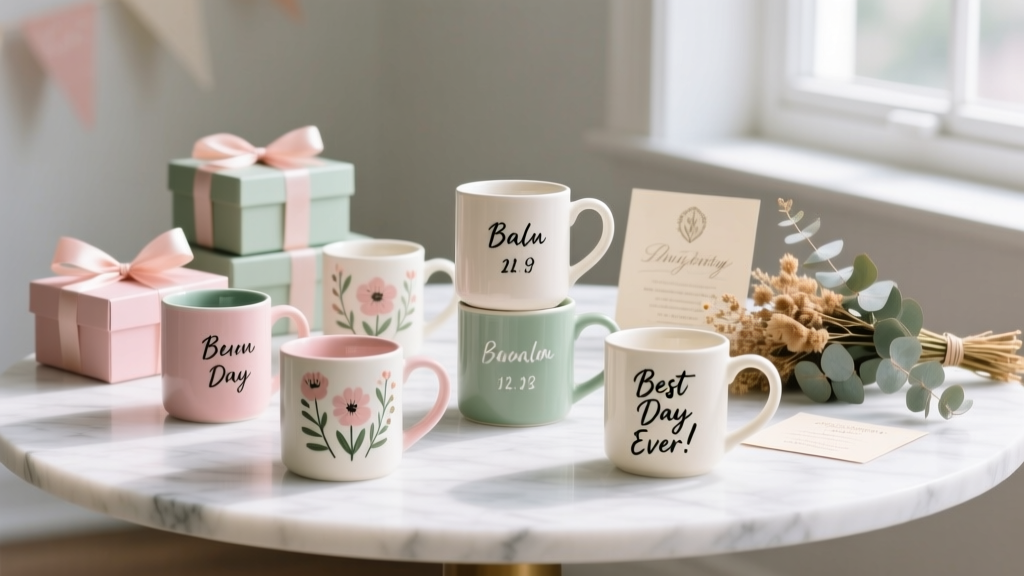
DIY Mugs Party Favors
Party favors are more fun when guests actually use them—and a handmade mug is the kind of keepsake that gets pulled out for morning coffee, cozy tea nights, and hot cocoa season. DIY mugs party favors also double as place settings, table decor, and a thoughtful “thank you” all in one. If you’re planning a birthday, bridal shower, baby shower, graduation, or holiday gathering, customized mugs fit almost any theme and budget.
This project is especially satisfying because you can scale it up or down: make a single “guest of honor” mug with extra detail, or create a full set of matching favors for 10–50 people. With the right materials and a little planning, you’ll get professional-looking results—without needing fancy equipment.
Below you’ll find a step-by-step, practical guide with beginner-friendly options, advanced upgrades, cost estimates, troubleshooting, and party-ready packaging ideas. Grab your blank mugs and let’s craft favors your guests will love taking home.
Project Overview (Skill Level, Time, and Best Uses)
- Skill level: Beginner to Intermediate (advanced variations included)
- Time estimate per mug: 10–20 minutes of hands-on time
- Cure/bake time: 30–60 minutes depending on method
- Best for: Birthday parties, bridal showers, baby showers, holiday parties, office events, graduation parties, teachers’ gifts
- Great pairing: Hot cocoa mix packets, tea sachets, mini marshmallows, coffee samples, candy, or a small succulent
Choose Your DIY Mug Method
There are a few reliable ways to customize ceramic mugs. The best choice depends on your timeline, budget, and how durable you want the design to be.
Method A: Oil-Based Paint Markers (Best All-Around)
- Look: Crisp lines, easy personalization
- Durability: Good when baked and cured (hand-wash recommended)
- Best for: Names, simple icons, short phrases, minimal designs
Method B: Vinyl Decals + Permanent Adhesive (Most Polished)
- Look: Very clean, “store-bought” appearance
- Durability: Decent; not truly dishwasher-safe unless professionally sealed
- Best for: Matching sets, monograms, themed graphics
Method C: Porcelain Paint + Brush (Best for Artistic Designs)
- Look: Hand-painted, watercolor or illustrative styles
- Durability: Good if heat-set correctly
- Best for: Florals, patterns, full-wrap designs
Materials and Tools (With Estimated Costs)
Prices vary by location and brand, but these estimates help you budget your DIY party favors.
Core Supplies
- Blank ceramic mugs (11–15 oz, white or light color recommended)
- Cost: $1.00–$3.50 each in bulk; $4–$8 each single
- Tip: Choose smooth, glossy mugs for the cleanest marker lines.
- Oil-based paint markers (fine tip + medium tip)
- Cost: $8–$18 per set
- Recommended types: oil-based paint pens (not water-based)
- Rubbing alcohol (70% or 91%) for cleaning
- Cost: $2–$5
- Lint-free cloths or paper towels
- Cost: $2–$6
Helpful Extras (Strongly Recommended)
- Pencil for light sketching (optional; test first)
- Painter’s tape (1 in / 25 mm wide) for stripes and clean edges
- Cost: $4–$7
- Stencils (letters, icons) for consistent designs
- Cost: $5–$12
- Transfer paper or printable templates for names (optional)
- Cost: $6–$12
Tools for Advanced Variations
- Cutting machine (e.g., Cricut/Silhouette) + permanent vinyl
- Vinyl cost: $8–$15 per roll (enough for many mugs)
- Weeding tools: $6–$12
- Transfer tape: $6–$10
- Oven for heat-setting (standard home oven works)
- Laser printer + waterslide decal paper (advanced; follow product directions)
Party Favor Packaging (Optional but Party-Perfect)
- Cellophane bags (treat bags large enough for mug) or kraft gift boxes
- Cost: $0.30–$1.25 each
- Ribbon (3/8 in / 10 mm wide) or twine
- Cost: $3–$8 per spool
- Gift tags (2 in x 3 in / 5 cm x 7.5 cm)
- Cost: $4–$10 per pack
- Filler: tissue paper, paper shred, or a hot cocoa packet
- Cost: $0.25–$1.00 per favor depending on contents
Design Planning (Measurements That Make It Look Professional)
Before you start drawing, decide on a consistent “design zone” so the whole set looks intentional.
- Front design area: about 3 in wide x 3 in tall (7.5 cm x 7.5 cm) centered opposite the handle
- Name placement: baseline about 1.25–1.75 in (3–4.5 cm) above the bottom of the mug
- Keep designs away from:
- the rim (leave 1/2 in / 12 mm clear for comfort)
- the very bottom curve (ink/paint can pool there)
Batch-making tip: Print a simple paper guide (a 3 in x 3 in square) and tape it temporarily to each mug to keep placement consistent.
Step-by-Step Instructions (Oil-Based Paint Marker Method)
This is the most beginner-friendly approach and ideal for DIY party favors when you need reliable results fast.
Step 1: Wash and Degrease the Mugs
- Wash mugs with warm water and dish soap. Rinse well.
- Dry completely.
- Wipe the design area with rubbing alcohol using a lint-free cloth.
Why this matters: Fingerprints and factory residue can cause paint to bead up or flake later.
Step 2: Plan Your Layout
- Decide whether the design faces outward when the mug is held in the right hand or left hand.
- Lightly sketch with pencil (optional) or use a stencil.
- Keep names to 6–10 letters for easy sizing on an 11 oz mug.
Step 3: Apply the Design
- Shake paint markers for 30–60 seconds.
- Prime the marker on scrap paper until paint flows smoothly.
- Draw your design using light pressure.
- For thicker lines, use a medium tip marker; for details, use a fine tip.
Dry time between layers: Let each color dry 5–10 minutes before adding another layer to prevent smearing.
Step 4: Fix Small Mistakes (Before Baking)
- If paint is still wet: wipe gently with a cotton swab dipped in rubbing alcohol.
- If paint has dried: carefully scrape with a wooden toothpick, then clean the area with alcohol and redraw.
Step 5: Heat-Set the Design in the Oven
- Place mugs in a cool oven (this helps prevent cracking from temperature shock).
- Set oven to 350°F (177°C).
- Once the oven reaches temperature, bake for 30 minutes.
- Turn off the oven and let mugs cool inside for 30–60 minutes.
Important: Always follow the directions on your specific paint marker packaging. Some brands recommend slightly different temps/times.
Step 6: Cure Time Before Use
For best durability, wait 48–72 hours before washing or packaging tightly. If you’re on a tight schedule, you can package sooner, but avoid rubbing the design.
Party Favor Packaging Ideas (Cute and Practical)
- Cocoa Bar Mug Favor: Fill with hot cocoa packet + mini marshmallows (about 1/4 cup / 30 g) + candy cane. Wrap in cellophane and tie with ribbon.
- Tea Time Favor: Add 2–3 individually wrapped tea bags and a honey stick.
- Bridal Shower “Morning After” Mug: Add coffee sample packet and a mini biscotti.
- Place Setting + Favor Combo: Set each mug at the table with the guest’s name facing outward, then let guests take them home.
Pro Tips for Crisp, Gift-Ready Results
- Warm hands, cool mug: Avoid holding the design area while drawing; rotate using the handle to prevent oils transferring to the surface.
- Use painter’s tape for clean lines: Burnish the edge with a fingernail for sharper stripes. Remove tape while paint is slightly tacky for the cleanest edge.
- Keep a consistent font style: Pick one simple script or one bold print font for a cohesive set.
- Do a test mug first: Practice your spacing and bake it. This saves time (and blank mugs) when making a batch.
- Batch workflow: Clean all mugs → stencil/sketch all mugs → draw all mugs → bake together. Assembly-line crafting is faster and more consistent.
Variations (Beginner-Friendly to Advanced)
Beginner Variations
- Monogram + dots: One large initial (about 2 in / 5 cm tall) with small confetti dots around it.
- Simple stripe band: Two parallel stripes around the mug using tape (keep the band about 1.5 in / 4 cm tall).
- Icon + name: A small heart, star, pumpkin, or baby rattle above the name.
Intermediate Variations
- Negative space design: Use tape or vinyl as a mask, color around it, then peel for a crisp shape.
- Two-tone lettering: Outline letters in black and fill with a lighter color after drying.
- Mini pattern border: Add a repeating pattern (tiny leaves, waves, or triangles) along the bottom third of the mug.
Advanced Variations
- Permanent vinyl decals: Cut guest names with a cutting machine and apply to clean mugs. Burnish firmly with a plastic scraper.
- Waterslide decals: Great for photo-quality logos or intricate artwork (follow decal paper instructions carefully).
- Gold accents: Add metallic details (thin lines or dots). Many metallic paints are more delicate—hand wash only.
Troubleshooting (Quick Fixes That Save the Mug)
- Paint is beading up: Mug likely has residue. Clean again with rubbing alcohol and use a clean cloth. Avoid touching the area afterward.
- Lines look streaky: Marker may need more shaking/priming. Apply a second coat after 10 minutes dry time.
- Smudged lettering: Let layers dry longer, and work from top to bottom to avoid dragging your hand through fresh paint.
- Paint cracked after baking: Layer may have been too thick or mug cooled too quickly. Use thinner coats and let mugs cool in the oven.
- Design flaking off later: Surface wasn’t clean enough or curing time wasn’t respected. For future batches, alcohol-wipe thoroughly and cure 72 hours.
Common Crafting Mistakes to Avoid
- Skipping the alcohol wipe: This is the #1 reason DIY mug designs fail. Soap alone often leaves residue.
- Using water-based markers: Many look great at first but wash off easily. Choose oil-based paint markers or porcelain paint.
- Making designs too close to the rim: Frequent contact and washing wear designs down faster. Leave a 1/2 in (12 mm) buffer.
- Thick paint layers: Thick paint can bubble or crack in the oven. Two thin coats beat one heavy coat every time.
- Rushing the cure time: Baking sets the paint, but curing improves toughness. Give it 2–3 days when possible.
- Not making one test mug: A single practice mug helps you lock in sizing, spacing, and baking time before committing to a whole set.
FAQ: DIY Mugs Party Favors
Are DIY mugs dishwasher-safe?
Most DIY mug methods (paint markers, vinyl) are not truly dishwasher-safe long-term. For best results, recommend gentle hand washing and avoiding soaking. Some porcelain paints advertise dishwasher-safe results when properly heat-set—follow the product label exactly.
What size mug is best for party favors?
The easiest standard is an 11 oz mug—it’s widely available, affordable in bulk, and has a good surface area for names and small graphics. For extra “wow,” go for 15 oz mugs for larger designs.
How far in advance can I make DIY mug favors?
You can make them 1–3 weeks ahead. After baking, allow 72 hours to cure, then store each mug wrapped in tissue or in individual boxes to prevent scratches.
What’s the fastest method for making 20+ matching mugs?
For speed and consistency, use stencils with oil-based paint markers or cut vinyl names with a cutting machine. Set up an assembly line: clean all mugs, apply all designs, then bake in batches.
Can kids help make these party favors?
Yes—with supervision. Kids can help with simple dots, hearts, or stripes using paint markers. An adult should handle alcohol cleaning and all oven steps. For kid-led crafting, consider making a few “craft table mugs” rather than the full favor set.
How do I keep the designs consistent across all mugs?
Use a simple template: measure and mark a 3 in x 3 in design zone, stick to one font style, and repeat 2–3 design elements (like an initial + small icon + date). Consistency comes from repeating placement and proportions more than from perfect drawing.
Wrap-Up: A Favor Guests Will Actually Keep
DIY mugs party favors hit the sweet spot between practical and personal—and they make your party decor feel extra thoughtful, too. Whether you keep it simple with names and a tiny icon or go big with themed designs and packaged treats, you’ll end up with handmade party favors that feel warm, creative, and genuinely useful.
Make one test mug, choose a design you can repeat confidently, and enjoy the process. When your guests take home something they’ll use again and again, your celebration sticks with them long after the last slice of cake.
Want more handmade party decorations and DIY crafts? Explore more creative project ideas on smartpartyprep.com and keep your next celebration beautifully personalized.
More Articles
 Personalized Slime Gifts
 How to Enable Third Party Cookies in My Browser (2024 Guide): Step-by-Step Fixes for Chrome, Safari, Firefox & Edge — Because Yes, You *Can* Still Do It (Without Compromising Security)
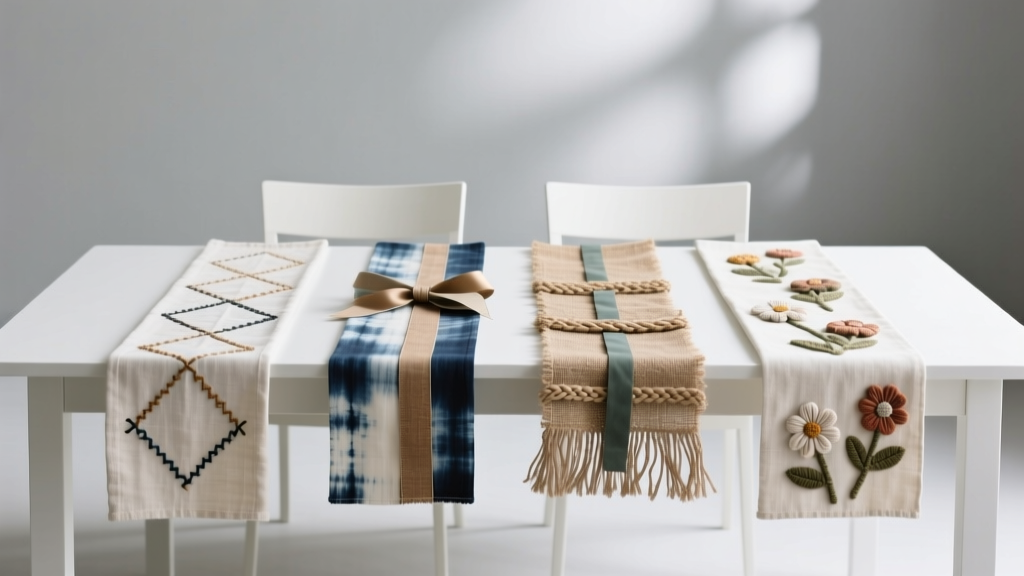 Budget DIY Table Runners Under $20
 Rustic Table Runners Ideas (DIY Projects for Parties, Showers, and Cozy Gatherings)
 How to Allow Third Party Cookies on iPad in 2024: A Step-by-Step Guide That Actually Works (No More 'Blocked' Messages or Broken Logins)
 No-Sew Origami Decorations Tutorial
 How Do I Allow Third Party Cookies on My Mac? A Stress-Free, Step-by-Step Guide for Safari, Chrome & Firefox (2024 Tested)
 Seasonal Painted Rocks Ideas
 Personalized Mugs Gifts (DIY Party Favors & Handmade Keepsakes)
 How to Allow Third Party Cookies on a Mac in 2024: A Step-by-Step Safari & Chrome Guide (No Tech Degree Required)