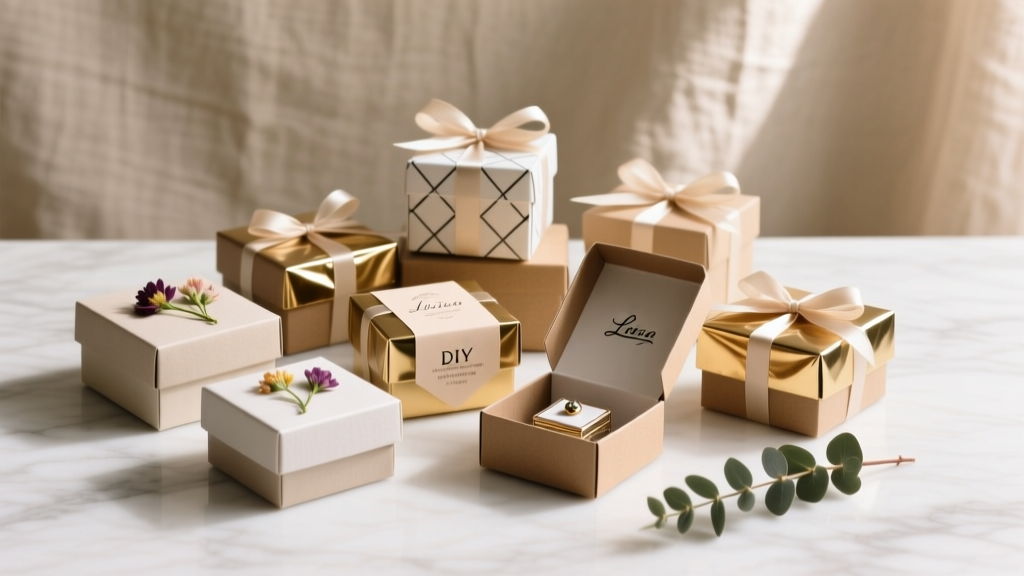
DIY Gift Boxes Party Favors
Party favors don’t have to be store-bought plastic trinkets that end up forgotten in a drawer. DIY gift boxes are one of the most satisfying party-related crafts because they’re both decorative and functional—your guests get a cute keepsake and a useful little box to reuse later.
Whether you’re planning a birthday bash, baby shower, bridal shower, graduation, or holiday gathering, handmade party favor boxes instantly make the whole setup feel more personal. They also help you keep costs predictable: you can buy materials in bulk, tailor the size to your treats, and match your party decorations perfectly.
Best of all, this project is friendly for beginners (straight folds, simple cuts), but it also has plenty of room for advanced upgrades like layered cardstock, foiling, personalized name tags, and luxe ribbons.
Project Overview (Skill Level + Time Estimates)
- Skill level: Beginner (basic cutting and folding). Intermediate/Advanced options included.
- Time per box: 8–12 minutes (beginner), 5–7 minutes once you get a rhythm.
- Batch time: 12 boxes in about 1.5–2 hours (including decorating).
- Finished size (example box): 3 in x 3 in x 3 in (perfect for candy, mini candles, cookies, bath salts, small toys).
Materials List (with Product Types + Estimated Costs)
Costs vary by brand and region, but these estimates help you plan a party-craft budget. Many supplies can be found at craft stores, big-box retailers, or online.
Core Materials (for 12 favor boxes)
- Cardstock, 12x12 in, 65–80 lb: 12 sheets (1 per box). Estimated cost: $6–$12 per pack (often 24–50 sheets).
- Double-sided tape (strong craft tape): 1 roll. Estimated cost: $4–$8.
- Liquid glue (quick-grab, clear-dry): optional for embellishments. Estimated cost: $3–$6.
- Ribbon (3/8 in or 5/8 in wide): 3–5 yards. Estimated cost: $4–$10 depending on satin/grosgrain/velvet.
- Cellophane treat bags (optional, food-friendly barrier): pack of 25–50. Estimated cost: $3–$8.
Tools (recommended for clean, professional results)
- Paper trimmer (or metal ruler + craft knife). Estimated cost: $12–$35.
- Scoring tool: bone folder and scoring board, or a blunt butter knife for beginners. Estimated cost: $8–$20 (or free if using household tool).
- Cutting mat (if using craft knife). Estimated cost: $8–$20.
- Hole punch: 1/8 in or 1/4 in (for ribbon closures/tags). Estimated cost: $6–$15.
- Small scissors (detail cutting for ribbon and tags). Estimated cost: $5–$12.
Decor Add-Ons (mix and match)
- Sticker labels (round 1.5–2 in) or printable label sheets. Estimated cost: $4–$10.
- Washi tape for quick accents. Estimated cost: $3–$8.
- Foil or glitter cardstock for luxe panels. Estimated cost: $6–$15.
- Mini tags (pre-cut or DIY). Estimated cost: $3–$8.
- Rubber stamps + ink pad (names, dates, icons). Estimated cost: $8–$25.
Choosing the Right Box Style for Party Favors
Before you start cutting, decide what your favors need: easy access, display-friendly shape, or sturdy support for heavier goodies.
Best Uses by Box Type
- Cube box (this tutorial): Great all-purpose DIY gift box party favors—candy, soaps, mini ornaments, cookies (bagged).
- Pillow box: Fast and cute for small items (jewelry, gift cards, wrapped candies).
- Gable box: Easy handle, great for kids’ parties and bake-sale style treats.
- Clear favor box (store-bought base + DIY wrap): Perfect when you want to showcase colorful candies.
Step-by-Step: DIY 3x3x3 in Gift Box Party Favor (from 12x12 Cardstock)
Measurements You’ll Use
- Main panel grid: 9 in x 9 in (creates a 3 in cube with 3 in panels)
- Glue tab: 1 in x 9 in (along one side)
- Total cut size: 10 in x 9 in (one 12x12 sheet is plenty)
- Top flaps: 1.5 in tall (built into the pattern below)
Cut and Score (Clean Lines = Pro-Looking Boxes)
- Cut the cardstock to 10 in x 9 in. (Use a paper trimmer for straight edges.)
- Orient your paper so it’s 10 in wide (left to right) and 9 in tall (top to bottom).
- Score vertical lines at: 3 in, 6 in, 9 in.
This creates three 3-inch panels plus a 1-inch glue tab. - Score horizontal lines at: 1.5 in from the top, then 4.5 in, then 7.5 in.
This gives you a 1.5-inch flap zone at top and bottom, and 3 inches for the box height in the middle.
Trim the Flaps (So It Folds Like a Real Box)
- At the top 1.5-inch section: cut along the scored vertical lines (at 3, 6, 9) down to the 1.5-inch score line, creating four small top flaps (three main flaps + one on the glue tab).
- At the bottom 1.5-inch section: do the same—cut along the vertical score lines up to the 7.5-inch score line.
- Remove the small flap on the glue tab area (optional but helps reduce bulk): trim off the top and bottom flaps attached to the 1-inch glue tab so the seam is cleaner.
Fold and Form the Box
- Pre-fold all score lines (mountain and valley folds) and press with a bone folder or the side of a blunt knife for crisp edges.
- Apply double-sided tape to the 1-inch glue tab (full length, centered).
- Roll the cardstock into a tube and attach the first panel edge to the taped glue tab, aligning the top and bottom edges carefully.
- Form the bottom: fold in two opposite bottom flaps first, then the other two flaps. Secure with strong double-sided tape or a thin layer of liquid glue (hold for 10–15 seconds).
- Fill the box: add shredded paper, tissue crinkle, or a bagged treat.
- Close the top: fold flaps in the same order as the bottom. Use a sticker seal, a ribbon wrap, or a tiny Velcro dot if you want guests to open and re-close.
Decorating Your Favor Boxes (Party-Ready Ideas)
Decorating is where DIY party decorations really shine—your gift boxes can match invitations, table linens, balloon arches, and themed centerpieces.
Fast, Beginner-Friendly Decorating Options
- Sticker seal: a 2-inch round sticker centered on the top flap seam.
- Ribbon wrap: wrap ribbon around the box like a present and tie a bow on top (about 18–22 inches of ribbon per box).
- Washi tape bands: one band around the lid area plus a small tag.
- Printable labels: “Thank you,” “Treat yourself,” name + date, or themed icons.
Advanced Variations (Extra “Wow” Without Needing Fancy Machines)
- Layered panels: cut 2.75 in x 2.75 in squares from contrasting cardstock and adhere to each side.
- Window box: cut a 1.5 in x 1.5 in square window on one panel and tape clear acetate from the inside.
- Embossed texture: use an embossing folder if you have a machine, or fake texture with scoring patterns (diagonal lines or a simple grid).
- Personalized name tags: punch a hole and add tags for place cards + favors in one.
Pro Tips for Sturdy, Neat DIY Gift Boxes
- Use 65–80 lb cardstock for most party favors. If the contents are heavy (candles, jam jars), go up to 100 lb or reinforce the bottom with an extra cardstock square.
- Score before folding to avoid cracked edges—especially with metallic or glitter cardstock.
- Burnish folds with a bone folder for crisp corners that look store-bought.
- For food favors: place cookies or candies in food-safe treat bags before boxing.
- Assembly line method: cut all pieces, score all pieces, fold all pieces, tape all seams, then decorate. It’s faster and more consistent.
Troubleshooting: Fixes for Common Box Problems
- Problem: Box won’t sit square.
Fix: Re-check score line spacing (3 in increments). Even a 1/8-inch drift can twist the cube. Use a ruler to confirm and re-score if needed. - Problem: Flaps pop open.
Fix: Switch to stronger double-sided tape (the thin, clear “super strong” type). Press firmly for 10 seconds. For humid environments, add a tiny dot of liquid glue at flap corners. - Problem: Cardstock cracks on folds.
Fix: Score deeper (one firm pass) and fold slowly. Avoid folding glitter cardstock against the grain; rotate the paper and test a scrap first. - Problem: Glue tab shows or looks bulky.
Fix: Trim off the glue tab’s top/bottom flap pieces (as described above) and keep tape centered to prevent squeeze-out.
Common Crafting Mistakes to Avoid
- Skipping the scoring step: folding without scoring leads to crooked edges and messy corners.
- Using thin paper instead of cardstock: printer paper collapses under even light treats.
- Overloading the box: if your favor is taller than 3 inches, either size up the box or use a gable box style.
- Rushing the seam alignment: if the first seam is crooked, the entire box will twist. Align top and bottom edges before pressing the tape.
- Decorating before assembling: heavy embellishments can get crushed while you’re forming the box. Assemble first, then add bows, tags, and dimensional pieces.
Size Adjustments (Make Any Size You Need)
Once you understand the “grid,” you can customize DIY party favor boxes for any theme or treat size.
- Box side length: choose a number (example: 2.5 in, 3 in, 3.5 in).
- Main wrap width: (side length x 3) + 1 in glue tab.
- Main wrap height: (side length) + (top flap height x 2). A good flap height is 1.25–1.75 in for small boxes.
Example (2.5 in cube): width = (2.5 x 3) + 1 = 8.5 in. Height = 2.5 + (1.25 x 2) = 5 in.
FAQ: DIY Gift Boxes Party Favors
1) What’s the best cardstock for party favor boxes?
For most handmade party favors, 65–80 lb cardstock is the sweet spot: sturdy, easy to score, and available in tons of colors. Use 100 lb if the box needs to hold heavier items.
2) Can I make these without a scoring board?
Yes. Use a metal ruler and a blunt butter knife (or an empty ballpoint pen) to score along measured lines. Work on a cutting mat or thick cardboard to protect your table.
3) How do I keep the top closed without tape showing?
Try a sticker seal, a belly band (a 1-inch strip of paper wrapped around the box), or a ribbon wrap. Belly bands are especially nice for weddings and showers because they look polished and remove easily.
4) Are DIY favor boxes cheaper than buying pre-made?
Often, yes—especially when you’re making a batch. If you already have tools like a trimmer and tape, your per-box cost can be very low (often under $1 each), and the look is more custom than typical store-bought options.
5) What can I put inside party favor boxes?
Great options include wrapped candies, mini cookies (bagged), hot cocoa packets, tea bags, small slime containers, bath bombs, lip balm, seed packets, mini candles, or tiny toys for kids’ parties.
6) How far in advance can I make these?
You can assemble boxes 1–2 weeks ahead and store them flat or fully built in a clean, dry bin. Add edible items 1–2 days before the event for best freshness (especially cookies or popcorn).
Wrap-Up: Make Party Favors That Feel Special
DIY gift boxes turn party favors into part of the decor—color-coordinated, themed, and made with care. Start with the simple 3x3x3 inch cube, then tweak the size, add labels, and experiment with ribbons or layered panels until your handmade party favors match your celebration perfectly.
If you make a batch, try mixing two coordinating cardstock colors (one solid, one patterned) so your party table looks styled without extra effort. Your guests will notice the details—and you’ll love how professional your DIY craft project looks.
Want more party-ready DIY crafts, handmade decorations, and creative favor ideas? Browse more tutorials and inspiration on smartpartyprep.com.
More Articles
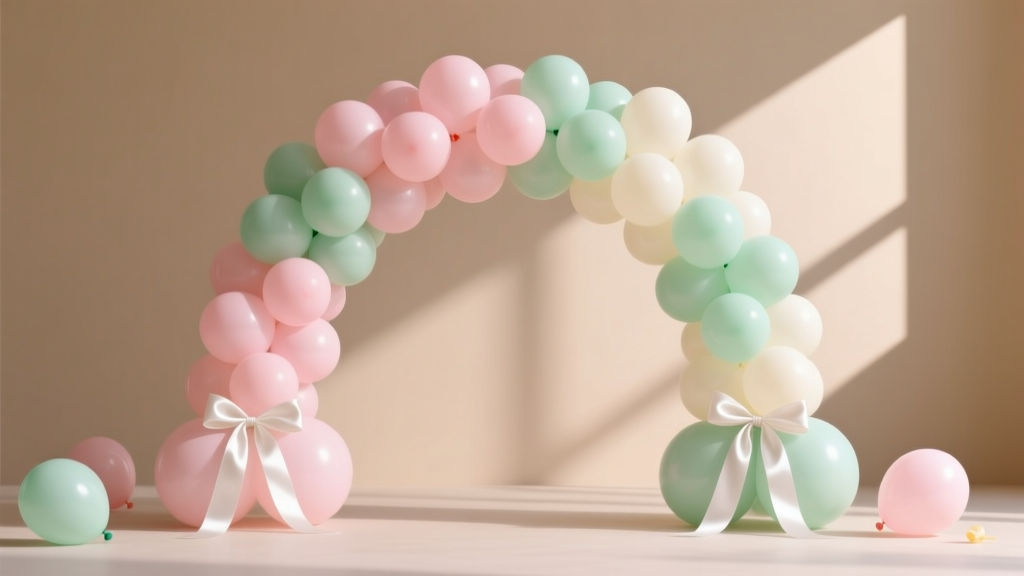 Easy Balloon Arches for Beginners
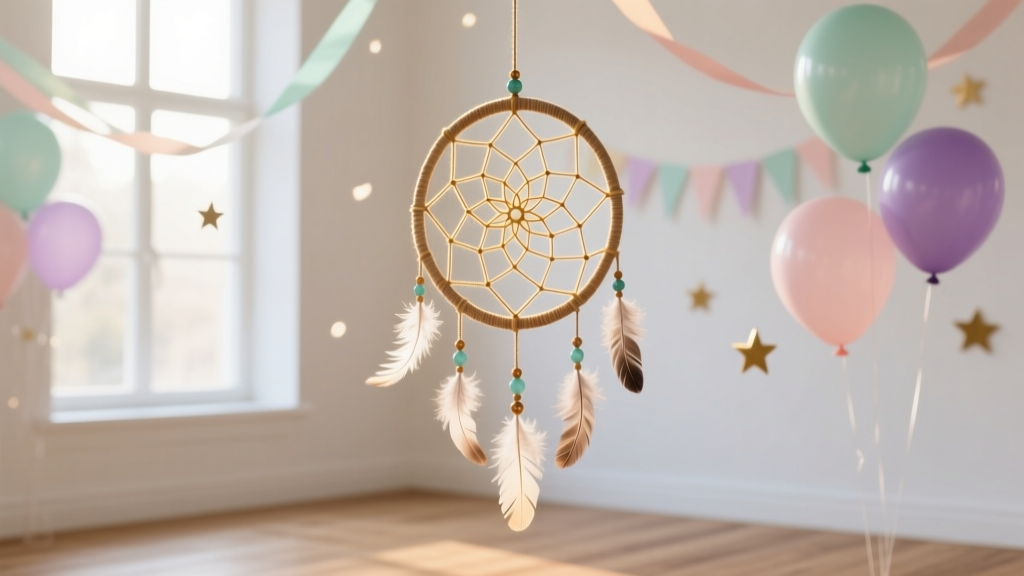 Step-by-Step Dream Catchers Tutorial
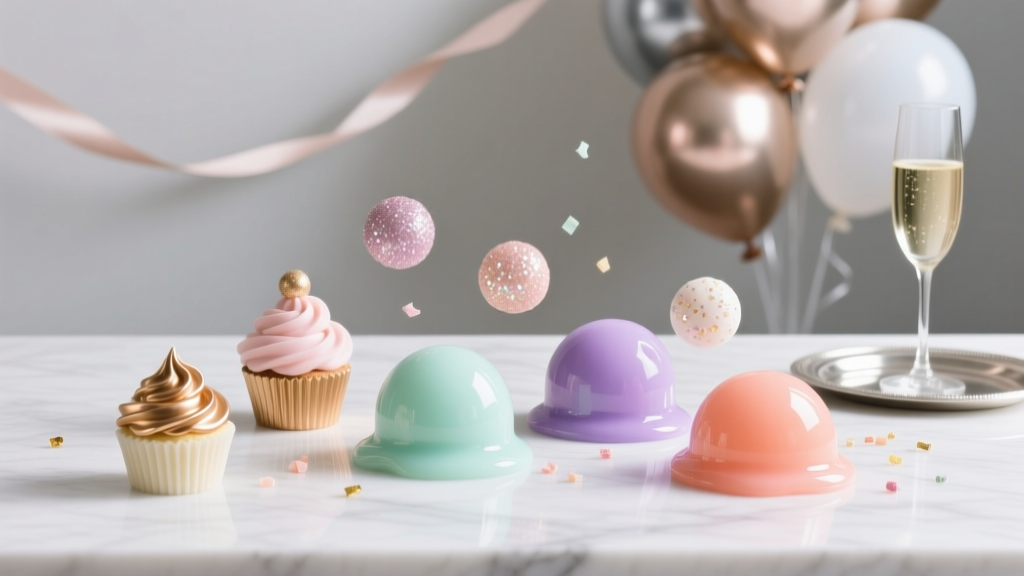 Advanced Slime for Crafters
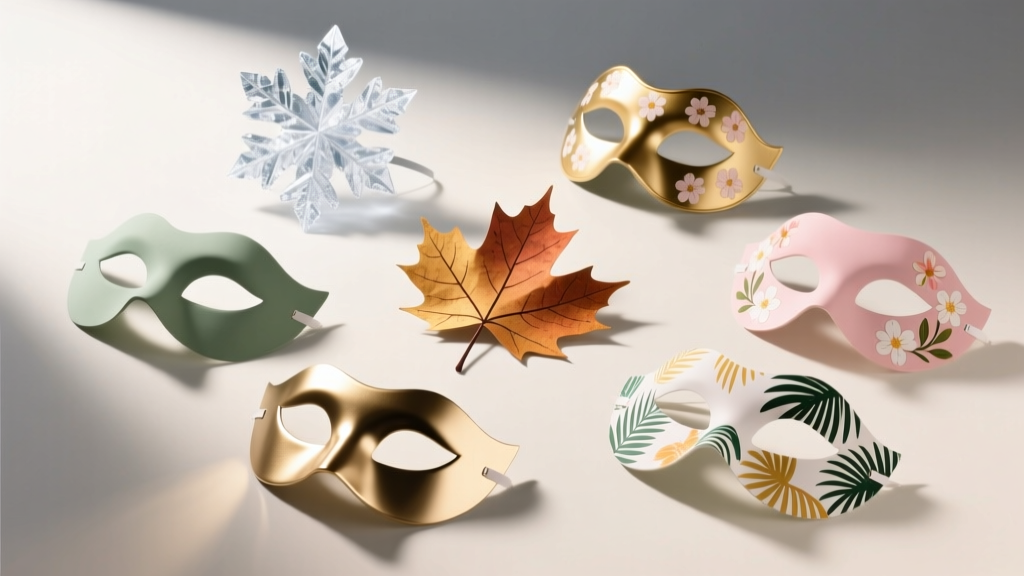 Seasonal Masks Ideas
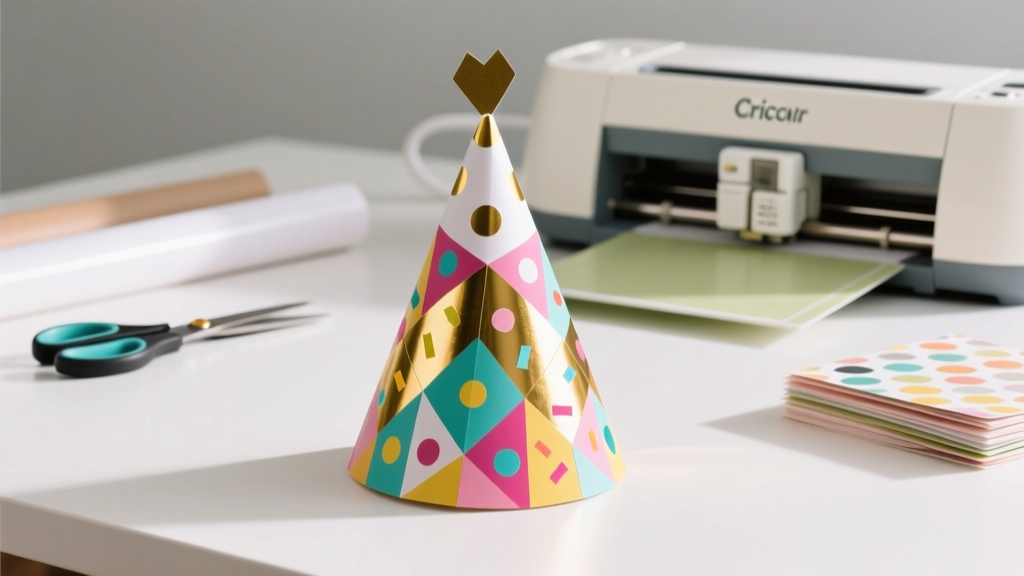 DIY Party Hats Using Cricut
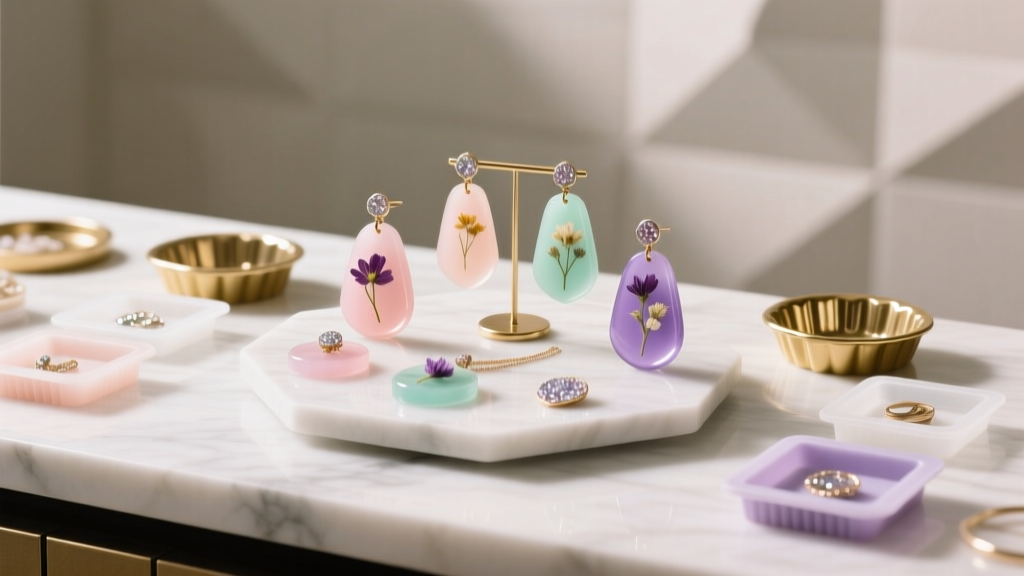 DIY Resin Jewelry Party Favors
 Kids' Craft: Confetti
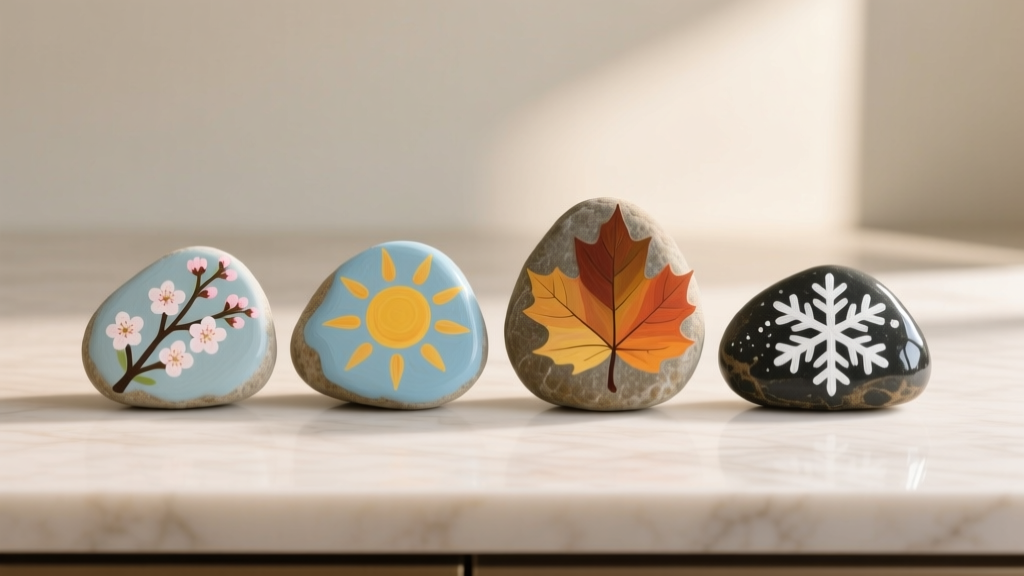 Seasonal Painted Rocks Ideas
 How to Record Xbox Party Chat in 2024: The Only Step-by-Step Guide That Actually Works (No Capture Card Required)
 How to Make a Slumber Party Tent in Under 20 Minutes (No Sewing, No Special Tools — Just Blankets, Chairs & Kid-Approved Magic)