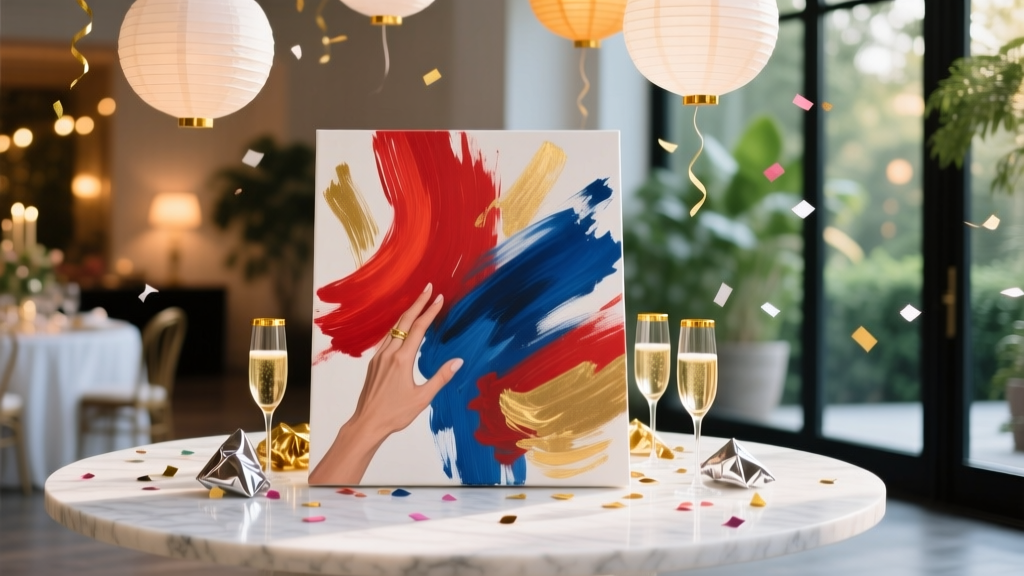
Advanced Painted Canvas for Crafters
If you love DIY crafts that double as party decorations, an advanced painted canvas is one of the most satisfying projects you can make. It’s artistic, customizable, and surprisingly practical—because a finished canvas can act as a party sign, photo booth backdrop accent, dessert table centerpiece, or a keepsake you hang long after the celebration ends.
What makes this “advanced” isn’t that you need to be a professional painter. It’s the layered techniques that create a polished, boutique look: crisp lettering, blended color, metallic highlights, and texture details that photograph beautifully. Whether you’re planning a birthday, baby shower, bridal shower, graduation party, or holiday gathering, you can tailor the design to match your theme and color palette.
Grab a canvas, pick your party vibe, and follow the step-by-step process below. You’ll get a high-end handmade project that looks like it came from a custom decor shop—while keeping it totally you.
Project Overview (Skill Level, Time, and Best Uses)
- Skill level: Confident beginner to intermediate (advanced finish, beginner-friendly path included)
- Total time: 2.5–4 hours (plus drying time)
- Drying/curing time: 1–2 hours between layers; 24 hours before sealing heavily or packing for travel
- Best for: DIY party decorations, dessert table backdrops, welcome signs, photo area styling, gift table signage
- Common sizes: 12” x 16” for tabletop; 16” x 20” for easel display; 18” x 24” for statement signage
Materials & Tools (with Estimated Costs)
Base Supplies
- Stretched canvas: 16” x 20” (gallery-wrapped preferred for a thicker edge) — $10–$20
- Acrylic paints (craft or artist grade):
- 1–2 background colors (matte) — $2–$8 each
- 1 accent color — $2–$8
- White + black (for mixing and contrast) — $2–$8 each
- Acrylic gesso (optional but recommended): for smoother blending and brighter color — $8–$15
- Metallic acrylic paint (gold, rose gold, silver) — $4–$10
- Acrylic paint markers (white + black + metallic) for crisp details — $8–$20 set
- Clear sealer: matte or satin spray varnish (or brush-on acrylic varnish) — $8–$15
Texture + Design Tools (Pick What Fits Your Style)
- Painter’s tape: 1” wide (low tack) — $4–$8
- Stencil (party words or shapes): “Welcome,” stars, balloons, florals, confetti — $4–$12
- Palette knife: for textured swipes — $5–$10
- Modeling paste or light texture paste: optional raised details — $8–$15
- Sponge or blending brush: soft edge blending — $2–$8
- Foam brushes: great for smooth base coats — $3–$6 pack
Helpful Extras
- Transfer paper (or graphite paper) for lettering — $5–$10
- Printed design template (home printer) — $0–$2
- Hair dryer or heat tool (low setting): speeds drying between layers — $0–$20
- Disposable palette or plate + cups for water — $0–$5
Estimated total cost: $25–$70 depending on what you already own and whether you choose premium paints and texture paste.
Design Planning: Choose a Party Theme & Layout
Before paint hits the canvas, decide how the finished piece will be used. A welcome sign needs readable text from 6–10 feet away; a dessert table canvas can be more detailed.
Easy Party-Ready Design Ideas
- Welcome canvas: “Welcome to Ava’s 1st Birthday” + simple balloon cluster illustration
- Graduation party sign: “Class of 2026” with school colors and metallic accents
- Baby shower canvas: “Oh Baby” + soft ombré + tiny stars
- Holiday party decor: “Cheers” with textured swipes and gold splatter
- Photo booth accent: bold stripes + name/date
Recommended Lettering Sizes (for Readability)
- 16” x 20” canvas: main word 3”–5” tall; subtext 1”–2” tall
- 12” x 16” canvas: main word 2.5”–4” tall; subtext 0.75”–1.5” tall
Step-by-Step: Advanced Painted Canvas (Layered, Party-Perfect Finish)
Step 1: Prep the Canvas (10–15 minutes)
- Cover your work surface with paper or a plastic tablecloth.
- If your canvas feels rough, apply 1 thin coat of gesso using a foam brush. Let dry 20–30 minutes, then lightly sand (optional) for a smoother finish.
- Tape the canvas edges if you want clean sides. Press tape down firmly to prevent paint bleed.
Beginner-friendly adaptation: Skip sanding and keep a simple background; you’ll still get a beautiful result.
Step 2: Paint a Smooth Base Coat (20–30 minutes + drying)
- Mix your background color with a tiny bit of water (just enough to help it spread smoothly).
- Apply 2 thin coats instead of one thick coat to avoid streaks.
- Dry between coats for 15–25 minutes (use a hair dryer on low if needed).
Step 3: Add an Ombré Blend or Soft Gradient (25–40 minutes)
This is where the canvas starts looking “designed” rather than simply painted.
- Choose two colors that work with your party theme (example: blush + peach, navy + sky blue, sage + cream).
- Paint the darker color on the bottom third and the lighter color on the top third.
- While both are still slightly wet, use a clean damp sponge or blending brush to tap and sweep where the colors meet.
- If the blend gets muddy, let it dry, then glaze over with a thin layer of the lighter color to soften it.
Step 4: Create Crisp Geometric Sections (Optional, 20 minutes)
Painter’s tape makes a big impact for modern party decor.
- Once the background is dry, apply painter’s tape in your chosen pattern:
- Diagonal stripe across the canvas
- Top “banner” band for text
- Framed border (0.5”–1” thick)
- Seal tape edges by brushing a little background color along the tape line. Let dry 5 minutes.
- Paint the taped section with an accent color. Remove tape slowly while paint is slightly damp for the cleanest line.
Step 5: Add Texture Details (Optional but Makes It Look High-End) (20–35 minutes + drying)
- Use a palette knife to apply modeling paste in small areas:
- “Confetti swoosh” in one corner
- Raised dots scattered lightly
- Textured brushstroke strip behind lettering
- Keep texture away from where you want super crisp lettering.
- Let it dry fully (30–60 minutes, depending on thickness).
- Once dry, paint over texture with metallic or a slightly lighter shade for a dimensional look.
Step 6: Lettering and Main Design (30–60 minutes)
You have two clean options: stencil or transfer.
Option A: Stencil Method (Great for Beginners)
- Secure stencil with low-tack tape.
- Use a nearly dry sponge or stencil brush (dip in paint, then dab off excess on a paper towel).
- Tap paint in light layers to avoid bleeding under the stencil.
- Lift stencil carefully while paint is still a little wet.
Option B: Template Transfer (Best for Custom Names & Fancy Fonts)
- Print your text to fit the canvas. Tape it in place.
- Slip graphite paper underneath and trace firmly with a pencil.
- Paint over the traced lines with a small round brush or acrylic paint marker.
Tool recommendation: Acrylic paint markers are fantastic for party signage because they create sharp, readable lines without brush wobble.
Step 7: Add Metallic Accents and “Party Shine” (10–20 minutes)
- Use metallic paint to add:
- Thin outline around the main word
- Small starbursts or dots near corners
- Light splatter (see pro tips below)
Step 8: Seal for Durability (10 minutes + curing)
- Make sure everything is completely dry.
- Spray varnish outdoors or in a well-ventilated area. Hold the can 10–12 inches away.
- Apply 2–3 light coats, drying 10 minutes between coats.
- Let cure 24 hours before wrapping, stacking, or transporting to a party.
Pro Tips for a Professional, Photo-Ready Finish
- Use thin layers: Thick paint can crack or look lumpy, especially under stencil lettering.
- Seal tape edges: Brushing base color along the tape line prevents bleed and gives razor-sharp stripes.
- Keep a “rest zone”: Leave one quieter area where the eye can rest—this makes your text pop in photos.
- Metallics go farther than you think: A few highlights look more upscale than covering half the canvas in shimmer.
- Splatter without chaos: Thin metallic paint slightly, cover your lettering with scrap paper, then flick with a stiff brush for controlled confetti dots.
- Color match to party decor: Pull one shade from plates/napkins/balloons to make your handmade party decorations feel intentional.
Creative Variations (Beginner-Friendly to Advanced)
Beginner-Friendly Adaptations
- Single-color background + stencil phrase: Add a simple border and you’re done.
- Two-tone split background: Paint top half one color, bottom half another; add a clean line with tape.
- Paint marker lettering only: Skip blending and texture; focus on bold, readable text.
Advanced Variations (Next-Level Party Decor)
- Faux gold leaf accents: Add adhesive size + gold leaf flakes for a luxe celebration sign.
- Layered stencil depth: Use a pale pattern (tone-on-tone) behind the main text, then a bold top layer.
- 3D embellishment cluster: Attach a small corner arrangement (paper flowers, ribbon, mini tassels) with strong craft glue after sealing paint.
- Chalkboard-style canvas: Use chalkboard paint as a base and add permanent painted flourishes; write party details with chalk markers.
Troubleshooting: Fix Common Painting Problems
- Streaky background: Let it dry, then add another thin coat with a foam brush. Avoid overworking the paint as it dries.
- Muddy ombré blend: Stop blending. Dry fully, then glaze with a thin layer of the lighter color to clean it up.
- Stencil bleeding: Use less paint on your brush. For fixes, touch up edges with the background color using a small flat brush.
- Tape pulled up paint: Your layers weren’t fully dry or tape was too sticky. Sand lightly, repaint, and use low-tack tape next time.
- Warped canvas: Too much water or heavy wet layers. Use less water, apply thinner coats, and dry flat.
Common Crafting Mistakes to Avoid
- Skipping dry time: Rushing causes peeling tape lines, smeared lettering, and dull metallics.
- Using too much paint for stenciling: This is the #1 reason for blurry letters on DIY party signs.
- Making text too small: If it’s meant to be read across the room, go bigger than you think.
- Overloading the design: Too many colors, patterns, and textures can compete. Pick one “star” feature (ombre, texture, or bold typography).
- Sealing too soon: Trapped moisture can cause cloudiness. Let paint dry thoroughly first.
FAQ: Advanced Painted Canvas for Party Decorations
1) What kind of paint works best for a painted canvas sign?
Acrylic paint is the easiest and most reliable for DIY crafts and handmade party decorations. Craft acrylics work well, but artist-grade acrylics tend to blend smoother and have stronger pigment for ombré backgrounds.
2) How do I keep stencil letters crisp?
Use a stencil brush or sponge with very little paint, dab in light layers, and seal stencil edges with the background color first. Remove the stencil before the paint fully dries.
3) Can I make this project the day before my party?
Yes—plan your painting earlier in the day and seal it in the evening. Give it overnight to cure so it won’t stick to wrapping or pick up fingerprints during setup.
4) What’s the best way to display a painted canvas at a party?
Use a tabletop easel for a 12” x 16” canvas or a standing artist easel for a 16” x 20” or larger. Place it near the entrance, gift table, or dessert table for maximum impact in photos.
5) How do I transport a finished canvas without ruining it?
After it cures, wrap it in clean kraft paper or bubble wrap (avoid plastic directly on fresh varnish). For extra protection, slide it into a shallow box or between two pieces of cardboard.
6) Is there a way to make it kid-friendly for a party activity?
Yes—prep the base coat and tape sections ahead of time. Provide stencils, limited paint colors, and sponge brushes. Skip modeling paste and metallic splatter for younger kids to keep it neat.
Wrap-Up: Your Next Favorite Handmade Party Decoration
An advanced painted canvas is one of those DIY projects that feels creative while still being super functional for party styling. You can make it bold and modern, soft and sweet, or glam and metallic—then reuse it as home decor or a keepsake after the celebration.
Pick a color palette that matches your theme, take your time with layers, and enjoy watching the design come together. When your guests ask where you ordered your sign, you’ll get to say you made it.
Want more DIY crafts, party decorations, and handmade project ideas? Explore more creative inspiration at smartpartyprep.com.
More Articles
 How to Record Xbox Party Chat in 2024: The Only Step-by-Step Guide That Actually Works (No Capture Card Required)
 DIY Beaded Bracelets for Home Decor
 How to Make a Party Hat Out of Paper in Under 12 Minutes (No Glue Gun, No Scissors Required — Just Printer Paper & Tape)
 DIY Dream Catchers Party Favors
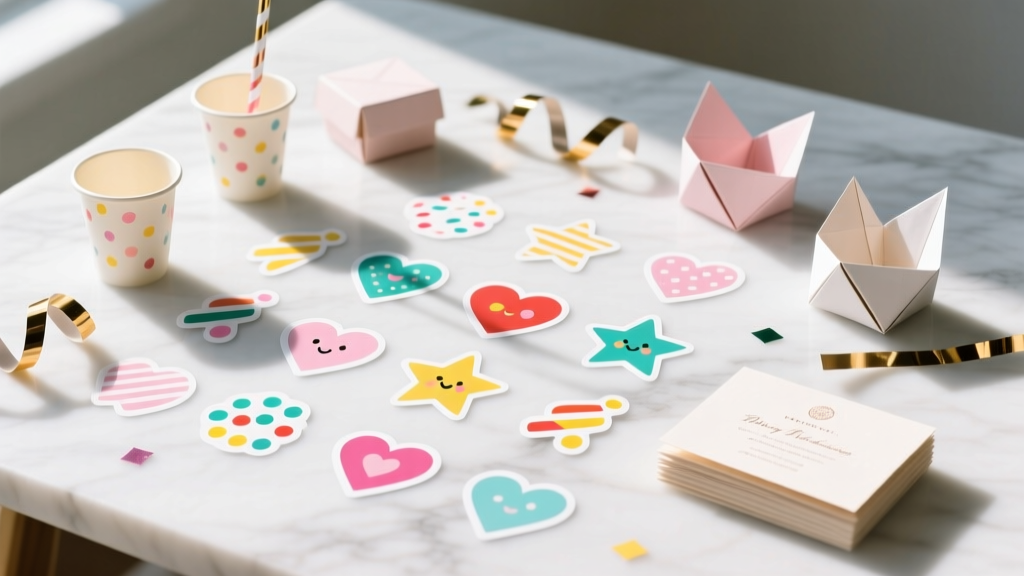 DIY Custom Stickers Party Favors
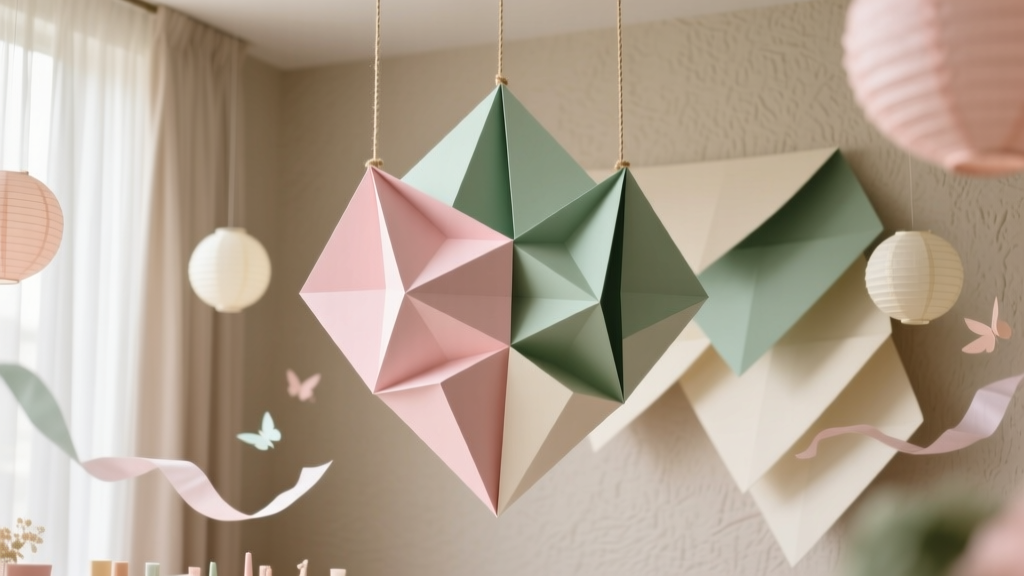 Paper Craft Backdrops Ideas
 DIY Confetti in 30 Minutes
 How to Accept 3rd Party Cookies on Mac in 2024: A Step-by-Step Safari & Chrome Guide (No Tech Degree Required)
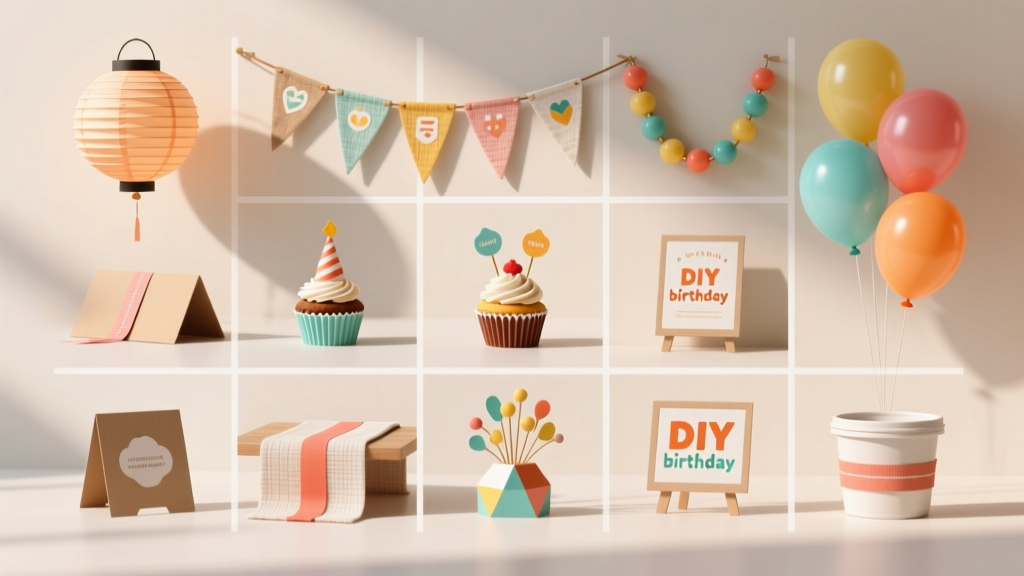 12 Do It Yourself Birthday Party Decorations That Take Under 30 Minutes Each (No Craft Store Runs, No Glue Gun Stress, Just Real Results You’ll Actually Use)
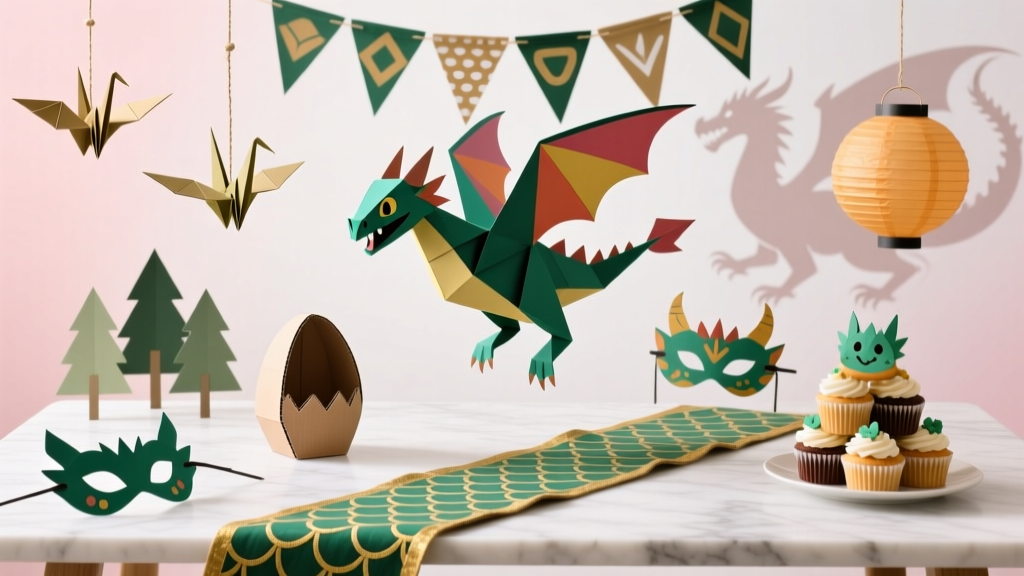 How to Train Your Dragon Party Decorations: 7 No-Stress DIY Projects That Take Under 2 Hours (No Glue Gun Required!)