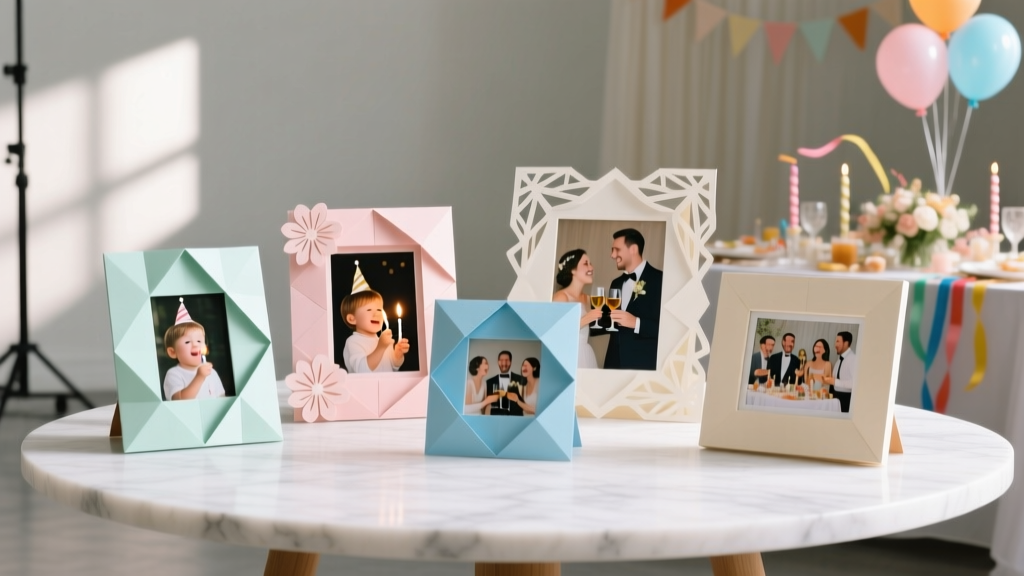
Paper Craft Photo Frames Ideas
Paper craft photo frames are one of those DIY projects that feel instantly rewarding: you start with simple supplies, and within an afternoon you’ve created something personal, giftable, and party-ready. Whether you’re decorating a birthday dessert table, setting up a baby shower photo corner, or making a graduation party memory display, handmade photo frames add warmth that store-bought décor can’t match.
They’re also wonderfully flexible. You can make a whole set in coordinating colors for a party backdrop, customize frames to match a theme (boho, retro, princess, sports, or rainbow), or build a statement “photo frame prop” for a DIY photo booth. Best of all, paper frames are budget-friendly—perfect for crafting with kids, prepping a party on a timeline, or creating event décor in bulk.
This guide shares multiple paper craft photo frame ideas with step-by-step instructions, measurements, time estimates, and variations ranging from beginner-friendly to advanced. Pick one style or mix them for a layered, gallery-wall look that works for any celebration.
Skill Level, Time & Best Uses
- Skill levels: Beginner to Intermediate (advanced variations included)
- Time estimates:
- Simple layered frame: 15–25 minutes each
- Rosette/flower frame: 30–45 minutes each
- Shaker frame (confetti window): 40–60 minutes each
- Polaroid-style frame prop: 45–75 minutes
- Best for: Party decorations, photo booth props, memory tables, gift toppers, centerpiece accents, DIY wall décor
Materials List (with Estimated Costs)
Costs vary by brand and where you shop; these estimates reflect common craft-store pricing. If you’re making multiple frames for party decorations, buying multi-packs saves a lot.
Paper & Frame Base
- Cardstock (12x12 in) in theme colors (65–110 lb): $0.50–$1.50 per sheet
- Chipboard sheets or recycled cereal-box cardboard (for sturdier frames): $2–$6 per sheet (free if recycled)
- Patterned scrapbook paper (12x12 in) for accents: $0.50–$1.25 per sheet
Adhesives
- Double-sided tape runner (clean + fast): $5–$10
- Glue stick (paper-friendly): $1–$4
- Liquid craft glue (strong, needs drying time): $2–$6
- Foam adhesive squares (for dimension): $3–$7
Tools (Recommended)
- Paper trimmer (more accurate than scissors): $10–$25
- Precision scissors for detail cuts: $5–$12
- Craft knife (X-Acto style) + self-healing cutting mat (best for window cutouts): $8–$25
- Metal ruler (safer with craft knife): $5–$10
- Bone folder (crisp folds): $5–$10
- Hole punch (for hanging frames): $4–$10
Optional Decorative Add-Ons
- Washi tape: $3–$8
- Ribbon or twine (hanging/garland): $3–$8
- Stickers, letter decals, die-cuts: $2–$10
- Sequins/confetti (for shaker frames): $2–$6
- Acetate sheets (clear window for shaker frames): $3–$8
Before You Start: Pick Photo Size & Frame Measurements
Choose a photo size and build your frame around it. Here are party-friendly standards that are easy to print at home:
- 4x6 in photo (classic): great for memory tables and wall displays
- 3x3 in or 4x4 in photo (Instagram-style): perfect for garlands
- 2x3 in mini photo: cute for place settings and favor tables
Recommended frame border: 1–2 inches wide for a sturdy look. For a 4x6 photo, a 1.5-inch border feels balanced and still keeps the frame lightweight.
Idea #1: Classic Layered Paper Frame (Fast + Party-Perfect)
Great for: birthday party decorations, graduation displays, baby shower tables
Skill level: Beginner
Time: 15–25 minutes per frame
Measurements (for a 4x6 photo)
- Outer frame: 8x10 in cardstock
- Photo window opening: 3 3/4 x 5 3/4 in (slightly smaller than the photo so edges are hidden)
- Backer piece: 8x10 in cardstock or chipboard
Step-by-Step Instructions
- Cut the outer frame. Trim cardstock to 8x10 in using a paper trimmer.
- Mark the window. On the back side, measure and draw a centered rectangle 3 3/4 x 5 3/4 in.
- Cut the window. Use a craft knife and metal ruler on a cutting mat for clean edges.
- Add decorative layers (optional but pretty).
- Cut a second “mat” layer from patterned paper: 7 1/2 x 9 1/2 in.
- Cut a smaller window in that layer: 3 1/2 x 5 1/2 in.
- Attach with a tape runner or glue stick.
- Attach the photo. Tape the photo to the back of the window opening so it sits straight and flat.
- Add the backer. Glue/tape the backer sheet around the edges, leaving one side open if you want the photo removable (like a pocket).
- Create a stand (table display option). Cut a cardstock strip 2 x 10 in. Score at 2 in, 4 in, and 8 in, fold into a simple easel shape, and tape it to the back.
Beginner-Friendly Adaptation
- Skip the craft knife: cut the window using scissors by folding the cardstock slightly in the middle and snipping a starter hole.
- Use a pre-cut 8x10 base (some cardstock pads include this size) to save time.
Idea #2: Paper Rosette & Flower Frame (Showstopper for Dessert Tables)
Great for: bridal showers, baby showers, tea parties, first birthdays
Skill level: Beginner–Intermediate
Time: 30–45 minutes per frame
Materials Extra
- 2–4 sheets of cardstock (mix solids + patterns)
- Hot glue gun (optional for fast assembly; use carefully): $8–$20
Step-by-Step Instructions
- Make a sturdy base frame. Follow the Classic Layered Frame steps, and consider adding a chipboard backer for strength.
- Create paper rosettes.
- Cut strips: 1.5 x 12 in (you can make 2–3 rosettes per frame).
- Score or accordion fold every 1/4 in for a tight rosette (every 1/2 in for a looser look).
- Glue the ends together to form a ring, then press the ring flat and glue the center.
- Add a circle center (1–1.5 in diameter) to hide the middle.
- Add paper flowers (optional). Cut 5–7 petals (about 1.5–2 in tall), curl edges with a pencil, and layer them around a center circle.
- Arrange your design. Place rosettes/flowers mostly along the top corners or one side so the photo stays visible.
- Attach embellishments. Use foam squares for dimension or hot glue for quick, secure placement.
Theme Variations
- Rainbow party: build rosettes in a color gradient across the top edge.
- Boho party: use kraft cardstock + cream paper flowers + twine bow.
- Holiday party: red/green rosettes with gold sticker accents.
Idea #3: Shaker Photo Frame (Confetti Window for Extra Fun)
Great for: kids’ birthdays, New Year’s parties, colorful celebrations
Skill level: Intermediate
Time: 40–60 minutes per frame
Measurements (for a 4x6 photo)
- Outer frame: 8x10 in
- Window opening: 4 1/8 x 6 1/8 in (a bit larger so the photo shows more)
- Acetate window: 5 x 7 in (overlaps the opening by about 1/2 in on all sides)
Step-by-Step Instructions
- Cut the frame and window. Create an 8x10 frame with the window opening centered.
- Attach acetate. Tape the acetate sheet behind the window opening using strong double-sided tape.
- Build the “shaker wall.” Line the back of the frame (around the window) with foam tape or stacked foam squares to create a raised edge. Make sure there are no gaps.
- Add confetti. Sprinkle a small amount of sequins/confetti into the shaker area (less than you think—too much prevents movement).
- Seal with a backer. Press a backer sheet firmly onto the foam tape to close the shaker.
- Add the photo. Either:
- Attach the photo to the backer before sealing (permanent), or
- Create a pocket on the back side for a swappable photo (leave one edge unglued).
Party-Ready Upgrade
- Use letter stickers on the front: “HAPPY BIRTHDAY,” the guest of honor’s name, or the party year.
- Match shaker filler to your theme (gold stars for glam, pastel hearts for baby shower, team colors for sports).
Idea #4: Polaroid-Style Paper Frame Prop (DIY Photo Booth Favorite)
Great for: photo booth props, party games, guest snapshots
Skill level: Beginner–Intermediate
Time: 45–75 minutes
Measurements (Classic Polaroid Look)
- Outer size: 12 x 14 in (poster-size prop)
- Inner window: 8 x 8 in (square opening works well for groups)
- Bottom border: leave about 4 in at the bottom for “caption space”
Step-by-Step Instructions
- Cut the base. Use foam board or layered chipboard for sturdiness, then cover with white cardstock for a clean finish.
- Measure and cut the window. Mark an 8x8 in square centered horizontally and higher on the board to leave a larger bottom border.
- Reinforce edges. Wrap edges with white washi tape or paper strips to prevent bending.
- Decorate the caption area. Add the party name/date, a hashtag, or a sweet message with letter stickers or a paint marker.
- Add handles (optional). Tape two craft sticks to the back for easier holding in photos.
Pro Tips for Clean Results (Even if You’re New)
- Measure twice, cut once. For centered windows, mark the midpoint lightly in pencil before drawing your rectangle.
- Use a tape runner for flat layers. Liquid glue can warp paper if applied too heavily.
- For sharp window corners: cut each side with a craft knife, stopping exactly at the corner—don’t “overcut.”
- Prevent smudges: wash hands before working with light cardstock, and keep a scrap sheet under your project.
- Batch-crafting for party prep: cut all base frames first, then all windows, then decorate assembly-line style.
Troubleshooting & Easy Fixes
- My cardstock is warping. Switch to tape runner/double-sided tape, or use less liquid glue and spread it thinly.
- The window cut looks jagged. Replace the blade (dull blades tear paper). Use a metal ruler and make multiple light passes instead of one heavy cut.
- My photo won’t sit straight. Add light pencil guidelines on the backer, or use photo corners instead of full adhesive.
- Shaker filler isn’t moving. Remove some confetti and ensure the foam tape creates enough space (at least 1/8 in height).
- The frame feels flimsy. Add a chipboard layer or glue two cardstock frames together to thicken the base.
Common Crafting Mistakes to Avoid
- Cutting the window the same size as the photo. Make the opening slightly smaller so photo edges don’t show and it stays secure.
- Using too much glue. Over-gluing causes ripples and can make paper decorations slide.
- Skipping reinforcement for party props. Photo booth frames need chipboard/foam board, not just cardstock.
- Overcrowding the design. Leave breathing room so the photo remains the star.
- Not planning hanging/display method. Decide early: stand, ribbon hanger, magnet, or garland clips—each affects where you place decorations.
Creative Display Ideas for Parties
- Photo frame garland: Punch two holes at the top of each frame, thread with ribbon, and clip photos behind.
- Memory table set: Make 6–12 coordinating frames for milestone photos (baby’s first year, couple’s timeline, grad highlights).
- Backdrop accent: Attach lightweight frames to a balloon garland strip or streamer wall using removable adhesive dots.
- Place setting frames: Use mini frames with guest names plus a candid photo as a party favor.
FAQ: Paper Craft Photo Frames
What’s the best paper for DIY photo frames?
Use 65–110 lb cardstock for most frames. If you want extra sturdiness for party decorations, add chipboard behind the cardstock or use foam board for large props.
How do I make paper frames that stand up on a table?
Add a folded cardstock easel stand (a 2x10 in strip works well for an 8x10 frame) or tape a triangular stand made from a folded rectangle to the back. For heavier frames, use chipboard plus a wider base.
Can I make these frames kid-friendly?
Yes. Choose the classic layered frame, pre-cut the window openings for younger kids, and let them decorate with stickers, washi tape, and paper shapes. Skip craft knives and hot glue unless supervised.
How do I hang paper photo frames for party décor?
Punch holes and thread ribbon, or attach mini clothespins to a string and clip frames on. For a wall, use removable adhesive dots (test first so it doesn’t damage paint).
How can I make my frames look more “professional”?
Stick to a consistent color palette, use a paper trimmer for straight edges, layer with a slightly smaller “mat” piece, and add foam squares for clean dimension. A simple bow or a neat label often looks more polished than lots of small decorations.
Wrap-Up: Make a Set and Let Your Photos Shine
Paper craft photo frames are a practical DIY that doubles as party décor and keepsake. Start with the classic layered design for quick wins, then try rosettes, shaker windows, or a Polaroid-style photo booth prop when you’re ready to level up. Pick colors that match your party theme, print a few favorite photos, and turn your celebration into a display guests will stop to admire.
Ready for your next handmade project? Explore more DIY crafts, party decorations, and creative prep ideas at smartpartyprep.com.
More Articles
 DIY Embroidered Patches Party Favors
 How to Train a Dragon Party Favors: 7 Foolproof DIY Steps (No Fire Breathing Required!) — Easy, Kid-Safe, & Instagram-Worthy in Under 90 Minutes
 DIY Greeting Cards in 1 Hour
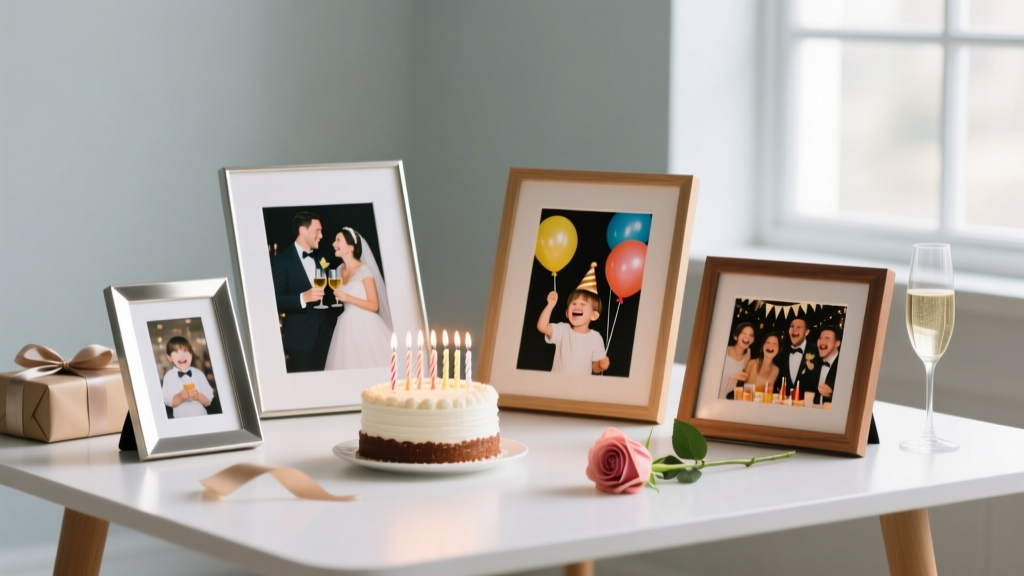 Personalized Photo Frames Gifts
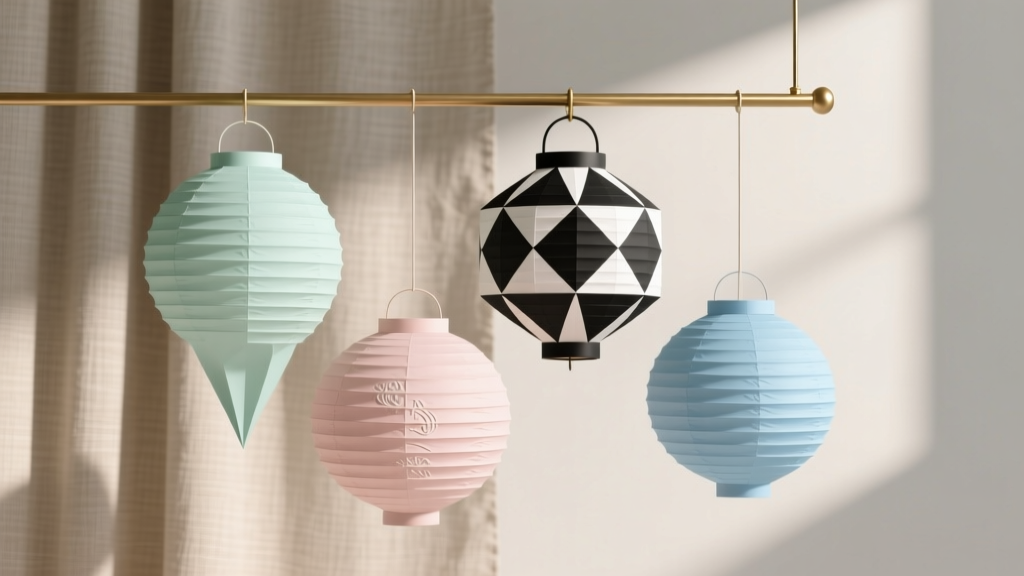 Modern Paper Lanterns Designs
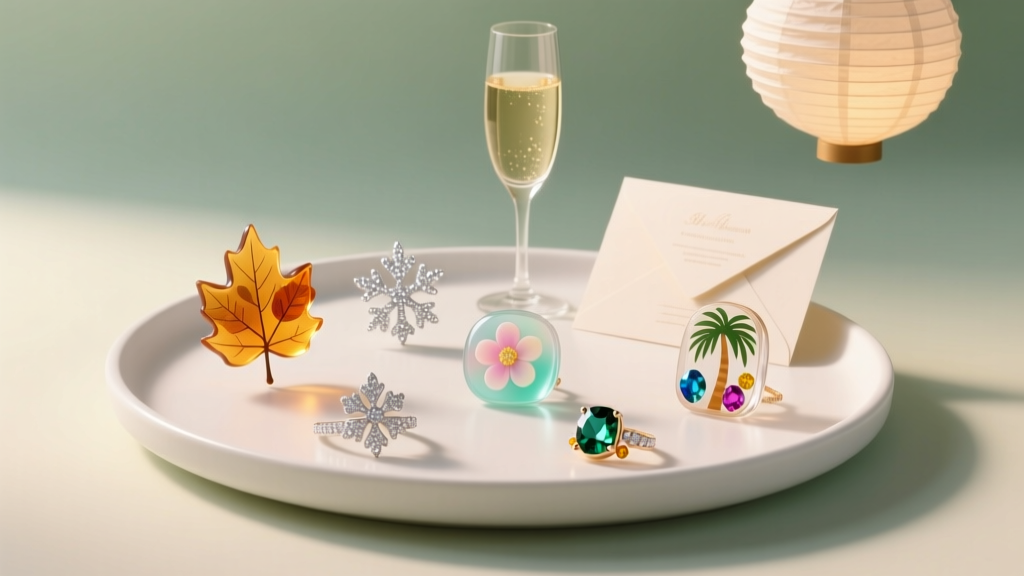 Seasonal Resin Jewelry Ideas
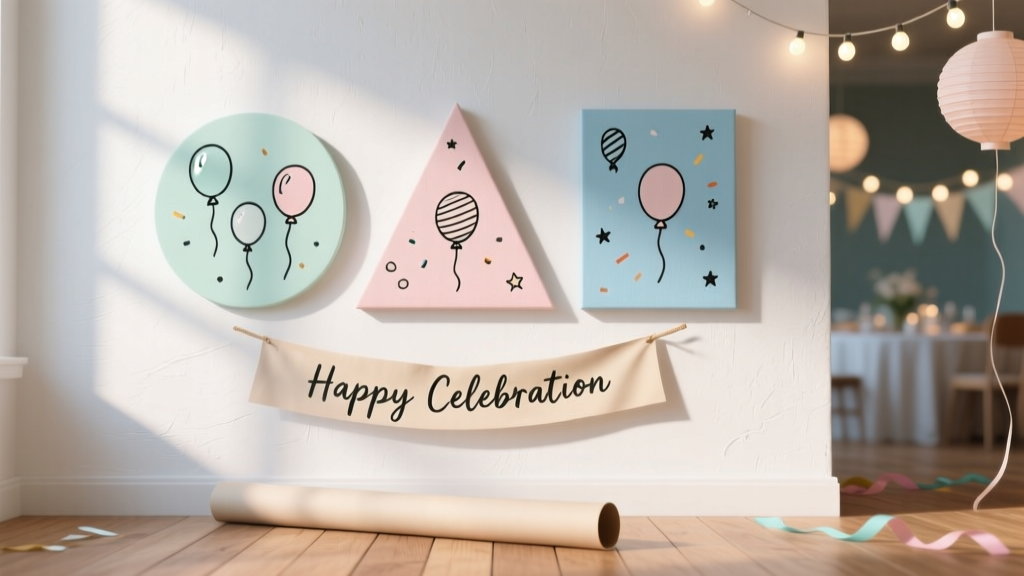 Easy Wall Art for Beginners
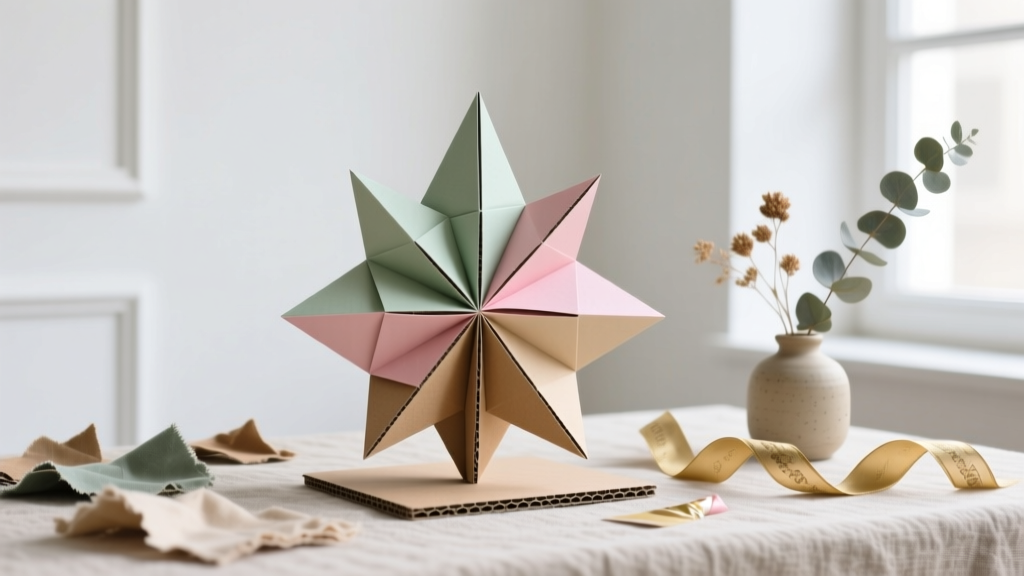 Upcycled Origami Decorations from Recycled Materials
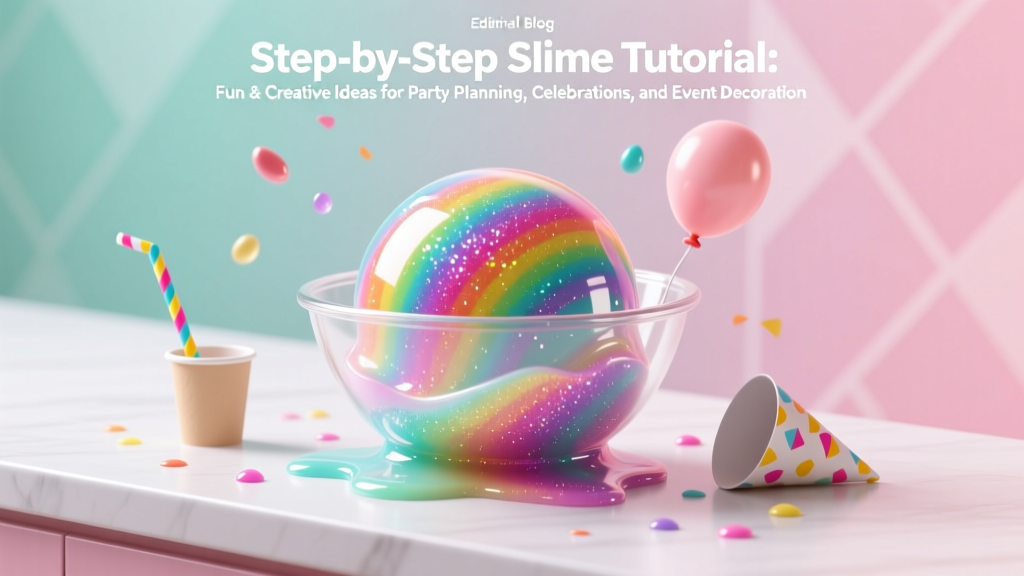 Step-by-Step Slime Tutorial
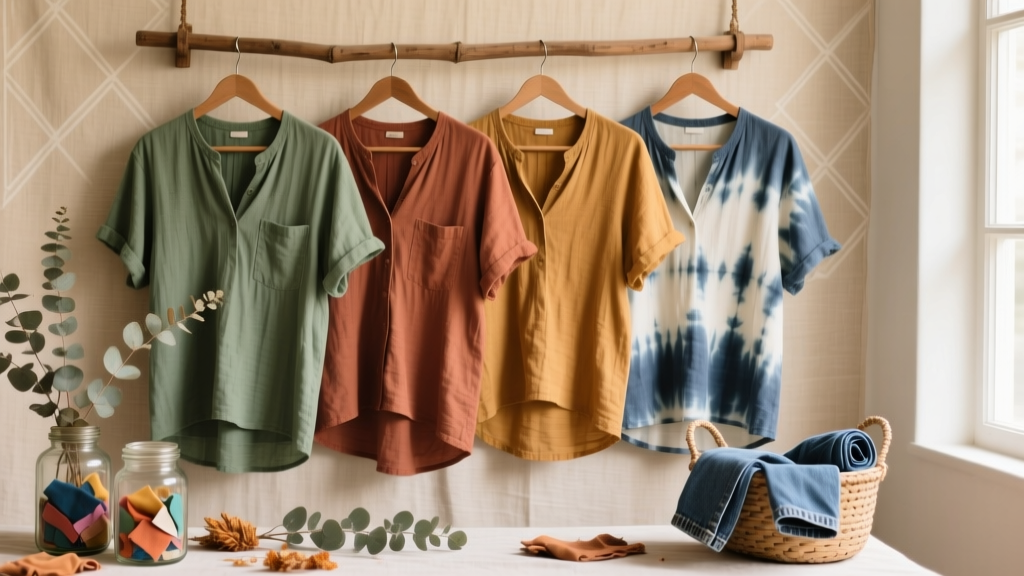 Rustic Tie-Dye Shirts Ideas