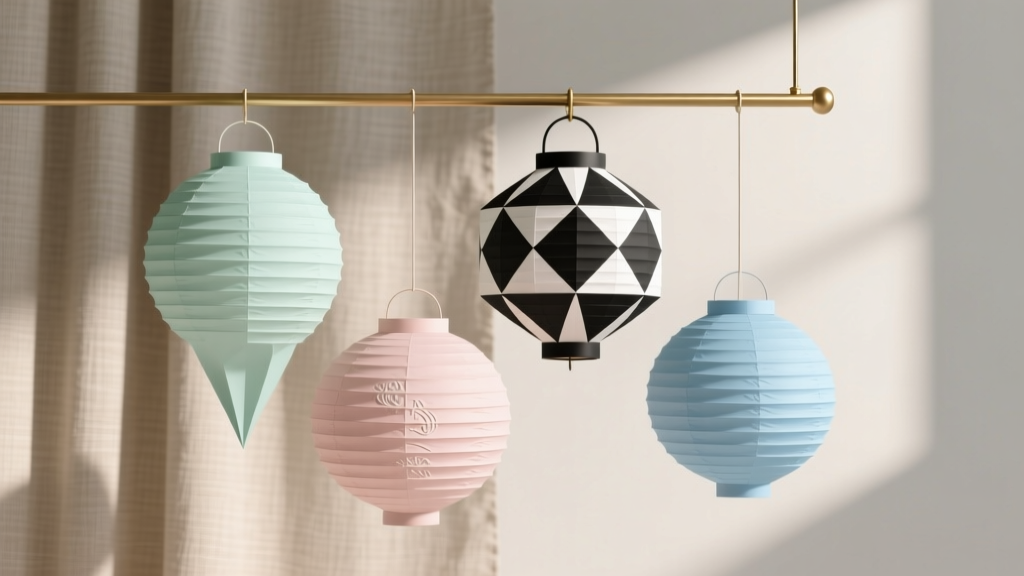
Modern Paper Lanterns Designs
Paper lanterns are one of those DIY party decorations that instantly make a space feel intentional—like you planned the vibe, not just the snacks. They’re lightweight, budget-friendly, and surprisingly modern when you swap basic colors for clean lines, layered textures, and updated shapes.
Even better: making handmade paper lanterns is a satisfying craft session you can finish in an afternoon. You can create a matching set for a birthday party, graduation, baby shower, or backyard dinner—and customize them to your theme without paying boutique decor prices.
This guide walks you through several modern paper lantern designs with step-by-step instructions, measurements, tool recommendations, skill levels, time estimates, and plenty of variations. Pick one style or mix a few for a curated “designer” look.
Project Overview: Skill Level & Time Estimates
- Skill level: Beginner to Intermediate (with advanced variations included)
- Time per lantern: 20–45 minutes (depending on design)
- Drying time: 20–60 minutes if using glue paint or spray adhesive
- Typical finished sizes: 6–12 in diameter (varies by template and frame)
- Best use: Indoor parties, covered patios, photo backdrops, dessert tables, entryways
Modern Design Ideas (Choose Your Look)
1) Minimal Cylinder Lantern (Clean + Contemporary)
A crisp cylinder shape feels modern and works beautifully in monochrome palettes (white, black, tan) or bold solids (cobalt, hot pink, emerald).
- Best for: Table clusters, hallway lines, hanging installations
- Beginner-friendly: Yes
2) Slatted “Scandi” Lantern (Airy + Architectural)
Thin vertical slats create a stylish, sculptural effect—like modern pendant lighting, but party-friendly.
- Best for: Modern weddings, minimalist birthday parties, neutral themes
- Beginner-friendly: Yes, with careful measuring
3) Geometric Prism Lantern (Bold + Graphic)
Angular lanterns feel fresh and edgy. This one looks amazing with metallic accents or contrasting edge tape.
- Best for: New Year’s parties, teen parties, themed events
- Skill level: Intermediate
4) Ombre Layered Lantern (Soft + Trendy)
Layering tissue or vellum in a gradient creates a high-end look with simple materials.
- Best for: Baby showers, spring parties, bridal events
- Skill level: Beginner
5) Cut-Out Shadow Lantern (Pattern + Glow)
Cut a repeated pattern (arches, dots, abstract shapes) for a modern “shadow play” effect—especially pretty with LED candles.
- Best for: Evening parties, indoor centerpieces
- Skill level: Intermediate to advanced
Materials & Tools (With Estimated Costs)
Costs vary by brand and what you already have. These are typical craft-store or online prices in the U.S.
Core Supplies (Most Designs)
- Cardstock (12x12 in or 8.5x11 in) – 65–110 lb weight for structure ($6–$15 per pack)
- Tissue paper (for layering/ombre) – assorted pack ($4–$10)
- Vellum sheets (optional diffuser) – 8.5x11 in ($6–$12 per pack)
- Hot glue gun + glue sticks (high-temp for strength, low-temp for delicate paper) ($10–$25)
- Craft glue (clear-drying PVA or glue tape runner) ($4–$10)
- Double-sided tape (strong, 1/4–1/2 in) ($4–$8)
- LED tea lights or micro LED string lights (never use real flame with paper) ($6–$20)
Recommended Tools (Worth It for Neat Results)
- Paper trimmer (for straight, repeatable cuts) ($15–$35)
- Metal ruler + self-healing cutting mat ($10–$30)
- Craft knife (X-Acto style) + extra blades (for cut-outs) ($6–$15)
- Bone folder (or a blunt butter knife) for crisp folds ($6–$12)
- Circle cutter (optional for round bases) ($10–$25)
- Mini binder clips (hold seams while glue dries) ($3–$8)
Optional Upgrades for a Modern Finish
- Matte spray sealer (light coat for durability) ($8–$14)
- Metallic vinyl or foil tape (edge details) ($4–$10)
- Wood embroidery hoops (6–10 in for frames) ($2–$6 each)
- Floral wire (18–22 gauge) for handles/frames ($4–$8)
Safety & Setup (Quick, Practical)
- Work on a flat surface with a cutting mat.
- Keep a small bowl for tiny paper scraps (especially for cut-outs).
- Use LED lights only. Paper lanterns + flame is a no-go for party safety.
- If kids are crafting: pre-cut pieces and supervise craft knife and hot glue use.
Step-by-Step: Minimal Cylinder Lantern (Beginner)
Finished size: about 4 in diameter x 8 in tall (adjustable)
Time: 20–30 minutes
Cut List
- Main body: 1 sheet cardstock cut to 8 in tall x 10.5 in wide
- Top ring: 1 strip cardstock 1 in x 10.5 in
- Bottom ring: 1 strip cardstock 1 in x 10.5 in
- Seam tab: add 1/2 in on one vertical side (built into the 10.5 in width by cutting 11 in total, or add a separate strip)
Instructions
- Score the seam tab: On the main body piece, measure 1/2 in from one short edge and score a vertical line. Fold inward for a clean seam.
- Form the cylinder: Curve the cardstock gently (wrap around a large bottle or rolling pin). Apply strong double-sided tape or a thin line of hot glue to the seam tab and press to close.
- Create top and bottom rings: Make each 1 in strip into a ring (same diameter as the cylinder). Tape or glue the ends.
- Attach rings: Glue the top ring just inside the top edge, flush with the rim. Repeat for the bottom ring. This strengthens the lantern and keeps the shape crisp.
- Add light: Place an LED tea light inside, or tape a mini LED string light to the inner wall (battery pack outside the lantern for easy access).
Modern Style Tweaks
- Use matte black cardstock with a white vellum liner for a sleek look.
- Add a 1/8 in metallic edge using foil tape along the top rim.
- Keep it extra modern by sticking to one color + one texture (matte + metallic, or matte + vellum).
Step-by-Step: Slatted “Scandi” Lantern (Modern Favorite)
Finished size: about 5 in diameter x 9 in tall
Time: 30–45 minutes
Skill level: Beginner/Intermediate
Cut List
- Top ring: cardstock strip 1 in x 12 in (trim to fit)
- Bottom ring: cardstock strip 1 in x 12 in (trim to fit)
- Slats: 14–18 strips cardstock, each 9 in x 1/2 in
- Optional inner diffuser: vellum rectangle 9 in x 10 in
Instructions
- Make two rings: Form the top and bottom strips into rings (aim for 4.5–5 in diameter). Secure the seams with hot glue and let set.
- Mark spacing: On each ring, lightly pencil marks every 3/4 in around the ring. Try to match the number of marks top and bottom.
- Attach slats to the top ring: Glue one end of each slat to a mark on the inside of the top ring. Hold 5–10 seconds per slat (binder clips help).
- Connect to the bottom ring: Bend each slat down and glue to the matching mark on the bottom ring. Work opposite sides (like tightening lug nuts) to keep the shape even.
- Add a diffuser (optional): Roll vellum into a cylinder and tape the seam. Insert it inside the lantern and tack it to the rings with tiny glue dots.
- Light it up: Place an LED tea light inside or wrap micro LEDs around the inner vellum for a warm glow.
Make It Look “Designer”
- Use ivory + kraft (neutral and modern) or white + gold for a chic party palette.
- For extra polish, cut slats with a paper trimmer so every strip matches perfectly.
- Vary slat widths: alternate 1/2 in and 3/8 in for subtle texture.
Step-by-Step: Geometric Prism Lantern (Intermediate)
Finished size: approx. 6 in tall x 4 in wide
Time: 35–55 minutes
Cut List (Triangular Prism)
- Main template: cardstock rectangle 8.5 in x 11 in
- Panels: divide the 11 in width into three panels of 3.5 in each, plus a 1/2 in seam tab (total 11 in)
- Height: use 8 in of the 8.5 in side for height, leave 1/2 in tabs at top and bottom for closing
Instructions
- Draw scoring lines: On the 11 in side, mark at 3.5 in, 7 in, and 10.5 in (the last 1/2 in is your seam tab). Score these vertical lines.
- Create top/bottom tabs: Along the top edge, mark a 1/2 in tab area and cut small angled snips between panel lines so tabs fold cleanly. Repeat on the bottom edge.
- Fold panels: Use a bone folder for crisp folds. Fold into a triangular prism shape.
- Close the seam: Glue the seam tab inside the first panel. Hold until secure.
- Close the bottom: Fold bottom tabs inward and glue. For extra strength, glue on a cardstock triangle base cut to match the prism opening.
- Add light access: Leave the top open, or create a removable top by using tiny magnets or small Velcro dots on tabs.
Modern Variations
- Edge every fold with black washi tape for a graphic outline.
- Cut a tall “window” in each panel and line the inside with vellum.
- Create a set in tonal shades (sage, olive, forest) for a coordinated party tablescape.
Pro Tips for Crisp, Modern Results
- Score before you fold: This prevents cracking, especially on heavier cardstock.
- Use the right adhesive:
- For seams: strong double-sided tape or hot glue (thin line).
- For tissue layering: glue stick or spray adhesive (light coats).
- For vellum: tiny glue dots (so it doesn’t warp).
- Keep glue invisible: Apply glue 1/8–1/4 in away from edges to avoid squeeze-out.
- Batch cut for parties: Cut all strips/panels first, then assemble. It’s faster and your lanterns match.
- Weight matters: Use 65–80 lb cardstock for curved lanterns; 90–110 lb for geometric lanterns that need strong edges.
Easy Variations (Beginner) & Advanced Upgrades
Beginner-Friendly Adaptations
- No craft knife? Skip cut-outs and use layered tissue or vellum instead.
- No rings? Use two embroidery hoops as top/bottom frames for slatted lanterns.
- Fast hanging option: Punch two holes near the top rim and tie a 10–12 in loop of string or ribbon.
Advanced Variations (For a Statement Piece)
- Cut-out patterns: Use a repeating “arch” pattern (about 1/2 in wide) around the cylinder for a modern motif.
- Two-tone slats: Alternate colors and twist every other slat slightly for movement.
- Ombre wrap: Wrap tissue layers from dark (bottom) to light (top), overlapping each strip by 1/4 in.
- Cluster installation: Make 9–15 lanterns in 2–3 sizes (6 in, 8 in, 10 in) and hang at varied heights above a gift table.
Troubleshooting: Fixes for Common Issues
- Lantern won’t stay round: Add or thicken top/bottom rings; use heavier cardstock; reinforce seam with an extra strip inside.
- Warping or rippling: Too much wet glue. Switch to tape runner or glue stick; apply adhesive in thin layers.
- Slats look uneven: Mark ring spacing first and glue opposite sides as you go; cut slats with a trimmer.
- Seam pops open: Use strong double-sided tape plus a small hot glue dot at each end of the seam.
- Cut-outs tear: Replace the blade; slow down; keep paper flat on a cutting mat; use cardstock instead of thin paper.
Common Crafting Mistakes to Avoid
- Using real candles: Paper lanterns should only be lit with LED tea lights or LED string lights.
- Skipping scoring: Fold lines crack and look messy without scoring first.
- Eyeballing measurements: Modern designs rely on symmetry—measure and mark lightly in pencil.
- Over-gluing: Glue smears and warping happen fast. Less adhesive, more pressure while setting.
- Hanging without testing weight: If you add hoops, wire, or heavy embellishments, test your hanging method before party day.
FAQ: Modern Paper Lanterns for Parties
What’s the best paper for DIY lanterns?
For structure, use 65–110 lb cardstock. For glow diffusion, use vellum or tissue paper. If you want a very crisp modern look, matte cardstock is a great choice.
Can I use these outdoors?
Yes—only in dry weather and ideally under a covered patio. Humidity can soften paper. If you need outdoor party decorations, consider sealing with a light coat of matte spray sealer and bring them in afterward.
How do I hang paper lanterns safely?
Use a small hole punch near the top rim and thread ribbon or fishing line. For heavier lanterns, add a simple wire handle (18–22 gauge) anchored to the top ring.
How far in advance can I make them?
You can make them 1–2 weeks ahead. Store upright in a clean, dry box. If they’re delicate, loosely stuff with tissue paper to help hold shape.
What lighting looks best inside paper lanterns?
Warm white LED tea lights give a cozy glow for dinner parties and weddings. For a modern party vibe, try micro LED string lights wrapped around an inner vellum layer.
How many lanterns do I need for a party setup?
For a noticeable impact, plan on 6–10 lanterns for a small area (dessert table or photo corner) and 12–20 for a larger room or covered patio, mixing 2–3 sizes.
Wrap-Up: Your Space, Instantly More Celebratory
Modern paper lanterns are one of the easiest ways to add height, glow, and style to DIY party decorations—without complicated tools or expensive materials. Start with a simple cylinder or slatted design, then level up with geometric shapes and cut-out patterns once you’re feeling confident.
If you make a set, keep one “rule” for a cohesive look: a consistent color palette, repeated shape, or matching light style. That small bit of planning is what makes handmade projects look polished and party-ready.
Want more creative DIY crafts, party decor ideas, and handmade projects? Keep exploring new tutorials and inspiration on smartpartyprep.com.
More Articles
 12 Stunning Do It Yourself Western Party Decorations You Can Make in Under 2 Hours (No Craft Store Run Needed — Just Dollar Store & Recycled Supplies!)
 Budget DIY Coasters Under $15
 DIY Vision Boards in 10 Minutes
 How to Enable Third Party Cookies on Mac in 2024: A Step-by-Step Safari & Chrome Guide (Plus Why You Might Not Want To)
 How to Allow Third Party Cookies on MacBook Air (2020–2024): A Step-by-Step Safari & Chrome Fix That Actually Works in 2024 — No Tech Degree Required
 30 Creative Backdrops Ideas (DIY-Friendly for Parties, Photos & Celebrations)
 How to Make a Photo Booth for a Party in Under 90 Minutes (No Pro Gear Needed): 7 Foolproof Steps That Actually Work — Even If You’ve Never Built One Before
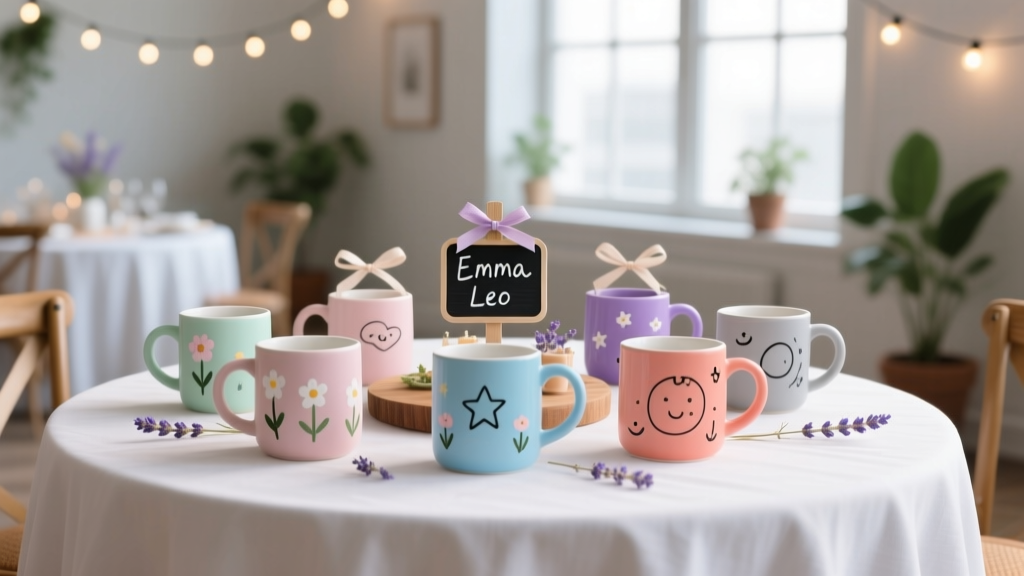 DIY Mugs Party Favors
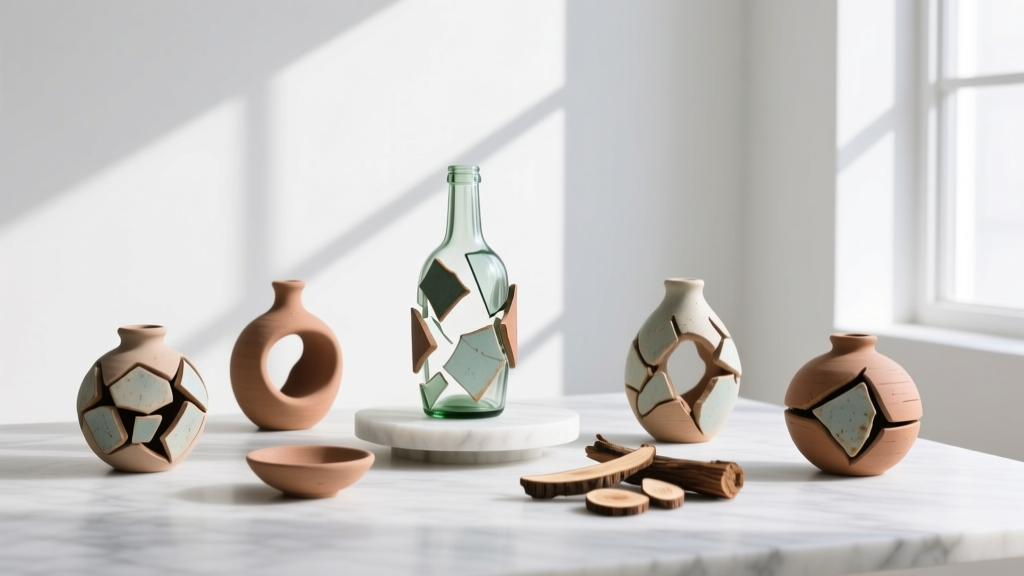 Upcycled Clay Ornaments from Recycled Materials
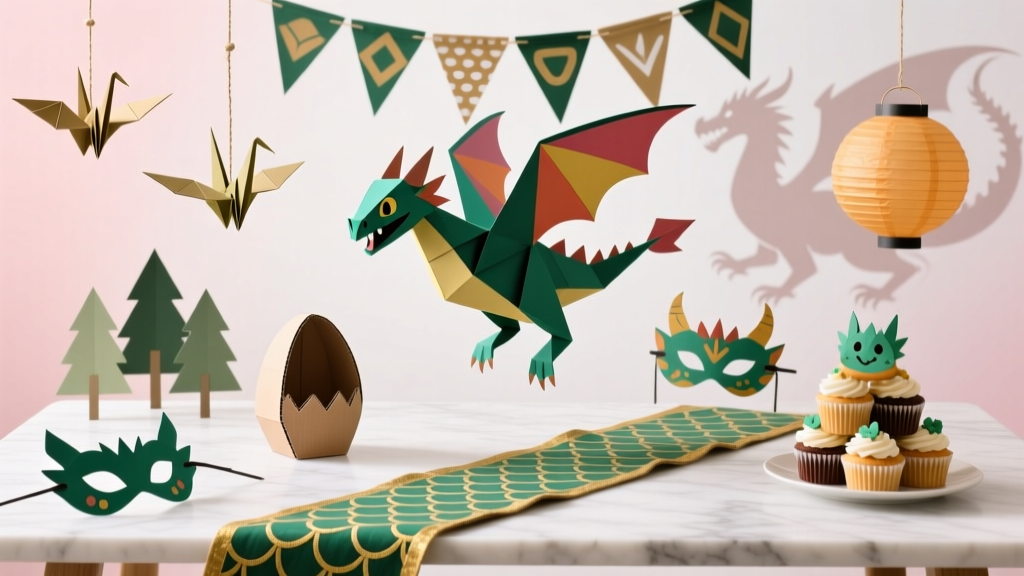 How to Train Your Dragon Party Decorations: 7 No-Stress DIY Projects That Take Under 2 Hours (No Glue Gun Required!)