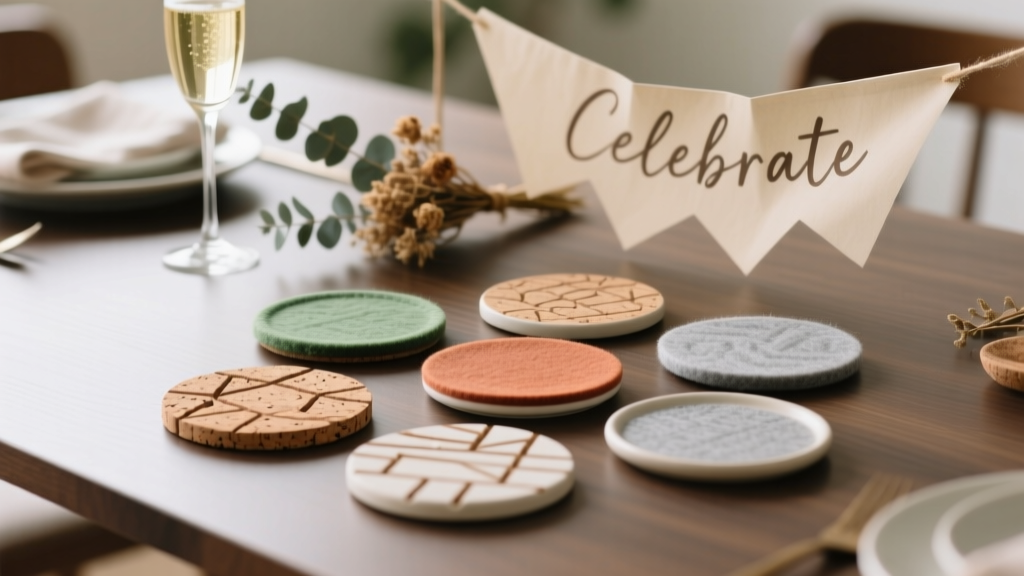
Budget DIY Coasters Under $15
Coasters are one of those party essentials you don’t realize you need until someone sets a sweating glass on your coffee table. The good news: you can make a whole set of cute, coordinated DIY coasters for less than $15—often in a single afternoon—without fancy equipment or advanced crafting skills.
These budget-friendly coasters are perfect for birthdays, baby showers, game nights, holiday gatherings, and casual backyard parties. They also double as handmade party decorations: match your coaster colors to your tablescape, add names for place settings, or tie a few into a hostess gift bundle with a ribbon and a mini candle.
Below you’ll find three easy coaster styles that look boutique but stay wallet-friendly: no-sew fabric decoupage, faux ceramic mosaic, and modern painted “dipped” coasters. Pick one, mix-and-match, or batch-make sets for different party themes.
Quick Overview (Skill Level & Time)
- Skill level: Beginner to Intermediate (advanced variations included)
- Total time: 60–120 minutes (plus drying time)
- Active crafting time: 30–60 minutes per set of 4
- Best for: DIY party decor, handmade gifts, table protection, themed events
Materials List (Under $15 Budget)
Prices vary by store and what you already have on hand. The lists below are designed so each coaster style can be completed for under $15 using budget craft-store or dollar-store supplies.
Base Options (Choose 1)
- Cork coaster blanks (4–8 pack, 4 in / 10 cm round or square): $5–$10
- Ceramic tile squares (4 in x 4 in / 10 cm x 10 cm, 4-pack): $2–$6
- Wood circles/squares (4 in / 10 cm, 4–6 pack): $4–$10
Core Supplies (Most Projects Use These)
- Mod Podge (matte or dishwasher-safe formula if available, 2–4 oz): $3–$8
- Craft paint (acrylic, 2 oz bottles): $1–$3
- Felt sheets (for backing, 9 in x 12 in): $0.50–$2
- Self-adhesive cork sheet (optional backing alternative): $3–$6
- Clear sealer (spray acrylic sealer or brush-on polyurethane): $4–$8
Tools (Budget-Friendly Recommendations)
- Foam brush (1 in): helps avoid brush strokes with Mod Podge
- Small paintbrush set (for edges and detail)
- Scissors or craft knife + cutting mat
- Ruler and pencil
- Fine-grit sandpaper (220 grit): for smoothing wood edges
- Optional: brayer/rolling tool or an old gift card (to smooth fabric/paper)
Project 1: No-Sew Fabric Decoupage Coasters (Soft + Stylish)
Look: Linen-style, floral, gingham, or theme prints that match party decorations.
Best base: Cork blanks or wood blanks (4 in / 10 cm).
Active time: 30–40 minutes for 4 coasters.
Dry time: 1–2 hours between coats; cure overnight for best durability.
Materials (Estimated Cost for a Set of 4)
- Cork or wood blanks (4 pack): $5–$10
- Cotton fabric scrap (fat quarter is plenty): $2–$4
- Mod Podge (matte): $4–$8
- Felt sheet for backing: $1–$2
Step-by-Step Instructions
- Prep the base. If using wood, lightly sand edges with 220 grit and wipe dust away. Cork usually needs no prep.
- Cut fabric pieces. Cut fabric squares/circles about 1/2 in (1.3 cm) larger than the coaster on all sides. For a 4 in coaster, cut about 5 in x 5 in.
- Apply Mod Podge to the top. Use a foam brush to coat the coaster top evenly (not dripping).
- Attach the fabric. Center fabric on top. Smooth from the middle outward using your fingers, a brayer, or an old gift card to press out bubbles.
- Wrap edges neatly. Add a little Mod Podge to the sides and fold fabric down. For corners on square coasters:
- Make a small diagonal snip toward each corner (stop about 1/8 in (3 mm) from the corner).
- Fold one side down, then the other for a clean edge.
- Seal the top. Brush a thin coat of Mod Podge over the fabric surface. Let dry 30–45 minutes. Add a second coat for better water resistance.
- Add a felt backing. Cut felt to match the coaster size (4 in). Glue it on with Mod Podge or craft glue. This protects tables and hides wrapped fabric edges.
- Cure before party use. Let coasters cure overnight if possible so they’re less tacky and more durable.
Party-Themed Variations
- Baby shower: Pastel gingham + white paint-dipped edges
- Holiday party: Plaid fabric + gold painted rim
- Game night: Bold geometric prints + numbers painted on the back
- Wedding/bridal shower: Neutral linen + monogram vinyl on top (advanced)
Project 2: Faux Ceramic Mosaic Tile Coasters (High-End Look, Tiny Budget)
Look: Modern mosaic, “cement tile” vibe, fun color pops that match DIY party decor.
Best base: 4 in x 4 in ceramic tiles.
Active time: 45–60 minutes for 4 coasters.
Dry time: 1–2 hours; seal and cure overnight.
Materials (Estimated Cost for a Set of 4)
- 4 in x 4 in ceramic tiles (4): $2–$6
- Peel-and-stick vinyl (scraps) or cardstock for pattern pieces: $1–$4
- Acrylic paint (2–3 colors): $2–$6
- Paint pen (optional for linework): $2–$5
- Felt or cork backing: $1–$6
- Clear sealer: $4–$8
Step-by-Step Instructions
- Clean the tiles. Wipe with rubbing alcohol or soap and water; dry completely.
- Create a mosaic pattern. Cut small shapes from vinyl or cardstock:
- Triangles: about 1 in wide
- Rectangles: about 1/2 in x 1 in
- Random shards: irregular shapes look extra “mosaic”
- Lay out your design. Arrange pieces on the tile face. Leave thin “grout lines” of 1/16 in–1/8 in (1–3 mm) between shapes.
- Paint the gaps. Use a small brush to paint the grout lines (white, cream, or charcoal looks crisp). Let dry 15–20 minutes.
- Paint the mosaic pieces. Paint each shape in your party color palette. If using vinyl, you can paint over everything and peel vinyl later for a reverse effect (advanced).
- Seal for protection. Apply 2–3 thin coats of clear sealer, drying between coats (follow the product label). Thin coats reduce drips and cloudiness.
- Add backing. Attach felt or cork to the bottom corners (or a full sheet) so tiles don’t scratch tables.
Beginner-Friendly Adaptation
- Skip vinyl pieces: simply paint a grid of “grout lines” with a ruler and fill squares with color.
Advanced Variation
- Gold “grout” look: Use a metallic paint pen for grout lines after sealing the base layer, then seal again with a final coat.
Project 3: Modern Painted “Dipped” Coasters (Fastest + Trendy)
Look: Minimal, contemporary, perfect for sleek party decorations and color-coordinated tables.
Best base: Wood or cork coasters (4 in).
Active time: 20–30 minutes for 4 coasters.
Dry time: 30–60 minutes; seal and cure overnight.
Materials (Estimated Cost for a Set of 4)
- Wood or cork coasters: $5–$10
- Acrylic paint (1–2 colors): $1–$3
- Painters tape (1 in): $3–$6 (you’ll have plenty left for other handmade projects)
- Clear sealer: $4–$8
Step-by-Step Instructions
- Mark your “dip” line. Measure and mark a line about 1 1/2 in (3.8 cm) from the bottom edge (or diagonal for a modern look).
- Tape it cleanly. Apply painters tape along the line, pressing firmly. Run a fingernail across the edge to prevent paint bleed.
- Paint the dipped area. Use a foam brush for smooth coverage. Apply 2 thin coats rather than one thick coat.
- Peel tape at the right time. Remove tape when paint is slightly tacky (usually 5–10 minutes after the last coat). This helps you get a crisp edge.
- Seal the coaster. Add 2 thin coats of clear sealer once paint is dry to the touch.
Color Pairing Ideas for Parties
- Summer party: Coral + white + natural wood
- Halloween: Matte black dip + metallic copper stripe
- New Year’s: White base + gold dip + black edge
- Birthday: Bright color dip matched to balloons and napkins
Pro Tips for Durable, Party-Ready DIY Coasters
- Seal matters more than you think. For coasters that will see condensation, use multiple thin coats of sealer and let them cure overnight.
- Use felt feet for tile coasters. Add 4 small felt pads (about 1/2 in each) to corners to prevent slipping and scratching.
- Keep coats thin. Thick Mod Podge or sealer layers can dry cloudy, sticky, or uneven.
- Test a “sweaty glass.” Before your party, place an ice-filled glass on one coaster for 10 minutes to check sticking or clouding.
- Batch production saves time. Do each step assembly-line style: cut all fabric, glue all tops, then seal all tops.
Troubleshooting (Fixes for Common Issues)
- Bubbles under fabric/paper: Lift gently while glue is wet, smooth from center outward, and press firmly with a gift card. If already dry, poke a tiny pinhole and press down with a dab of Mod Podge.
- Sticky finish: Coats were too thick or not cured. Let dry longer in a low-humidity space. Add a thin topcoat of clear sealer (spray works well) to reduce tackiness.
- Paint bleeding under tape: Tape wasn’t burnished. Next time, press the tape edge firmly and apply paint in light dabbing motions away from the tape edge.
- Warped wood: Too much moisture from glue/paint on one side. Seal both sides (top and bottom) with thin coats to balance.
- Coasters sliding on the table: Add a full felt backing or 4 felt pads to increase grip.
Common Crafting Mistakes to Avoid
- Skipping edge sealing. Water likes to sneak in at edges—especially on fabric or paper designs. Seal edges carefully.
- Using thick, gloopy coats. Thick layers take forever to dry and can dry cloudy or sticky. Thin coats look more professional.
- Not allowing cure time before stacking. Even if it feels dry, finishes can still be soft. Stacking too soon can cause sticking and dents.
- Forgetting table protection. Always add felt/cork backing to tile and wood coasters to prevent scratches.
- Overcomplicating your first set. Start with a simple color palette and one technique; then try advanced variations once you’re comfortable.
FAQ: Budget DIY Coasters
How many coasters should I make for a party?
A good rule is 1 coaster per guest, plus 2–4 extras. For a party of 10, aim for 12–14 coasters so people can swap drinks without losing one.
Are these DIY coasters waterproof?
They’re water-resistant when sealed properly, meaning they handle condensation and small spills. They’re not meant for soaking in water or running through the dishwasher unless you’re using a sealer specifically rated for that use.
What’s the best sealer for coasters?
For quick, even coverage, a clear acrylic spray sealer is beginner-friendly. For extra durability, a water-based polyurethane (matte or satin) can hold up well—apply thin coats and let it cure fully.
Can I use scrapbook paper or napkins instead of fabric?
Yes. Scrapbook paper works great with Mod Podge. For napkins, separate layers and use only the top printed layer; apply gently to prevent tearing, then seal with thin coats.
How do I keep coasters from sticking to glasses?
Make sure your topcoat is fully cured (often overnight). Also, avoid thick Mod Podge layers. A final thin coat of clear spray sealer often helps reduce tackiness.
Can kids help with this project?
Absolutely with supervision. Kid-friendly tasks include painting dipped designs, arranging mosaic shapes, and smoothing fabric. Adults should handle craft knives, spray sealers, and any strong adhesives.
Wrap-Up: A Small Project That Makes a Big Party Impact
DIY coasters are one of the fastest ways to make your party setup feel intentional and pulled together—without spending a fortune. Whether you go with fabric decoupage for cozy charm, faux mosaic tiles for a bold statement, or sleek dipped paint for modern vibes, you’ll end up with something practical that guests actually use (and compliment).
Make a set that matches your next celebration, then stash the extras for last-minute hosting. When you’re ready for more budget-friendly DIY crafts, party decorations, and handmade projects, explore more creative ideas on smartpartyprep.com.
More Articles
 No-Sew Friendship Bracelets Tutorial
 DIY Candles for Home Decor
 Step-by-Step Photo Booth Props Tutorial
 How to Make Crowns at Home
 Budget DIY Painted Rocks Under $10
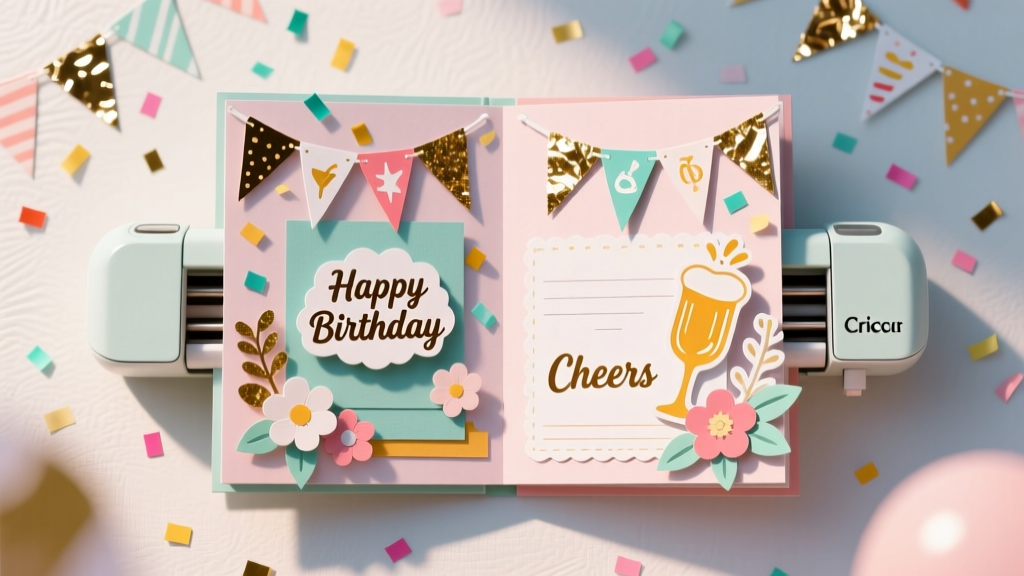
 DIY Cake Toppers Using Cricut
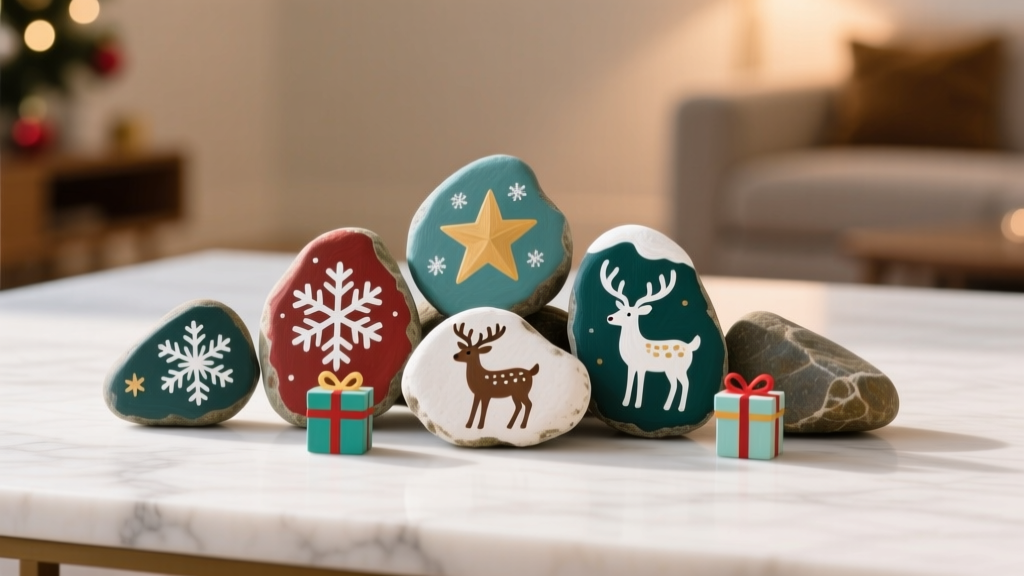 DIY Painted Rocks for Holidays
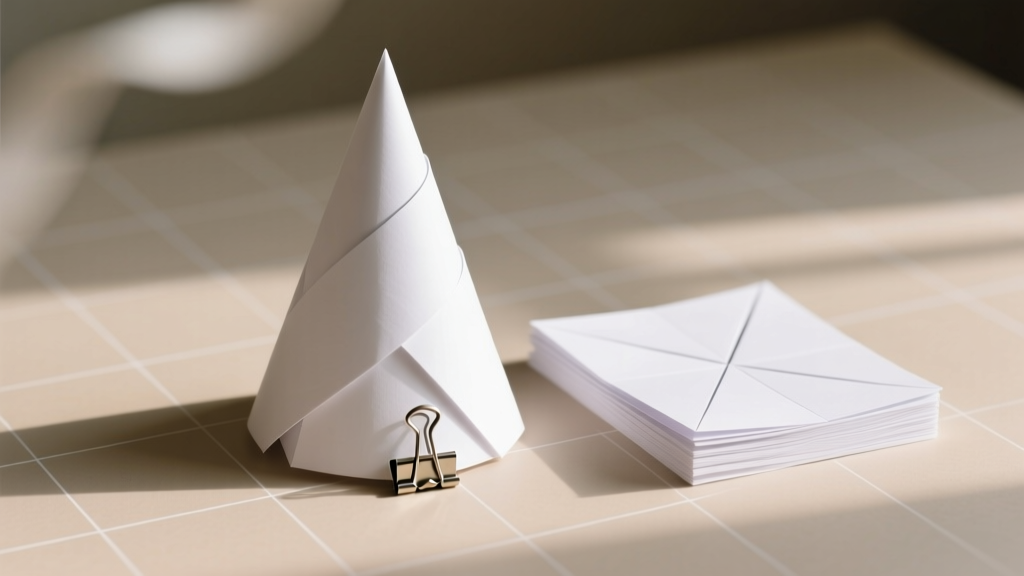 How Do You Make a Party Hat Out of Paper in Under 10 Minutes? (No Glue Gun, No Scissors Required — Just 3 Sheets & 1 Stapler)
 How to Unblock 3rd Party Session Cookies in 2024: The Only 5-Step Guide You’ll Need (No Extensions, No Coding, Works on Chrome, Safari & Edge)
 DIY Scrapbook Pages Using Cricut