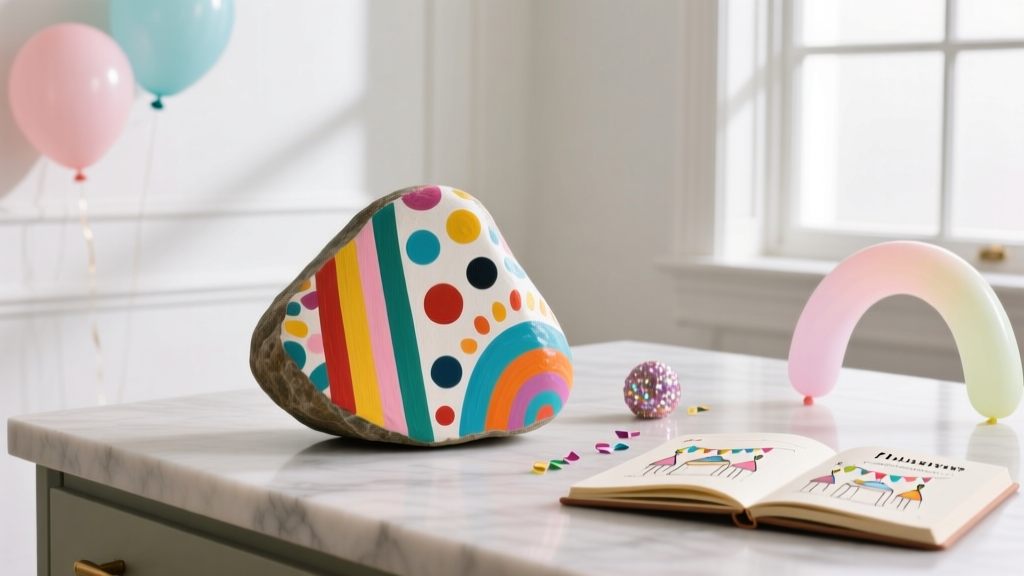
Budget DIY Painted Rocks Under $10
Painted rocks are one of those rare DIY crafts that feel instantly rewarding: you start with something ordinary, add a bit of color, and suddenly you’ve created a custom party decoration, place card, or handmade party favor that looks intentionally designed. They’re also incredibly forgiving—if a design doesn’t turn out the way you hoped, you can repaint it and try again without wasting pricey materials.
For party planners and crafty hosts, DIY painted rocks are a budget-friendly way to add personality to birthdays, baby showers, garden parties, graduation tables, and even holiday gatherings. Use them as table scatter, name markers, mini photo holders, or a take-home favor that guests actually want to keep.
Best of all, you can make a full set of cute, coordinated painted rocks for under $10 using basic craft supplies—many of which you may already have at home. Grab a handful of smooth stones, a few paint colors, and you’re ready to create something memorable.
Project Overview (So You Can Plan Fast)
- Skill level: Beginner (with easy upgrades for advanced crafters)
- Total time: 45–90 minutes active time + drying time
- Drying time: 20–30 minutes between layers (varies by paint and humidity)
- Best for: Party decorations, handmade party favors, place cards, table décor, kids’ craft stations
- Estimated cost: $6–$10 for a starter set (10–20 rocks depending on size)
Materials List (Under $10 Starter Setup)
Prices vary by store and location, but this list is designed to keep your DIY party decorations budget-friendly.
Core Materials
- Smooth rocks (10–20 pieces) – $0–$5
- Cheapest option: collect from your yard or a park where allowed
- Store option: small bag of smooth river rocks from a dollar store, garden center, or big-box store
- Best size for parties: 2–3 inches wide (easy to paint and display)
- Acrylic craft paint (2–4 colors) – $2–$4
- Look for 2 oz bottles (common at craft stores and dollar stores)
- Suggested palette: white + black + one party color (pink, teal, gold, etc.)
- Paintbrush set – $1–$3
- Recommended: one flat brush (½ inch) + one small round brush (size 1–3)
- If buying one: choose a small round brush for details
Optional but Helpful (Use What You Already Own)
- Permanent marker or paint pen (black or white) – $0–$3 (optional, but great for lettering)
- Clear sealer (spray or brush-on) – $0–$5 (optional; helps if rocks will be handled outdoors)
- Paper plate or plastic lid (palette) – free
- Cotton swabs or toothpicks (dotting and tiny details) – free to $1
- Rubbing alcohol (for cleaning) – optional
Tools & Setup
- Water cup for rinsing brushes
- Old towel or paper towels for blotting
- Wax paper, parchment, or cardboard to protect your table
Choosing the Best Rocks for Painting
The rock shape affects how easy your design is to paint and how well it displays on a party table.
- Look for smooth, flat-ish stones (like river rocks). They’re easier to paint and less likely to wobble.
- Avoid crumbly or dusty rocks—paint won’t stick well and details will chip.
- Pick consistent sizes if you’re making place cards or table numbers.
- Ideal thickness: about ½–1 inch thick so they feel sturdy but not bulky.
Step-by-Step: Budget DIY Painted Rocks
Step 1: Clean and Dry Your Rocks (5–10 minutes)
- Wash rocks in warm water with a small drop of dish soap.
- Scrub with an old toothbrush if needed.
- Rinse thoroughly and dry completely.
Quick tip: If rocks still feel dusty after washing, wipe with a little rubbing alcohol on a paper towel.
Step 2: Set Up a Simple Painting Station (2 minutes)
- Cover your surface with cardboard or parchment.
- Pour small paint dots onto a paper plate palette (a little goes far).
- Keep a “dry spot” for finished rocks to cure.
Step 3: Paint a Base Coat (10–20 minutes)
A base coat helps colors look brighter and makes lettering easier—especially on dark rocks.
- Use a flat brush to paint one side with a thin layer of acrylic paint (white is the most versatile).
- Let dry for 20–30 minutes.
- Add a second thin coat if the rock shows through.
Budget-friendly shortcut: Skip a full base coat and paint only a “label area” (a white oval or rectangle) where your design will go.
Step 4: Add Your Party-Friendly Design (20–40 minutes)
Pick one of these easy designs that work beautifully as DIY party decorations and handmade party favors.
Design Idea A: Mini “Place Card” Name Rocks
- Best for: weddings, showers, birthday dinners, holiday tables
- Time per rock: 3–6 minutes
- Paint a light-colored shape on the rock (about 1.5 x 1 inch)—oval, rectangle, or banner.
- Let dry 10–15 minutes.
- Write the guest’s name with a permanent marker or paint pen.
- Add small dots or leaves around the border using a toothpick dipped in paint.
Design Idea B: Polka Dot “Confetti” Rocks
- Best for: kids’ parties, bright themes, table scatter
- Time per rock: 2–5 minutes
- Paint the rock a solid color (or leave natural stone for a rustic look).
- Use a cotton swab or the end of a paintbrush to dot on “confetti” circles.
- Mix dot sizes: small (about ⅛ inch) and medium (about ¼ inch).
Design Idea C: Simple Icon Theme Rocks (Stars, Hearts, Balloons)
- Best for: themed birthday parties, baby showers, graduation, New Year’s
- Time per rock: 4–8 minutes
- Lightly sketch a heart/star/balloon using a pencil (optional).
- Paint the icon with 1–2 coats.
- Outline with a black marker once fully dry for crisp edges.
Design Idea D (Advanced): Ombre + Metallic Accents
- Best for: weddings, elegant themes, modern party décor
- Extra supplies: metallic paint (gold/silver) or a metallic paint pen
- Time per rock: 6–12 minutes
- Paint the bottom third of the rock in your darkest shade.
- While still slightly wet, blend a mid-tone above it using a clean, damp brush.
- Blend to the lightest color at the top third.
- Once dry, add metallic dots or a thin metallic border line.
Step 5: Seal for Durability (Optional, 5 minutes + curing)
If your painted rocks will be handled a lot (party favors, outdoor party decorations), sealing helps protect the design.
- Brush-on sealer: easy indoors; use 1–2 thin coats.
- Spray sealer: fast and smooth; spray outside; follow label instructions.
Cure time: Allow sealed rocks to cure for 24 hours before bagging or stacking them.
How to Use Painted Rocks for Party Decorations
- Place cards: set one rock at each plate with the guest’s name.
- Table numbers: paint “1,” “2,” “3” on larger rocks (3–4 inches) for centerpieces.
- Favor tags alternative: paint a thank-you note or small icon; place in organza bags.
- Party game pieces: create matching sets (stars vs. hearts) for quick games.
- Kids’ craft station: pre-wash rocks and offer 2–3 paint colors to keep it simple.
Pro Tips for Cleaner Lines and Faster Results
- Thin coats beat thick coats: thick paint takes longer to dry and chips more easily.
- Use a toothpick for micro-details: perfect for tiny dots, stems, and stars.
- Rest your painting hand: prop your wrist on the table for steadier lettering.
- Lettering hack: paint a white oval first, let dry, then write with a marker for sharp names.
- Batch your steps: paint all base coats first, then all icons, then all details—saves time.
- Prevent sticking: dry rocks on parchment paper so paint doesn’t glue them to cardboard.
Beginner-Friendly Adaptations (Low-Stress Options)
- One-color designs: solid color + black marker doodles (stars, stripes, initials).
- Sticker masks: place a small sticker (star/heart), paint over it, peel off when dry for a clean shape.
- Minimalist names: just the first initial in a bold font with dots around it.
- Kid-safe approach: use washable acrylics for the activity, then seal later yourself.
Troubleshooting: Fix Common Painted Rock Problems
- Paint looks streaky: Your coat is too thin or the rock is porous. Let it dry, then add a second coat. A white base coat helps a lot.
- Paint beads up or won’t stick: The rock still has dust or oils. Wash again and dry fully before repainting.
- Marker smears: The paint wasn’t fully dry or the marker is too juicy. Wait longer, use a finer-tip marker, and seal after it dries.
- Design chips easily: Paint layer may be too thick or unsealed. Use thinner coats and add a clear sealer for party favors.
- Colors look dull: Add a white base coat or choose more opaque acrylic craft paint (often labeled “multi-surface” or “premium”).
Common Crafting Mistakes to Avoid
- Skipping drying time: Rushing causes smudges, fingerprints, and muddy colors.
- Using too much water in paint: A damp brush is fine, but watery paint won’t cover well and can crack.
- Painting on gritty rocks: Texture makes lettering frustrating and leads to chipping.
- Sealing too heavily: Thick sealer coats can cloud or drip. Use light coats instead.
- Stacking rocks too soon: Even if they feel dry, paint can still be soft. Let them cure before bagging favors.
Fun Variations for Different Party Themes
Birthday Party
- Paint candle icons and write each guest’s name underneath.
- Make “wish rocks” with words like JOY, LAUGH, CELEBRATE.
Baby Shower
- Pastel ombre rocks with tiny hearts.
- “Guess the baby” game: paint question marks on rocks and hide trivia under cups.
Garden Party
- Ladybugs, bees, daisies, and leaf patterns.
- Use as place cards tucked into napkin rings or displayed on plates.
Graduation
- Mini caps: paint a black square cap and a gold tassel line.
- Paint class year numbers on larger rocks for centerpieces.
FAQ: DIY Painted Rocks for Parties
1) What kind of paint works best on rocks?
Acrylic craft paint is the easiest and most budget-friendly option. It dries quickly, comes in lots of colors, and works well for DIY party decorations. For extra durability, seal after painting.
2) Do I have to seal painted rocks?
If the rocks are purely decorative for a one-day event, sealing is optional. If they’ll be handled often (party favors, outdoor use, kids’ crafts), a clear sealer helps prevent chipping and smudging.
3) How many rocks can I make for under $10?
With free collected rocks and a few paint bottles, you can easily make 15–30 small painted rocks. If you’re buying a bag of smooth river rocks, you’ll typically get 10–20 pieces depending on size.
4) How do I make lettering look neat?
Paint a light “label” shape first (about 1.5 x 1 inch), let it dry fully, then use a fine-tip permanent marker or paint pen. Keep names short, or use initials for a clean look.
5) Can kids make these at a party?
Yes—this is a great kids’ craft station. Pre-wash and dry the rocks, limit paint colors to reduce mess, and provide cotton swabs for dotting. Plan a drying area and seal later as the host if you want the favors to last.
6) How far in advance can I make painted rock party favors?
Make them 2–7 days ahead. That gives you time to paint, dry, seal (if using), and let everything cure fully before packaging.
Wrap-Up: A Small Craft That Makes a Big Party Impact
DIY painted rocks prove that handmade party decorations don’t need to be expensive to feel special. With a few simple supplies and a little imagination, you can create place cards, table décor, and party favors that match your theme perfectly—and you can do it all on a $10 budget.
Try a small batch first (5–10 rocks), then build a matching set once you find a style you love. Your future self will thank you when your party tables look custom and coordinated without the custom price tag.
Want more budget-friendly DIY crafts and party prep ideas? Keep exploring fresh creative projects on smartpartyprep.com.
More Articles
 DIY Memory Books for Home Decor
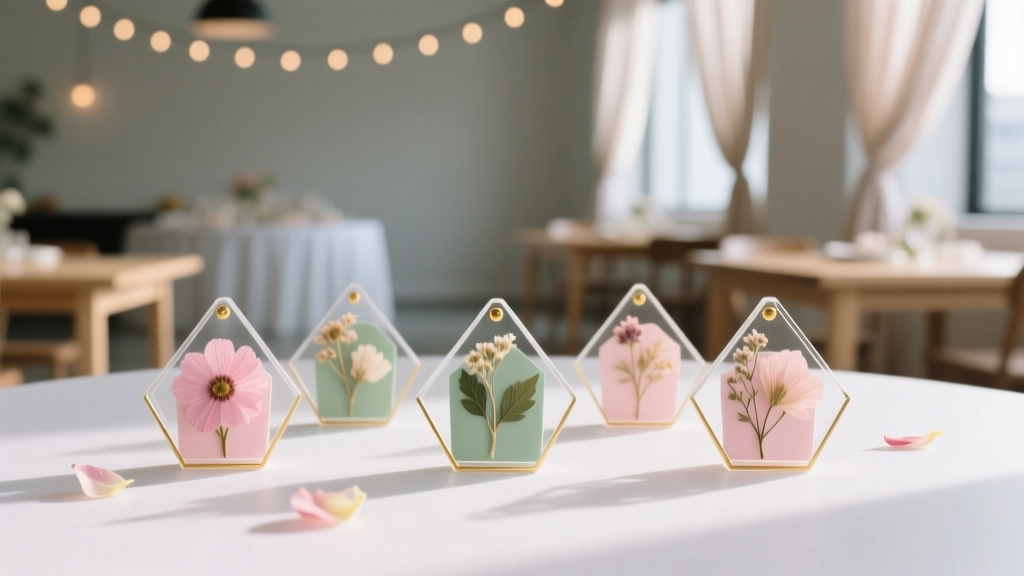 DIY Pressed Flower Art Party Favors
 Budget DIY Painted Rocks Under $15
 DIY Paper Lanterns with Dollar Store Supplies
 How to Make Fabric Bunting at Home
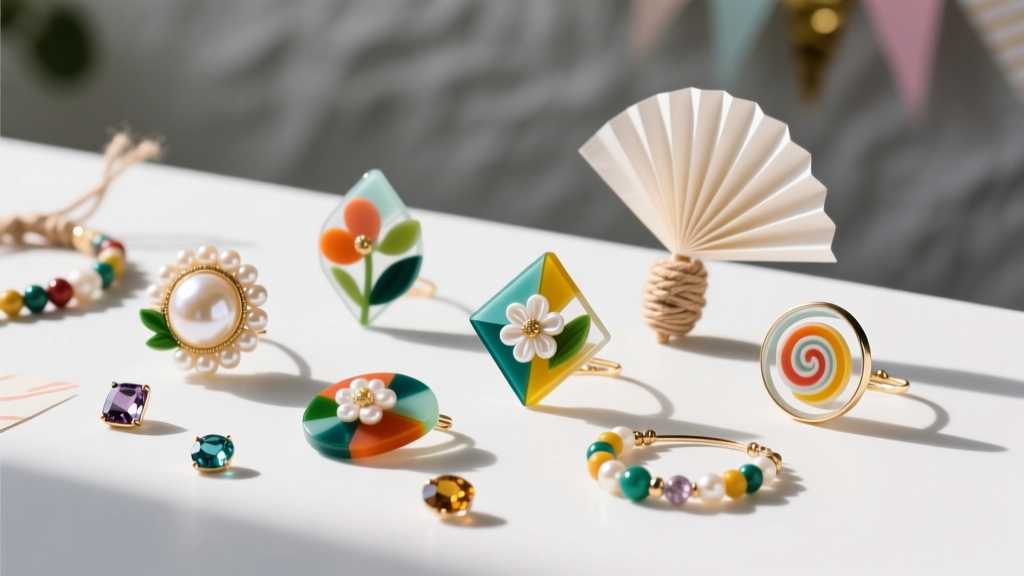 Budget DIY Resin Jewelry Under $15
 How to Unblock Third Party Cookies on MacBook Air (2020–2024): A Step-by-Step Safari & Chrome Fix That Actually Works in 2024 — No Tech Degree Required
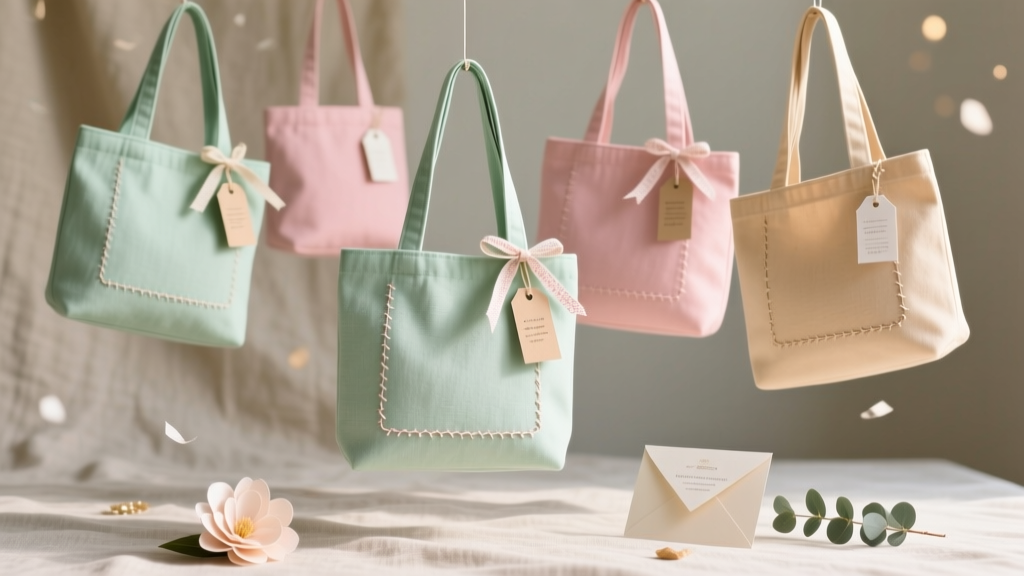 DIY Tote Bags Party Favors
 Seasonal Wooden Signs Ideas
 How to Install 3rd Party Apps on Roku TV (Without Jailbreaking): The Only Legal, Step-by-Step Method That Actually Works in 2024 — No Developer Mode Confusion, No Failed Sideloading, Just Real Results