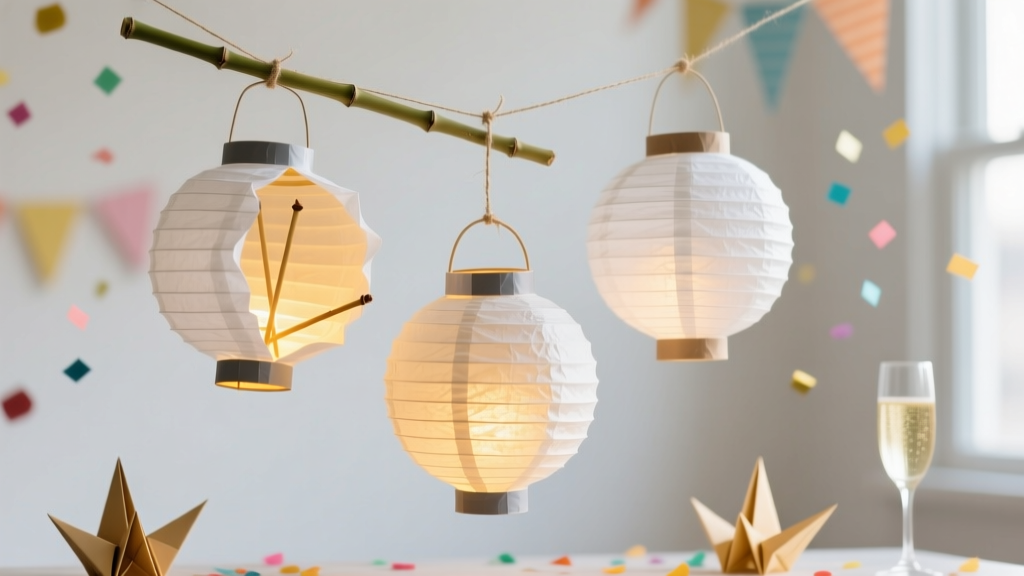
DIY Paper Lanterns with Dollar Store Supplies
Paper lanterns have a magical way of making any space feel like a celebration. Whether you’re hosting a backyard birthday, setting up a cozy patio dinner, planning a baby shower, or decorating for a holiday party, DIY paper lanterns bring color, glow, and personality—without blowing your budget.
The best part? You can make beautiful, party-ready lanterns using simple dollar store supplies. This project is beginner-friendly, easy to customize, and perfect for crafting solo or as a fun group activity with kids (with a little adult help for cutting). Plus, you’ll end up with lightweight handmade decorations you can hang, cluster, or line along a table for instant atmosphere.
Grab your scissors and let’s turn budget-friendly materials into stunning DIY party decorations you’ll be proud to show off.
Project Overview: Skill Level, Time, and Best Uses
- Skill level: Beginner (with optional advanced upgrades)
- Estimated time: 15–25 minutes per lantern (plus drying time if using glue)
- Estimated cost: $1–$4 per lantern (depending on embellishments and lighting)
- Best for: Birthdays, weddings, graduations, baby showers, patio parties, holiday decor, photo backdrops
Dollar Store Materials List (With Estimated Costs)
You can find almost everything at a dollar store or discount craft aisle. Prices vary by location, but these estimates stay pretty close.
Core Supplies (Choose One Paper Type)
- Cardstock (8.5 x 11 in or 12 x 12 in sheets) – $1.25 for a pack
- Scrapbook paper (12 x 12 in) – $1.25–$2.50 per pack
- Tissue paper (for a softer, more delicate look) – $1.25 per pack
Must-Have Tools & Adhesives
- Scissors (sharp craft scissors recommended) – $1.25
- Ruler (12 in) – $1.25
- Pencil – $1.25
- Stapler or mini stapler – $1.25–$3
- Glue stick or double-sided tape – $1.25
- Hole punch (optional for hanging) – $1.25
Lighting & Hanging Supplies
- Battery-operated LED tea lights (never use real candles) – $1.25–$3
- Mini LED string lights – $3–$5
- Twine, ribbon, or fishing line for hanging – $1.25
- Command hooks (for walls/ceilings) – $3–$6
Optional Embellishments (Party-Ready Upgrades)
- Glitter glue or glitter tape – $1.25
- Foam stickers, letters, or paper cutouts – $1.25
- Washi tape – $1.25
- Artificial flowers or greenery sprigs – $1.25
Recommended Measurements (So Your Lanterns Look Polished)
These measurements create a lantern that’s easy to handle, sturdy, and nicely sized for party decor.
- Lantern body: 1 sheet of cardstock, 8.5 x 11 inches
- Top/bottom margin (uncut): 1 inch from the top and 1 inch from the bottom
- Strip width: Cut slits every 1/2 inch (or 3/4 inch for a more open look)
- Handle: 1 x 8.5 inches strip (trim length if you want a shorter handle)
How to Make DIY Paper Lanterns (Step-by-Step)
These instructions create the classic slotted paper lantern shape—perfect for hanging or setting on a table with LED light inside.
Step 1: Prep Your Paper
- Choose your paper: cardstock is the easiest for beginners because it holds its shape.
- Place your sheet landscape (the long side facing you).
- Use a ruler to mark a line 1 inch from the top edge and 1 inch from the bottom edge. These margins stay uncut so the lantern holds together.
Step 2: Fold and Mark Cutting Lines
- Fold the paper in half lengthwise (hot dog fold), aligning long edges.
- Press the fold firmly with your fingers (or the edge of a ruler for a crisp crease).
- Starting at the folded edge, mark slit lines every 1/2 inch across the paper. Stop the slit lines at the 1-inch margin on both ends.
Step 3: Cut the Slits
- Cut along each marked line from the folded edge toward the open edge, stopping at the margin line.
- Take your time to keep cuts even—this is what makes the lantern look symmetrical.
- Unfold the paper and lay it flat.
Step 4: Form the Lantern Shape
- Bring the short ends of the paper together to form a cylinder (the slits should run vertically).
- Align edges neatly. Use one of the following to secure:
- Stapler: Add 2–4 staples along the seam for a fast, sturdy hold.
- Double-sided tape: Use a strip from top to bottom for a cleaner look.
- Glue stick: Apply and hold for 30–60 seconds; add a paper clip temporarily if needed.
- Gently press the top and bottom edges inward to let the slits “bloom” into a lantern shape.
Step 5: Add a Handle (Optional but Cute)
- Cut a strip of paper 1 inch wide x 8.5 inches long.
- Staple or tape one end inside the lantern near the top edge.
- Curve the strip over and attach the other end to the opposite side, creating a handle.
Step 6: Add Safe Lighting
- Place an LED tea light inside for a tabletop lantern.
- For hanging lanterns, tuck a small mini LED light inside or hang lanterns around string lights for a glowing party backdrop.
Pro Tips for Professional-Looking Handmade Lanterns
- Use cardstock for crisp structure: Tissue paper is beautiful but better for advanced crafters or layered designs.
- Keep slit spacing consistent: Even spacing makes the lantern look store-bought.
- Hide the seam: Place the seam at the back when displaying or cover it with washi tape or a vertical strip of decorative paper.
- Pre-fold before cutting: Folding helps you cut faster and keeps the slits aligned.
- Test your adhesive: If your dollar store tape is weak, reinforce with 1–2 staples at the top and bottom.
- Batch crafting for parties: Cut multiple folded sheets at once (2–3 sheets max) to speed up party prep.
Creative Variations (Beginner-Friendly to Advanced)
Beginner Variations
- Two-tone lantern: Use one color for the body and a contrasting color handle.
- Washi tape stripes: Add horizontal stripes before cutting slits for an easy “designer” look.
- Sticker themes: Add stars for a graduation party, hearts for a bridal shower, or letters for birthdays.
Intermediate Variations
- Layered glow lantern: Make a second lantern body from tissue paper and place it inside the cardstock lantern for a softer glow.
- Scalloped edges: Trim the top and bottom edges with gentle curves before forming the cylinder.
- Cutout windows: Cut small shapes (moons, stars, circles) into the solid margins for extra light spill.
Advanced Variations
- Geometric pattern lanterns: Use a craft knife and cutting mat (not required, but helpful) to cut repeating patterns into the paper before assembling.
- Mini lantern garland: Make lanterns at half size (cut paper to 5.5 x 8.5 inches) and string them across a dessert table.
- Hanging mobile cluster: Create 5–9 lanterns in different sizes and hang at varying heights for a photo backdrop.
Troubleshooting: Quick Fixes When Things Go Sideways
- Lantern looks lopsided: Your slit cuts may be uneven or the seam isn’t aligned. Re-roll the cylinder and re-secure the seam straighter.
- Paper is tearing at the margins: Your slits may be too close to the edge. Keep a full 1-inch margin, and avoid overly thin paper.
- Lantern won’t “pop” into shape: Gently press the top and bottom rims inward at the same time. If cardstock is stiff, curl it lightly around a bottle before assembling.
- Adhesive won’t hold: Use a stapler for structure, then cover staples with decorative tape if you want a cleaner finish.
- LED light is too bright: Add a tissue paper liner or place the tea light inside a small translucent cup (battery light only) for diffusion.
Common Crafting Mistakes to Avoid
- Using real candles: Paper lanterns are flammable. Stick to battery-operated LED lights only.
- Cutting through the margins: If you cut into the top/bottom margin, the lantern can collapse. Mark margin lines clearly first.
- Skipping measuring: “Eyeballing” slit spacing often leads to uneven results. A ruler makes a big difference.
- Overloading with heavy decorations: Too many gems or thick embellishments can warp the paper. Keep it lightweight for hanging lanterns.
- Hanging with weak tape: Use command hooks or secure string to something sturdy—especially outdoors or in humid spaces.
Where and How to Display Your Paper Lanterns at Parties
- Dessert table backdrop: Hang lanterns in a row at different heights behind the table.
- Entryway wow factor: Cluster 3–5 lanterns near the entrance for an instant party vibe.
- Outdoor patio lighting: Hang lanterns around string lights for a layered glow (secure well if it’s breezy).
- Table centerpieces: Place one lantern with an LED tea light inside on each table—simple, budget-friendly, and charming.
FAQ: DIY Paper Lanterns with Dollar Store Supplies
1) What paper works best for DIY lanterns?
Cardstock is the easiest and most durable. Scrapbook paper also works well. Tissue paper is pretty but more delicate, so it’s better as a liner or layered element.
2) Can kids make these paper lanterns?
Yes—with supervision. Kids can help with decorating, folding, and assembling. An adult should handle the cutting steps (or pre-cut the slit sheets ahead of time).
3) How do I hang paper lanterns without damaging the ceiling?
Use removable command hooks or hang from an existing curtain rod, pergola beam, or doorway frame. Fishing line or clear thread gives a “floating” look.
4) How many lanterns do I need for a party?
For a backdrop, plan on 7–15 lanterns depending on wall width and lantern size. For table decor, 1 per table (or 3 clustered on a gift table) looks polished without clutter.
5) Can I make these ahead of time?
Absolutely. Make them 2–7 days ahead and store them gently in a box. If you want to save space, you can keep them slightly flattened and re-pop them into shape before the event.
6) Are these lanterns okay for outdoor parties?
They can be, but avoid rain and heavy wind. Use slightly thicker paper (cardstock), reinforce seams with staples, and secure hanging lines tightly so your DIY party decorations stay put.
Ready to Craft Your Own Party-Worthy Paper Lanterns?
DIY paper lanterns are one of those handmade projects that feel instantly rewarding—you get fast results, tons of creative options, and decorations that look amazing in photos. Start with one simple lantern, then mix colors, sizes, and patterns to match your party theme. Before you know it, you’ll have a whole set of budget-friendly DIY party decorations made from dollar store supplies.
Keep experimenting, have fun with the process, and let your lanterns reflect your style. For more party-ready DIY crafts, handmade decorations, and smart celebration tips, explore more creative ideas on smartpartyprep.com.
More Articles
 How to Make a Partiful: The 7-Step No-Stress Guide That Turns Craft Panic Into Confident Creativity (Even If You’ve Never Glued Sequins Before)
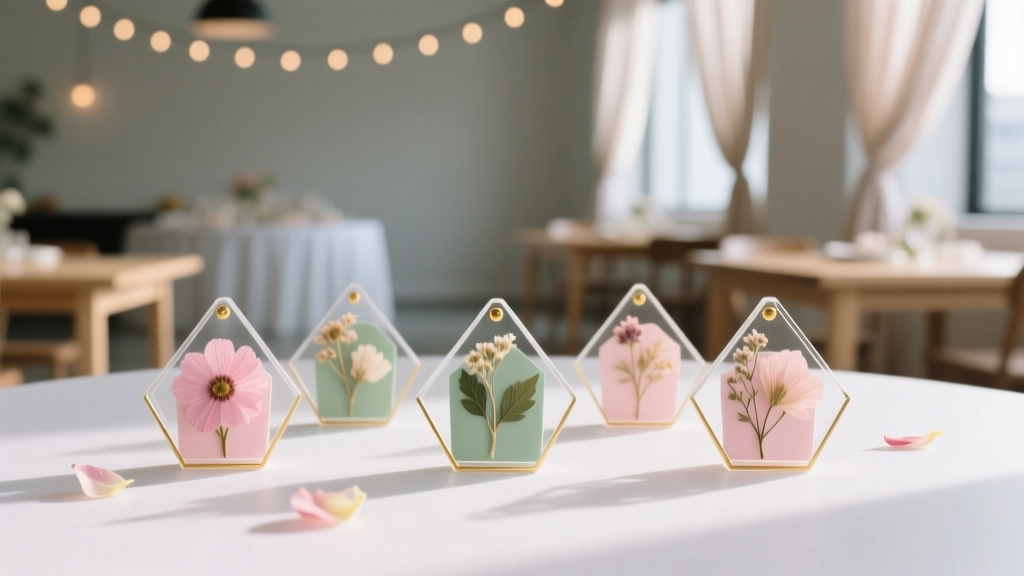 DIY Pressed Flower Art Party Favors
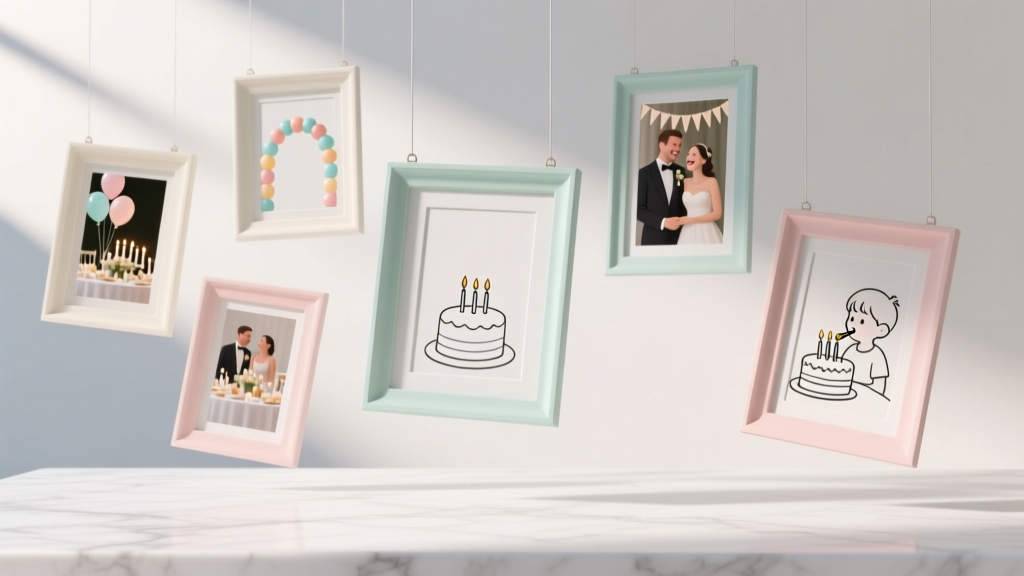 Easy Photo Frames for Beginners
 How to Allow 3rd Party Cookies on Safari in 2024: A Step-by-Step Guide (Without Breaking Privacy or Breaking the Internet)
 Seasonal Slime Ideas
 How to Discharge Debt as a Secured Party Creditor: The Truth Behind the Viral Loophole (Spoiler: It Doesn’t Work — Here’s What Actually Does)
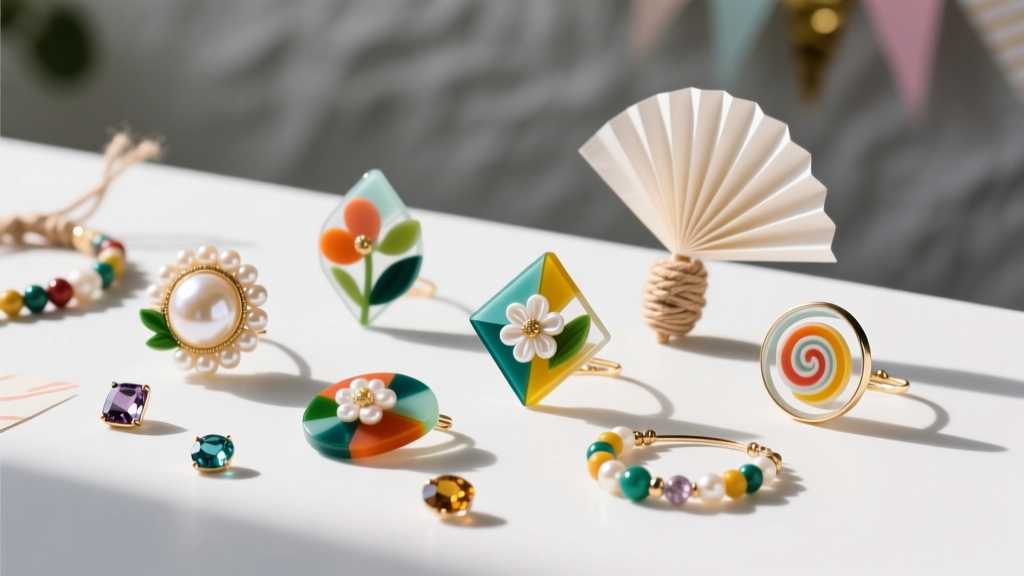 Budget DIY Resin Jewelry Under $15
 DIY Cupcake Wrappers Using Cricut
 DIY Beaded Bracelets for Home Decor
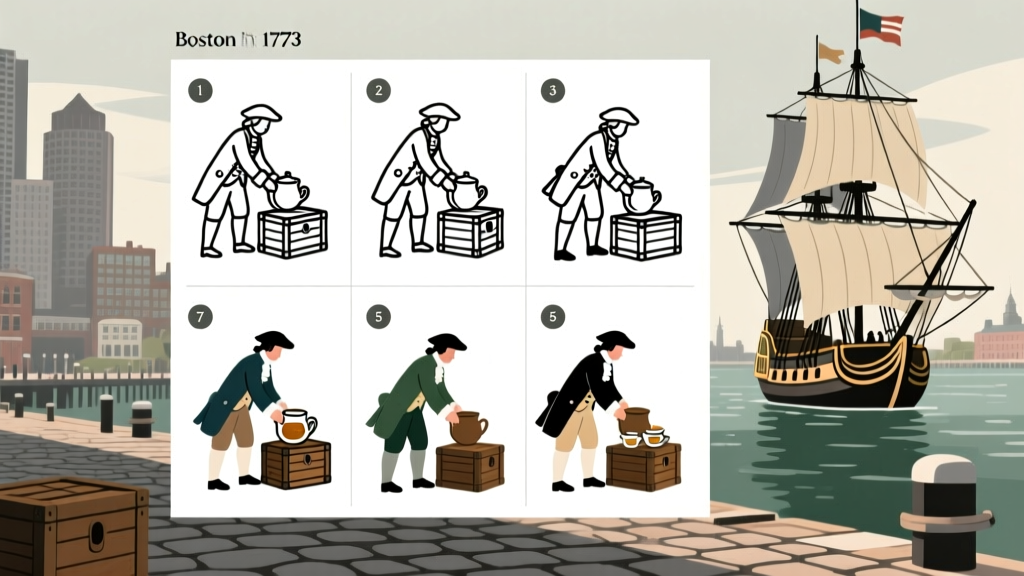 How to Draw the Boston Tea Party in Just 7 Simple Steps — No Art Degree Needed! (Beginner-Friendly Tutorial with Historical Accuracy & Printable Reference Sheets)