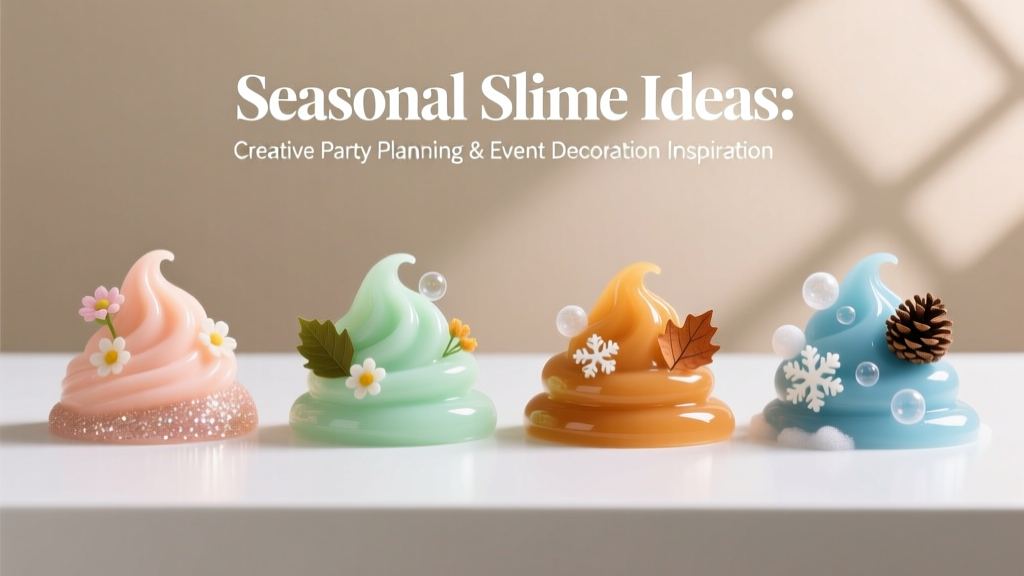
Seasonal Slime Ideas
Slime isn’t just a kid craft—it’s a surprisingly versatile DIY party project that doubles as an activity and a take-home favor. With a few color tweaks, themed add-ins, and simple containers, you can turn basic slime into seasonal party decorations, sensory play stations, and adorable giftable “mini makes” guests will talk about long after the party ends.
What makes seasonal slime so fun is the built-in creativity: you can match it to your party color palette, add textures for a sensory table, and even coordinate labels to your invitations. Whether you’re hosting a Halloween bash, a winter birthday, or a springtime baby shower, these ideas help you create handmade party details that feel personal and polished—without complicated tools.
Skill level: Beginner (with easy advanced upgrades)
Time estimate: 10–20 minutes per batch + 5 minutes for packaging
Best for: DIY party favors, kids’ craft tables, sensory bins, handmade decorations
Quick Safety + Setup Notes (Worth 60 Seconds)
- Age guidance: Adult supervision recommended. Avoid for children under 3 due to choking hazards (glitter, beads, foam balls).
- Work surface: Cover your table with a plastic tablecloth or parchment paper.
- Allergies/sensitivities: Choose fragrance-free lotion and avoid essential oils for kids.
- Storage: Airtight containers keep slime from drying out.
Materials List (with Product Types + Estimated Costs)
Prices vary by brand and region, but these estimates help you plan a DIY party craft budget.
Core Slime Ingredients (1–3 batches)
- PVA school glue (white or clear), 4–8 oz (Elmer’s-style): $1.50–$4.00
- Contact lens solution with boric acid/borate (activator): $3.00–$7.00
- Baking soda (sodium bicarbonate): $1.00–$3.00
- Water (for consistency): free
- Hand lotion (optional for softness, fragrance-free preferred): $3.00–$6.00
- Food coloring or liquid watercolors (for tinting): $2.00–$6.00
Seasonal Mix-Ins (choose a theme)
- Glitter (fine + chunky): $3.00–$8.00
- Foam beads (for “floam” texture): $4.00–$10.00
- Confetti sprinkles (polymer craft sprinkles, not edible): $3.00–$7.00
- Mini charms (pumpkins, snowflakes, hearts, stars): $4.00–$12.00
- Fake snow (instant snow powder) or snowflake sequins: $3.00–$8.00
- Micro foam balls (for cloud texture): $4.00–$10.00
Tools + Packaging (party-ready)
- Mixing bowls (2–3 medium): $3.00–$10.00
- Measuring spoons (1 tsp / 1 tbsp): $2.00–$8.00
- Silicone spatula (easy cleanup): $3.00–$10.00
- Disposable gloves (optional): $3.00–$8.00
- 4 oz plastic jars with lids (favor size, set of 12): $8.00–$15.00
- Printable labels or sticker paper: $3.00–$10.00
- Small scoops or craft sticks (for slime bar): $2.00–$6.00
Cost per favor (estimated): $0.80–$2.50 depending on add-ins and container choice.
Base Recipe: Party-Perfect Slime (Reliable + Customizable)
This recipe makes a stretchy slime that holds glitter and confetti well—ideal for DIY crafts and party favors.
Measurements (Makes ~1 cup of slime)
- 4 oz (about 1/2 cup) school glue
- 1/2 tsp baking soda
- 1–2 tbsp contact lens solution (add slowly)
- 1–2 tsp water (optional, for a looser texture)
- 1/4 tsp lotion (optional, softens slime)
- Color + mix-ins (seasonal)
Step-by-Step Instructions
- Prep your station. Cover the table, set out bowls, measuring spoons, and jars. If you’re making multiple colors, line up small cups for add-ins.
- Pour glue into a bowl. Add food coloring or a few drops of liquid watercolor. Stir until fully blended.
- Mix in baking soda. Sprinkle in 1/2 tsp baking soda and stir thoroughly (about 20–30 seconds).
- Activate slowly. Add 1 tbsp contact lens solution and stir. If it’s still very sticky, add more solution 1 tsp at a time until the slime pulls away from the bowl.
- Knead for 1–2 minutes. Use clean hands. If it feels tacky, add a few drops more contact solution to your hands and knead again.
- Add seasonal mix-ins. Fold in glitter, confetti, charms, or foam beads. Start small—you can always add more.
- Package it. Place slime into airtight 4 oz jars. Add labels, ribbon, or themed tags for party-ready handmade decorations and favors.
Beginner-friendly adaptation: Pre-measure activator into tiny cups (1 tbsp each). This reduces “over-activating” when crafting with kids at a party slime bar.
Seasonal Slime Ideas (Themes, Colors, and Party Uses)
Spring: “Garden Party” Slime
- Color palette: pastel pink, mint, lavender, buttery yellow
- Mix-ins: flower confetti, pearl beads, butterfly charms, iridescent glitter
- Texture idea: add 1–2 tbsp micro foam balls for a soft “cloudy” feel
- Party use: set up a “Build-a-Bloom Slime Bar” with tiny bowls of mix-ins and mini scoops
Label idea: “Pick Your Petals!” or “Garden Goo Favor”
Summer: “Mermaid Lagoon” Slime
- Color palette: teal, aqua, seafoam, purple shimmer
- Mix-ins: chunky holographic glitter, shell confetti, pearl sprinkles, star charms
- Advanced variation: swirl two colors together for a marbled ocean look (knead only 3–4 times to keep the swirl)
- Party use: DIY craft table at pool parties or under-the-sea birthdays
Pro look: Add a pinch of iridescent mica powder for a glossy “wet” shine (use sparingly).
Fall: “Harvest Crunch” Slime
- Color palette: burnt orange, golden yellow, cranberry, deep brown
- Mix-ins: foam beads (for crunchy texture), leaf confetti, mini acorn charms
- Scent (optional): a tiny dab of pumpkin-scented lotion (test first—too much can soften slime)
- Party use: Thanksgiving kids’ table activity or fall festival favor
Texture tip: For a satisfying “crunch,” add foam beads gradually until it stops stretching too thin.
Halloween: “Monster Mash” Slime
- Color palette: neon green, purple, black, toxic orange
- Mix-ins: googly eyes (small), bat confetti, glow-in-the-dark glitter, plastic spider rings (for older kids)
- Advanced variation: create “two-tone” slime by splitting the batch and coloring halves differently, then twisting together
- Party use: slime “potion lab” station with labeled jars: “Witch Brew Activator,” “Ghoul Glitter,” etc.
Decoration idea: Display jars in a mini cauldron or on a black tiered tray as part of your Halloween party decorations.
Winter: “Snow Globe” Slime
- Color palette: clear or white with silver accents
- Mix-ins: snowflake sequins, silver fine glitter, instant snow powder (tiny pinch), mini winter charms
- Best base: clear glue for a “glass” effect (allow bubbles to settle overnight for a crystal-clear look)
- Party use: winter birthday favors, holiday classroom party craft
Packaging upgrade: Use clear jars and add a ribbon + metallic label for an elegant handmade project vibe.
New Year’s: “Confetti Pop” Slime
- Color palette: black + gold, or clear with multicolor confetti
- Mix-ins: metallic confetti, star glitter, gold foil flakes
- Advanced variation: layer colors in the jar (black on bottom, clear on top) for a chic party favor look
- Party use: midnight countdown favors or a “make-and-take” craft for teens
Valentine’s Day: “Cupid Swirl” Slime
- Color palette: pink, red, white
- Mix-ins: heart confetti, rose gold glitter, tiny pearl beads
- Beginner option: keep it single-color pink and add heart confetti—easy and always cute
- Party use: Galentine’s craft night, classroom favors (skip small charms for younger kids)
Pro Tips for Better Slime (Stretchier, Less Sticky, More Party-Friendly)
- Add activator slowly. The fastest way to “ruin” a batch is over-activating. Stop as soon as it forms and knead before adding more.
- Use a silicone spatula. It scrapes clean and reduces waste—great when making multiple party batches.
- Let clear slime rest. For clear glue slime, rest it in a sealed container overnight to reduce bubbles.
- Keep mix-ins small. Large charms can tear slime and make it less stretchy. Use minis for a smoother texture.
- Batch for parties efficiently. Make a “base slime,” then split into 3–4 bowls to tint and theme quickly.
Troubleshooting: Fix Common Slime Problems Fast
- Too sticky: Add contact lens solution 3–5 drops at a time, kneading between additions.
- Too stiff or rubbery: Knead in 1/4 tsp lotion or 1 tsp warm water. Work slowly until it loosens.
- Won’t activate: Check the contact solution ingredients—look for boric acid or sodium borate. If it’s missing, it won’t work well.
- Slime rips easily: It’s often over-activated. Add a tiny amount of lotion and let it rest 10 minutes in a sealed container.
- Glitter falling out: Use finer glitter or mix longer. If slime is too stiff, it won’t “hold” mix-ins well.
Common Crafting Mistakes to Avoid
- Dumping in activator all at once. This is the #1 reason slime turns into a hard lump.
- Using edible sprinkles. They melt, bleed color, and can grow mold. Use polymer craft sprinkles for slime projects.
- Skipping airtight storage. Slime dries out quickly if the lid isn’t sealed—especially in warm party venues.
- Overloading with add-ins. Too many beads/confetti can make slime crumbly and hard to stretch.
- Not testing a small batch first. If you’re making 20+ favors, test one mini batch with your exact glue and activator brand before scaling up.
FAQ: Seasonal Slime for Parties and DIY Crafts
How far in advance can I make slime party favors?
For best texture, make slime 1–3 days before the event and store it in airtight containers. If you need to prep earlier, make it up to 1 week ahead, but expect to knead it briefly before gifting.
What size containers work best for party favors?
4 oz jars are the sweet spot for party favors: generous, easy to label, and budget-friendly. For younger kids, consider 2 oz jars to reduce mess.
Can I make slime without contact lens solution?
Yes—many crafters use a borax solution or liquid starch, but contact lens solution is convenient and widely available. If you swap activators, do a small test batch because ratios change.
Why is my slime cloudy instead of clear?
Clear glue slime often looks cloudy right after mixing due to trapped bubbles. Let it rest overnight in a sealed container; it should clear up significantly.
How do I keep a slime bar from getting messy at a party?
Set up a “slime bar” with:
- Pre-measured activator cups (1 tbsp each)
- Small bowls of mix-ins with scoops
- Wipes + a trash bin nearby
- One “kneading zone” lined with parchment paper
What are the best slime themes for teens?
Teens often love sleek, aesthetic themes: New Year’s confetti, galaxy shimmer, minimalist black-and-gold, and clear “snow globe” slime with subtle sparkle.
Wrap-Up: Pick a Season, Pick a Color, Make It Your Own
Seasonal slime is one of those DIY crafts that checks every party box: it’s interactive, customizable, and turns into a handmade project guests can take home. Start with one simple base recipe, then let your theme do the heavy lifting—colors, confetti, charms, and packaging create the “wow” factor fast.
If you try one of these ideas, make a few extra jars—you’ll want backups for last-minute guests and a little stash for yourself. Keep experimenting with textures and themes, and you’ll build a rotation of party decorations and favors that feel fresh all year long.
Want more DIY party crafts, handmade decorations, and creative project ideas? Explore more on smartpartyprep.com and keep the making going.
More Articles
 Advanced Invitations for Crafters
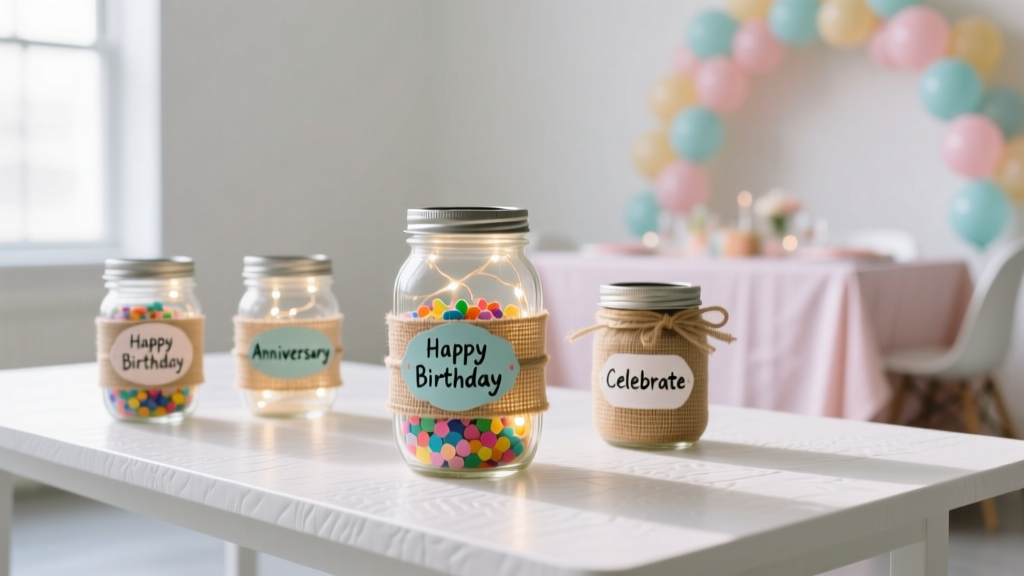 Budget DIY Mason Jar Crafts Under $5
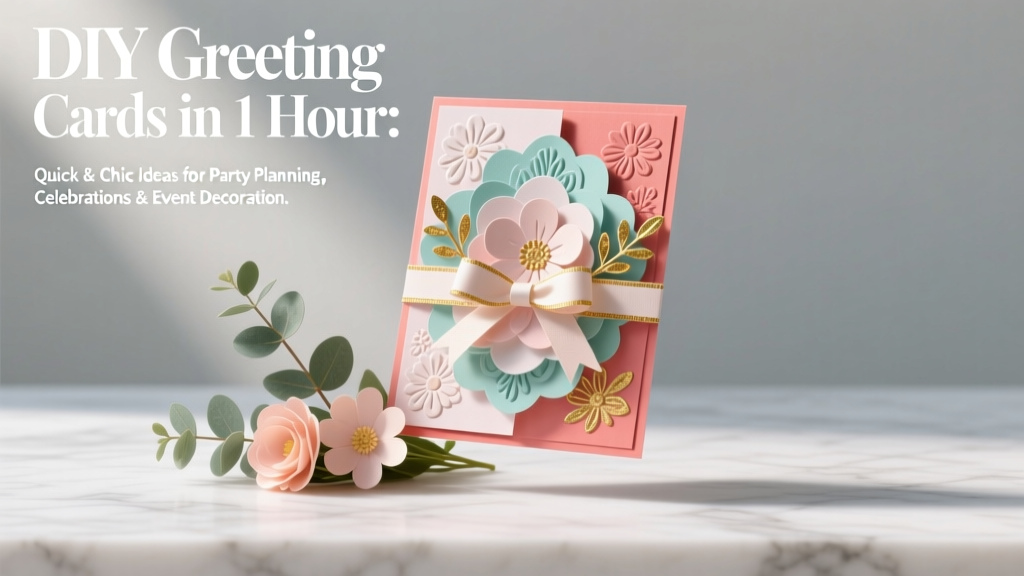 DIY Greeting Cards in 1 Hour
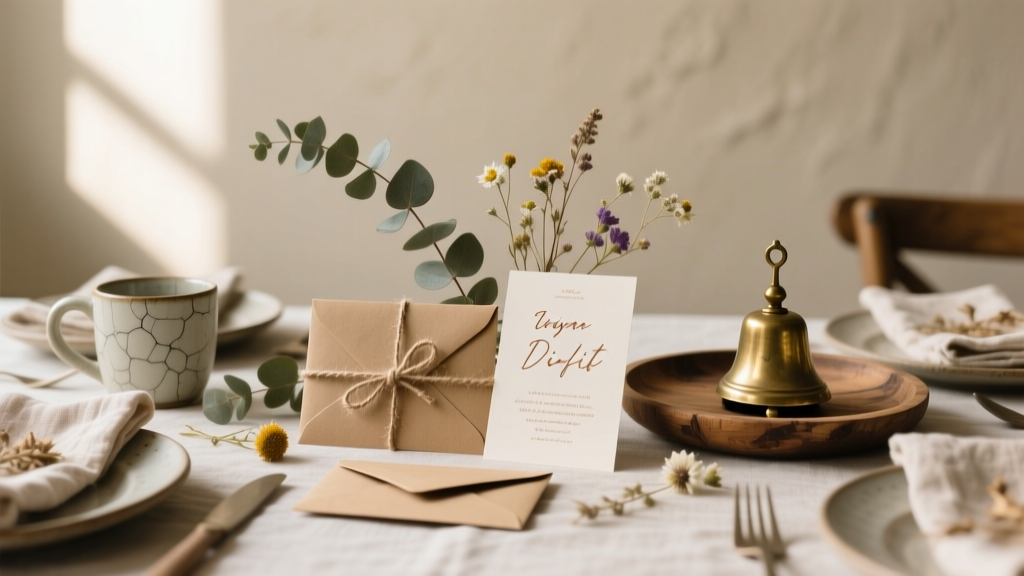 Rustic Invitations Ideas (That You Can DIY at Home)
 Budget DIY Gift Boxes Under $20
 How to Make Party Hats Out of Paper in Under 10 Minutes (No Glue Gun, No Scissors Required — Just Printer Paper & Tape)
 Personalized Favor Bags Gifts
 Upcycled Custom Stickers from Recycled Materials
 Step-by-Step Dream Catchers Tutorial
 Budget DIY Pressed Flower Art Under $15