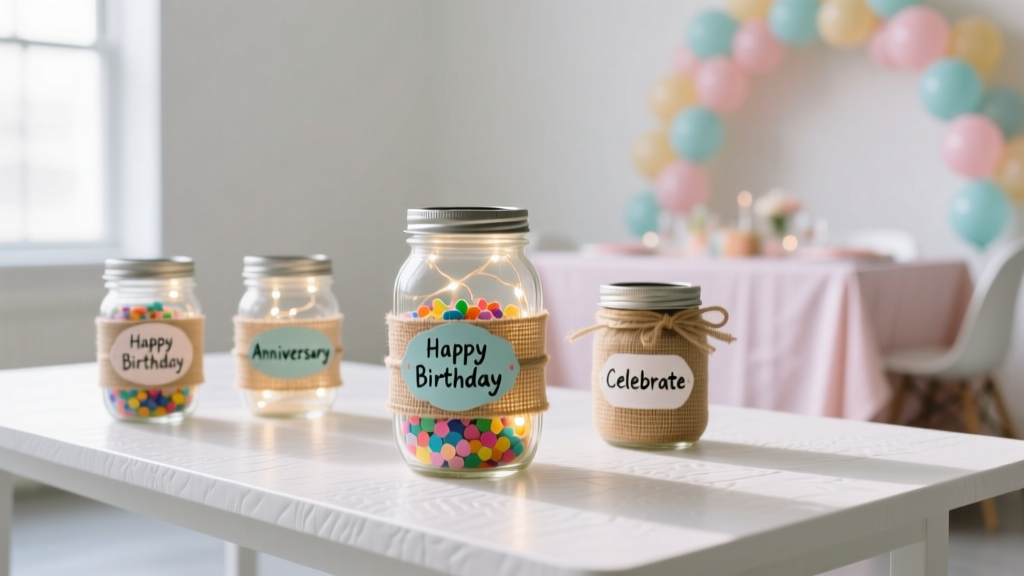
Budget DIY Mason Jar Crafts Under $5
Mason jars are the MVP of budget party decorating: they’re sturdy, endlessly reusable, and look charming in every theme—rustic, modern, boho, glam, you name it. The best part? You can turn a basic jar into a centerpiece, favor, or glowing party accent with supplies that cost less than a fancy coffee.
If you’re planning a birthday, baby shower, bridal shower, graduation, or backyard get-together, DIY mason jar crafts are a smart way to add personalized style without blowing your budget. This guide focuses on mason jar crafts under $5 each (often far less if you buy supplies in multipacks), with step-by-step instructions, time estimates, and pro tricks to help you get consistent results.
Pick one project or mix a few for a coordinated look—matching centerpieces, labeled drink stations, and cute party favors all from the same simple base. Let’s make your party decor look boutique-level on a thrift-store budget.
Budget Basics: What Counts as “Under $5” (and How to Stay There)
Prices vary by region, so the cost estimates below assume you’re shopping at big-box craft stores, dollar stores, discount retailers, or using items you may already have. The easiest way to keep costs under $5 per jar:
- Buy jars in multipacks or reuse pasta sauce/pickle jars (remove labels first).
- Use paint sparingly (one accent band looks polished and costs less than full coverage).
- Choose multipurpose supplies like twine, Mod Podge, and LED tealights.
- Stick to LED lights for party safety, especially around kids, pets, or outdoor setups.
Recommended Jar Sizes for Party Projects
- 8 oz (half-pint): favors, tealight holders, mini centerpieces
- 16 oz (pint): utensil holders, drink stations, medium vases
- 32 oz (quart): centerpiece lanterns, larger floral arrangements
Materials & Tools Checklist (With Estimated Costs)
You won’t need everything for every craft. These are the most useful supplies for DIY mason jar party decorations:
Core Materials
- Mason jar (8–32 oz): $1.00–$2.50 each (less if reused or multipack)
- Acrylic craft paint (2 oz bottle): $0.75–$1.50
- Mod Podge (matte or gloss, small jar): $2.00–$4.00 (shared across many jars)
- Jute twine (50–100 ft): $1.25–$3.00
- Ribbon (3/8 in to 1 in wide): $1.00–$3.00
- LED tealight or fairy lights: $1.00–$4.00 (per unit depending on pack size)
- Paper napkins or tissue paper: $1.00–$3.00
- Self-adhesive vinyl or letter stickers: $2.00–$5.00 (often enough for multiple jars)
Helpful Tools (One-Time Purchase)
- Foam brush set (1 in): $1.00–$3.00
- Small paintbrush for edges: $1.00–$3.00
- Scissors (sharp for ribbon): already owned
- Hot glue gun + glue sticks: $5–$12 (optional but handy; use low-temp for safety)
- Rubbing alcohol + cotton pad for cleaning glass: $1.00–$2.00
- Measuring tape or ruler: already owned
Project 1: Frosted Mason Jar Candle Lantern (Soft Glow Centerpiece)
Skill level: Beginner
Time: 15 minutes + 30–60 minutes drying
Cost per jar: $2–$5
What You’ll Need
- 1 mason jar (16 oz looks great for centerpieces)
- Mod Podge (matte for a true frosted effect)
- Epsom salt (already in many homes) or fine white sugar as a backup
- Foam brush (1 in)
- LED tealight or 3–6 ft micro fairy lights
- Optional: twine or ribbon for the neck (about 24 in)
Step-by-Step Instructions
- Clean the jar: Wipe the outside with rubbing alcohol to remove oils. Let dry for 1 minute.
- Apply Mod Podge: Use a foam brush to paint a thin, even layer on the outside of the jar. Work in sections so it doesn’t dry too fast.
- Frost it: Sprinkle Epsom salt over the wet Mod Podge. Rotate the jar and tap gently to cover evenly. Shake off excess onto a paper plate.
- Dry: Let it sit 30–60 minutes. For heavier frosting, add a second layer once dry.
- Add the light: Place an LED tealight inside, or coil fairy lights into the jar with the battery pack tucked behind décor.
- Finish the top: Tie twine around the neck in a bow. For a polished look, measure and cut 24 inches of twine, wrap twice, then knot.
Pro Tips & Variations
- Color glow trick: Put a strip of colored tissue paper inside the jar (not near real flame) to tint LED light.
- Coastal theme: Mix a little sand into the salt layer for texture.
- Advanced variation: Add a vinyl monogram or table number on the front before frosting; peel it off after drying for a crisp “clear window” design.
Troubleshooting
- Patchy frosting: Mod Podge layer may be uneven. Add a second thin coat and re-sprinkle.
- Salt shedding: After it dries, seal with a very light top coat of Mod Podge (dab, don’t brush hard).
Project 2: Painted Party Vase (Color-Matched Theme Decor)
Skill level: Beginner to Intermediate
Time: 10 minutes + 1–2 hours drying
Cost per jar: $2–$5
What You’ll Need
- 1 mason jar (pint or quart)
- Acrylic craft paint (choose 1–2 theme colors)
- Painter’s tape (or masking tape)
- Foam brush
- Optional: clear acrylic sealer spray (shared across many jars)
Step-by-Step Instructions
- Plan your design: Try a “dipped” look—paint the bottom 2 to 3 inches of the jar. Measure with a ruler for consistent height across multiple jars.
- Tape the line: Wrap painter’s tape around the jar at the height you want. Press edges firmly to prevent bleeding.
- Paint: Apply 2 thin coats of acrylic paint below the tape line. Let the first coat dry 10–15 minutes before the second.
- Remove tape: Peel tape off slowly while the second coat is slightly tacky for the cleanest edge.
- Dry fully: Let the jar cure 1–2 hours before handling a lot.
- Optional seal: For extra durability, add a light coat of clear sealer (spray outside or in a well-ventilated area).
Pro Tips & Variations
- Two-tone stripe: Add a second tape line 1 inch above the first and paint a narrow band in a complementary color.
- Chalkboard label: Paint a 2 in x 3 in rectangle with chalkboard paint, then write “Flowers,” “Cards,” or table numbers.
- Advanced variation: Use a sponge to stipple metallic paint for a textured “stoneware” look.
Troubleshooting
- Paint peeling: The glass may not be clean. Wipe with alcohol and repaint with thinner coats.
- Tape bleed: Press tape down harder, and paint away from the tape edge rather than into it.
Project 3: Napkin Decoupage Mason Jar Luminary (Fast, Gorgeous Patterns)
Skill level: Beginner
Time: 20 minutes + 45 minutes drying
Cost per jar: $3–$5
What You’ll Need
- 1 mason jar (any size)
- Decorative paper napkins (floral, birthday prints, seasonal patterns)
- Mod Podge
- Soft paintbrush (to prevent tearing)
- Scissors
- LED tealight
Step-by-Step Instructions
- Separate layers: Most napkins have 2–3 layers. Peel until you have the single printed top layer only.
- Cut your design: Cut a panel roughly 4 inches tall for a pint jar, or scale up/down. You can also cut individual flowers and overlap them.
- Brush on Mod Podge: Apply a thin coat to the jar where the napkin will go.
- Lay the napkin: Gently place the napkin on the jar. Smooth from the center outward with your fingers.
- Seal it: Brush a very light coat of Mod Podge over the napkin. Use minimal pressure to avoid ripping.
- Dry: Let dry 45 minutes. Add a second top coat if desired.
- Light it: Add an LED tealight to create a glowing, patterned luminary—perfect for party tables.
Pro Tips & Variations
- Wrinkle fix: Small wrinkles disappear once lit. For smoother results, use a piece of plastic wrap over the napkin and gently press flat.
- Theme idea: Use holiday napkins for seasonal parties, or polka dots for a fun birthday vibe.
- Advanced variation: Add a thin lace ribbon band around the top (about 18 inches) and secure with a dot of hot glue.
Project 4: Party Favor Mason Jar (Layered Candy or Cocoa Mix)
Skill level: Beginner
Time: 10–15 minutes per jar
Cost per jar: $2–$5 (depends on filling)
What You’ll Need
- 1 small mason jar (4 oz or 8 oz)
- Filler: candy, sprinkles, cocoa mix, mini marshmallows, tea bags, or snack mix
- Ribbon (about 24 inches) or twine
- Gift tag or cardstock label (about 2 in x 3 in)
- Optional: circle of fabric (about 6-inch diameter) for lid topper
Step-by-Step Instructions
- Fill neatly: Use a small funnel or a paper cone to reduce spills. Tap the jar lightly to settle layers.
- Add a label: Write a simple message like “Thank you!” or “Sweet Treats” and include a date for weddings/showers.
- Dress the lid: Place a fabric circle over the lid, screw on the ring, then tie ribbon around the neck.
- Batch prep: Line up jars assembly-style for faster party prep: fill all jars, then label all, then tie ribbons.
Pro Tips & Variations
- Color coordination: Match candy colors to your party palette for instant “planned” décor.
- Advanced variation: Add a printed instruction tag (hot cocoa directions) and a mini wooden spoon tied on with twine.
Common Crafting Mistakes to Avoid (So Your Jars Look Party-Ready)
- Skipping glass prep: Oils from hands can cause paint and glue to peel. Always wipe with rubbing alcohol first.
- Using thick coats: Thick paint or Mod Podge dries unevenly and can look cloudy. Two thin coats look smoother.
- Rushing dry time: Handling too soon leads to fingerprints and smudges. Build drying time into your party prep schedule.
- Using real flames in decorated jars: Many decorations are flammable. For party safety, stick with LED tealights/fairy lights.
- Uneven sets: If you’re making multiples, measure key areas (like a 2-inch dip paint line) so the set looks cohesive.
Party Styling Ideas: How to Use These Mason Jar Crafts
- Table centerpieces: Cluster 3 jars (one frosted lantern, one painted vase, one decoupage luminary) on a 10–12 inch round tray.
- Drink station: Use quart jars as utensil holders (straws, stir sticks) and pint jars for garnish (lemon slices, mint—keep food-safe and clean).
- Welcome table: Add table numbers or “Cards” labels with vinyl letters for a polished event look.
- Outdoor evening parties: Line a walkway with LED-lit frosted jars spaced about 2–3 feet apart.
FAQ: Budget DIY Mason Jar Party Crafts
1) Can I use recycled pasta sauce jars instead of mason jars?
Yes. Any clean glass jar works for most DIY party decorations. For best results, remove labels completely and wipe with rubbing alcohol. If there’s sticky residue, rub with a little cooking oil, then wash with dish soap and dry.
2) How do I keep paint from scratching off the glass?
Prep the glass (alcohol wipe), use thin coats, and let the paint cure longer (a few hours or overnight). A clear acrylic sealer adds durability for centerpieces that will be transported.
3) Is Mod Podge safe to use on jars that will hold drinks?
Use decorated jars for décor only unless you keep the decoration on the outside and avoid the rim area. For drinkware, it’s safer to keep jars uncoated where mouths will touch and hand-wash only.
4) What’s the easiest mason jar craft for a last-minute party?
The frosted lantern is the fastest: Mod Podge + Epsom salt + an LED tealight gives a high-impact glow with minimal supplies and almost no measuring.
5) How far in advance can I make these party decorations?
Make them 3–14 days ahead. Store finished jars in a box with paper between them to prevent scratches, and keep LED lights separate until setup day.
6) My napkin keeps tearing during decoupage—what am I doing wrong?
Usually it’s too much brush pressure or too much glue. Use a soft brush, apply a thin coat, and “float” the brush lightly over the napkin rather than pressing down.
Wrap-Up: Make a Big Party Impact on a Small Budget
You don’t need expensive décor to create a party space that feels thoughtful and coordinated. With a few mason jars, basic craft supplies, and simple step-by-step techniques, you can build centerpieces, glowing luminaries, and adorable handmade party favors for under $5 each.
Try one project this week, then level up by making a matching set for your next celebration—your future self will thank you when party setup takes minutes and looks amazing.
More budget-friendly DIY crafts and party decoration ideas are waiting for you at smartpartyprep.com.
More Articles
 DIY Cupcake Wrappers Using Cricut
 Personalized Custom Stickers Gifts
 How to Make a Backdrop for Party in Under 90 Minutes (No Sewing, No Pro Tools — Just $12 & Your Dining Table)
 Personalized Wreaths Gifts
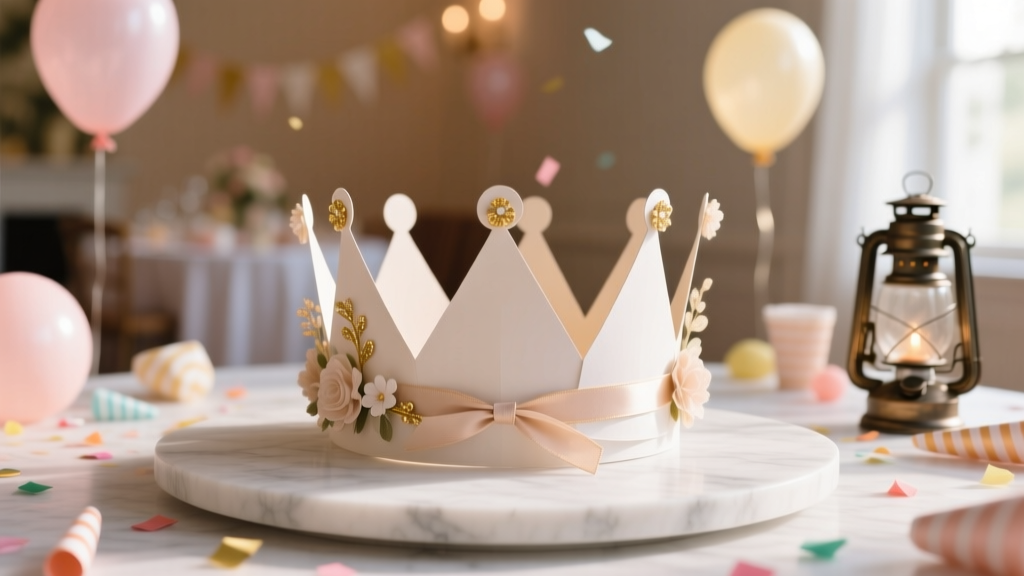 How to Make Crowns at Home
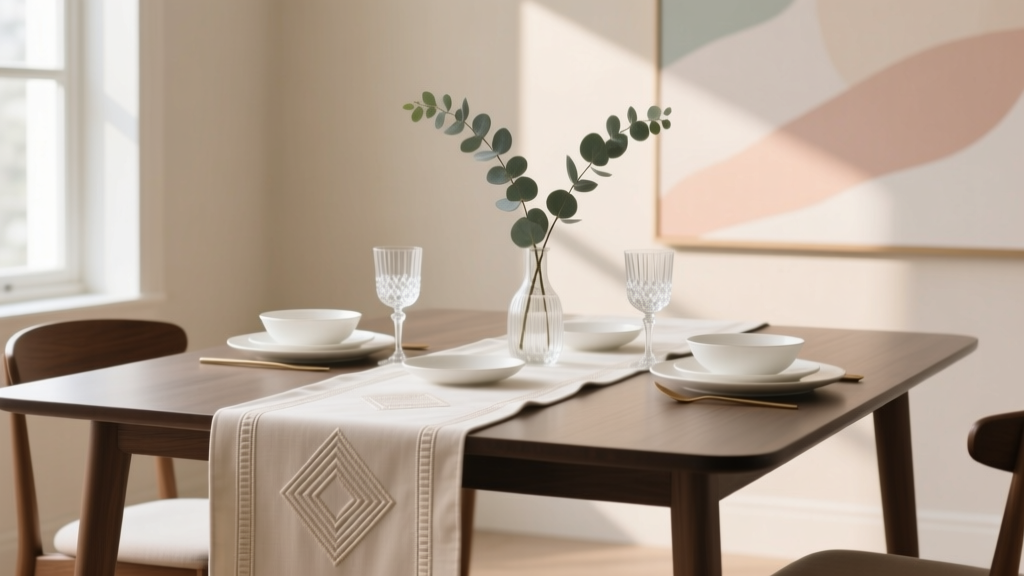 Modern Table Runners Designs
 How to Draw a Party Hat in 5 Minutes (Even If You Can’t Draw): A Foolproof, Step-by-Step Guide for Kids, Teachers & Party Planners Who Need Instant Printable Art
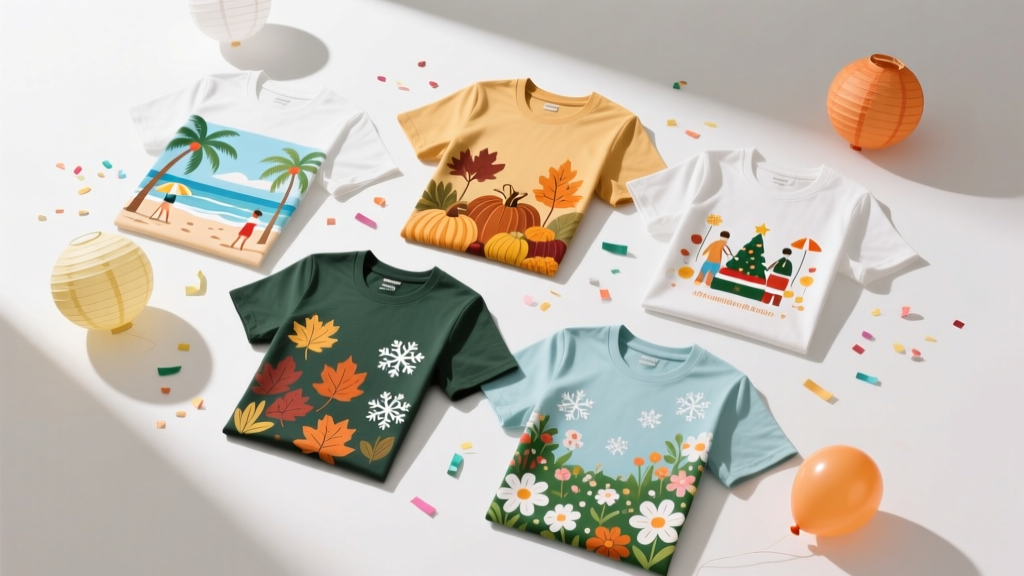 Seasonal T-Shirts Ideas
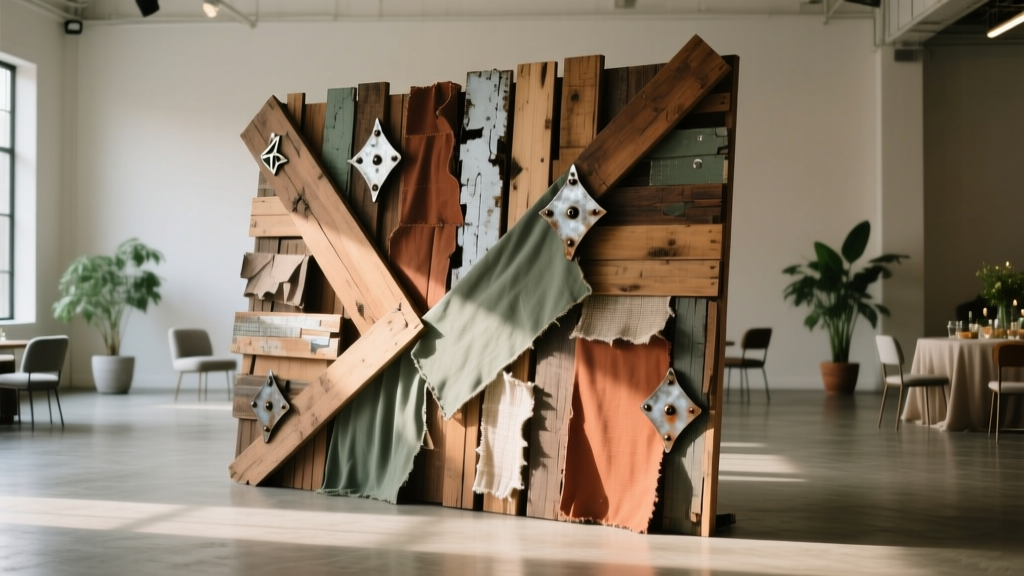 Upcycled Backdrops from Recycled Materials
 30 Creative Party Banner Ideas