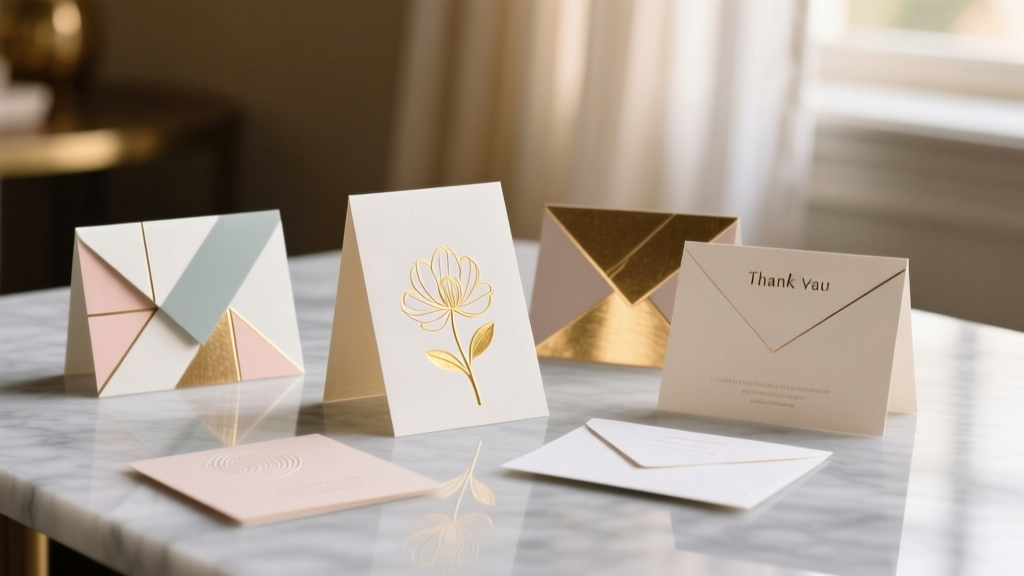
Modern Thank You Cards Designs
Thank you cards might be small, but they carry big energy—especially after a party, shower, birthday, or holiday gathering. A modern handmade thank you card feels personal without being fussy, and it’s one of the easiest DIY crafts to batch-produce for guests, hosts, teachers, or party helpers.
This project is also wonderfully practical: you can use leftover party supplies (scrap cardstock, ribbon, confetti, even napkins) and turn them into sleek, on-trend stationery. Whether your style is minimalist black-and-white, bright color blocks, or subtle metallics, you’ll end up with modern thank you card designs that look boutique—without boutique prices.
Best part: you can make a full set in one afternoon, customize them to match your party decorations, and keep a “thank you stash” ready for any occasion.
Project Overview (Skill Level + Time)
- Skill level: Beginner to Intermediate (advanced options included)
- Time estimate:
- 1 card: 10–20 minutes (depending on design)
- 8–12 cards batch-style: 60–120 minutes
- Great for: DIY party planning, handmade party decor details, hostess gifts, wedding thank you notes, baby shower thank you cards, birthday party favors
Materials List (With Estimated Costs)
Choose what fits your style and budget. You don’t need everything—pick a “base + one feature” approach for a clean modern look.
Paper + Card Bases
- Cardstock (80–110 lb / 216–300 gsm), 8.5" x 11" sheets or pre-scored A2 card bases (4.25" x 5.5")
Estimated cost: $8–$15 for 50 sheets or 40–50 card bases - Envelopes (A2 size), white, kraft, or colored
Estimated cost: $6–$12 for 50 - Optional specialty paper: vellum, metallic cardstock, textured linen cardstock
Estimated cost: $5–$12 for assorted pack
Adhesives
- Tape runner (clean + fast for cardstock)
Estimated cost: $6–$12 - Liquid craft glue (fine-tip preferred for small pieces)
Estimated cost: $3–$7 - Foam adhesive squares (adds modern dimension)
Estimated cost: $3–$6
Tools (Recommended)
- Paper trimmer (clean, modern edges)
Estimated cost: $15–$35 - Scoring board or bone folder (crisp folds)
Estimated cost: $8–$20 - Precision scissors or craft knife + cutting mat
Estimated cost: $8–$20 - Ruler (metal is best for knife cuts) + pencil
Estimated cost: $3–$10
Modern “Feature” Supplies (Pick 1–3)
- Black marker pen (0.5–0.8 tip) or brush pen for modern lettering
Estimated cost: $2–$8 - Stickers or vinyl letters (clean typography fast)
Estimated cost: $4–$10 - Washi tape (geometric patterns work beautifully)
Estimated cost: $5–$12 for set - Metallic accent: gold/silver gel pen, metallic paper strips, or foil tape
Estimated cost: $3–$8 - Small embellishments: sequins, flat confetti, mini pom-poms (use sparingly for a modern feel)
Estimated cost: $3–$10
Card Size + Measurements (A2 is the DIY Favorite)
A2 cards are the easiest to make, fit standard envelopes, and feel “just right” for thank you notes.
- Finished card size: 4.25" x 5.5"
- Cut cardstock to: 8.5" x 5.5"
- Score at: 4.25" (along the 8.5" side), then fold
Batch tip: One 8.5" x 11" sheet makes two A2 cards. Cut it in half at 5.5" to get two pieces sized 8.5" x 5.5".
Step-by-Step: Make Your Modern Thank You Cards
Step 1: Plan Your Look (2 minutes)
Modern designs look best with a simple formula:
- Base: white, cream, black, or kraft
- Accent color: one bold (coral, cobalt, emerald) or one neutral (taupe, slate)
- Feature: geometric shape, typography, or a metallic detail
If your party decorations had a color scheme, match your cards to it for a polished “party planner” vibe.
Step 2: Cut, Score, and Fold (10 minutes for a batch)
- Cut cardstock to 8.5" x 5.5" (or use pre-scored A2 bases).
- Score at 4.25".
- Fold and sharpen the crease with a bone folder for crisp, professional edges.
Step 3: Choose a Modern Design (Pick One)
Here are 5 modern thank you card designs you can make with basic DIY craft supplies.
Design 1: Minimalist Block “THANK YOU” (Clean + Fast)
Best for: beginner crafters, batch-making, party thank you cards
Time per card: 8–12 minutes
Materials
- White or kraft A2 card base
- Black marker or alphabet stickers
- Optional: thin strip of metallic paper (0.25" x 5.5")
Steps
- Lightly mark a guideline about 1.75" from the top edge of the card front.
- Write “THANK YOU” in tall, simple letters (or use letter stickers).
- Add a thin metallic strip along the bottom edge or under the words for a sleek finish.
- Erase pencil guidelines gently.
Design 2: Geometric Color-Block Corner (Modern Party Palette Match)
Best for: matching party decorations, bold modern style
Time per card: 12–18 minutes
Materials
- A2 card base (white looks sharp)
- Two colors of cardstock scraps
- Tape runner
- Black gel pen or small “thank you” sticker
Cut Measurements
- Rectangle 1: 2.5" x 5.5"
- Rectangle 2: 2.0" x 5.5"
Steps
- Adhere the 2.5" x 5.5" piece to the left side of the card front.
- Overlap the 2.0" x 5.5" piece on the right, leaving a slim white margin if you like.
- Write “thank you” in lowercase near the center seam for a modern typography feel.
- Optional: Add one small foam-mounted dot or star confetti at the top corner (one is enough).
Design 3: Washi Tape Grid (Beginner-Friendly + Trendy)
Best for: quick DIY crafts, using patterned tape, kids helping
Time per card: 10–15 minutes
Materials
- A2 card base
- Washi tape (geometric, stripes, or solid)
- Scissors
- Black marker or “thanks” sticker
Steps
- Place 3–5 vertical strips of washi tape across the card front (leave small gaps for a grid look).
- Add 2–3 horizontal strips, spacing them evenly.
- Trim excess tape flush with the edges using scissors or a craft knife.
- Add “THANKS” centered over the grid.
Design 4: Vellum Wrap + Bold Thank You (Elegant Modern)
Best for: weddings, showers, upscale parties
Time per card: 15–20 minutes
Materials
- Neutral A2 card base (white, cream, or black)
- Vellum strip: 2" x 11"
- Double-sided tape (strong)
- Small label sticker or cardstock tag (about 1.5" x 2.5")
Steps
- Wrap the vellum strip around the card like a belly band; overlap on the back.
- Tape the overlap on the back (keep adhesive hidden).
- On the front, add a small tag with “thank you” in bold lettering.
- Optional: Add one tiny metallic dot or mini star sticker for a clean, modern accent.
Design 5: Confetti Accent (Modern Party Fun Without the Mess)
Best for: birthdays, graduations, kids’ parties
Time per card: 12–18 minutes
Materials
- A2 card base
- Flat confetti or sequins (choose 1–2 colors)
- Liquid glue (fine tip)
- Black marker
Steps
- On the card front, create a “confetti corner” area about 2" x 2" in the top right.
- Glue down confetti pieces with space between them (a modern scattered look).
- Write “THANK YOU” slightly off-center for a designer feel.
- Let dry flat for 10 minutes before stacking.
Pro Tips for Crisp, Modern Results
- Use a limited palette: 1 base color + 1 accent + optional metallic. Too many colors can look busy.
- Keep dimension intentional: If you use foam squares, use them on one element only (like the main label).
- Go for clean spacing: Modern design loves margins. Leave at least 0.25" blank around the edges.
- Batch assembly: Cut all pieces first, then glue all, then letter all. It’s faster and more consistent.
- Practice lettering once: Test your “thank you” on a scrap before writing on the final card.
Variations (Beginner-Friendly + Advanced)
Beginner Adaptations
- Use printable templates: Print “thank you” in a modern font on cardstock, then just cut and fold.
- Sticker-based design: A single “THANK YOU” sticker plus one strip of washi tape looks finished and modern.
- Pre-cut shapes: Use circle or rectangle punches to avoid tricky cutting.
Advanced Variations
- Embossing: Heat-emboss “thank you” with gold powder for a high-end effect.
- Die-cut typography: Layer a die-cut “thanks” on foam tape over a color block.
- Modern mono-line art: Add a simple one-line balloon, cake slice, or flower sketch using a fine liner.
- Envelope upgrade: Line envelopes with patterned paper (cut to 5.25" x 6.75", trim to fit).
Troubleshooting (Quick Fixes That Save the Card)
- Glue wrinkled the paper: Switch to a tape runner for large areas; use liquid glue only for tiny elements.
- Washi tape lifting at edges: Burnish with a bone folder; add a tiny dot of glue under the corner.
- Lettering looks uneven: Add a simple underline, a small dot, or a label strip behind the words to “reset” the design.
- Card won’t fold neatly: Score before folding and use a bone folder to sharpen the crease.
- Confetti falls off: Use flat confetti, press gently, and allow full dry time before stacking.
Common Crafting Mistakes to Avoid
- Over-embellishing: Modern thank you cards look best when one feature shines. Keep extras minimal.
- Skipping the score: Folding thick cardstock without scoring can crack the paper or create a wobbly edge.
- Using too much liquid glue: It seeps out, warps paper, and looks messy—especially on minimalist designs.
- Cutting without measuring: Even a 1/8" difference shows on clean, geometric designs. Measure once, cut carefully.
- Forgetting envelope thickness: Puffy embellishments may not fit well. If mailing, keep layers flat or use padded envelopes.
FAQ: Modern Thank You Cards Designs
1) What’s the easiest modern thank you card design for beginners?
A minimalist “THANK YOU” in black on a white or kraft A2 base with one washi tape strip is the quickest and still looks polished.
2) What cardstock weight should I use for handmade thank you cards?
Use 80–110 lb (216–300 gsm) cardstock. It feels sturdy, folds cleanly when scored, and gives that professional stationery look.
3) How do I make thank you cards that match my party decorations?
Pull 1–2 colors from your party theme (balloons, tableware, banners) and repeat them as color blocks, washi tape accents, or confetti corners. Matching the palette is the easiest way to make DIY party details feel coordinated.
4) Can I print “thank you” instead of hand-lettering?
Yes. Choose a modern sans-serif font, print on cardstock, then cut into small labels (around 1.5" x 2.5") and pop them up with foam squares.
5) How many cards can I make from one pack of cardstock?
If you’re using 8.5" x 11" sheets, each sheet makes two A2 card fronts (8.5" x 5.5"). A 50-sheet pack can create about 100 A2 cards (plus you’ll need envelopes).
6) What should I write inside a thank you card after a party?
Keep it short and personal: mention the gift (or their help), thank them for coming, and add one warm line. Example: “Thank you for celebrating with us—your gift was so thoughtful, and it meant a lot to have you there.”
Wrap-Up: Your Modern Thank You Cards, Ready for Any Celebration
Modern thank you cards are one of those DIY crafts that instantly elevate a party experience—guests feel appreciated, and you get a creative project that’s relaxing, budget-friendly, and easy to personalize. Start with one design, make a small batch, and let your leftover party supplies become something genuinely useful.
When you’re ready for your next handmade project—party decorations, favors, and simple crafts that look professionally styled—explore more DIY ideas on smartpartyprep.com.
More Articles
 No-Sew Coasters Tutorial
 How to Make Party Hats for Stuffed Animals in Under 15 Minutes (No Sewing Required!) — 7 Adorable, Budget-Friendly Designs That Actually Stay On
 Personalized Custom Stickers Gifts
 Advanced Invitations for Crafters
 12 Stunning Do It Yourself Party Centerpieces You Can Make in Under 30 Minutes (No Craft Experience Needed — Seriously)
 How to Make Tents for a Slumber Party: 7 No-Sew, Budget-Friendly Ideas That Take Under 20 Minutes (Plus Pro Tips to Keep Them Standing All Night!)
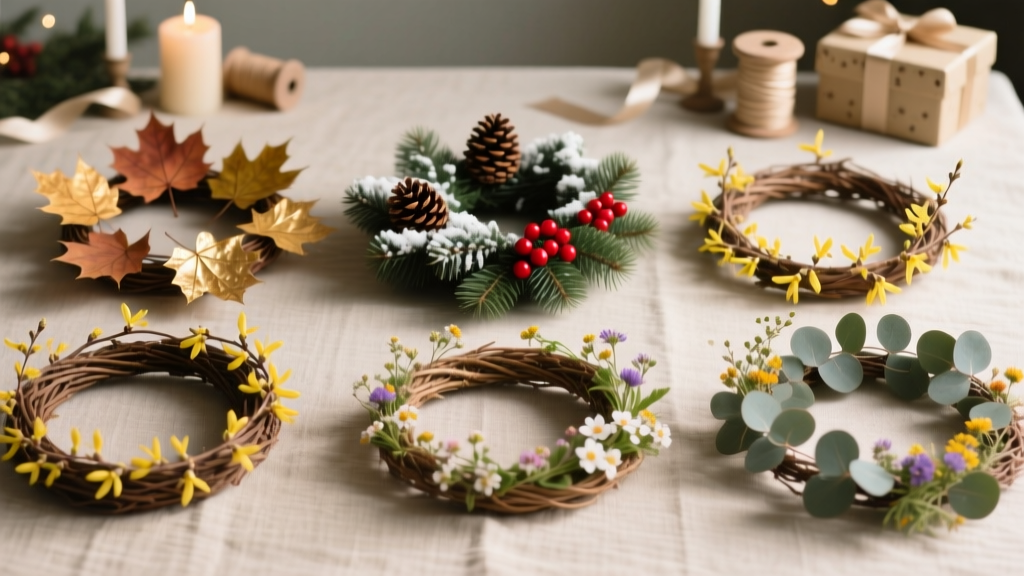 Seasonal Wreaths Ideas
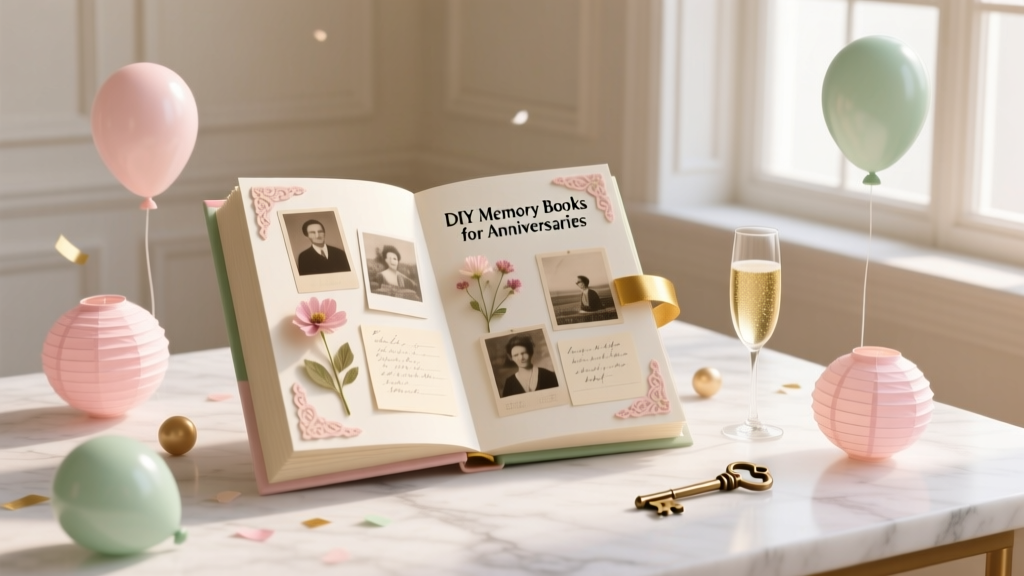 DIY Memory Books for Anniversaries
 Rustic Photo Booth Props Ideas
 How to Allow Third Party Cookies on Chrome in 2024: A Step-by-Step Guide That Actually Works (No More 'Blocked' Errors or Broken Logins)