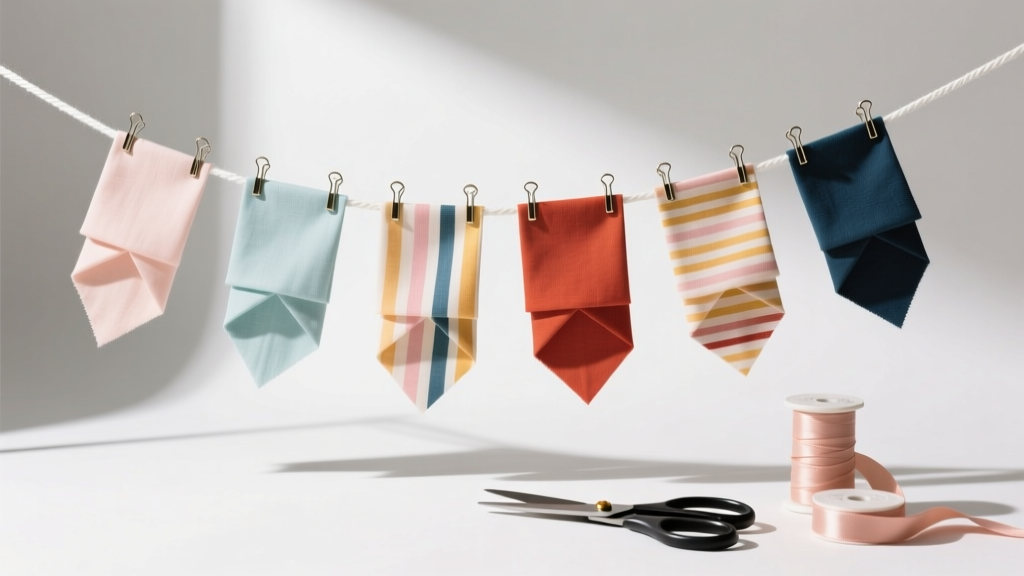
Step-by-Step Fabric Bunting Tutorial
Fabric bunting is one of those DIY party decorations that instantly makes a space feel festive—without needing a huge budget or complicated tools. It’s cheerful, customizable, and reusable, which means you can bring it out for birthdays, baby showers, weddings, graduation parties, holiday gatherings, and even cozy everyday décor in a craft room or playroom.
The best part? This handmade project is beginner-friendly, but it also has plenty of room for creative upgrades. You can keep it simple with pinking shears and ribbon, or sew fully lined double-sided flags with crisp points and professional finishes. Either way, you’ll end up with a banner you’ll be proud to hang.
Below you’ll find a practical, step-by-step fabric bunting tutorial with measurements, time estimates, pro tips, troubleshooting, and fun variations—everything you need to make your own beautiful DIY bunting.
Project Overview (Skill Level, Time, Finished Size)
- Skill level: Beginner (no-sew) to Intermediate (sewn, lined, bias tape finish)
- Time estimate:
- No-sew: 60–90 minutes
- Sewn (single layer): 1.5–2.5 hours
- Sewn (double-sided/lined): 2.5–4 hours
- Typical finished length: 6–10 feet for party backdrops (adjustable)
- Recommended flag size (classic triangle): 7" wide x 9" tall (plus seam allowance if sewing)
- Great for: DIY party décor, photo backdrops, dessert tables, high chair banners, classroom décor
Materials & Tools (With Estimated Costs)
Fabric & Notions
- Cotton quilting fabric (fat quarters or 1/4 yard cuts): 3–6 prints depending on length and flag count ($3–$6 each fat quarter; $4–$8 per 1/4 yard)
- Backing fabric (optional for double-sided flags): same amount as front fabric ($4–$8)
- Ribbon, twill tape, or bias tape for the string: 1/2"–1" wide, 8–12 feet ($4–$10)
- Fusible interfacing (optional for crisp flags): lightweight to medium weight ($3–$8)
- Thread: coordinating all-purpose polyester thread ($3–$5)
- Fabric glue or iron-on hemming tape (no-sew option): ($4–$9)
Tools (Choose Based on Method)
- Fabric scissors: sharp, dedicated to fabric ($10–$25)
- Pinking shears (optional no-sew fray control): ($12–$25)
- Rotary cutter + self-healing mat + acrylic ruler (recommended for speed/accuracy): ($35–$70 for a basic set)
- Sewing machine: straight stitch is all you need (optional but recommended)
- Iron + ironing board: helps everything look polished
- Pins or sewing clips: ($3–$8)
- Measuring tape or ruler: for spacing and length planning
- Chalk pencil or washable fabric marker: for tracing templates
Budget Snapshot
- Budget build (using fat quarters + ribbon): approximately $15–$30
- Premium build (double-sided + interfacing + bias tape + rotary set): approximately $35–$80 (tools are reusable for future DIY crafts)
Pick Your Bunting Style
Option A: Quick No-Sew Fabric Bunting
Best if you want fast party decorations with minimal tools. Use pinking shears to reduce fraying or choose felt (which doesn’t fray).
Option B: Sewn Single-Layer Flags
Best if you want a sturdier bunting but still quick. Great for cotton quilting fabric.
Option C: Sewn Double-Sided (Lined) Flags
Best for a high-end look—perfect for weddings, styled photo shoots, or reusable birthday décor.
Measurements & Planning (So Your Banner Fits Perfectly)
Recommended Flag Template (Classic Triangle)
- Cut size (single layer): 7" wide x 9" tall triangle
- If sewing with seam allowance: add 1/4" seam allowance around the sides and point (top edge can be left raw if enclosed in bias tape)
- If making double-sided flags: cut 2 triangles per flag (front + back)
How Many Flags Do You Need?
A simple formula:
- Flag width: 7"
- Spacing between flags: 1"–2" (optional; many buntings place flags touching)
- Extra tie length: 12"–18" on each end
Example: For a 9-foot bunting (108"), subtract 30" total for ties (15" each end) = 78" usable. If each flag takes ~7" of width, you can fit about 11 flags (78 ÷ 7 ≈ 11). If you add 1" spacing between flags, plan for about 9–10 flags.
Step-by-Step Fabric Bunting Tutorial
Step 1: Create a Reusable Template
- Cut a rectangle from cardstock: 7" wide x 9" tall.
- Mark the midpoint of the bottom edge at 3.5".
- Draw lines from the top corners to the midpoint to form a triangle.
- Cut out the triangle template.
Beginner-friendly adaptation: Use a store-bought quilting template or print a triangle template and glue it to cardstock.
Step 2: Cut Your Fabric Flags
- Press fabric with an iron first (wrinkles cause inaccurate cuts).
- Fold fabric right sides together if you want to cut two layers at once.
- Trace the template with chalk/marker, then cut using fabric scissors or a rotary cutter.
- Repeat until you have the number of flags you planned.
- No-sew tip: Use pinking shears to cut the edges to minimize fraying.
- For double-sided flags: Cut pairs (one front, one back) for each triangle.
Step 3 (Optional): Add Interfacing for Structure
- Cut lightweight fusible interfacing slightly smaller than each triangle (about 1/4" inside the edges).
- Fuse to the wrong side of the fabric following the package instructions.
This is especially helpful if your bunting will hang outdoors or you want crisp points for photos.
Step 4A: No-Sew Assembly (Fast Method)
- Lay your ribbon/twill tape flat and decide the flag order (mix patterns for a playful party look).
- Fold the top edge of each flag over the ribbon by 1/2".
- Secure with fabric glue or iron-on hemming tape.
- Let dry fully before hanging (check glue instructions; often 1–2 hours for strong hold).
Best materials for no-sew: felt flags + ribbon, or cotton with pinked edges + strong fabric glue.
Step 4B: Sewn Single-Layer Flags (Clean & Quick)
- Finish the two angled sides and point with a zigzag stitch, serger, or bias tape scraps (optional but helps reduce fraying).
- Press the top edge down by 1/2", then press again by 1/2" to create a neat casing.
- Sew along the folded edge to form a channel.
- Thread ribbon or twill tape through the channels (use a safety pin as a guide).
- Adjust spacing, then tie ends to hang.
Step 4C: Sewn Double-Sided (Lined) Flags (Professional Finish)
- Pair triangles right sides together (front + back).
- Stitch down the two angled sides using a 1/4" seam allowance, leaving the top edge open.
- Trim the seam allowance slightly at the point (don’t cut through stitches), then turn right side out.
- Use a blunt tool (like a chopstick) to gently push out the point.
- Press flat, making sure seams sit neatly on the edge.
- Insert the raw top edges into double-fold bias tape (1/2"–1" wide). Pin or clip in place.
- Sew along the open edge of the bias tape, catching both sides as you stitch.
Advanced variation: Topstitch around each flag (1/8" from edge) for a crisp, tailored look.
Step 5: Spacing, Hanging, and Finishing Touches
- Leave 12"–18" of extra ribbon/bias tape at each end for tying.
- For even spacing, measure gaps between flags with a ruler (try 1" gaps for airy bunting or 0" for a fuller look).
- Hang with removable hooks, painter’s tape (lightweight only), or small nails for outdoor use.
Pro Tips for Beautiful DIY Party Decorations
- Chain piece for speed: If sewing, stitch multiple flags in a row without cutting thread between each one, then snip apart.
- Press as you go: Ironing between steps is the difference between “handmade” and “handcrafted.”
- Use twill tape for less slipping: Satin ribbon can slide; cotton twill tape grips fabric better.
- Balance prints: Alternate bold patterns with solids so the bunting reads clearly in photos.
- Outdoor-friendly upgrade: Add interfacing + double-sided flags + stronger ties. Bring indoors after the event to keep it fresh.
Creative Variations (Beginner to Advanced)
Beginner-Friendly Variations
- Felt bunting: No fraying, easy cutting, great for kids’ parties.
- Square or pennant flags: Skip the point and make rectangles (easy to align).
- Iron-on letters: Add a simple “HAPPY BIRTHDAY” across a few flags using heat transfer vinyl.
Advanced Variations
- Scalloped bunting: Use a scallop template and bias tape binding for a boutique look.
- Pom-pom trim or lace edging: Sew trim into the seam of lined flags for texture.
- Quilted flags: Piece fabric scraps, quilt lightly, then cut flags—amazing for a handmade, heirloom vibe.
- Reversible seasonal bunting: One side birthday prints, the other side holiday or everyday neutrals.
Troubleshooting (Fixes for Common Issues)
- My flags curl or won’t hang flat: Add interfacing, press thoroughly, and use double-sided flags for weight. Also check that your string isn’t twisting.
- The points look rounded or messy: Trim seam allowance at the point, turn carefully, and press. For sharp points, stitch closer to the edge near the tip.
- Bias tape won’t catch both sides: Clip more frequently and sew slowly. Use a slightly wider bias tape (1" instead of 1/2").
- Fabric is fraying: Use pinking shears, zigzag/overcast the edges, or choose felt. Lined flags also hide raw edges.
- Bunting sags too much in the middle: Shorten the span, use a stronger tape (twill), or add a center support hook.
Common Crafting Mistakes to Avoid
- Skipping the pressing step: Wrinkled fabric causes uneven flags and a wavy top edge.
- Cutting without a template: Freehand triangles almost always end up mismatched, especially when you string them together.
- Not leaving enough tie length: Always add 12"–18" at each end so you can hang it easily on walls, mantels, fences, or tables.
- Choosing ribbon that’s too narrow: Super-thin ribbon twists and droops. Aim for 1/2"–1" for stability.
- Overcrowding patterns: Too many busy prints can look chaotic. Mix in solids or small-scale prints for balance.
- Using weak adhesive for no-sew: If you’re going no-sew, pick fabric glue designed for textiles or use iron-on hemming tape for a stronger bond.
FAQ: Fabric Bunting Questions Answered
1) What’s the best fabric for bunting?
Cotton quilting fabric is a favorite for DIY crafts because it’s easy to cut and sew, comes in endless prints, and holds its shape well. Felt is excellent for no-sew bunting since it won’t fray.
2) How do I keep fabric bunting from fraying?
Use pinking shears, sew a zigzag stitch along edges, serge the edges, or make lined (double-sided) flags so raw edges are enclosed.
3) How many flags do I need for a party backdrop?
For a 6–10 foot span, 9–14 flags is a great range with 7" wide triangles. Add more flags for a fuller look or fewer flags for a minimal style with more spacing.
4) Can I wash and reuse fabric bunting?
Yes—especially sewn bunting. Hand wash or gentle cycle in a laundry bag, then air dry and press. If you used fabric glue, check the glue label first; some adhesives may not hold up as well in the wash.
5) What’s the easiest way to add letters for “Happy Birthday”?
Heat transfer vinyl (HTV) is the cleanest option. Iron-on fabric letters also work. Add letters before assembling the flags onto the ribbon/bias tape so you can press on a flat surface.
6) How do I make my bunting look more “professional”?
Make double-sided flags, use interfacing, sew with bias tape, keep spacing consistent, and press everything carefully. A simple topstitch around each flag also adds a polished finish.
Ready to Make Your Own Handmade Bunting?
Whether you’re decorating for a birthday party, styling a dessert table, or adding charm to a backyard celebration, fabric bunting is a satisfying handmade project that delivers big impact. Start with a simple triangle template and a few fun fabrics, then let your creativity take it from there—this is one DIY party decoration you’ll find yourself making again and again.
Looking for more party-ready DIY crafts and handmade decoration ideas? Explore more creative projects on smartpartyprep.com and keep the celebration going.
More Articles
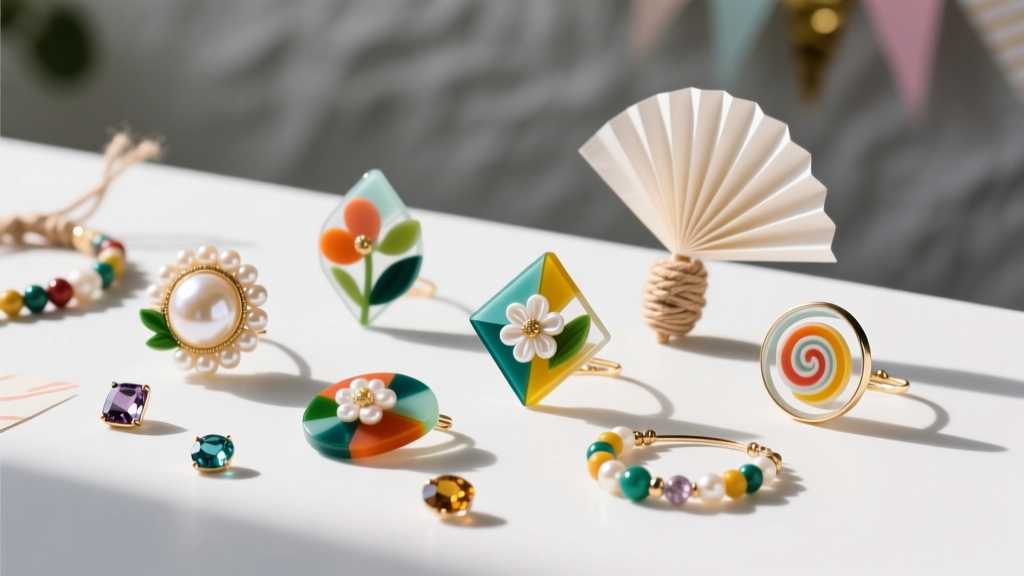 Budget DIY Resin Jewelry Under $15
 How to Make a Party Hat Out of Paper in Under 12 Minutes (No Glue Gun, No Scissors Required — Just Printer Paper & Tape)
 Modern Mugs Designs
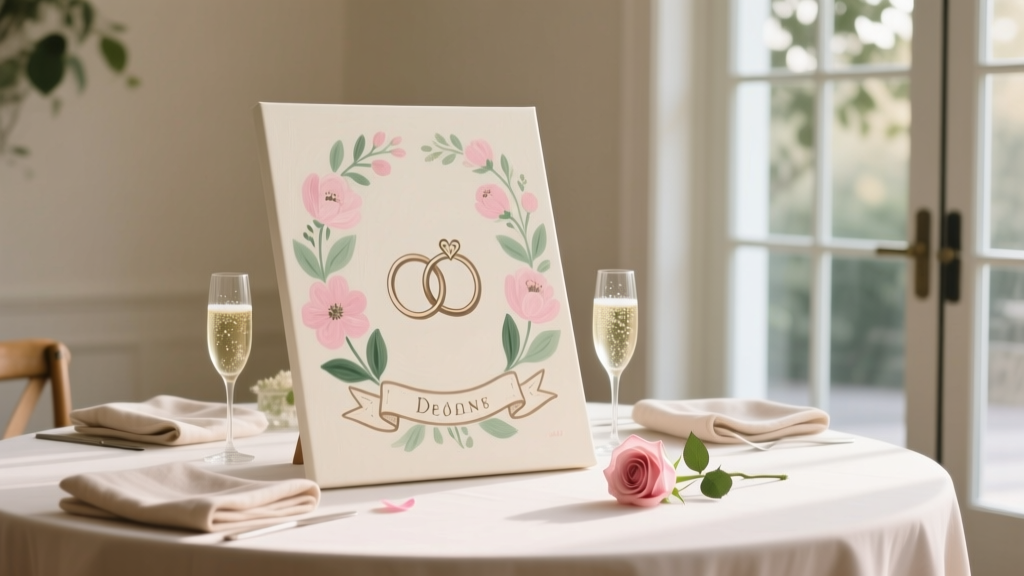 DIY Painted Canvas for Weddings
 DIY Confetti in 30 Minutes
 Why Don’t Third Parties Usually Succeed on Quizlet? The 5 Hidden Structural Barriers That Kill Outside Study Tools (And How to Beat Them)
 Upcycled Paper Lanterns from Recycled Materials
 Step-by-Step Backdrops Tutorial
 DIY Paper Lanterns with Dollar Store Supplies
 How to Make Balloon Arches at Home