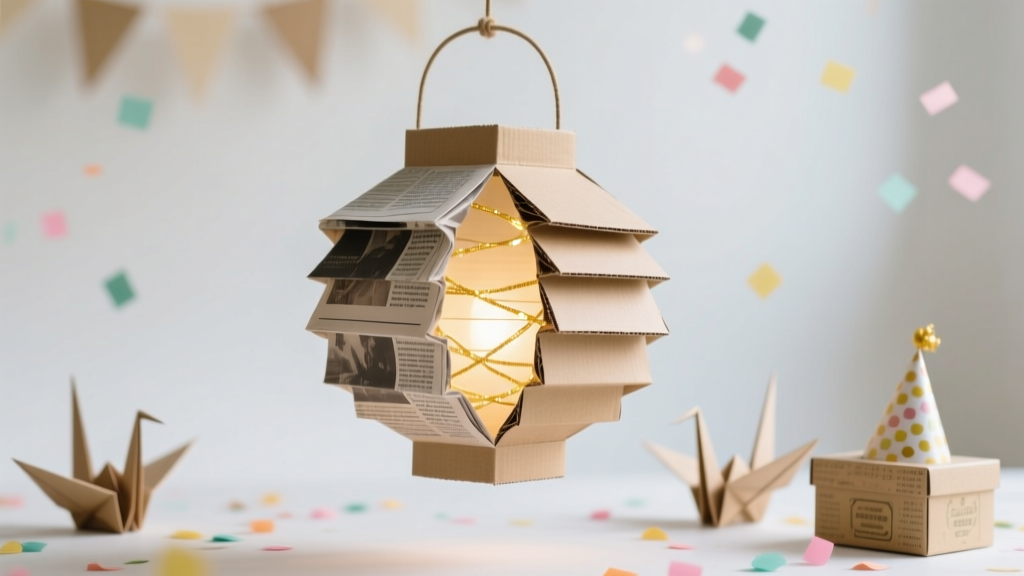
Upcycled Paper Lanterns from Recycled Materials
Nothing transforms a party space faster than warm, twinkly light. Paper lanterns add instant charm to birthdays, backyard gatherings, baby showers, and cozy holiday tables—and making them yourself is even better. When you upcycle recycled materials into handmade lanterns, you get decor that’s budget-friendly, personal, and surprisingly polished.
This project is especially fun because it’s flexible: you can keep it simple with basic cuts and glue, or level up with patterned layers, cutout designs, and color themes that match your celebration. Plus, you’re giving new life to items you already have—old magazines, paper grocery bags, scrap wrapping paper, and even cardboard packaging.
Below you’ll find a practical, step-by-step guide with measurements, tool recommendations, time estimates, and plenty of variations for beginners and advanced crafters. Let’s turn “recycling” into party-ready DIY craft magic.
Project Overview: Skill Level, Time & Best Uses
- Skill level: Beginner (with options for intermediate/advanced)
- Time estimate per lantern: 20–35 minutes (plus drying time if painting/gluing)
- Best for: DIY party decorations, bridal/baby showers, outdoor dinners, kids’ craft parties, seasonal decor
- Lighting note: Use LED tea lights or micro LED string lights only (no open flames)
Materials & Tools (with Estimated Costs)
Recycled Materials You Can Use
- Paper grocery bags (brown kraft look; sturdy and beginner-friendly)
- Old magazines or catalog pages (colorful, modern collage effect)
- Scrap wrapping paper (great for themed parties)
- Junk mail and cardstock inserts (adds structure)
- Cereal boxes or thin packaging cardboard (for bases and frames)
- Glass jars (optional liner or base for extra stability)
Core Supplies (Budget-Friendly)
- Glue: PVA craft glue or tacky glue (4–8 oz) – $3–$7
- Double-sided tape (optional, for clean seams) – $3–$6
- Painter’s tape or washi tape (optional for temporary holds) – $3–$6
- LED tea lights (battery-powered) – $6–$12 per set
- Micro LED fairy lights (optional for bright lanterns) – $8–$15
- String/twine for hanging – $3–$8
Tools (Recommended)
- Scissors (sharp craft scissors) – $5–$12
- Craft knife (for clean cutouts; optional) – $5–$10
- Cutting mat (protects surfaces) – $8–$15
- Ruler (12-inch/30 cm) – $2–$6
- Bone folder (optional, for crisp folds) – $6–$10
- Hole punch (handheld) – $6–$12
- Clothespins/binder clips (for holding seams while drying) – $2–$6
Optional Decorative Supplies
- Acrylic paint or leftover wall paint samples – $1–$6
- Mod Podge (for sealing and decoupage) – $6–$12
- Glitter (use sparingly) – $3–$6
- Paper doilies, tissue paper, dried flowers (for layering) – $2–$8
Choose Your Lantern Style
This tutorial focuses on two reliable designs made from recycled materials:
- Style A: Hanging Slit Paper Lantern (classic round/oval look, lightweight)
- Style B: Luminary Bag Lantern (tabletop-friendly, great for pathways)
Style A: Hanging Slit Paper Lantern (Recycled Paper Bag or Magazine Sheets)
Measurements (Standard Party Size)
- Lantern body sheet: 10 in x 8 in (25.5 cm x 20.5 cm)
- Cut margin (top and bottom): 1 in (2.5 cm) uncut
- Slit spacing: every 1/2 in (1.25 cm)
- Handle strip: 8 in x 3/4 in (20.5 cm x 2 cm)
Tip: If you’re using magazine pages, glue 2–3 pages together first to create a sturdier sheet before cutting.
Step-by-Step Instructions
-
Prep your paper sheet.
- Cut a recycled paper grocery bag to create a flat sheet.
- Measure and cut to 10 in x 8 in. If the paper is thin, lightly coat the back with glue and layer another sheet.
-
Mark the fold and margins.
- Place the paper horizontally (10-inch side left to right).
- Lightly mark 1 inch from the top and bottom edges—these stay uncut.
- Fold the paper in half lengthwise (so it becomes 10 in x 4 in), crease with a ruler or bone folder.
-
Cut the slits.
- With the fold on the bottom, cut vertical slits starting from the folded edge upward, stopping at the 1-inch margin line.
- Aim for slits about 1/2 inch apart. Keep them even for a clean lantern shape.
-
Unfold and form the lantern.
- Open the paper and bring the two short ends together to form a cylinder.
- Use double-sided tape for a neat seam, or glue and hold with clips for 5–10 minutes.
-
Add the handle.
- Cut an 8 in x 3/4 in strip from recycled cardstock or bag paper.
- Glue or tape ends inside the lantern near the top rim.
- For extra strength, reinforce handle ends with small cardboard tabs (about 1 in x 1 in).
-
Insert LED lighting safely.
- Place an LED tea light inside (great for gentle glow).
- For brighter light, wrap a short strand of micro LED fairy lights inside the base.
- Never use real candles—paper lanterns are flammable.
Beginner-Friendly Adaptation
- Make fewer, wider slits (about 3/4 in apart) to reduce tearing.
- Use a brown paper bag and decorate with washi tape stripes instead of cutouts.
Advanced Variation
- Create a layered lantern: make a second cylinder slightly smaller (9.5 in x 7.5 in) from vellum-like paper (tissue paper backed with glue) and place it inside for a soft diffused glow.
- Add cutout shapes (stars, hearts, confetti dots) with a craft knife before forming the cylinder.
Style B: Luminary Bag Lantern (Perfect for Tables and Pathways)
This is a classic DIY party decoration that looks stunning lined up on steps or as a centerpiece cluster.
Measurements (Fits Most Standard LED Tea Lights)
- Bag size: Lunch-size paper bag (approx. 5 in x 3 in x 10 in / 12.5 cm x 7.5 cm x 25 cm)
- Folded top hem: 1 in (2.5 cm), folded down twice for strength
- Window cutout area (optional): 3 in x 4 in (7.5 cm x 10 cm)
Step-by-Step Instructions
-
Reinforce the bag opening.
- Fold the top edge down 1 inch, then fold down another 1 inch to create a sturdy rim.
- Press firmly and crease well.
-
Add cutout windows (optional).
- On one or more sides, draw a simple shape (rectangle, arch, circle, heart).
- Cut with scissors or a craft knife on a cutting mat.
- Keep at least 1 inch of paper around edges for strength.
-
Line the windows for a soft glow.
- Glue tissue paper, tracing paper, or thin white packing paper inside the window area.
- Let dry 10–15 minutes before handling.
-
Stabilize the base.
- Option A (quick): place a small square of cardboard (about 3 in x 3 in) at the bottom.
- Option B (pretty): add a layer of clean sand, pebbles, or dried beans for weight (especially outdoors).
-
Add your LED light.
- Place an LED tea light in the center.
- For extra sparkle, add a short coil of micro LEDs around the base.
Decorating Ideas for Party Themes (Easy Wins)
- Birthday party decor: Use bright magazine color blocks, add a paper “age” number tag, and coordinate with tableware colors.
- Boho outdoor party: Keep brown kraft paper, add twine wraps, and glue on small pressed leaves (seal with Mod Podge).
- Holiday handmade decorations: Cut star windows and line with red/green tissue paper.
- Wedding or bridal shower: Use white paper bags, lace-like doily cutouts, and warm white LEDs.
- Kids’ party craft station: Provide stickers, markers, and pre-cut shapes so kids can decorate without knives.
Pro Tips for Clean Results
- Score folds for crisp edges: Use a ruler and the back of a butter knife or a bone folder for smooth creases.
- Keep glue controlled: Apply a thin layer with a small paintbrush or sponge brush to avoid wrinkles.
- Clamp seams while drying: Clothespins or binder clips hold paper edges without slipping.
- Make it hang-ready: For hanging lanterns, reinforce the top rim with a strip of cardstock (about 10 in x 1/2 in) glued inside.
- Use warm white LEDs: They look more flattering in photos than cool white for most party setups.
Troubleshooting: Fix Common Issues Fast
My paper is tearing when I cut slits
- Use thicker paper (kraft bags) or double-layer magazine pages with glue.
- Increase slit spacing to 3/4 inch.
- Leave a wider uncut margin (try 1.25 inches top and bottom).
My lantern won’t hold its shape
- Add a cardstock ring inside the top and bottom rim.
- Switch from glue to strong double-sided tape for tighter seams.
- For luminaries, add base weight (sand/beans) and fold a sturdy double hem at the top.
Wrinkles and bubbles under tissue paper
- Apply glue to the bag first, then lay tissue paper down gently from one side to the other.
- Use a dry brush to smooth outward lightly.
- Let it dry fully before adding another layer or moving the lantern.
Common Crafting Mistakes to Avoid
- Using real candles: Paper lanterns and luminary bags should only be lit with LEDs.
- Skipping reinforcement: Handles and hanging points need extra paper/cardboard tabs so they don’t rip mid-party.
- Over-gluing: Too much glue warps paper and causes soggy seams. Thin layers work best.
- Cutting too close to edges: Leave at least 1 inch border around windows or patterns to prevent collapse.
- Not testing lighting early: Turn on your LEDs before final assembly so you can adjust brightness and placement.
- Making all lanterns identical: A mix of sizes and patterns looks more styled and “intentional” as party decorations.
FAQ: Upcycled Paper Lanterns
1) What recycled materials work best for sturdy lanterns?
Paper grocery bags and thin cardboard from cereal boxes are the most reliable. Magazine pages look amazing but usually need layering (glue 2–3 sheets together) to prevent flimsiness.
2) Can I hang these outdoors for a party?
Yes—use LED lights and add stability. For hanging lanterns, reinforce the top rim and hang under a covered area if possible. Paper doesn’t love wind or humidity, so plan for indoor/outdoor sheltered use.
3) How do I make them safer around kids and pets?
Stick to battery-powered LED tea lights, keep cords out of reach if using fairy lights, and avoid small detachable decorations (like loose beads) for kid-friendly craft stations.
4) What size should I make if I want a big statement lantern?
Scale the sheet up to 14 in x 10 in (35.5 cm x 25.5 cm) and keep a 1.5-inch top/bottom margin. Reinforce with cardstock rings at the rims so it doesn’t slump.
5) How far in advance can I make DIY paper lanterns?
For best results, make them 1–7 days ahead. Store flat or loosely stacked in a dry box. If you used paint or Mod Podge, let everything cure overnight before stacking.
6) How can I match lanterns to my party theme?
Use wrapping paper scraps in your party color palette, add cutout icons (stars for a space party, florals for a garden shower), and coordinate LED light color (warm white for elegant, colored LEDs for playful vibes).
Wrap-Up: Make Your Party Glow with Handmade Style
Upcycled paper lanterns are one of those DIY crafts that deliver big impact without needing fancy supplies. With a few recycled materials, simple tools, and safe LED lighting, you can create party decorations that feel custom, cozy, and totally celebration-ready. Make a small set for a centerpiece, or go all out and line a walkway with luminary bags for a magical evening look.
If you try this project, make a batch in different sizes, mix patterns, and don’t be afraid to experiment—your best designs often come from using what you already have. For more handmade projects, DIY party decor, and creative craft ideas, explore the latest tutorials on smartpartyprep.com.
More Articles
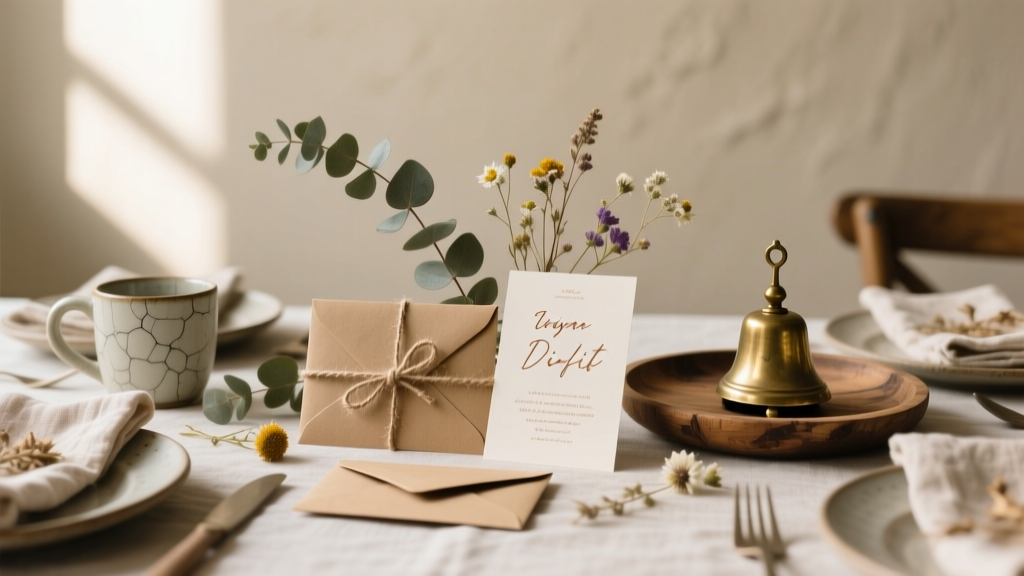 Rustic Invitations Ideas (That You Can DIY at Home)
 How to Enable Third Party Cookies on MacBook Air (2020–2024): A Step-by-Step Fix for Safari, Chrome & Firefox — Because Yes, It’s Still Possible (and Here’s Exactly How)
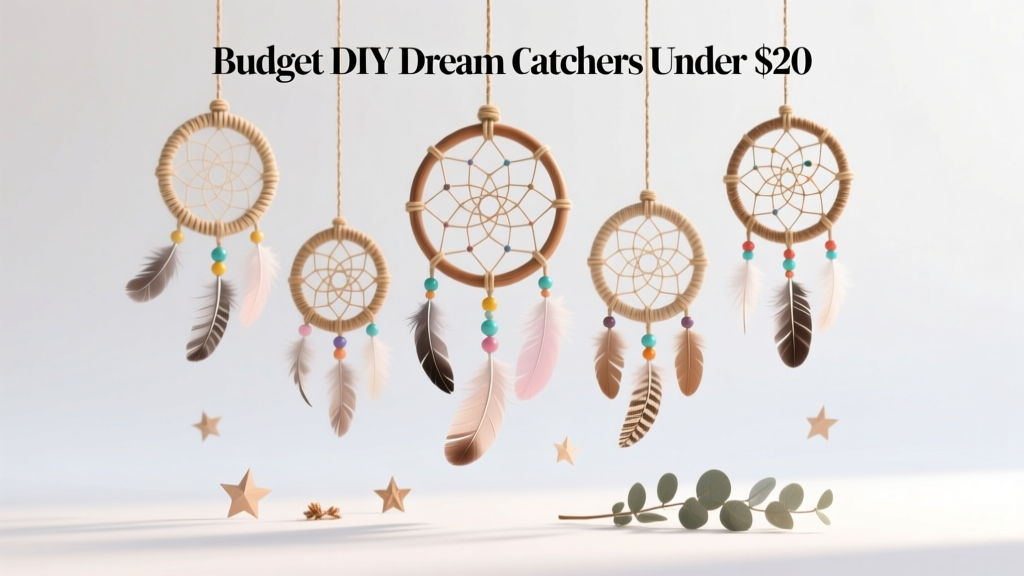 Budget DIY Dream Catchers Under $20
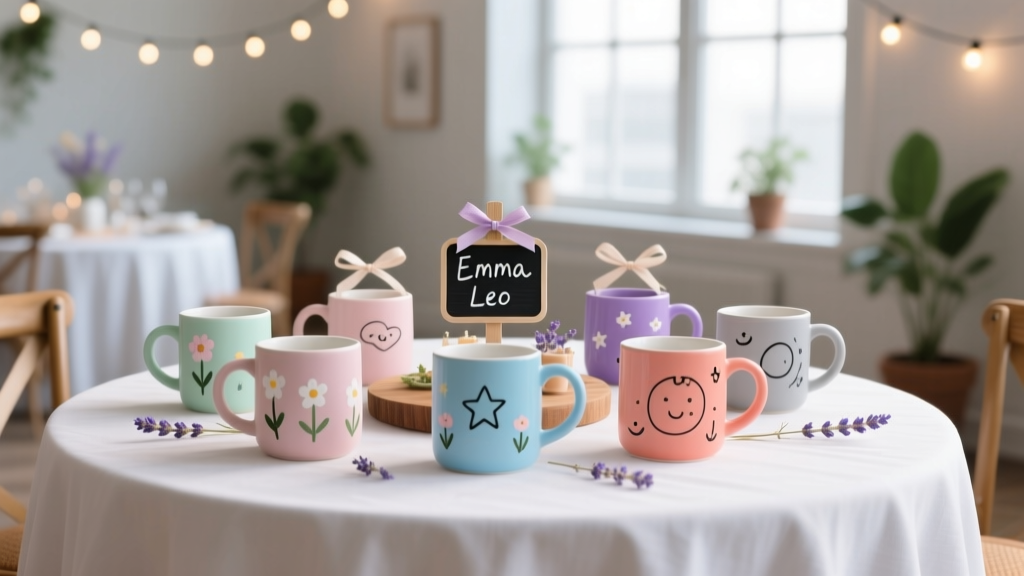 DIY Mugs Party Favors
 Personalized Mugs Gifts (DIY Party Favors & Handmade Keepsakes)
 Advanced Backdrops for Crafters
 How to Train a Dragon Party Favors: 7 Foolproof DIY Steps (No Fire Breathing Required!) — Easy, Kid-Safe, & Instagram-Worthy in Under 90 Minutes
 Kids' Craft: Wreaths
 DIY Friendship Bracelets Using Cricut
 Step-by-Step Place Cards Tutorial