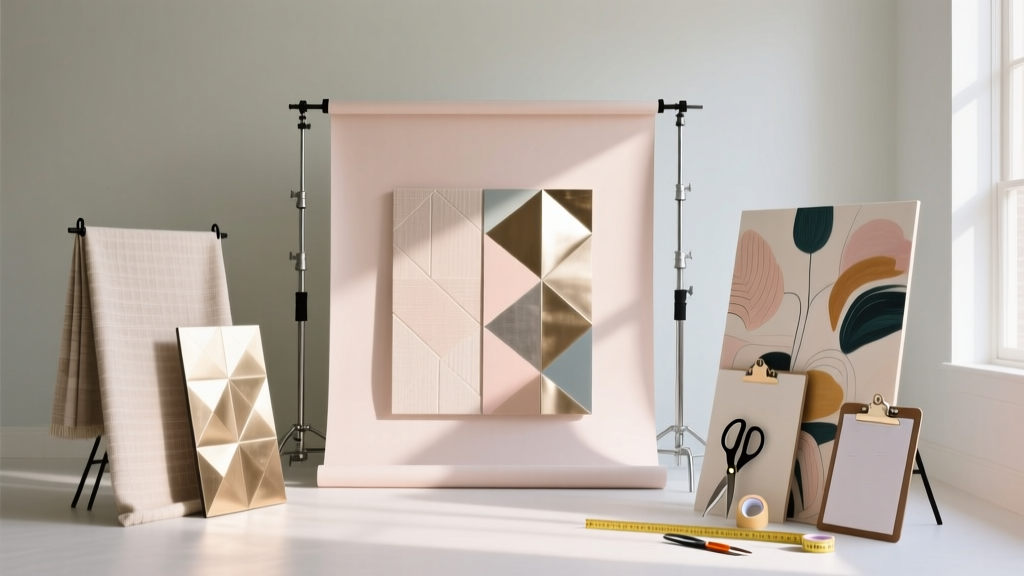
Advanced Backdrops for Crafters
A great party backdrop does more than fill a blank wall—it sets the whole mood. It turns “cute decorations” into a photo-worthy moment, gives guests a natural place to gather, and makes even simple party supplies look intentionally styled. If you love DIY crafts and handmade party decorations, building an advanced backdrop is one of the most satisfying projects you can tackle.
The fun part: you don’t need a professional studio or fancy carpentry skills to create a backdrop that looks high-end. With smart material choices and a few pro construction tricks, you can build modular panels, layered textures, and lighting-ready designs that pack down for storage and re-use for birthdays, baby showers, weddings, graduations, and holiday parties.
This guide walks you through three advanced DIY backdrop builds (with beginner-friendly options), complete with measurements, tool recommendations, costs, and troubleshooting—so you can confidently create a handmade backdrop that looks custom and photographs beautifully.
Skill Level, Time Estimates, and What “Advanced” Means Here
- Overall skill level: Intermediate to Advanced (beginner-friendly adaptations included)
- Time estimates:
- Backdrop Stand + Panels: 2–4 hours
- Covering/Finishing: 1–3 hours (depends on fabric/paint and drying time)
- Balloon garland add-on: 1–2 hours
- Floral/foliage layering: 1–2 hours
- Why “advanced”: You’ll be using modular construction, layered materials, and camera-friendly techniques (structure + surface + styling) rather than simply hanging a sheet.
Materials List (Product Types + Estimated Costs)
Core Structure Options
- Option A: Adjustable backdrop stand kit (8ft–10ft wide x 7ft–10ft tall): $35–$90
- Option B: DIY PVC frame (1" Schedule 40 PVC + connectors): $30–$70
- Option C: Panel-style backdrop (recommended for advanced crafters):
- Foam insulation boards (4ft x 8ft x 1"): $20–$45 each (2–3 boards typical)
- OR lightweight plywood panels (1/4" thick, 4ft x 8ft): $25–$60 each
- Wood furring strips (1x2s) for bracing: $10–$25
Surface & Styling Materials
- Backdrop fabric:
- Matte spandex fabric panels (photo-friendly): $20–$60
- Cotton muslin (dyeable/paintable): $15–$40
- Velvet (luxury look, heavier): $25–$80
- Paint/finish:
- Latex wall paint samples or quarts (matte): $6–$25
- Primer (if painting foam/wood): $10–$20
- Fasteners & adhesives:
- Heavy-duty Velcro strips (2" wide): $10–$20
- 3M removable hooks (for lights/signs): $6–$15
- Hot glue sticks (high-temp preferred): $5–$12
- Gaffer tape (clean removal): $12–$25
- Decor add-ons (choose what fits your theme):
- Balloon garland kit (100–140 balloons + strip): $15–$35
- Artificial greenery garland (6ft–12ft): $12–$40
- Faux florals (stems or bundles): $10–$50
- LED curtain lights or LED neon-style sign: $15–$80
Tool Recommendations
- Measuring tape (25ft)
- Box cutter or utility knife (for foam boards)
- Hot glue gun (high-temp) + extra glue sticks
- Staple gun (for fabric on wood frames) + 1/4" staples
- Drill/driver + small screw set (for bracing)
- Level (optional but helpful)
- Balloon pump (hand pump or electric inflator)
- Paint roller + angled brush (if painting)
Design Planning: Choose Your Backdrop Style
Pick one of these advanced DIY party backdrop builds (or combine elements). Each is designed to look polished in photos and be practical to set up.
Style 1: Modular Panel Backdrop (Best for Reuse)
- Look: Clean, modern, “rented event” vibe
- Best for: Birthdays, baby showers, graduation parties, weddings
- Key benefit: Panels can be repainted, re-covered, and reconfigured
Style 2: Fabric Swag + Texture Layering (Fast + Dramatic)
- Look: Soft, romantic, editorial
- Best for: Bridal showers, tea parties, anniversaries
- Key benefit: Lightweight and quick to pack away
Style 3: Mixed Media “Feature Wall” (Most Impact)
- Look: 3D, high-detail, interactive photo moment
- Best for: Themed parties, holiday parties, brand-style celebrations
- Key benefit: You can combine lighting, signage, balloons, and florals
Step-by-Step Project: Build a Modular Panel Backdrop (8ft Wide x 7ft Tall)
This is the most versatile advanced build. You’ll create a panel “wall” that can stand behind a dessert table or photo booth.
Measurements & Cut Plan
- Finished size: 8ft wide x 7ft tall
- Panels: Two foam boards (each 4ft x 7ft) + optional third accent panel
- Note: Most foam boards are 4ft x 8ft. You’ll trim 1ft off the height.
Step 1: Prep and Cut Your Panels (30–45 minutes)
- Measure and mark 7ft on the long side of each 4ft x 8ft foam board.
- Use a straightedge and a utility knife to score, then cut through cleanly.
- If you want a designer shape, sketch a gentle arch or wavy edge on the top of one panel and cut slowly with multiple passes.
Beginner-friendly adaptation: Keep panels rectangular and skip shaped cuts until you’re comfortable.
Step 2: Add Bracing for Stability (45–60 minutes)
- Cut two furring strips to 6ft for each panel (vertical braces). Add one 3ft horizontal brace if you want extra rigidity.
- Attach braces to the back of each foam panel:
- Use construction adhesive safe for foam (check label) or hot glue in generous beads.
- Press and hold until set; add painter’s tape temporarily if needed.
- Optional: If using thin plywood instead of foam, attach braces with screws.
Step 3: Create “Feet” So Panels Stand Upright (30–45 minutes)
For a reliable freestanding backdrop, simple feet make a huge difference.
- Cut four pieces of furring strip to 18 inches each (two feet per panel).
- Attach each foot perpendicular to the bottom brace, forming a “T” support on the back.
- For foam panels, use adhesive + hot glue reinforcement. For wood panels, screws are best.
Pro option: Use removable hinges between panels so they fold slightly and self-support (like a tri-fold display). Hinges cost about $5–$12.
Step 4: Finish the Front Surface (Choose Paint or Fabric) (60–120 minutes)
Option A: Painted Panels (Crisp + Modern)
- Prime the surface if needed (especially if the foam has a slick coating).
- Roll on 2 coats of matte paint. Matte photographs better than glossy finishes.
- Let dry fully before attaching decor (follow paint dry times).
Option B: Fabric-Wrapped Panels (Soft + Luxe)
- Cut fabric with a 3–4 inch wrap allowance on all sides. For a 4ft x 7ft panel, cut about 54" x 96" (adjust for fabric width).
- Pull fabric taut and secure on the back:
- Foam panel: use hot glue in sections (8–12 inches at a time).
- Wood panel: staple for a cleaner, stronger hold.
- Neatly fold corners like wrapping a present, then secure.
Step 5: Join Panels and Add Decorative Layers (30–90 minutes)
- Stand panels side-by-side to create 8ft width.
- Connect panels:
- Quick method: gaffer tape on the back seam
- Reusable method: Velcro strips along the seam
- Sturdy method: small hinges (foam requires reinforced backing)
- Add your styling:
- Balloon garland sweeping from upper left to lower right
- Greenery garland framing one edge
- LED sign centered at about 60–64 inches from the floor (great camera height)
Pro Tips for a Photo-Perfect DIY Party Backdrop
- Use matte finishes: Matte paint and matte fabric reduce glare and look more professional in photos.
- Build with camera framing in mind: For most parties, the “photo zone” is 5–7ft wide. Put your most detailed design elements inside that area.
- Anchor the bottom: Add small sandbags, dumbbells, or wrapped hand weights behind the feet if kids will be nearby.
- Create depth: Layer elements at different distances—panels (base), fabric drape (mid), florals/balloons (front).
- Choose a color recipe: A simple palette photographs best:
- 2 main colors + 1 neutral
- Optional metallic accent (gold/silver) used sparingly
- Lighting upgrade: Add a soft LED lamp off to one side or use curtain lights behind sheer fabric for glow without harsh shadows.
Advanced Variations (and Beginner-Friendly Alternatives)
Variation 1: Arched “Statement Panel” Set (High-End Event Look)
- What to do: Cut one panel into a tall arch: 36" wide x 84" tall (use the offcut for a smaller companion panel).
- Style idea: Paint arch in a bold color, keep the second panel neutral, and add a balloon garland bridging both.
- Beginner alternative: Buy a pre-cut arch cover (spandex) and pull it over a rectangular panel to fake the silhouette.
Variation 2: Textured “Plaster” Look (Editorial + Trendy)
- What to do: Use lightweight spackle or joint compound to skim coat a panel in sweeping strokes.
- Time: Add 2–6 hours (drying time varies)
- Tip: Paint after drying in warm white or sand tones for a modern handmade finish.
Variation 3: Interchangeable Theme System (Best for Frequent Hosts)
- What to do: Attach Velcro “anchor zones” (2" wide strips) on your panel where decor will go.
- Result: Swap seasonal florals, signs, and garlands without rebuilding.
Troubleshooting: Fix Common Backdrop Problems
- Backdrop keeps tipping:
- Widen feet to 24 inches
- Add weight behind the feet (sandbags)
- Angle panels slightly like a shallow “V” for stability
- Fabric looks wrinkled:
- Steam fabric before attaching
- Pull tighter and secure gradually (work from center outward)
- Choose spandex for the smoothest finish
- Balloon garland looks “gappy”:
- Add 5" balloons to fill gaps
- Cluster balloons in groups of 3–5, then attach clusters
- Rotate the garland so gaps face the wall
- Paint looks streaky on foam:
- Prime first
- Use a quality roller cover (3/8" nap)
- Apply two thin coats instead of one heavy coat
- Decor won’t stick:
- Use gaffer tape or removable hooks for heavier items
- Reinforce hot glue connections with a small backing piece (cardboard/plastic)
- Clean dusty surfaces before applying adhesives
Common Crafting Mistakes to Avoid
- Skipping a stability plan: Pretty backdrops still need feet, weights, or a stand—especially for busy parties.
- Using glossy materials under flash: Shiny plastic tablecloths and glossy paint can cause glare and weird color casts in photos.
- Overcrowding the design: Leave “rest space” so your focal elements (name sign, balloons, florals) stand out.
- Not testing your setup early: Assemble once before party day. You’ll catch height issues, weak joins, or missing supplies.
- Forgetting transport and storage: If it won’t fit in your car or closet, make it modular: foldable panels, Velcro decor, and rollable fabric.
- Relying only on hot glue for heavy pieces: Hot glue is great, but combine it with mechanical help (hooks, zip ties, staples, screws) for anything weighty.
FAQ: Advanced DIY Backdrops for Party Decorations
1) What’s the best backdrop size for a home party photo area?
A reliable go-to is 6–8ft wide and 7–8ft tall. If you’re photographing groups, aim closer to 8ft wide. For a dessert table backdrop, 6ft wide often looks perfectly proportional.
2) Foam board or plywood—what should I use?
Foam insulation board is lightweight, easy to cut, and great for DIY crafts. Plywood is sturdier and holds staples/screws better but is heavier. If you plan to reuse the backdrop many times or need it outdoors, plywood (with bracing) is a strong choice.
3) How do I make my handmade backdrop look more “professional” in photos?
Use a matte finish, keep your palette tight (2–3 colors), add depth with layers, and position your focal point (sign or balloon cluster) at about 60–64 inches high. Also, tidy edges—clean seams and taut fabric are what reads “pro.”
4) Can I use these DIY party backdrops outdoors?
Yes, with precautions: weight the base, avoid lightweight paper elements in wind, and choose sturdier decor attachments (zip ties, stronger hooks). Fabric backdrops can act like sails, so anchor carefully and consider using panels instead.
5) What’s the easiest advanced upgrade if I’m short on time?
Add one strong focal element—like an oversized balloon garland or a centered LED sign—and keep the rest simple. A clean base plus one dramatic layer looks intentional and saves hours.
6) How do I store a large backdrop after the party?
Store panels upright against a wall to prevent warping. Keep decor modular: remove balloon garlands, detach florals, and roll fabric around a cardboard tube to reduce creases.
Wrap-Up: Build a Backdrop You’ll Want to Use Again
An advanced DIY backdrop is one of those handmade party decoration projects that pays you back every time you host. Once you have a solid panel system or a reliable frame, you can reinvent it for every theme—sweet and simple, bold and modern, or lush and floral—without starting from scratch.
Pick one style from this guide, gather your materials, and give yourself a little creative room to experiment. Your next celebration deserves a photo moment that looks custom because you made it that way.
Want more DIY crafts, party decorations, and handmade project ideas? Explore more creative tutorials and smart party prep tips on smartpartyprep.com.
More Articles
 How to Unblock Third Party Cookies on MacBook: A Step-by-Step Guide That Actually Works in 2024 (No Tech Degree Required)
 How to Allow Third-Party Cookies on Chrome iPad in 2024: The Only 4-Step Guide That Actually Works (No More ‘Settings Not Found’ Errors)
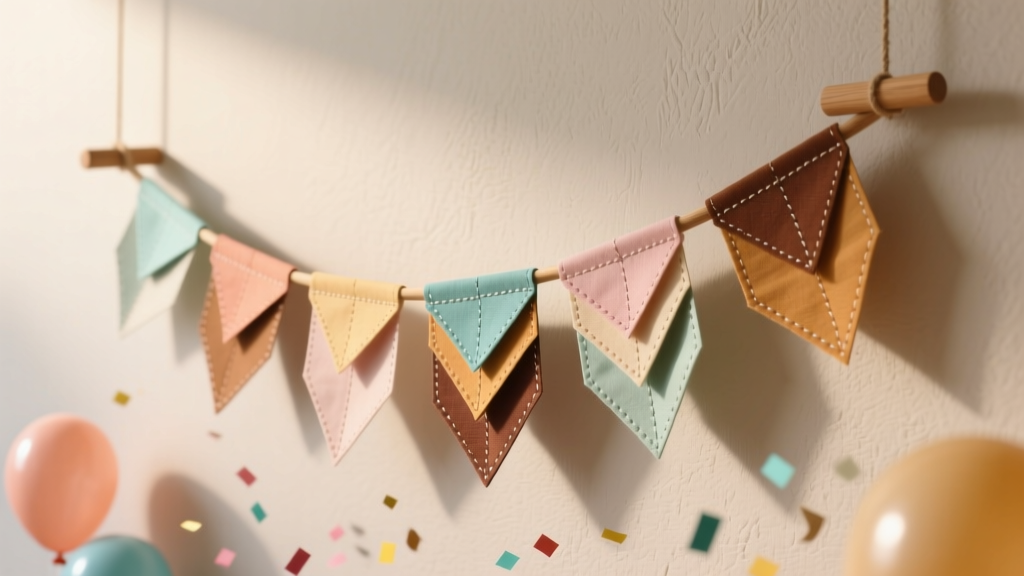 Paper Craft Fabric Bunting Ideas
 DIY Wreaths Using Cricut
 How to Enable Third Party Cookies on iPhone in 2024: The Real Truth (Spoiler: You Can’t — But Here’s What Actually Works Instead)
 Seasonal Wreaths Ideas
 DIY Backdrops for Home Decor
 DIY Cake Toppers in An Afternoon
 DIY Soap Bars with Dollar Store Supplies
 Advanced Coasters for Crafters