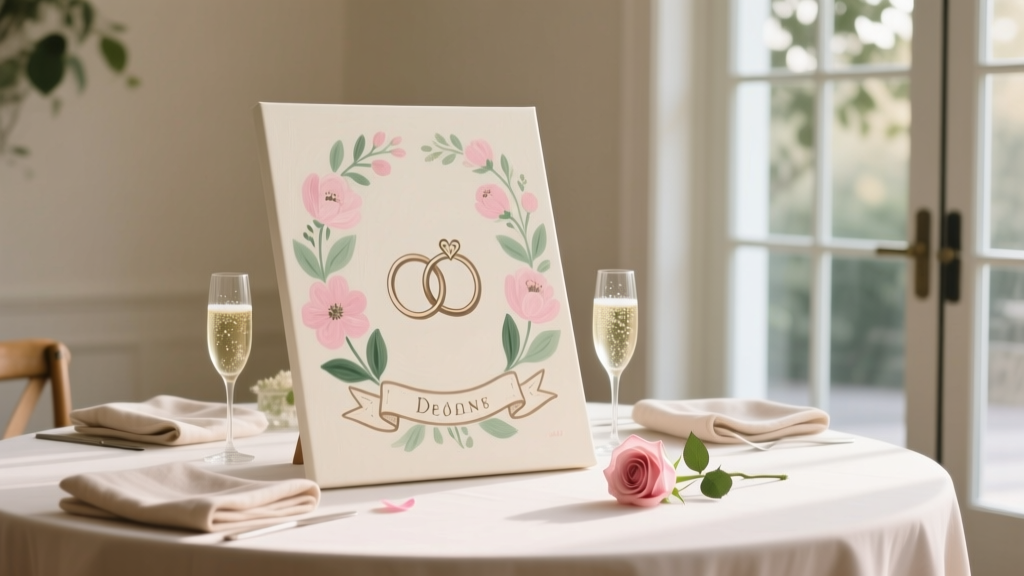
DIY Painted Canvas for Weddings
A painted canvas is one of those wedding DIY crafts that feels both meaningful and practical. You get a custom piece of handmade decor that can welcome guests, highlight the seating chart area, point the way to the ceremony, or add a sweet quote near the gift table—then it becomes home decor afterward. It’s budget-friendly, beginner-friendly, and endlessly customizable to match your wedding colors and theme.
Even better: this project is forgiving. You don’t need “real artist” skills to create a polished wedding sign. With simple shapes, stencils, painter’s tape, and a few pro tricks, you can make a canvas that looks professionally styled. Whether you want minimal modern lettering, romantic florals, or a bold abstract background, this DIY painted canvas can fit rustic barn weddings, garden ceremonies, beach vows, or sleek city celebrations.
This guide walks you through materials, costs, step-by-step instructions, troubleshooting, and variations—from first-time crafters to advanced painters. Grab your color palette, put on a playlist, and let’s make wedding decor you’ll be proud to display.
Project Overview: Skill Level, Time, and Best Uses
- Skill level: Beginner to intermediate (advanced options included)
- Total time: 2–4 hours active time + 12–24 hours drying/curing time
- Best uses: Welcome sign, bar menu, dessert table sign, guest book sign, photo booth sign, “Cards & Gifts” sign, ceremony quote, table numbers (mini canvases)
- Recommended canvas sizes:
- Welcome sign: 16" x 20" or 18" x 24"
- Table signs/menus: 11" x 14"
- Table numbers: 5" x 7" or 8" x 10"
Materials and Tools (With Estimated Costs)
Core Supplies
- Stretched canvas (cotton, pre-primed):
- 16" x 20": $10–$20
- 18" x 24": $15–$30
- Value packs of smaller canvases (8" x 10"): $12–$25 for 5–10 pack
- Acrylic craft paint (matte or satin finish): $1–$5 per 2 oz bottle (or $8–$20 for a multi-pack)
- Foam brushes (1" and 2"): $3–$8 pack
- Paintbrush set (flat + round detail brushes): $6–$15
- Painter’s tape (1" width for clean edges): $4–$8
- Pencil + eraser: $1–$3
- Palette (plastic palette, paper palette pad, or a disposable plate): $3–$10
Lettering and Design Helpers (Choose What Fits Your Style)
- Adhesive vinyl letters (temporary stencil method): $5–$15
- Stencil sheets (alphabet + wreath/floral): $6–$18
- Transfer paper (for printed designs): $5–$12
- Fine-tip paint pens (black/white/gold): $6–$15
Finishing and Protection
- Acrylic sealer spray (matte or satin): $8–$15
- Optional: Clear acrylic varnish (brush-on) for indoor displays: $10–$18
Nice-to-Have Tools
- Mini level (for straight layouts): $5–$12
- Craft heat tool or hair dryer (to speed dry between layers): $15–$30 (optional)
- Cutting mat + craft knife (for custom stencils): $10–$25
Estimated total cost: $20–$60 depending on canvas size and whether you already own paint/brushes. This is one of the best-value handmade wedding decorations because you can reuse leftover paint for matching table signs or mini canvases.
Planning Your DIY Painted Wedding Canvas
Pick Your Message (Keep It Short and Readable)
For wedding signage, less text usually looks more elegant and is easier to read from a distance. Consider:
- “Welcome to the Wedding of [Names]”
- “Happily Ever After Starts Here”
- “Cards & Gifts”
- “Find Your Seat”
- Bar menu: “Signature Drinks” + 2–3 items
Choose a Color Palette That Matches Your Wedding Theme
- Classic: white, black, gold
- Romantic: blush, ivory, sage
- Moody: deep green, charcoal, copper
- Beachy: sand, seafoam, soft blue
Decide on a Background Style
- Solid: clean and modern
- Ombre wash: soft and dreamy
- Abstract shapes: trendy and forgiving for beginners
- Florals: classic statement piece (best for intermediate/advanced)
- Tape stripes: crisp lines with painter’s tape
Step-by-Step: How to Make a DIY Painted Wedding Canvas
Step 1: Prep Your Workspace (5–10 minutes)
- Cover your surface with kraft paper, a plastic tablecloth, or a garbage bag.
- Set out water (if using acrylics), paper towels, and a palette.
- Elevate your canvas on a few cups or jars if you plan to paint the sides (this prevents sticking).
Step 2: Prime (Optional) and Base Coat (20–40 minutes)
Most canvases are pre-primed, but a smooth base coat makes colors look richer.
- If your canvas texture is very rough and you want a smoother look, apply a thin coat of gesso (optional). Let dry 30–60 minutes.
- Paint your background color with a 2" foam brush for an even finish.
- Use long strokes in one direction, then lightly crosshatch to reduce streaks.
- Let dry 20–30 minutes and add a second coat if needed.
Measurement tip: If you’re painting a border, measure and tape a 1"–2" margin using a ruler and painter’s tape.
Step 3: Plan Your Layout (10–20 minutes)
- Lightly mark the center of the canvas using a ruler.
- Decide your text block area:
- For a 16" x 20" welcome sign, a centered text block around 10"–12" wide usually reads well.
- Sketch your text placement lightly in pencil—just guidelines (top line, baseline, and spacing).
- If you’re adding florals or accents, pencil rough shapes in the corners first.
Step 4: Add the Design (30–120 minutes)
Option A (Beginner-Friendly): Stencil Letters
- Tape the stencil in place using painter’s tape on all sides.
- Use a foam pouncer or a mostly-dry stencil brush with a small amount of paint.
- Tap (don’t swipe) to reduce bleeding.
- Lift the stencil carefully while the paint is still slightly wet.
Option B (Clean and Modern): Vinyl Letter Masking
- Place adhesive vinyl letters on the dry background.
- Paint over the entire area with your top color (or metallic paint).
- When the paint is dry to the touch but not fully cured (about 10–20 minutes), peel vinyl gently to reveal crisp letters underneath.
Option C (Hand-Lettered Look): Paint Pens + Brush Lettering
- Write your phrase lightly in pencil first.
- Use a fine-tip paint pen for thin strokes and a small round brush for thicker downstrokes.
- Work slowly and rotate the canvas so your hand feels comfortable.
Step 5: Add Decorative Details (15–60 minutes)
Easy wedding-themed additions:
- Simple greenery: paint eucalyptus-style leaves using a flat brush (press, drag, lift).
- Gold accents: add tiny dots or a thin border using metallic paint pen.
- Soft splatter: water down paint slightly and flick with a stiff brush (cover text first so it stays clean).
- Frame effect: tape a 1" border and paint it a contrasting color.
Step 6: Dry, Touch Up, and Seal (12–24 hours curing)
- Let the canvas dry flat for at least 1–2 hours before moving.
- Touch up edges with a small detail brush.
- Allow paint to cure overnight if possible.
- Seal with 2–3 light coats of acrylic sealer spray, holding the can 10"–12" away. Let each coat dry 10–15 minutes.
Pro Tips for a Polished, Photo-Ready Finish
- Use less paint than you think. Thick paint causes texture, drips, and stencil bleeding.
- For crisp tape lines: after taping, paint a thin layer of the background color along the tape edge first. Let dry, then paint your stripe color. This “seals” the edge.
- Prevent warping: avoid soaking the canvas with watery paint. Use thin coats instead of heavy washes.
- Make black look richer: mix a tiny dot of dark blue into black acrylic for a deeper tone.
- Test first: keep a scrap of cardboard or an extra mini canvas to test colors and lettering sizes.
- Hanging/display: for large signs, use a small easel or lean against a backdrop. A 16" x 20" canvas looks great on a 60"–65" floor easel.
Creative Variations (Beginner to Advanced)
Beginner Variations
- Abstract color blocks: paint 3–5 overlapping shapes in your wedding colors, then add a simple message in white or black.
- Tape stripes: diagonal or vertical stripes in two colors + one word (“Welcome”).
- Minimal monogram: large initial in the center with the date beneath (great for engagement parties, bridal showers, and weddings).
Intermediate Variations
- Ombre wash: blend from blush to ivory using a damp foam brush; add gold script lettering.
- Floral corners: two opposite corners with simple petals and leaves; keep the center clean for text.
- Chalkboard effect: paint the background with chalkboard paint and add lettering using a chalk marker (perfect for bar menus).
Advanced Variations
- Gold leaf accents: apply sizing adhesive in thin strokes, press gold leaf, then seal gently.
- Layered stencil shading: use two tones of the same color for subtle dimension in lettering.
- Painted portrait silhouette: a simple couple silhouette or venue outline for a showstopper centerpiece sign.
Troubleshooting: Quick Fixes for Common Issues
- Stencil paint bled under the edges: let it dry fully, then clean up with a small flat brush and background color. Next time, use less paint and pouncing motions.
- Streaky background: add a second coat with a foam brush. For stubborn streaks, switch to a soft wide brush and use longer strokes.
- Pencil lines showing through: use a kneaded eraser or gently paint over with a thin background coat before sealing.
- Paint cracking: too-thick paint layer. Sand lightly (fine grit), repaint in thin coats, and let dry longer between layers.
- Canvas is bowing/warping: too much water. Let it dry completely; often it tightens back up. For future projects, reduce water and use lighter layers.
Common Crafting Mistakes to Avoid
- Skipping layout planning: eyeballing text often leads to awkward spacing. Use a ruler, center marks, and light pencil guides.
- Using cheap tape or removing it too late: low-quality tape can bleed, and tape left on too long can peel paint. Remove slowly at a 45-degree angle while paint is slightly tacky.
- Heavy-handed stencil painting: overloaded brushes are the #1 cause of messy lettering.
- Not letting layers dry: wet-on-wet can smear lettering and lift paint. Give each layer 20–30 minutes (or speed dry with a hair dryer from a distance).
- Forgetting to seal: a sealer helps prevent scuffs during transport and setup—especially important for wedding day decor.
- Choosing tiny text for a large room: for readability, aim for main letters at least 1.5"–3" tall on welcome signs.
FAQ: DIY Painted Wedding Canvas
What type of paint works best for a wedding canvas?
Acrylic craft paint is the easiest choice for DIY wedding decorations. It dries quickly, layers well, and comes in tons of colors. Choose matte for a modern look or satin for a slight sheen.
Can I make this without stencils if I’m not good at lettering?
Yes. Use printed lettering as a guide: print your text, tape it to a window, tape the canvas over it, and trace lightly with pencil. Then paint over the pencil lines with a paint pen or small brush.
How do I keep my canvas sign from smudging during the wedding?
Let it cure overnight and apply 2–3 light coats of acrylic sealer. For transport, wrap it in clean kraft paper or bubble wrap and avoid stacking anything directly on the painted surface.
Can I use this as an outdoor wedding sign?
It can work for short outdoor use (like a ceremony entrance), but canvas isn’t fully weatherproof. Seal it well and keep it under cover (shade/tent). If rain is possible, consider a sealed wood sign instead.
What’s the easiest design for a last-minute project?
A solid background + a single word (“Welcome” or “Cheers”) using a stencil or vinyl letters is fast and looks intentional. Add a simple painted border for a finished feel.
How far in advance should I make my wedding canvas?
Ideally 1–2 weeks before the wedding so you have time for touch-ups, curing, and stress-free setup. If you’re making multiple signs, batch them assembly-line style (all backgrounds first, then lettering).
Wrap-Up: Your Wedding Decor, Made by You
A DIY painted canvas brings personality to your celebration—guests notice the handmade details, and you’ll love seeing your work in photos. Start simple if you’re new (stencils and color blocks are your best friends), then level up with florals, metallic accents, or layered lettering once you feel confident. The best part is that you can match your wedding theme perfectly and create a keepsake you’ll want to hang long after the last dance.
Ready to make more party-ready handmade projects? Explore more DIY craft ideas, wedding decorations, and creative celebrations at smartpartyprep.com.
More Articles
 What Is Wrapped Party? The Surprisingly Genius DIY Craft Trend That Turns Gift-Wrapping Into a Joyful, Social, Memory-Making Experience (No Scissors Required!)
 Budget DIY Resin Jewelry Under $15
 DIY Greeting Cards in 5 Minutes
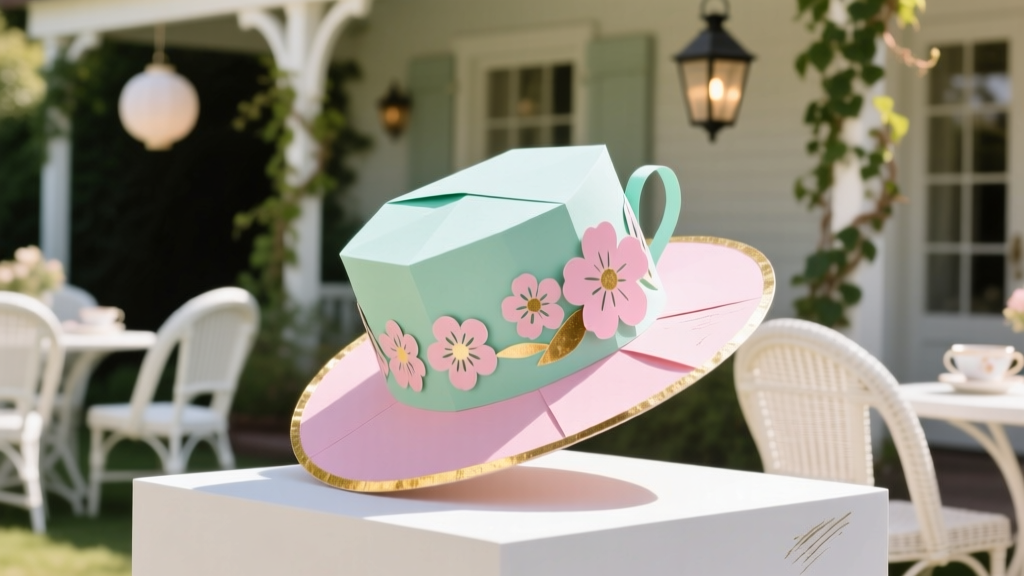 How to Make a Tea Party Hat in Under 45 Minutes (No Sewing, No Fancy Tools—Just Paper, Glue & Joy!)
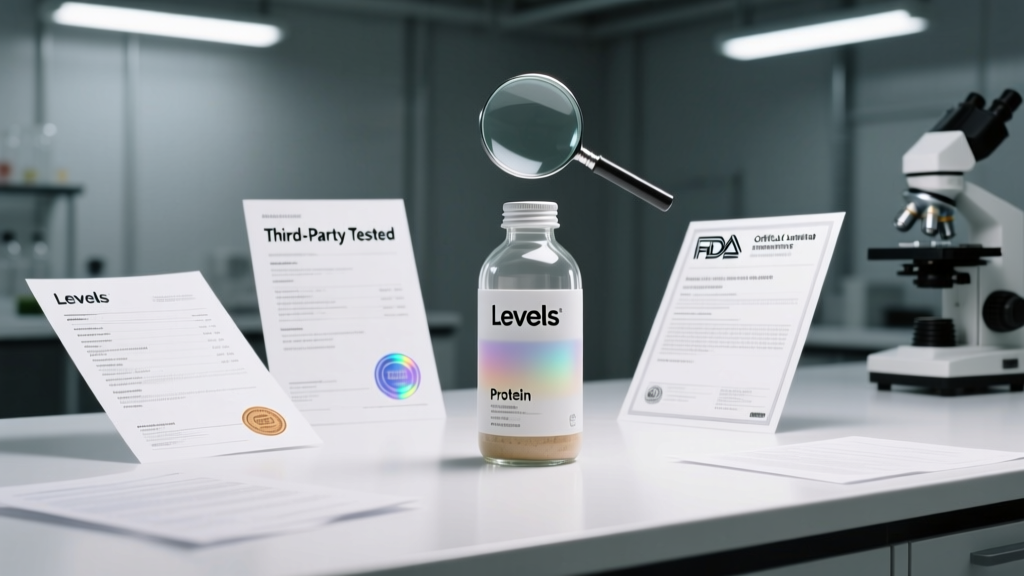 Is Levels Protein Third Party Tested? We Investigated Every Batch Report, Lab Certificate, and FDA Compliance Record So You Don’t Have to Waste Money on Unverified Supplements
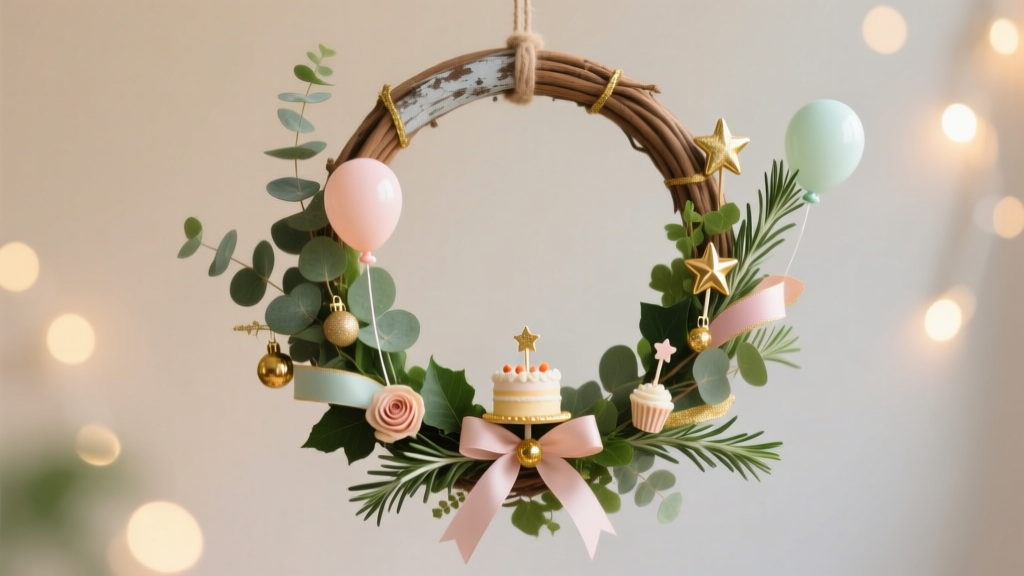 DIY Wreaths for Birthdays: Handmade Party Decorations That Wow
 Seasonal Photo Frames Ideas
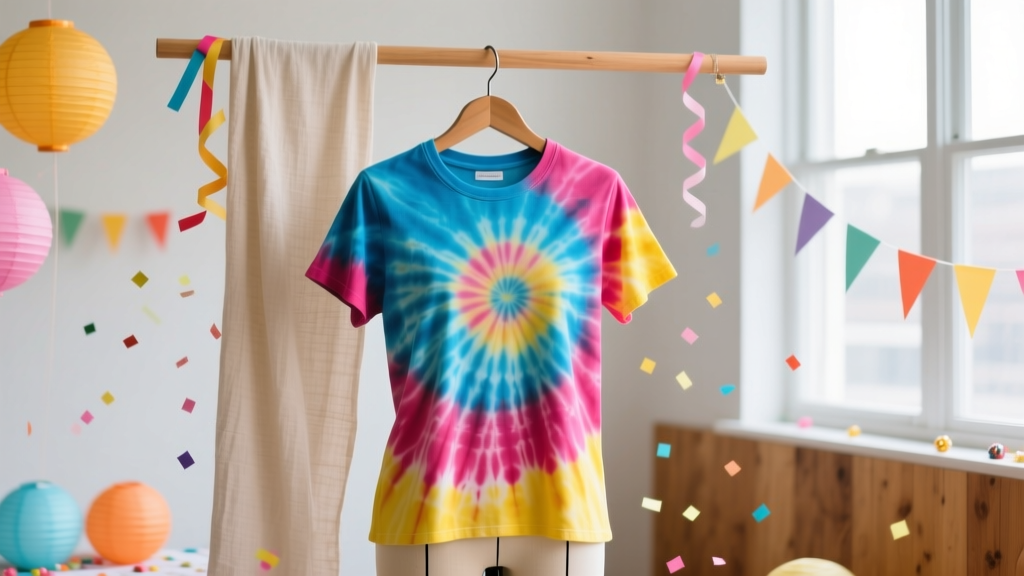 DIY Tie-Dye Shirts with Dollar Store Supplies
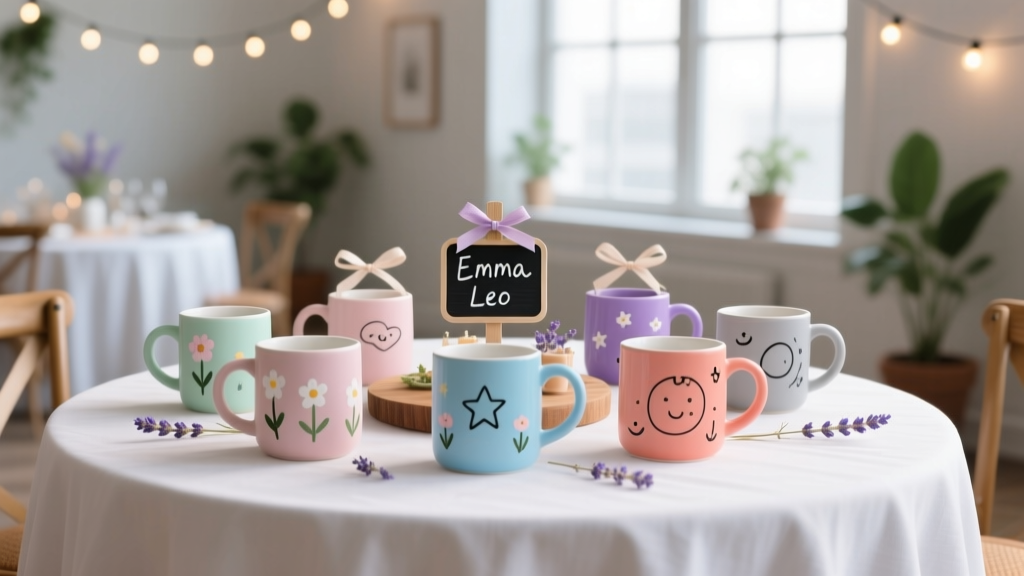 DIY Mugs Party Favors
 How to Automate Third Party Plugins in FL Studio: The 7-Step Blueprint That Cuts Your Mix Automation Time by 68% (No Coding Required)