DIY Greeting Cards in 5 Minutes
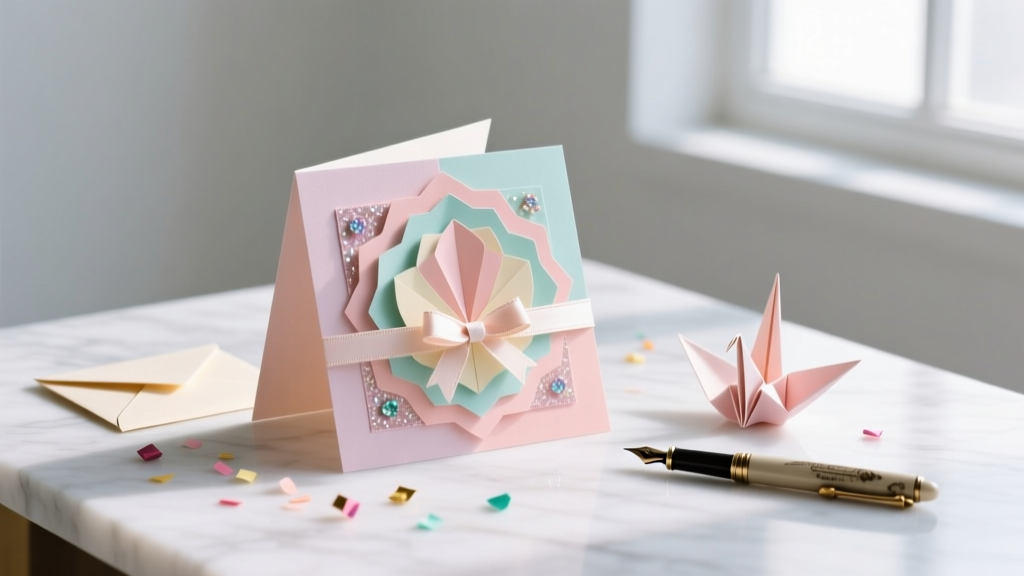
Nothing says “I planned this with heart” like a handmade greeting card—especially when it matches your party theme, color palette, or celebration vibe. The best part? You don’t need fancy tools or hours of crafting time. With a few basic supplies and a simple layout, you can make a stack of beautiful DIY greeting cards in about 5 minutes each (or faster once you get into a rhythm).
These quick cards are perfect for birthdays, bridal showers, baby showers, graduation parties, thank-you notes, or even labeling party favor bags with a personal message. They also make fantastic last-minute add-ons to gifts, centerpieces, or party tables—like a mini “You’re invited!” note tucked into a balloon weight or a sweet thank-you card at each place setting.
Grab your cardstock, set a timer, and let’s make party-ready handmade cards that look polished without feeling complicated.
Project Overview: Skill Level, Time, and Finished Size
- Skill level: Beginner (with easy upgrades for intermediate/advanced crafters)
- Time per card: 5 minutes (2–3 minutes once you batch-cut pieces)
- Dry time: 0–2 minutes (depending on glue type)
- Finished card size: A2 card (4.25 in x 5.5 in folded)
- Best for: DIY party decorations, handmade party details, gift toppers, place setting notes, thank-you cards
Materials List (Budget-Friendly, Party-Craft Friendly)
These are the most versatile supplies for quick DIY greeting cards. Costs vary by brand, but these estimates are realistic for most craft stores or online.
Card Bases + Paper
- Cardstock (8.5 in x 11 in, 65–110 lb): white or color pack, 25–50 sheets. Estimated cost: $6–$12
- Patterned scrapbook paper (12 in x 12 in): party-themed prints (confetti, stripes, florals). Estimated cost: $0.50–$1 per sheet or $8–$20 per pad
- Optional: vellum sheets for overlays. Estimated cost: $5–$10 for a small pack
Adhesives (Fast + Clean)
- Tape runner (double-sided adhesive roller): quickest + least messy. Estimated cost: $5–$10
- Glue stick: good for lightweight paper. Estimated cost: $1–$3
- Foam adhesive squares: adds instant dimension. Estimated cost: $3–$6
Tools (Recommended for Speed)
- Paper trimmer: faster than scissors for straight cuts. Estimated cost: $10–$25
- Scissors: detail cutting. Estimated cost: $5–$15
- Ruler + pencil: quick measuring. Estimated cost: $2–$5
- Black fine-tip marker (0.5–0.8): for lettering and doodles. Estimated cost: $2–$6
Decorations (Choose 1–2 for a 5-Minute Build)
- Stickers: letters, icons, party themes. Estimated cost: $2–$6 per sheet
- Washi tape: borders + instant design. Estimated cost: $3–$10 per set
- Mini pom-poms or paper confetti: fun birthday look. Estimated cost: $2–$6
- Pre-cut die-cuts: hearts, balloons, florals. Estimated cost: $4–$10 per pack
- Small ribbon (1/8 in–3/8 in wide): quick bow accent. Estimated cost: $3–$6 per spool
Prep Once, Make Cards Fast (Batch Setup for 5-Minute Success)
If you want true “5 minutes per card,” the secret is prepping a mini card-making station.
- Cut 3–5 card bases at once.
- Pre-cut a stack of panels (front rectangles) from patterned paper.
- Sort embellishments into small piles: stickers, foam squares, washi, die-cuts.
- Keep a scrap strip bin for quick banners and tiny accents.
Measurements for an A2 Card Base
- Cut cardstock to 8.5 in x 5.5 in.
- Fold in half to create 4.25 in x 5.5 in.
Measurements for a Front Panel
- Standard panel: 4 in x 5.25 in (leaves a nice border)
- Extra border look: 3.75 in x 5 in
5-Minute Card Design #1: The Party Banner Card (Beginner Favorite)
This is one of the fastest handmade greeting card styles—and it screams “celebration.” Perfect for birthday parties, graduation parties, and baby showers.
What You’ll Use
- Card base (A2)
- Front panel (patterned or solid)
- Scrap paper for flags
- Marker + tape runner (or glue stick)
- Optional: foam squares for pop
Step-by-Step (5 Minutes)
- Attach the front panel. Use a tape runner to adhere a 4 in x 5.25 in panel to the card front, centered.
- Create 3–5 banner flags. Cut small rectangles about 1 in x 1.25 in. Snip a tiny “V” notch at the bottom of each to make flag shapes.
- Arrange the flags. Line them up in a row across the upper third of the card. Overlap slightly for a party-garland look.
- Stick them down. Use tape runner for flat, fast adhesion or foam squares for dimension.
- Add the message. Write “HAPPY BIRTHDAY,” “THANK YOU,” or “YOU’RE INVITED” in the lower half. Keep lettering bold and simple.
Party Theme Variations
- Baby shower: pastel flags + “hello baby”
- Graduation: school colors + “you did it!”
- Bridal shower: floral flags + “love & laughter”
- Kids’ party: bright rainbow flags + add sticker stars
5-Minute Card Design #2: Washi Tape Stripes (Clean, Modern, Fast)
Washi tape is the ultimate quick-win supply for DIY crafts. It adds color and pattern instantly and works beautifully with party decorations and handmade projects.
Step-by-Step (5 Minutes)
- Choose 2–4 washi tapes that match your party theme.
- Add diagonal stripes across the card front (directly on the card base or over a solid panel). Aim for about 1/8 in–1/4 in gaps between strips.
- Trim edges with scissors so the tape ends are flush with the card edges.
- Add a focal label. Cut a small rectangle from cardstock: 2.75 in x 1.25 in. Center it over the stripes.
- Write your greeting on the label and attach with foam squares.
Advanced Upgrade
- Add a vellum overlay (4 in x 5.25 in) on top of the stripes, then place the label. It looks high-end and hides busy patterns.
5-Minute Card Design #3: Confetti Corner (Perfect for Birthdays)
This style doubles as a mini party decoration. Make a few and place them by a guest book, dessert table, or gift station.
Step-by-Step (5 Minutes)
- Attach a front panel (solid color works best) to your A2 card base.
- Add confetti to one corner (top left or bottom right). Keep the cluster to about a 2 in x 2 in area.
- Stick pieces down with a tiny dot of glue or a strong tape runner. (Less glue = less warping.)
- Write a bold greeting opposite the confetti cluster: “LET’S PARTY,” “HAPPY DAY,” or “THANKS A BUNCH.”
- Optional: outline the confetti corner with a hand-drawn border using a black marker for a crisp finished look.
Pro Tips for Faster, Neater Handmade Cards
- Use a tape runner for speed. It’s the fastest way to keep paper smooth and flat (great for party-themed patterned paper).
- Keep your design to 1 focal area + 1 greeting. Over-decorating is the #1 way a 5-minute card turns into a 25-minute card.
- Pre-cut “card fronts” in bulk. Cut 10 panels at 4 in x 5.25 in and store them in an envelope.
- Foam squares = instant polish. One popped-up label makes the whole card look more professional.
- Pick a limited palette. Two main colors + one neutral (white/black/gold) keeps everything party-coordinated.
Troubleshooting: Quick Fixes for Common Issues
- Paper is warping: Switch from liquid glue to tape runner, or use less glue stick and burnish (press) with a clean hand.
- Washi tape won’t stick well: Clean the cardstock surface (no lotion/hand oil), press firmly, and trim with sharp scissors. For stubborn tape, secure ends with tiny glue dots.
- Card looks “empty”: Add a simple border line around the front panel, or place 3 small dots/stickers near the greeting to balance the layout.
- Sticker sentiment is crooked: Layer it on a slightly larger cardstock rectangle; the “mat” disguises minor misalignment.
- Glue showing around embellishments: Use a toothpick to apply tiny amounts, or switch to mini foam squares.
Beginner-Friendly Adaptations (No Special Tools Needed)
- No paper trimmer? Use lined notebook paper as a cutting guide. Mark measurements with pencil and cut slowly with scissors.
- No letter stickers? Handwrite the greeting in block letters, then add a drop shadow (draw a second line slightly offset in gray).
- Limited supplies? One patterned paper + one marker is enough. A clean panel and bold text can look very modern.
Advanced Variations (For Crafters Who Want Extra Wow)
- Layered die-cuts: Stack 2–3 identical shapes (like balloons or stars) to create a chipboard-like effect.
- Heat-embossed greeting: Stamp a sentiment, add embossing powder, heat set. It still can be quick if you emboss a batch of sentiments at once.
- Mini shaker window: Use a small clear plastic sheet and foam tape to create a shaker pocket with sequins (not 5 minutes the first time, but amazing for milestone birthdays).
- Painted edge: Swipe an ink pad or metallic paint marker along the edges of the front panel for a luxe finish.
Common Crafting Mistakes to Avoid (So Your Cards Look Party-Perfect)
- Using thin printer paper for the base: It flops and wrinkles. Use 65–110 lb cardstock for a sturdy greeting card.
- Over-gluing: Excess glue causes ripples, especially with patterned paper. A few swipes of tape runner are cleaner.
- Skipping a border: If you glue a panel slightly off-center with no margin, it’s obvious. Use a 4 in x 5.25 in panel so you naturally get a border.
- Too many focal points: If you have stickers, confetti, ribbon, and multiple phrases, the eye doesn’t know where to look. Pick one star element.
- Messy handwriting without a plan: Lightly pencil a baseline for your greeting, then erase after the ink dries.
- Bulky embellishments for mailed cards: If you plan to mail it, keep it mostly flat or use a padded envelope.
FAQ: DIY Greeting Cards in 5 Minutes
1) What size envelope fits an A2 greeting card?
An A2 envelope (4.375 in x 5.75 in) fits a standard A2 card (4.25 in x 5.5 in). These are widely available in packs online and at craft stores.
2) What’s the best adhesive for quick handmade cards?
A tape runner is the fastest and cleanest for cardstock and patterned paper. Use foam squares for popped-up elements and a glue stick for lightweight paper accents.
3) How do I make my DIY greeting cards look more professional?
Use clean layers (panel at 4 in x 5.25 in), keep your color palette tight, and add one dimensional element (like a foam-mounted sentiment). A simple border line also makes a big difference.
4) Can I make these as party invitations?
Yes! Use the same designs and write party details inside. For readability, cut a blank insert panel sized 4 in x 5.25 in and attach it inside the card, then add details with a fine-tip marker.
5) How many cards can I realistically make in an hour?
If you batch-cut bases and panels first, most crafters can make 8–12 cards per hour, depending on drying time and how many embellishments you add.
6) What if I don’t have patterned paper?
Use solid cardstock and create your own pattern with washi tape, simple doodles (dots, stars, stripes), or a single bold sticker. Minimal designs can look very modern and party-ready.
Make a Few Now, Thank Yourself Later
Once you’ve made a couple of these 5-minute DIY greeting cards, you’ll start seeing card ideas everywhere—scrap strips become banners, leftover party decorations turn into confetti accents, and washi tape becomes your best friend for quick, cheerful design. Keep a small stash on hand for birthdays, thank-you notes, party favors, and last-minute celebrations.
Try one design today, then make a mini set in your favorite party colors for future events. When you’re ready for more handmade party details and easy DIY crafts, explore more creative projects on smartpartyprep.com—happy crafting!
More Articles
 What Is Wrapped Party? The Surprisingly Genius DIY Craft Trend That Turns Gift-Wrapping Into a Joyful, Social, Memory-Making Experience (No Scissors Required!)
 How Do I Enable Third Party Cookies on My Mac? The Real Answer (Spoiler: You Can’t — But Here’s What Actually Works in 2024)
 How to Make Paper Lanterns at Home
 Budget DIY Place Cards Under $50
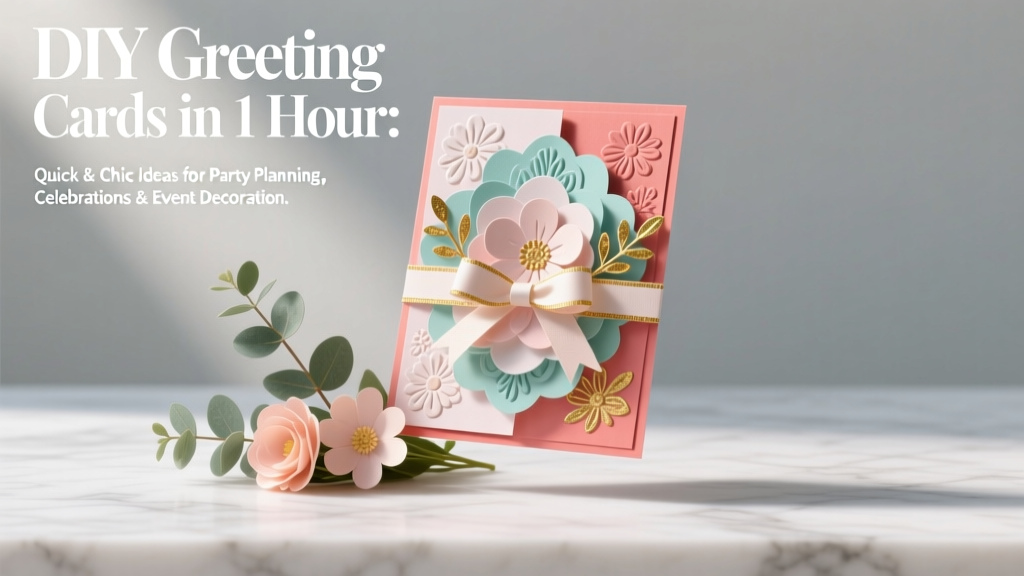 DIY Greeting Cards in 1 Hour
 Budget DIY Coasters Under $15
 DIY Cake Toppers in An Afternoon
 Advanced Beaded Bracelets for Crafters
 How Do You Make Party Hats That Actually Stay On? (No Glue Gun, No Tears — Just 3 Foolproof Methods Using Stuff You Already Have)
 Is Nature's Truth 3rd Party Tested? We Investigated Every Batch Report, Lab Certificate, and Transparency Gap So You Don’t Have to Waste Time—or Risk Your Craft Projects on Unverified 'Natural' Claims