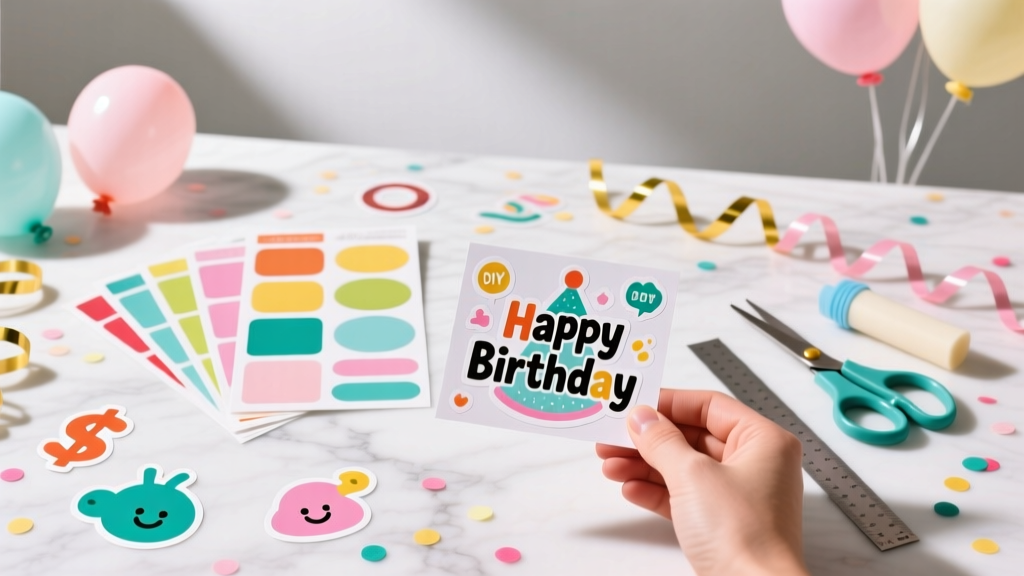
Budget DIY Custom Stickers Under $25
Custom stickers are one of those small DIY details that instantly make a party feel thoughtfully planned. Add them to favor bags, water bottles, treat boxes, balloon weights, invitations, and thank-you cards—and suddenly everything looks coordinated, personalized, and “boutique,” even if you made it all at your kitchen table.
Even better: you don’t need pricey equipment to get professional-looking results. With a basic home printer (or a quick trip to a local print shop), the right sticker paper, and a few simple tools, you can create adorable party stickers for under $25—perfect for birthdays, baby showers, bridal showers, graduation parties, and holiday gatherings.
This guide walks you through beginner-friendly methods and a couple of advanced upgrades, with measurements, time estimates, troubleshooting help, and party-ready ideas you can use right away.
Project Overview (Skill Level, Time, and What You’ll Make)
- Skill level: Beginner (with optional advanced variations)
- Total time: 60–120 minutes (includes design + printing + cutting)
- Dry time: 0 minutes (unless you add sealant, then 10–20 minutes)
- What you’ll make: 24–80+ custom stickers (quantity depends on size and sheet count)
- Best for: Party decorations, labels, favor packaging, drink stations, invitations, and handmade party crafts
Sticker Styles That Look Amazing at Parties
Before buying materials, decide what sticker type fits your party project. Here are crowd-pleasers that work for nearly any theme:
1) Round Favor Seals
- Common sizes: 1.5 in (3.8 cm), 2 in (5.1 cm)
- Uses: Seal treat bags, close tissue wraps, label favor boxes, envelope seals
2) Rectangle Labels
- Common sizes: 2 in x 3 in (5.1 x 7.6 cm), 1 in x 3 in (2.5 x 7.6 cm)
- Uses: Water bottles, juice boxes, party bins, buffet labels
3) Name Stickers
- Common sizes: 2.5 in x 1 in (6.4 x 2.5 cm)
- Uses: Place cards, kids’ cups, craft stations, party games
4) Jumbo Statement Stickers
- Common sizes: 3 in (7.6 cm) circle, 3 in x 4 in (7.6 x 10.2 cm)
- Uses: Centerpiece tags, party signage, gift wrap accents
Materials List (Under $25) + Estimated Costs
This budget assumes you already have basic household items (scissors, ruler). Pick the options that match your setup—inkjet vs. laser printers matter for sticker paper.
Core Supplies
- Printable sticker paper (choose one):
- Inkjet matte white sticker paper, 8.5 in x 11 in (21.6 x 27.9 cm), 10 sheets: $8–$12
- Inkjet glossy white sticker paper, 8.5 in x 11 in, 10 sheets: $9–$14
- Clear printable sticker paper (for a “printed on” look), 8.5 in x 11 in, 10 sheets: $10–$16
- Printer access: Home printer ink (varies) or print shop black/color sheets: $2–$8
- Cutting tool (choose one):
- Sharp scissors (free if you have them)
- Craft knife + cutting mat (optional upgrade): $6–$12
- 2 in circle punch (optional, best for favor seals): $8–$15
- Basic tools: Ruler, pencil, and a clean credit card/gift card (for smoothing) (usually free)
Optional Finishing Supplies (Pick One, If Needed)
- Clear packing tape (for quick splash resistance on individual stickers): $2–$5
- Clear self-adhesive laminate sheets (best look, great for party drink labels): $6–$12
- Acrylic sealer spray (use outdoors, light coat): $6–$10
Typical total: $12–$24 depending on paper + cutting method.
Tools and Setup Recommendations
- Best budget cutting setup: scissors + ruler
- Best “clean edges” setup: craft knife + metal ruler + cutting mat
- Fastest for round stickers: 2 in circle punch (aim for sticker designs that are 1.9–2.0 in wide)
- Printer tip: Inkjet printers generally work best with most printable sticker papers. If you have a laser printer, buy laser-compatible sticker paper to avoid smearing or heat issues.
Step-by-Step: Make Custom Stickers at Home (Under $25)
Step 1: Choose Sticker Sizes + Plan Your Sheet Layout
Pick 1–2 sizes for the whole party to keep everything cohesive. For most party decorations, these sizes are easy and versatile:
- Favor seal: 2 in (5.1 cm) circle
- Label: 2 in x 3 in (5.1 x 7.6 cm) rectangle
Quantity planning:
- For 12 guests: plan 24–36 stickers (favor + drink label + thank-you seal)
- For 24 guests: plan 50–80 stickers
Step 2: Design Your Stickers (Beginner-Friendly)
You can design stickers using simple tools you already know. Keep the design bold so it reads well on small sizes.
- Text size guide:
- 2 in circle: main text around 18–28 pt
- 2 x 3 in label: main text around 20–36 pt
- Margin guide: Keep important text/images at least 1/8 in (3 mm) away from the edge.
- Party-ready ideas: “Thank You!”, “Made with Love,” a monogram, age number, theme icon (stars, bows, dinosaurs, disco balls), “Take One,” or “Happy Birthday [Name].”
Beginner shortcut: Use a single icon + name + date. Matching colors to your party decorations (balloons, tableware, backdrop) instantly makes it look intentional.
Step 3: Print a Test Page (Do This Before Using Sticker Paper)
Print one test sheet on regular copy paper first.
- Check that circles are truly 2 in and rectangles match your chosen size.
- Hold the test sheet up to your sticker paper to confirm spacing and margins.
- Adjust brightness/contrast if your colors look dull.
Step 4: Print on Sticker Paper (Best Settings)
- Load one sheet at a time if your printer tends to jam.
- Use printer settings:
- Paper type: “Photo Paper” or “Matte Photo” (depending on sticker paper finish)
- Quality: High
- Scaling: 100% (avoid “Fit to Page”)
- Let the ink dry on the sheet for 10–15 minutes before cutting (especially for glossy paper).
Step 5: Cut Your Stickers (Three Methods)
Method A: Scissors (Most Budget-Friendly)
- Rough cut the sheet into smaller sections first (leave a little border).
- Cut each sticker carefully, turning the paper (not the scissors) for smoother curves.
- For circles: aim for a thin white border (about 1–2 mm) to hide tiny cutting wobbles.
Method B: Craft Knife + Ruler (Cleanest for Rectangles)
- Place the sheet on a cutting mat.
- Use a metal ruler and make slow, firm passes (don’t try to slice through in one go).
- Keep fingers clear and rotate the mat as needed for control.
Method C: Circle Punch (Fastest for Favor Seals)
- Ensure your design is centered with enough background around the circle.
- Slide the sheet in and line up the artwork in the punch window.
- Punch steadily, empty the punch chamber often to avoid jams.
Step 6: Optional—Make Them More Water-Resistant
For party drink labels, coolers, and anything near ice, add a quick protective layer.
- Packing tape method (budget): Place a strip of clear tape over the sticker before cutting. Burnish with a card to remove bubbles, then cut.
- Self-adhesive laminate sheets (best finish): Apply laminate to the full printed sheet, smooth from center outward, then cut.
- Sealer spray (advanced): Spray light coats outdoors, let dry, then cut. (Test first—some inks can run.)
Step 7: Apply Stickers for a Smooth, Professional Look
- Clean the surface (dry cloth is fine; for jars, use a little rubbing alcohol and let it dry).
- Peel back a small corner of the backing.
- Line up the sticker, then press from center outward to avoid wrinkles.
- Burnish with a gift card for a crisp finish.
Party Decoration Ideas Using Your DIY Stickers
- Favor bags: 2 in circle seals on folded tops or tissue paper wraps
- Water bottles: 2 x 3 in labels (remove original label first for a clean look)
- Mini champagne bottles: Custom “Cheers!” labels for bridal showers
- Popcorn or candy bar: Ingredient labels and themed icons
- Kids’ craft table: Name labels on supply bins and take-home projects
- Thank-you notes: Matching envelope seals for a coordinated handmade finish
Pro Tips for Better-Looking Stickers (Even on a Budget)
- Use a simple color palette: 2–3 colors max, pulled from your party decorations.
- Go bold with contrast: Dark text on light backgrounds reads best at small sizes.
- Add a border: A thin outline (about 1–2 pt) makes designs look crisp and hides tiny cutting imperfections.
- Batch cut: Cut all vertical lines first, then horizontals. Faster and straighter.
- For clear sticker paper: Print darker colors and avoid pale pastels—they can disappear on glass jars.
- Test on your real surface: Some plastics (like textured cups) don’t hold stickers well. Smooth surfaces are best.
Variations (Beginner to Advanced)
Beginner Variations
- Black-and-white stickers: Use a single ink color and rely on shape + typography.
- Pre-cut label sheets: Buy printable label sheets (rectangles or circles) so you don’t have to cut at all.
- Hand-lettered look: Write the design on paper, scan or photograph it, then print on sticker paper.
Advanced Variations
- “Kiss-cut” effect by hand: Lightly score the sticker layer with a craft knife without cutting the backing—works best with simple shapes.
- Holographic overlay: Apply a holographic laminate sheet over printed stickers for glam birthday or disco themes.
- Layered look: Print a solid color shape, then place a smaller transparent sticker on top (great for modern, trendy party decorations).
Troubleshooting: Fix Common Sticker Problems
- Problem: Ink smears when touched.
- Fix: Let the sheet dry longer (15–30 minutes). Use “High Quality” print mode. Confirm your sticker paper matches your printer type (inkjet vs. laser).
- Problem: Colors look dull.
- Fix: Increase print quality, choose glossy sticker paper, or slightly boost saturation in your design. Matte paper naturally looks softer.
- Problem: Stickers won’t stick to cups or jars.
- Fix: Clean the surface with rubbing alcohol and let it dry. Avoid textured plastics. Use laminate for better durability.
- Problem: Edges peel up.
- Fix: Round the corners (sharp corners lift first). Burnish firmly. Use laminate or tape overlay for high-handling items.
- Problem: Printer jams with sticker paper.
- Fix: Feed one sheet at a time, use the rear tray if available, and keep sticker paper flat (store it in the original packaging).
Common Crafting Mistakes to Avoid
- Skipping the test print: Test on copy paper first to avoid wasting sticker sheets.
- Using “Fit to Page” printing: It changes your sticker sizes and can throw off punch alignment.
- Designing too close to the edge: Leave at least 1/8 in (3 mm) margin so nothing gets chopped.
- Touching glossy ink too soon: Glossy sticker paper needs extra dry time.
- Applying stickers to dusty or damp surfaces: Clean and dry first for best adhesion.
- Overcomplicating your first set: Start with one shape (circles or rectangles) and one theme. Once you love the results, then add fancy finishes.
FAQ: DIY Custom Stickers for Parties
1) Can I make DIY stickers if I don’t have a printer?
Yes. Design your stickers and save them as a PDF, then print at a local print shop. Ask for printing on your own sticker paper (some shops allow it) or print on regular paper and use double-sided tape for temporary party labels.
2) What’s the best sticker paper for water bottles and coolers?
Use glossy sticker paper plus a clear laminate sheet. For extra insurance around ice, laminate the entire printed sheet before cutting.
3) How many 2-inch circle stickers fit on one 8.5 x 11 sheet?
Typically 12–20 depending on spacing and margins. A common layout is 4 across by 4 down (16 total) with comfortable cutting space.
4) Do matte or glossy stickers look better for party decorations?
Matte looks modern and photographs well without glare. Glossy looks vibrant and polished, especially for bright birthday themes. Choose matte for a soft aesthetic and glossy for bold color impact.
5) Will DIY stickers damage jars or bottles?
On glass, most sticker paper peels off easily with warm soapy water. If residue remains, use a little cooking oil or rubbing alcohol on a cloth, then wash again.
6) Can kids help with this project?
Absolutely. Kids can help choose colors, place stickers on favor bags, and peel backing paper. For cutting, keep it adult-only unless you’re using kid-safe scissors and simple rectangles.
Wrap Up: Your Party, Your Style—For Under $25
DIY custom stickers are a budget-friendly way to make party decorations feel personal and coordinated. Once you’ve made one set, you’ll start seeing sticker opportunities everywhere—favor seals, labels, games, thank-you notes, and handmade packaging that ties the whole celebration together.
Pick one sticker size, keep your design bold, print a test page, and go for it. Your future self (and your party guests) will love the polished, custom look.
Want more creative, practical party crafts? Explore more DIY decoration ideas and smart celebration prep tips on smartpartyprep.com.
More Articles
 How to Hang Streamers for a Party Without Tape Mess, Sagging, or Last-Minute Panic: 7 Foolproof Methods That Actually Stick (Tested on 32 Parties)
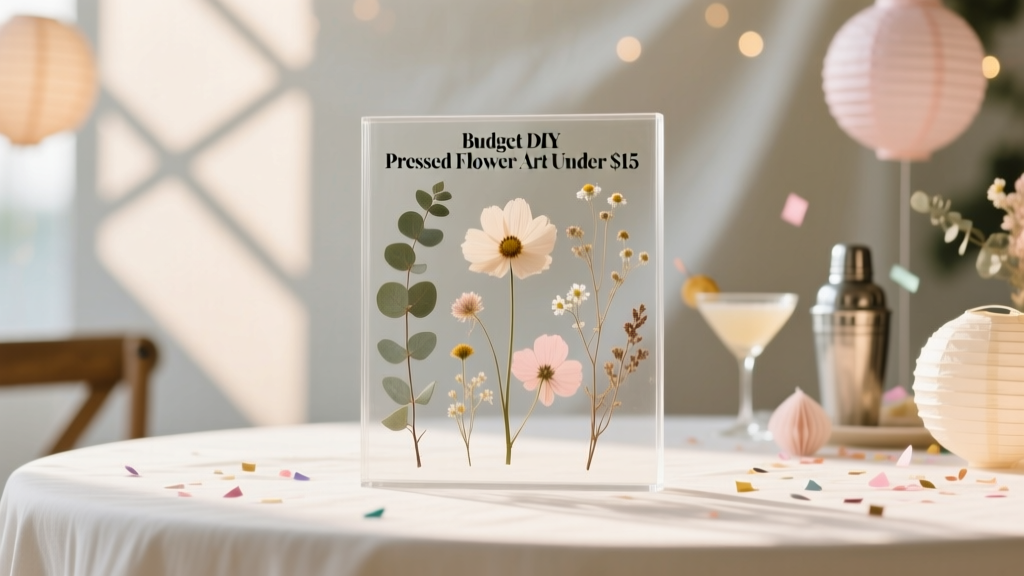 Budget DIY Pressed Flower Art Under $15
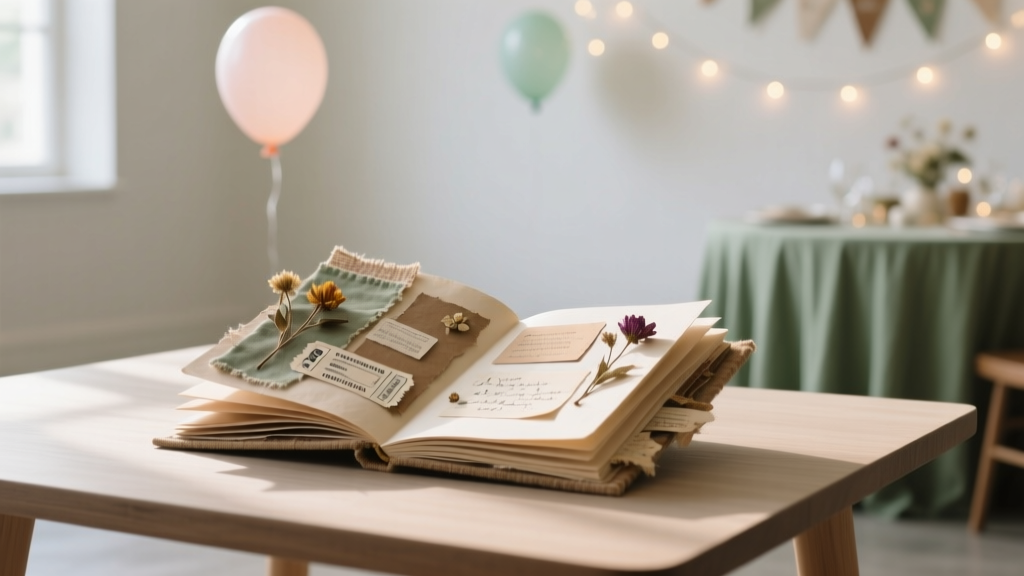 Upcycled Memory Books from Recycled Materials
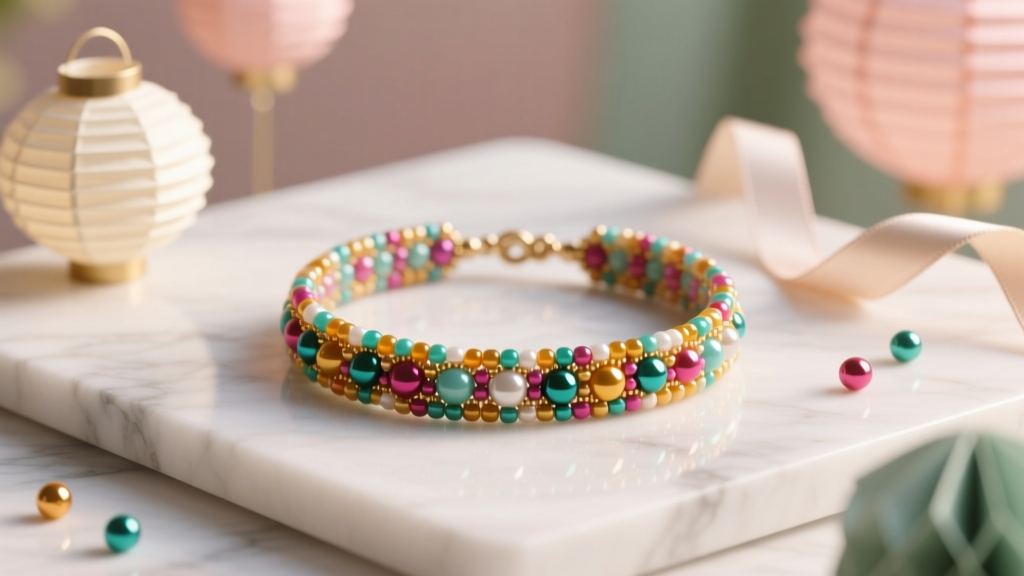 No-Sew Beaded Bracelets Tutorial
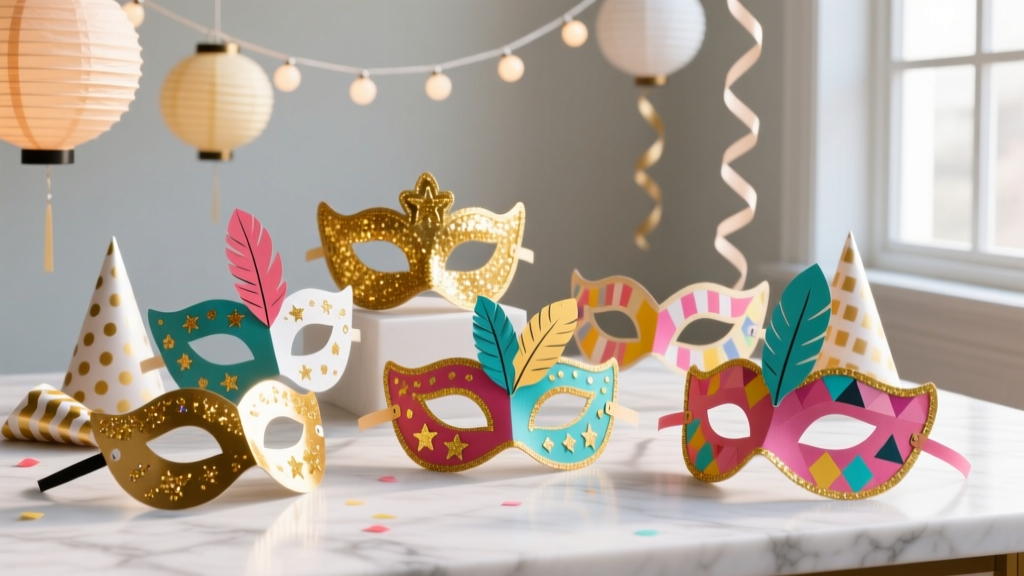 DIY Masks Party Favors
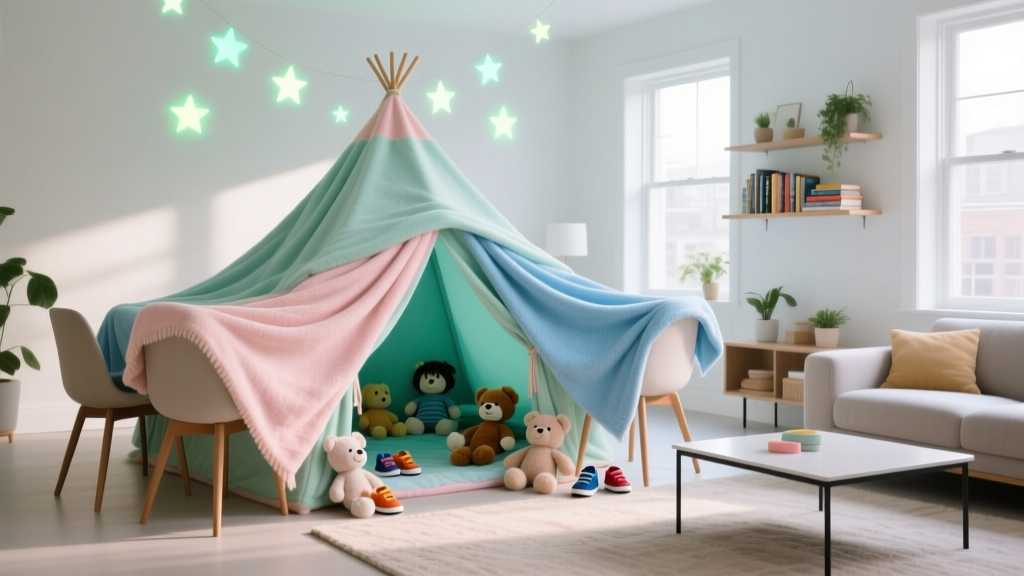 How to Make a Slumber Party Tent in Under 20 Minutes (No Sewing, No Special Tools — Just Blankets, Chairs & Kid-Approved Magic)
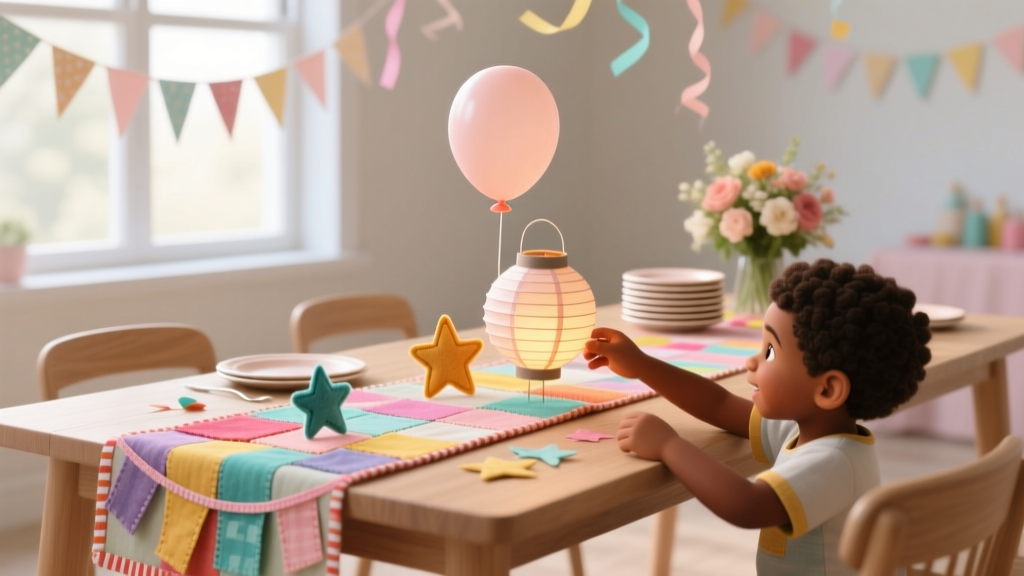 Kids' Craft: Table Runners
 How to Allow Third Party Cookies on Chrome in 2024: A Step-by-Step Guide That Actually Works (No More 'Blocked' Errors or Broken Logins)
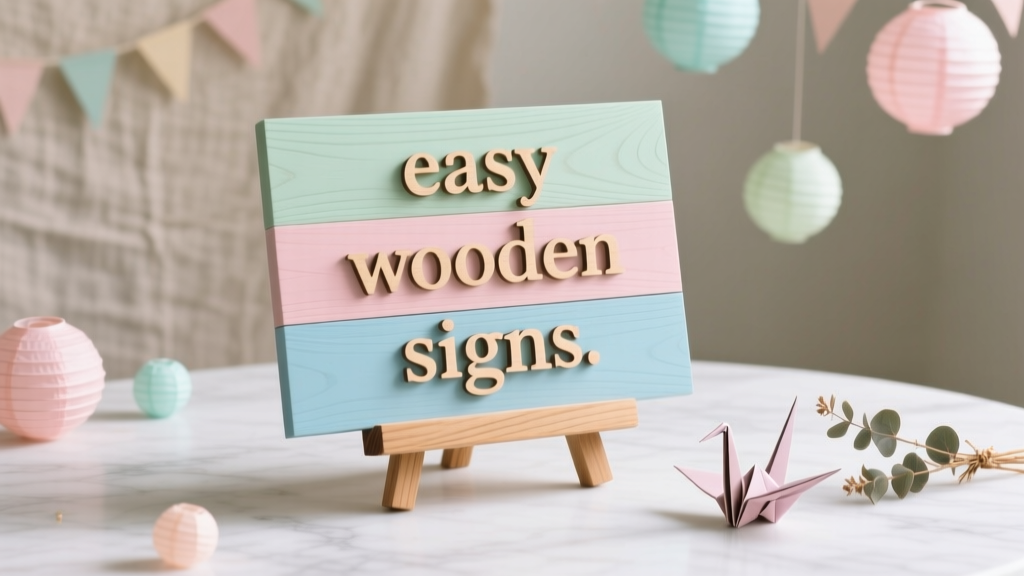 Easy Wooden Signs for Beginners
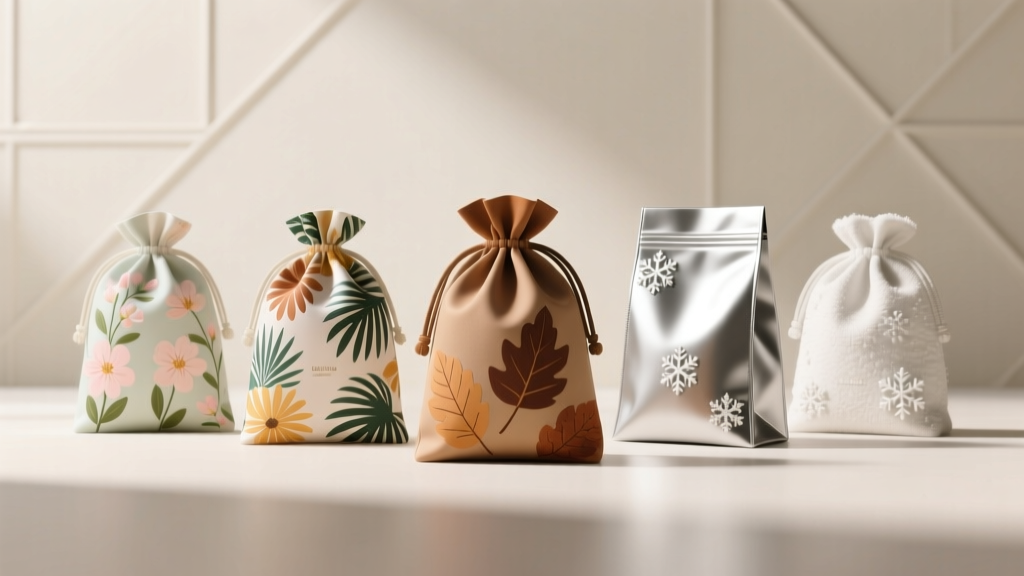 Seasonal Favor Bags Ideas