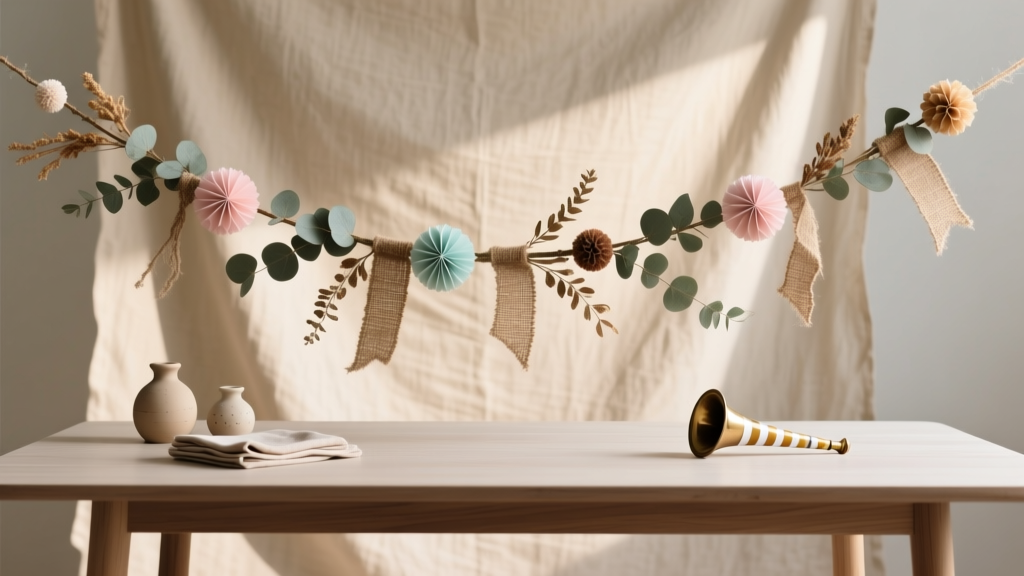
Seasonal Garlands Ideas
Garlands are one of those party decorations that instantly make a space feel styled—without requiring a whole room makeover. Hang one over a dessert table, drape it across a mantel, frame a photo backdrop, or string it along a staircase rail and your party setup suddenly looks intentional and festive.
The best part: seasonal garlands are endlessly customizable. You can build a reusable “base garland” and swap out accents for spring, summer, fall, and winter. Whether you love paper crafting, faux florals, felt shapes, or natural elements, there’s a handmade garland idea that fits your time, budget, and skill level.
This guide shares practical, step-by-step DIY garland projects with measurements, tool recommendations, cost estimates, and smart troubleshooting—so you can create party-ready, photo-friendly decor for every season.
Quick Overview: Skill Level, Time, and Where to Use Garlands
- Skill level: Beginner to Advanced (each project is labeled)
- Time estimates: 30 minutes to 2.5 hours per garland (depending on style and length)
- Standard garland length: 6–8 ft (ideal for dessert tables and mantels)
- Common party uses: backdrops, balloon garland pairings, mantel decor, high-chair banners, gift table styling, welcome signs
Materials List (with Product Types + Estimated Costs)
These supplies cover most DIY garland ideas below. Pick what matches your style and what you already own.
Base Supplies (for most garlands)
- Jute twine (100–200 ft roll): $4–$8
- Satin ribbon (3/8 in or 5/8 in wide, 10–20 yd spool): $4–$10
- Clear fishing line (optional, 20 lb test): $3–$6
- Hot glue gun (dual-temp preferred) + glue sticks: $10–$25 + $4–$8
- Scissors + fabric scissors (if using felt): $6–$15
- Measuring tape: $3–$8
- Mini clothespins (1 in, pack of 50): $3–$6
- Command hooks or removable wall clips: $6–$12
Paper Craft Options
- Cardstock (65–80 lb, assorted colors, 50 sheets): $6–$12
- Crepe paper streamers (rolls in seasonal colors): $3–$10
- Paper punch set (circle/scallop/leaf): $6–$18
- Craft hole punch (single): $4–$10
Fabric + Textural Options
- Felt sheets (9x12 in, assorted pack): $6–$12
- Pom-pom trim (1–2 yd): $4–$10
- Yarn (one skein): $3–$8
Floral + Natural Options
- Faux greenery garland base (6 ft): $10–$25
- Floral wire (24–26 gauge) + wire cutters: $4–$10
- Faux floral picks (seasonal stems): $1–$6 each
- Dried orange slices or cinnamon sticks (optional): $4–$12
How to Plan Your Garland (So It Fits Perfectly)
Step 1: Measure Your Space
- Mantel: measure across + add 12–18 in for a soft drape
- Dessert table front: table width + add 6–12 in
- Backdrop frame: measure the full span and consider two layers (one high, one low) for dimension
Step 2: Choose a Base Style
- String base: twine, ribbon, or fishing line (lightweight paper shapes)
- Greenery base: faux garland (fast, full, dramatic)
- Layered base: two strings at different lengths for a pro party look
Step 3: Pick a Seasonal Palette
- Spring: pastel pink, mint, butter yellow, lavender
- Summer: coral, turquoise, lemon yellow, crisp white
- Fall: rust, mustard, olive, cream
- Winter: evergreen, navy, white, metallic gold or silver
Seasonal Garland Ideas (DIY Projects with Step-by-Step Instructions)
1) Spring: Paper Flower + Leaf Garland (Beginner, 60–90 minutes)
Great for: baby showers, garden parties, brunch tables, Easter gatherings
Materials
- Cardstock in 3–4 spring colors (8.5x11 in)
- Green cardstock for leaves
- Twine or 3/8 in ribbon (8 ft)
- Scissors, hole punch, hot glue (optional)
Measurements
- Finished length: 7 ft (cut string to 8 ft for tying)
- Flower size: 2.5–3 in wide (easy to see in photos)
- Spacing: 4–6 in between flowers
Steps
- Cut flower shapes: Make a simple 5-petal template. Trace and cut 12–16 flowers.
- Add dimension: Curl petals slightly by pulling them across a scissor blade (like curling ribbon).
- Cut leaves: Make 16–24 small leaves (about 1 x 2 in). Fold each leaf lengthwise for a center vein.
- Punch holes: Punch two holes near the top of each flower (about 1/4 in from edge) so it hangs flat.
- String it: Thread flowers onto twine, alternating leaves between flowers.
- Secure: Add a tiny dot of hot glue behind each flower if you don’t want them sliding.
2) Summer: Citrus Slice Garland (Intermediate, 90 minutes + drying time)
Great for: pool parties, lemonade stands, bridal showers, tropical themes
Materials
- 2–3 oranges and/or lemons (or buy dried slices)
- Baking sheet + parchment paper
- Twine or fishing line (8 ft)
- Large needle or skewer (to make holes)
Measurements
- Slice thickness: 1/4 in
- Oven drying: 200°F for 2–3 hours (flip halfway)
- Spacing: 3–5 in between slices
Steps
- Slice citrus: Cut evenly (1/4 in) for consistent drying.
- Dry in oven: Lay slices on parchment. Bake at 200°F for 2–3 hours, flipping at the halfway point.
- Cool fully: Let slices cool 20–30 minutes so they firm up.
- Make threading holes: Use a skewer near the rind edge.
- String garland: Thread slices onto twine or fishing line. Tie a knot after each slice if you want fixed spacing.
- Optional accents: Add paper leaves, mini tassels, or small faux flowers for extra color.
3) Fall: Felt Leaf + Acorn Garland (Beginner-Friendly, 45–75 minutes)
Great for: Friendsgiving, autumn birthdays, rustic party themes
Materials
- Felt sheets in rust, mustard, olive, brown
- Twine (8 ft)
- Fabric scissors, hot glue
- Optional: small wooden beads (acorn “caps”), $3–$6
Measurements
- Leaf size: 2 x 3 in (small) or 3 x 4 in (statement)
- Quantity: 18–28 shapes for a full 7 ft garland
Steps
- Create templates: Draw 2–3 leaf shapes on cardstock and cut them out.
- Cut felt leaves: Trace templates onto felt and cut 18–24 leaves.
- Add veins: Use a tiny line of hot glue down the center and pinch gently for texture.
- Make acorns (optional): Cut small ovals for acorn bodies and glue a wooden bead or small felt cap on top.
- Attach to twine: Fold the top of each leaf over the twine (about 1/2 in fold) and hot glue to secure.
- Adjust spacing: Aim for 2–4 in between shapes, mixing colors as you go.
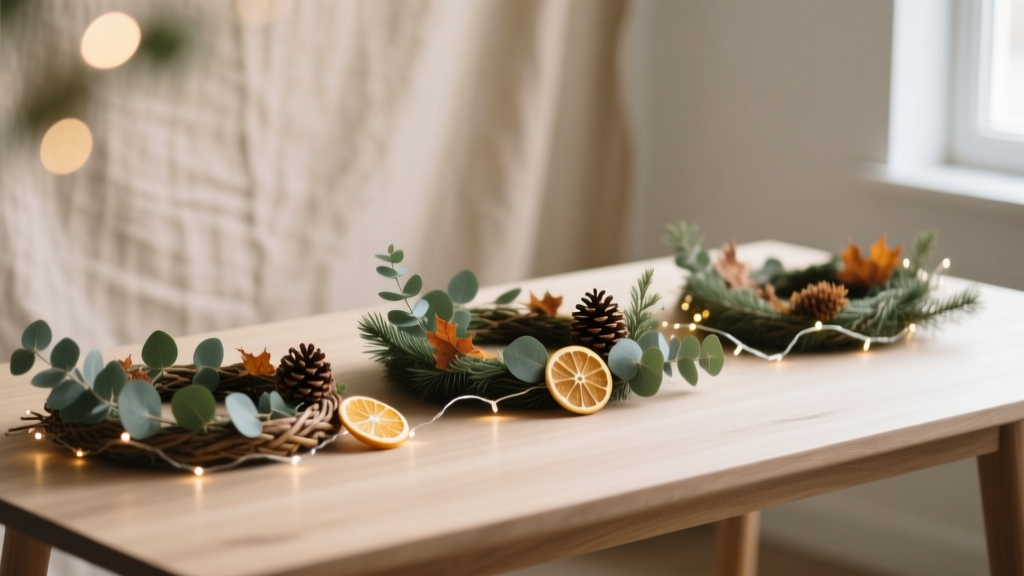
4) Winter: Greenery + Ornament Party Garland (Advanced, 60–120 minutes)
Great for: holiday parties, winter weddings, New Year’s Eve setups
Materials
- Faux greenery garland base (6 ft)
- Mini ornaments (20–30 count, shatterproof), $10–$20
- Floral wire (24–26 gauge) or ornament hooks
- Optional: fairy lights (battery pack, warm white), $8–$15
Measurements
- Finished length: 6 ft (or connect two for 12 ft)
- Ornament clusters: groups of 2–3 ornaments every 10–12 in
Steps
- Fluff greenery: Spread branches out to remove flat spots.
- Plan placement: Lay ornaments on top first—this prevents overloading one side.
- Wire ornaments on: Thread floral wire through ornament tops and twist tightly around a branch stem.
- Add lights (optional): Wrap fairy lights around the garland, placing the battery pack near an end for easy hiding.
- Hang securely: Use 2–3 removable hooks for a 6 ft garland (ends + center).
Pro Tips, Easy Variations, and Troubleshooting
Pro Tips for Party-Ready Garlands
- Make it photo-friendly: Choose shapes at least 2.5–3 in wide so they read well in pictures.
- Double-layer for impact: Hang two garlands, one 3–5 in higher and slightly shorter.
- Use removable hanging: Removable hooks and painter’s tape loops help protect walls and rentals.
- Color balance trick: Repeat each main color every 12–18 in so the garland looks intentional.
Beginner-Friendly Adaptations
- No-sew felt: Skip stitching—fold and hot glue shapes around the string.
- Pre-cut shapes: Use craft store die-cuts or a paper punch to speed things up.
- Clothespin style: Clip shapes to twine instead of threading (great for kids’ parties).
Advanced Variations
- Add personalized letters: Spell out a name or “HAPPY BIRTHDAY” with cardstock pennants between seasonal accents.
- Mixed textures: Combine felt leaves + wooden beads + metallic paper for a boutique look.
- Layered tassels: Add tissue tassels every 8–10 in for extra movement and color.
Troubleshooting
- Garland is sagging: Add a center hook, shorten the span, or use thicker twine/ribbon.
- Paper shapes curl weirdly: Use heavier cardstock (80 lb) or add two holes to stabilize.
- Hot glue won’t hold to felt: Use high-temp glue or a small dab of fabric glue for tricky areas.
- Ornaments slide: Twist floral wire tighter and anchor around a thicker branch stem.
Common Crafting Mistakes to Avoid
- Cutting the string too short: Always add 12–18 in extra for tying and adjusting.
- Overcrowding elements: Too many shapes can look bulky; keep consistent spacing and let the design breathe.
- Using weak hanging points: One hook for a long garland often fails—use 2–3 supports.
- Ignoring weight: Faux greenery + ornaments can get heavy fast; use sturdy hooks and wire attachments.
- Skipping a layout preview: Lay everything out on the floor first to catch color imbalance and spacing issues.
FAQ: Seasonal DIY Garland Projects
How long should a garland be for a standard party table?
For a typical 6 ft dessert table, a 6–7 ft garland looks balanced. If you want a soft drape at the ends, cut your base string to 7.5–8 ft.
What’s the best string to use for lightweight paper garlands?
Jute twine is beginner-friendly and easy to tie. If you want a “floating” look for a photo backdrop, use clear fishing line (20 lb test).
Can I reuse seasonal garlands year after year?
Yes! Store them flat in a shallow box or hang them on a pants hanger. For paper garlands, keep them away from humidity. Faux greenery garlands store best in a large zip bag or wreath container.
How do I keep garland pieces from sliding around?
Add a tiny dot of hot glue behind each piece, tie a small knot between pieces, or use double-hole threading so shapes hang more securely.
Are these DIY garland ideas kid-friendly?
Absolutely—choose the clothespin method or pre-cut shapes. For younger kids, skip hot glue and use tape loops or glue dots with adult supervision.
What’s a quick garland idea if I’m short on time?
Use a 6 ft faux greenery base and add a few seasonal accents (mini ornaments for winter, faux flowers for spring, felt leaves for fall). You’ll get a full, party-ready look in 20–30 minutes.
Make It Yours (and Make It Seasonal)
A handmade seasonal garland is one of the most satisfying DIY party decorations because it’s both practical and expressive. You can keep it simple for a last-minute gathering, or build a showpiece garland that becomes part of your yearly party tradition. Start with one season, then reuse the same base and switch out accents as the months change.
Want more DIY crafts, party decorations, and handmade project ideas? Keep exploring new tutorials and creative inspiration on smartpartyprep.com.
More Articles
 How to Install 3rd Party Apps on Toshiba Smart TV: The Only Step-by-Step Guide That Actually Works in 2024 (No Rooting, No Jailbreak, No Guesswork)
 12 Do It Yourself Party Decorations That Actually Look Pro—No Glue Gun Panic, No Last-Minute Scramble, Just Joyful, Instagram-Ready Results in Under 90 Minutes
 How Do I Allow Third Party Cookies on My Mac? A Stress-Free, Step-by-Step Guide for Safari, Chrome & Firefox (2024 Tested)
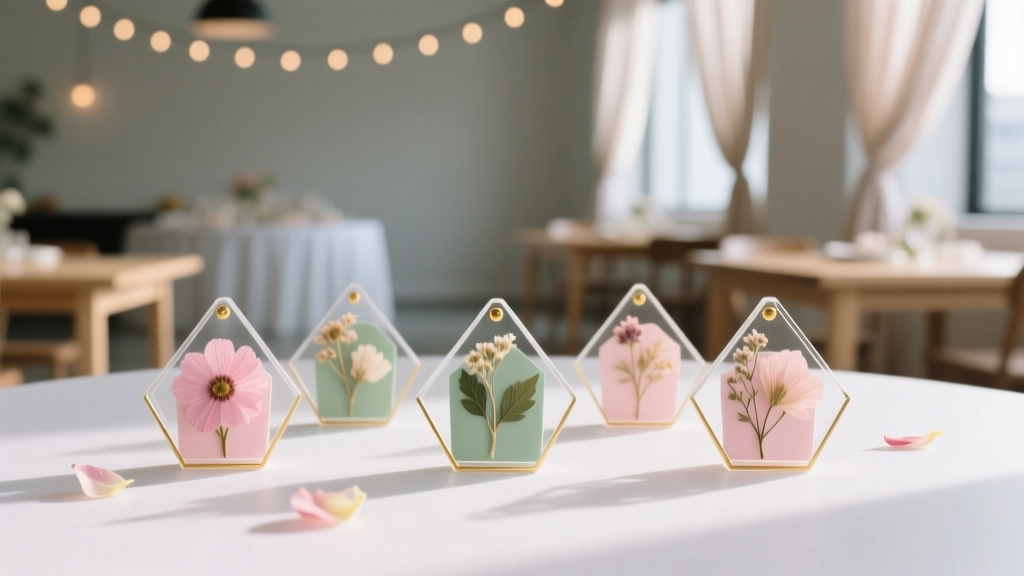 DIY Pressed Flower Art Party Favors
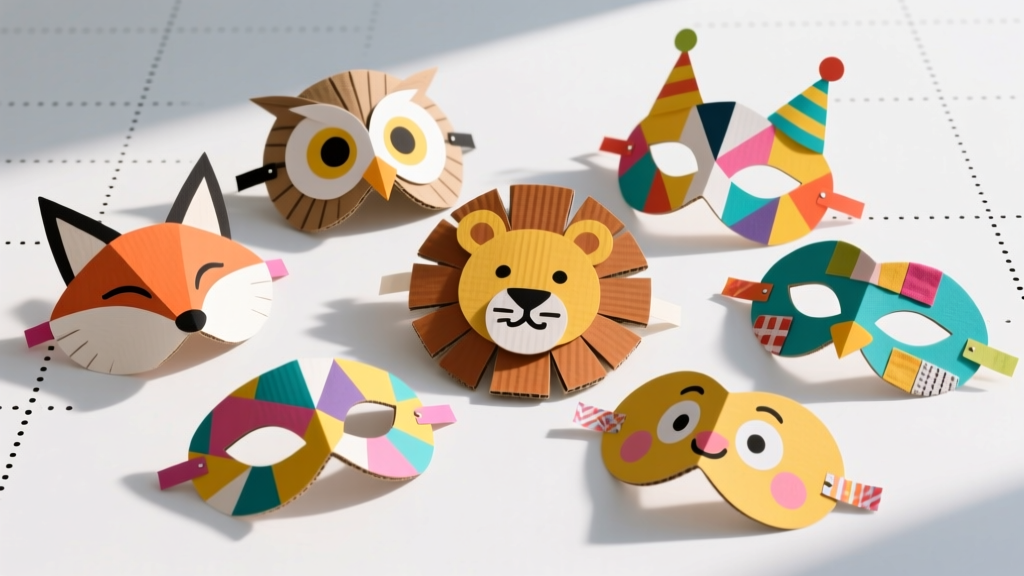 Budget DIY Masks Under $5
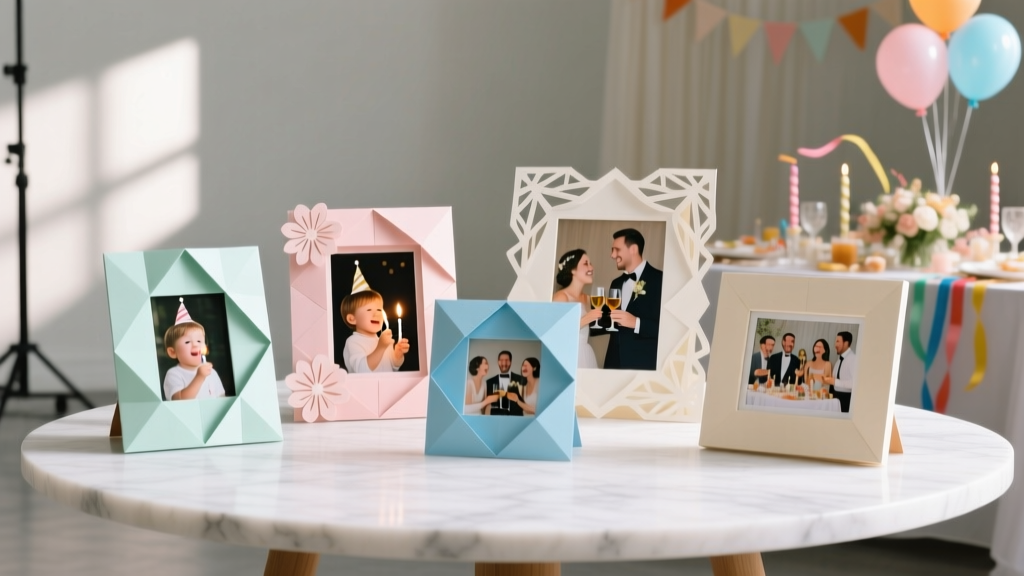 Paper Craft Photo Frames Ideas
 How to Enable Third Party Cookies on Mac in 2024: A Step-by-Step Safari & Chrome Guide (Plus Why You Might Not Want To)
 DIY Garlands for Home Decor
 How to Make a Hat for a Tea Party in Under 90 Minutes (No Sewing Machine Needed!) — 5 Foolproof Styles That Impress Guests & Boost Your Confidence
 DIY Candles for Home Decor