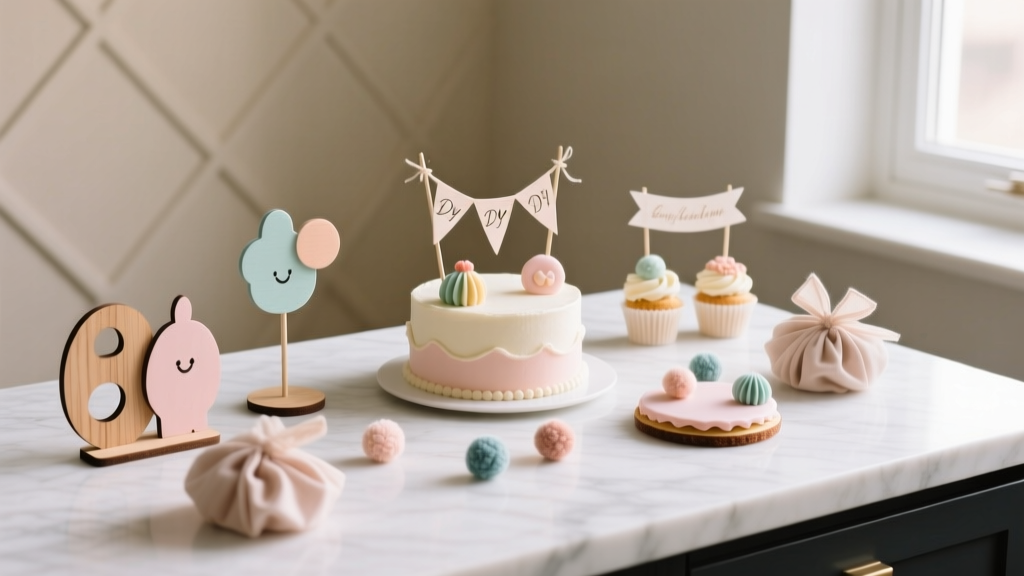
DIY Cake Toppers Party Favors
If you love party prep with a personal touch, DIY cake toppers that double as party favors are about to become your new go-to project. They’re cheerful, photo-ready, and surprisingly practical: guests can pop them into cupcakes during the party, then take them home as a keepsake. One craft session can cover both decorations and favors, which is a win for your time and your budget.
This project is also wonderfully flexible. You can make elegant monograms for weddings, glittery stars for birthdays, cute animals for baby showers, or themed icons for holiday gatherings. With a few basic tools and some creative mix-and-match materials, you’ll have handmade party decorations that look polished without feeling “store-bought.”
Best of all, these DIY cake toppers are beginner-friendly with lots of room to level up. Start simple with cardstock and skewers, or go advanced with layered designs, vinyl decals, and acrylic sticks for a modern look.
Project Overview (Skill Level, Time, Yield)
- Skill level: Beginner to Intermediate (Advanced options included below)
- Time estimate:
- Simple single-layer toppers: 60–90 minutes for 12
- Layered/3D toppers: 2–3 hours for 12
- Drying time (if using glue/paint): 20–60 minutes
- Yield: 12–24 toppers per crafting session, depending on complexity
- Best uses: Cupcake toppers, cake toppers, treat table decorations, party favors, place markers
Materials & Tools (With Estimated Costs)
Costs vary by brand and what you already have. These estimates are typical for craft stores or online retailers.
Core Materials
- Heavy cardstock (65–110 lb) – 1–3 sheets per 12 toppers ($0.50–$1.50 per sheet)
- Wooden skewers (8–10 inch) or lollipop sticks (6 inch) – pack of 50 ($3–$6)
- Hot glue sticks – mini or full size, pack ($3–$8)
- Double-sided tape (strong craft tape) – 1 roll ($4–$10)
- Optional: glitter cardstock or foil cardstock – 1–2 sheets ($1–$3 each)
Optional “Favor Upgrade” Materials
- Cellophane treat bags (4x9 inch for single toppers, 5x11 inch for bulkier) – pack of 50 ($4–$10)
- Ribbon or baker’s twine – 10–20 yards ($3–$8)
- Mini thank-you tags (or cardstock to make your own) – ($2–$6)
- Sticker paper or printable labels – ($6–$12)
Recommended Tools
- Scissors (sharp detail scissors help) – ($5–$15)
- Craft knife (X-Acto style) + cutting mat – ($10–$25)
- Hot glue gun (low-temp is easiest for beginners) – ($8–$20)
- Circle punch (2 inch) or shape punches – ($8–$18)
- Ruler (12 inch) and pencil – ($2–$8)
- Optional: cutting machine (Cricut/Silhouette) for crisp lettering and layered designs
- Optional: laminator for extra-sturdy toppers (especially for favors)
Design Planning: Pick a Style That Matches Your Party
Before you start cutting, decide on a consistent look so the toppers feel cohesive as handmade party decorations.
Easy Themes That Always Look Great
- Name or age toppers: “Emma,” “ONE,” “30,” “Mr & Mrs”
- Classic shapes: stars, hearts, circles with a message
- Seasonal icons: pumpkins, snowflakes, florals, suns
- Character-inspired (without logos): wands, crowns, capes, dinosaurs, mermaids
Best Sizes (So They Fit Desserts)
- Cupcakes: 2–2.5 inches wide topper head; stick length 4–5 inches above cupcake liner
- Single cake (8–10 inch): 4–6 inches wide topper head; stick length 6–8 inches
- Favor bag display toppers: 2–3 inches wide; total height under 9 inches for standard bags
Step-by-Step: Basic Double-Sided Cardstock Cake Topper
This is the most reliable method for party favor toppers: sturdy, neat from both sides, and fast to batch-produce.
Step 1: Create or Choose Your Template
- Sketch a simple shape or print a template. Keep thin details at least 1/8 inch thick so they don’t tear.
- Aim for a topper head size of 2.25 inches for cupcakes (great “universal” size).
- If adding text, use bold fonts and keep letters at least 0.3 inch tall for clean cutting.
Step 2: Cut the Topper Pieces
- Cut two identical shapes for each topper (front and back).
- If you want a layered look, cut a smaller accent shape (about 1/4 inch smaller all around).
- For clean edges:
- Use a craft knife for sharp corners.
- Rotate the paper, not your wrist, on curves.
Step 3: Prep the Stick
- Choose your stick:
- Lollipop stick (6 inch): best for cupcakes
- Skewer (8–10 inch): best for taller cakes
- If using skewers, snip the sharp tip off by 1/4–1/2 inch for safer party use.
Step 4: Assemble (Strong + Straight)
- Place one cardstock shape face-down.
- Apply a thin line of hot glue or strong double-sided tape down the center where the stick will sit.
- Set the stick so it extends into the topper head by 1.5–2 inches (this prevents wobbling).
- Add a small glue dot at the top and bottom of the topper head for stability.
- Press the second cardstock shape on top (matching edges). Hold firmly for 10–15 seconds.
Step 5: Add a Message (Optional)
- Use letter stickers, a printed label, or a vinyl cutout.
- Center text with a ruler: measure width, mark a light midpoint dot, then align your text to the center.
Step 6: Make It Favor-Ready
- Slip each topper into a cellophane bag.
- Add a mini thank-you tag or label (example text: “Thanks for celebrating!”).
- Tie with ribbon or twine about 1 inch above the topper head so it doesn’t slide around.
Advanced Variations (Level Up Your Handmade Party Decorations)
Layered “Shadow” Toppers (Intermediate)
Create depth by stacking 2–4 layers.
- Cut a base layer (largest), then 1–2 accent layers that are progressively smaller by 1/8–1/4 inch.
- Use foam adhesive dots (or thin foam tape) for dimension.
- Keep total thickness under 1/4 inch so they still fit nicely into treat bags.
Acrylic Stick Toppers (Modern + Durable)
- Swap wooden sticks for clear acrylic cake topper sticks (often 4–6 inches tall).
- Attach cardstock shapes with clear-drying craft glue or strong tape.
- Great for weddings, anniversaries, and sleek themed parties.
3D Tissue Pom or Tassel Toppers (Party-Perfect)
- Create mini tassels with tissue paper strips: cut a 5x7 inch piece into fringe, roll tightly, twist the top.
- Tie onto a stick with thread and secure with a glue dot.
- Pair with a small cardstock circle tag for a polished favor look.
Edible-Safe Hybrid (Display + Dessert Use)
If toppers may touch frosting, keep materials food-safe where needed.
- Wrap the part of the stick that goes into the dessert with food-safe straw covers or insert into a straw segment.
- Avoid loose glitter on anything that might contact food.
Pro Tips for Clean Results (And Faster Batch Crafting)
- Batch your steps: cut all shapes first, then glue all sticks, then package. It’s the fastest way to make DIY party favors.
- Use low-temp hot glue to reduce warping and burns (especially on thin cardstock).
- Weight while cooling: press assembled toppers under a book for 1–2 minutes to keep them flat.
- Keep a “design ruler”: mark common center points (1 inch, 1.25 inch) to quickly align text.
- Seal for durability: lightly spray with clear acrylic sealer (outdoors) for humid climates or outdoor parties.
Troubleshooting (Quick Fixes)
- Topper head is bending: use heavier cardstock (80–110 lb), add a second layer, or laminate.
- Stick keeps twisting: extend the stick farther into the topper head (at least 1.5 inches) and glue at two points.
- Glue bumps show through: switch to strong double-sided tape for flat designs, or use thinner glue lines.
- Edges look fuzzy: replace your blade, cut slower, and use a cutting mat. For scissors, use detail scissors.
- Glitter shedding: choose glitter cardstock (glitter embedded) instead of loose glitter, or seal lightly with spray sealer.
Beginner-Friendly Adaptations
- No cutting machine? Use a 2-inch circle punch and letter stickers for clean, fast toppers.
- No hot glue? Use strong double-sided tape and press firmly; let sit under a book for a few minutes.
- Not confident in lettering? Print names/ages on cardstock, then cut into simple shapes like pennants or circles.
- Crafting with kids? Pre-cut shapes and let them decorate with stickers, markers, or washi tape.
Common Crafting Mistakes to Avoid
- Using flimsy paper: standard printer paper wrinkles and bends. Choose 65 lb cardstock minimum.
- Making toppers too large: oversized toppers can topple cupcakes. Stay around 2–2.5 inches wide for cupcakes.
- Not making them double-sided: single-sided toppers look unfinished on a dessert table. Double up for a professional look.
- Skipping stick safety: clip sharp skewer tips and consider straw covers for food contact.
- Over-gluing: thick hot glue blobs create lumps and warping. Thin lines and small dots hold better and look cleaner.
- Waiting until party day: make toppers 2–5 days ahead and store flat in a box so they stay crisp.
FAQ: DIY Cake Toppers as Party Favors
How far in advance can I make cake toppers?
You can make them 1–2 weeks ahead if stored flat in a dry box. If you live in a humid area, add a silica gel packet to the storage container and avoid leaving them near kitchens or bathrooms.
What’s the best stick to use for cupcake toppers?
6-inch lollipop sticks are sturdy and smooth. For taller designs or layered toppers, use 8-inch skewers and trim the point for safety.
Can I use loose glitter?
Loose glitter looks pretty but can shed onto frosting and party tables. For safer, cleaner DIY party decorations, use glitter cardstock or seal the glitter well and keep it away from any food-contact areas.
How do I keep toppers from falling over in cupcakes?
Keep the topper head around 2–2.5 inches wide, extend the stick into the topper head by at least 1.5 inches, and insert the stick straight down into the cupcake (not at an angle).
What’s the easiest way to personalize toppers for each guest?
Use a circle punch and add each guest’s name with alphabet stickers or printed labels. Package each topper in a treat bag with a matching name tag so it doubles as a place marker and a party favor.
How should I package toppers so they look like real favors?
Cellophane bags + a small tag + ribbon is the simplest upgrade. Choose a bag size that leaves about 1 inch of space above the topper head so it doesn’t crumple, then tie the ribbon snugly to prevent shifting.
Wrap-Up: Make Party Decorations That Guests Can Take Home
DIY cake toppers party favors are one of those satisfying crafts where a little effort makes a big visual impact. You’ll get a coordinated dessert table, fun photo moments, and a handmade favor guests can actually keep—without blowing your party budget.
Pick a theme, cut a few test shapes, and let your creativity build from there. When you’re ready for more party-ready DIY crafts, browse more ideas and tutorials on smartpartyprep.com.
More Articles
 How to Draw Party Hat in 5 Minutes (Even If You Can’t Draw): A Foolproof Step-by-Step Guide for Kids, Teachers & DIY Crafters Who Hate Frustrating Tutorials
 How to Make Party Hats That Actually Stay On, Look Festive, and Cost Under $2 (No Glue Gun Required — Just Scissors, Paper & 10 Minutes)
 How to Discharge Debt as a Secured Party Creditor: The Truth Behind the Viral Loophole (Spoiler: It Doesn’t Work — Here’s What Actually Does)
 Kids' Craft: Origami Decorations
 How to Make a Tea Party Hat in Under 45 Minutes (No Sewing, No Fancy Tools—Just Paper, Glue & Joy!)
 Kids' Craft: Vision Boards
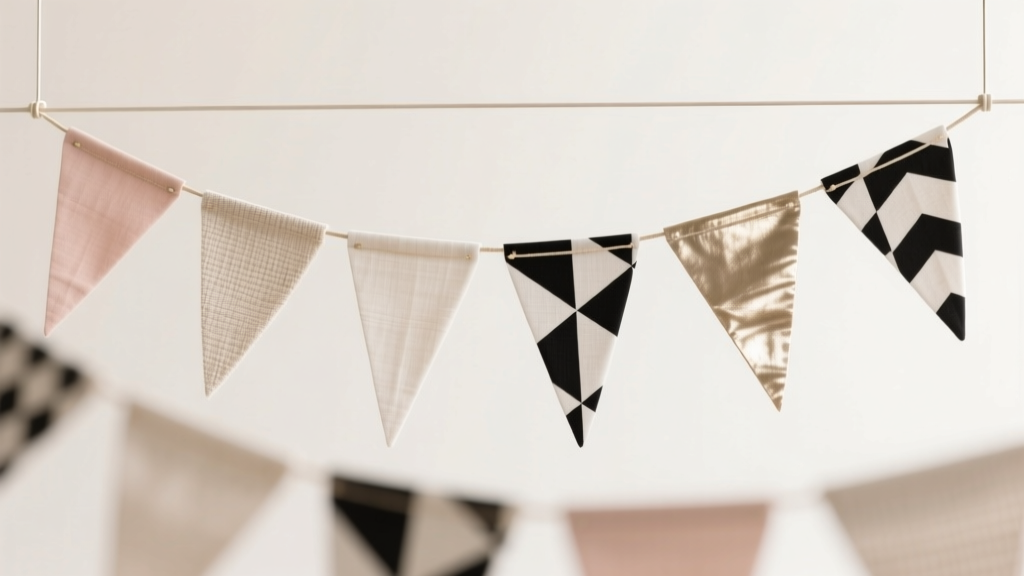 Modern Fabric Bunting Designs
 How Do You Enable 3rd Party Cookies in 2024? (Spoiler: It’s Not Just One Click — Here’s Exactly What Changes in Chrome, Safari, Edge & Firefox)
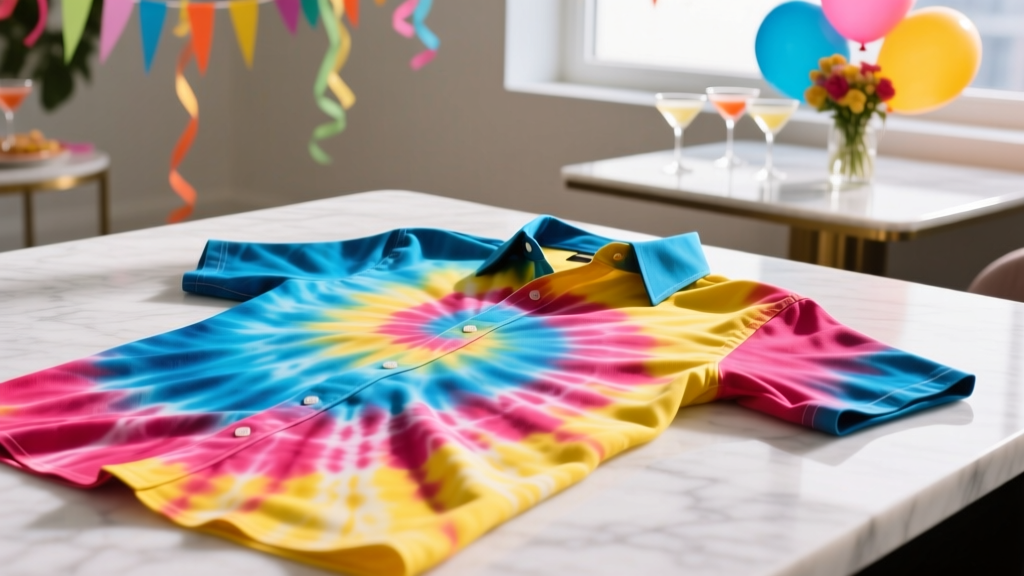 How to Make Tie-Dye Shirts at Home
 How to Draw a Party Hat in 5 Minutes (Even If You Can’t Draw): A Foolproof, Step-by-Step Guide for Kids, Teachers & Party Planners Who Need Instant Printable Art