
Budget DIY Origami Decorations Under $15
Origami is one of those magical DIY crafts that feels fancy but costs almost nothing. With a stack of paper and a few simple tools, you can create handmade party decorations that look intentional, polished, and totally custom to your theme. Whether you’re planning a birthday, baby shower, bridal shower, graduation, or a cozy dinner party, origami adds a personal touch that store-bought décor can’t match.
The best part: you can make a whole set of DIY party decorations for under $15, especially if you choose a color palette and repeat a few key folds. Origami is also easy to batch-produce—perfect for crafting nights, family help, or prepping while binge-watching your favorite show. If you’re new to paper folding, there are beginner-friendly options below; if you love a challenge, you’ll find advanced variations too.
This guide covers several budget origami decoration ideas, step-by-step instructions, pro tips, and common mistakes to avoid, all geared toward practical party styling. Pick one project or mix a few for a coordinated look.
Quick Overview: Skill Level, Time, and What You’ll Make
- Overall skill level: Beginner to Intermediate (with optional advanced upgrades)
- Estimated total cost: $8–$15 depending on paper choice and tools you already own
- Prep time: 10–20 minutes (cutting paper, setting up)
- Craft time: 45–120 minutes depending on how many pieces you make
- Great for: Backdrop walls, table centerpieces, garlands, place settings, cupcake toppers, party favors
Materials List (Under $15) + Tool Recommendations
You can do all of these DIY origami decorations with basic supplies. Prices are estimates and will vary by store, but this list is designed to stay budget-friendly.
Paper + Adhesives
- Origami paper pack (6" x 6" or 8" x 8", 40–100 sheets): $4–$8
- Look for: double-sided colors, metallic accents, or themed prints
- Cardstock (8.5" x 11"), 25–50 sheets (optional for sturdier décor): $4–$6
- Glue dots or double-sided tape (preferred for clean assembly): $2–$4
- Clear tape (for hanging and quick fixes): $1–$3
Hanging + Display Supplies
- String, twine, or fishing line (garlands): $2–$4
- Mini clothespins or paper clips (optional, for removable garlands): $2–$4
- Pushpins, removable hooks, or painter’s tape (for walls): $2–$6 (use what you have)
Tools (Use What You Have)
- Scissors (for trimming and cutting squares)
- Ruler (12" recommended)
- Pencil (light marks)
- Bone folder or old gift card (for crisp creases)
- Optional: paper trimmer (faster cutting), hole punch (for garlands), stapler (quick reinforcement)
Budget tip: If you already have scissors, tape, and string at home, you can often complete everything with just a $5–$8 origami paper pack.
Project 1: Origami Butterfly Garland (Beginner-Friendly, Big Impact)
Skill level: Beginner
Time estimate: 3–5 minutes per butterfly + 10 minutes assembly
Best uses: Dessert table backdrop, doorway garland, photo booth wall, highchair banner
Measurements
- Paper size: 6" x 6" for small butterflies, 8" x 8" for larger statement butterflies
- String length: 5–8 feet per garland strand
- Spacing: 4"–8" between butterflies depending on fullness
Step-by-Step: Simple Origami Butterfly
- Start with a square sheet (colored side down if using double-sided paper).
- Fold in half diagonally to make a triangle. Crease sharply and open.
- Fold diagonally the other way (corner to corner). Crease and open. You should see an “X” crease.
- Fold in half horizontally (edge to edge). Crease and open.
- Fold in half vertically. Crease and open. You’ll now have a starburst of creases.
- Collapse into a smaller triangle: bring the side creases inward so the paper folds into a flat triangle (this is a basic waterbomb/base collapse). Smooth it flat.
- Fold the two top flaps upward toward the top point, creating two “wings.”
- Flip over and fold the top point down about 1/2"–3/4" (this helps lock the shape).
- Flip back and gently pinch the center. Slightly open the wings to give dimension.
Assemble the Garland
- Cut string or twine to your desired length (5–8 feet works well).
- Attach butterflies using one of these methods:
- Mini clothespins: clip butterflies at the center (great for adjustable spacing).
- Glue dots: place a small glue dot on the string and press the butterfly center onto it.
- Paper clips: slip a clip through the butterfly center crease and hang on the string.
- Hang using painter’s tape, removable hooks, or pushpins. If hanging against a wall, tape the string ends first, then adjust the drape.
Project 2: Origami Stars (Lucky Stars) for Table Scatter & Favor Fillers
Skill level: Beginner
Time estimate: 1–2 minutes per star once you get the rhythm
Best uses: Table scatter, party favors, clear balloons, mason jar centerpieces
Measurements
- Paper strips: 1/2" x 10" (use a ruler; accuracy helps)
- Quantity guide: 30–60 stars fill a small jar; 80–120 stars for a fuller centerpiece
Step-by-Step: Origami Lucky Star
- Cut a strip of paper: 1/2" wide by 10" long. (Use scrapbook paper, origami paper, or lightweight cardstock.)
- Tie an overhand knot near one end, forming a small pentagon. Gently flatten the pentagon.
- Wrap the long tail around the pentagon edges, keeping the strip snug and aligned.
- When you have a short tail left, tuck it into a pocket on the pentagon to secure.
- Pinch the sides of the pentagon inward (one side at a time) to puff it into a star shape.
Easy Party Styling Ideas
- Fill clear treat bags with stars and add a tag: “You’re a star!”
- Sprinkle stars across the dessert table for a handmade confetti look.
- Fill a clear ornament or mini jar as a guest favor.
Project 3: Origami Paper Rosettes (Fan Flowers) for Backdrops
Skill level: Beginner to Intermediate
Time estimate: 8–12 minutes per rosette
Best uses: Backdrop wall clusters, gift table décor, high-impact photo spot
Measurements
- Paper size: 8.5" x 11" copy paper or cardstock (cardstock holds shape better)
- Accordion folds: about 1/2" wide (keep consistent)
- Hanging: attach a loop of string 4"–6" long
Step-by-Step: Classic Paper Rosette
- Lay paper horizontally. Create accordion folds across the entire sheet, about 1/2" per fold.
- Fold the accordion strip in half to find the center.
- Staple or tape at the center to hold the pinch.
- Bring the two ends together to form a circle and secure with double-sided tape or glue dots.
- Repeat with a second sheet and join both semicircles together (this makes a fuller, sturdier rosette).
- Fluff the folds evenly and press the center flat.
- Add a center circle (optional): cut a 2"–3" circle from cardstock and glue it in the middle to cover staples/tape.
Beginner-Friendly Adaptation
- Use regular printer paper first (easier to fold), then upgrade to cardstock once you like your folding rhythm.
Advanced Variation
- Use metallic or foil-accented paper and layer two rosettes (one 8" and one 6") for a dimensional centerpiece cluster.
Project 4: Origami Place Cards (Functional Décor Guests Actually Use)
Skill level: Beginner
Time estimate: 3–6 minutes each
Best uses: Dinner parties, baby showers, bridal showers, graduation parties
Two Easy Styles
- Origami tent card: clean, simple, works with any theme
- Origami heart place card: sweet and perfect for romantic or pastel palettes
Measurements
- Paper: 4" x 4" or 6" x 6"
- Pen recommendation: fine-tip marker or gel pen (quick-drying to prevent smudges)
Step-by-Step: Quick Origami Heart (Great for Names)
- Start with a square sheet, colored side down.
- Fold in half to form a rectangle; crease and open.
- Fold the top corners down to meet the center crease (like forming a roof).
- Flip over and fold the bottom edge up about 1/2".
- Fold the side edges inward slightly to round the heart shape.
- Flip back to the front and write the guest’s name across the heart.
Pro Tips for Crisp, Professional-Looking Origami Party Decorations
- Crease like you mean it: run a bone folder (or an old gift card) along each fold for sharp lines.
- Batch your steps: fold all pieces step 1, then all pieces step 2. This speeds everything up.
- Pick a tight palette: 2–3 main colors + 1 accent makes DIY décor look coordinated.
- Use double-sided tape for display: it’s cleaner than liquid glue and holds well for party backdrops.
- Hang with intention: fishing line creates a “floating” effect; twine gives a rustic vibe.
- Pre-test your wall surface: painter’s tape is gentler than clear tape for painted walls.
Variations to Match Any Party Theme
- Kids’ birthdays: bright solids + star table scatter + butterfly garland
- Baby shower: pastel butterflies + rosettes with small letter centers (A, B, C) or baby-themed stickers
- Bridal shower: blush, cream, and gold paper rosettes; add a monogram center
- Graduation: school colors; fold stars and fill clear jars tied with ribbon
- Holiday parties: metallic paper stars, deep green and red rosettes, winter-white butterflies
Troubleshooting: Fixes for Common Origami Problems
- My folds won’t line up: check that your paper is perfectly square. Trim carefully using a ruler. Even 1/8" off can skew the whole model.
- Paper keeps popping open: use a tiny glue dot in a hidden spot (center of a butterfly, underside of a rosette join).
- Creases look messy: slow down and crease once firmly rather than refolding repeatedly. A bone folder makes a big difference.
- Cardstock is cracking: choose lighter cardstock or pre-score folds gently with the back of a butter knife (light pressure).
- Garland droops oddly: reduce spacing between pieces or use fishing line for less sag.
Common Crafting Mistakes to Avoid (Save Time and Paper)
- Starting with thick paper for detailed folds: beginner origami works best with lightweight origami paper or printer paper.
- Eyeballing cuts for paper strips: uneven strips make lopsided lucky stars. Use a ruler and cut multiple strips at once if possible.
- Over-gluing: liquid glue can wrinkle paper. Stick to glue dots, double-sided tape, or tiny amounts of glue applied with a toothpick.
- Mixing too many patterns: if your paper is busy, keep shapes simple (butterflies and hearts). If your folds are complex, use solid paper.
- Waiting until the day of the party: origami is relaxing, but it still takes time. Make your garlands and rosettes 1–3 days ahead.
FAQ: Budget Origami Decorations for Parties
1) Can I make these DIY origami decorations without origami paper?
Yes. Printer paper works well for practice and rosettes. For butterflies and hearts, lightweight scrapbook paper is great. If you’re cutting your own squares, aim for clean edges and accurate measurements.
2) How many origami butterflies do I need for a garland?
For a 6-foot garland, plan on 10–16 butterflies depending on spacing. Closer spacing (about 4") looks fuller; wider spacing (6"–8") feels airy.
3) What’s the best way to hang origami decorations without damaging walls?
Painter’s tape is usually the safest quick option. Removable hooks work well for heavier rosettes. Always test a small area first, especially on matte paint.
4) Are these projects good DIY party decorations for kids to help with?
Absolutely. Kids can help fold rosettes (accordion folds), pinch lucky stars, and clip butterflies onto string. For younger kids, pre-cut squares and strips to keep it frustration-free.
5) How do I keep rosettes from coming apart?
Use double-sided tape on the end joins and add a small cardstock circle in the center to reinforce. If you’re short on time, a discreet staple at the join plus a center circle hides it nicely.
6) How far in advance can I make origami party décor?
You can make everything 1–2 weeks ahead if you store it flat in a box. Keep away from humidity. For garlands, wrap the string around cardboard to prevent tangling.
Wrap-Up: Big Party Style on a Small Budget
With a few sheets of paper and simple tools, you can create budget DIY origami decorations that look curated, festive, and totally personalized—without blowing your party budget. Start with one project (like the butterfly garland), then add stars for table sparkle or rosettes for a bold backdrop moment. Every fold gets easier, and your confidence builds fast.
Want more DIY crafts, handmade party decorations, and creative celebration ideas? Browse more projects and party prep tips on smartpartyprep.com.
More Articles
 DIY Dream Catchers with Dollar Store Supplies
 No-Sew Scrapbook Pages Tutorial
 ‘Is Just Ingredients Third Party Tested?’ — The Truth Behind Label Claims (and How to Verify What You’re Really Buying)
 How to Hang Streamers for a Party Without Tape Mess, Sagging, or Last-Minute Panic: 7 Foolproof Methods That Actually Stick (Tested on 32 Parties)
 Does Hasbro Hate Third Party Transformers? The Truth Behind Licensing, Cease-and-Desists, and Why Fans Keep Building Anyway — A Deep Dive for Customizers, Collectors & Makers
 Rustic Embroidered Patches Ideas
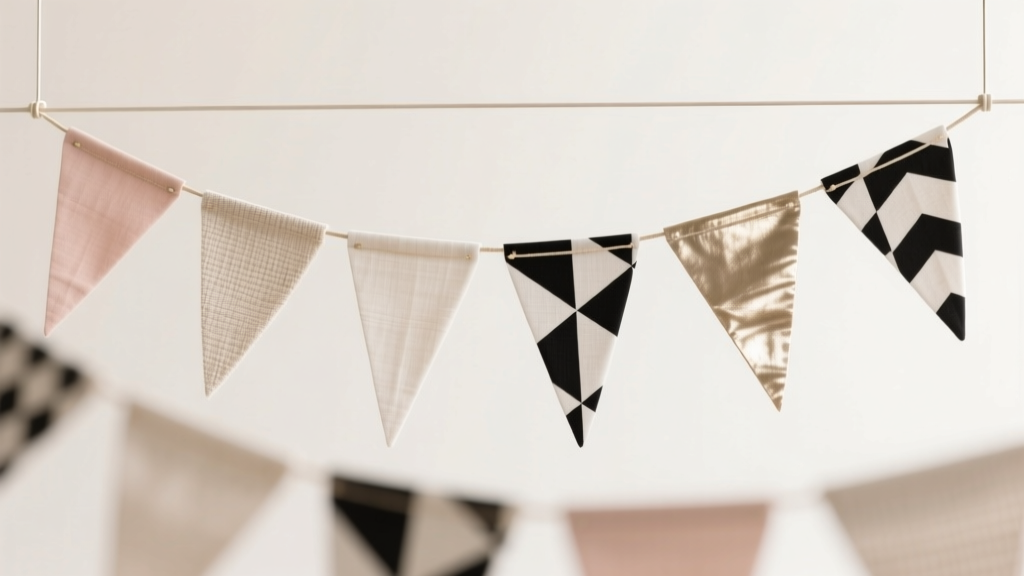 Modern Fabric Bunting Designs
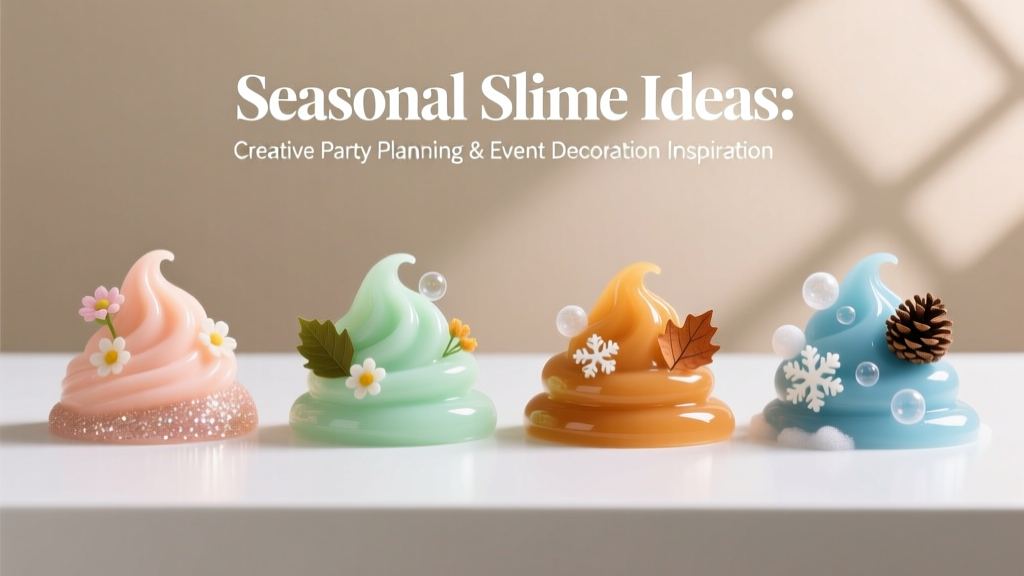 Seasonal Slime Ideas
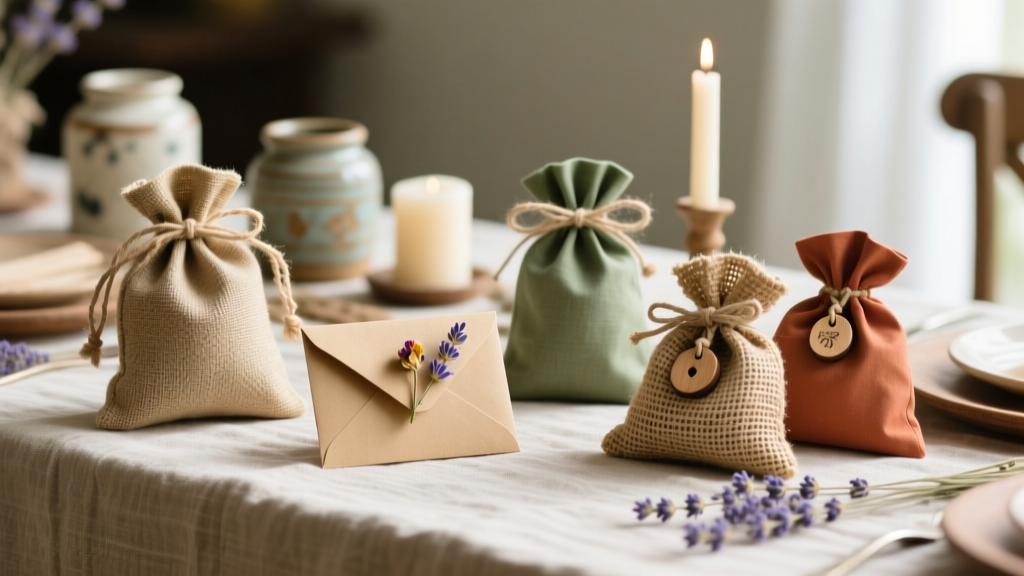 Rustic Favor Bags Ideas
 How to Unblock Third Party Cookies on iPhone (2024): The Real Reason It’s So Hard — And Exactly What You Can & Cannot Do Without Jailbreaking or Switching Browsers