
Personalized Balloon Arches Gifts
Balloon arches already feel like a party—bold, photo-ready, and instantly festive. Now imagine turning that same wow-factor into a gift: a mini balloon arch “bouquet” that’s customized with someone’s name, favorite colors, and a few meaningful details. It’s part decoration, part present, and 100% handmade joy.
These personalized balloon arch gifts are perfect for birthdays, baby showers, graduations, engagements, promotions, and “just because” surprises. You can drop one at a friend’s doorstep, use it as a centerpiece for a party table, or set it beside a gift table so it doubles as decor.
Best of all: you don’t need professional balloon skills to make one. With a few beginner-friendly tools, a simple base, and a step-by-step plan, you’ll build a mini arch that looks polished—and you’ll have endless ways to personalize it for different celebrations.
Project Overview: Skill Level, Time, and Finished Size
- Skill level: Beginner to Intermediate (Advanced variations included below)
- Time estimate: 60–120 minutes (depending on size and personalization)
- Typical finished size (gift version): 18–28 inches wide and 20–36 inches tall
- Best for: DIY party decorations, handmade gifts, party table backdrops, photo props
What Makes a Balloon Arch a “Gift”?
A balloon arch gift is a small, self-standing balloon arch built on a tabletop base (or weighted base) and finished with a personalized touch. Think:
- A name or age in vinyl on a mini sign
- A short message (“Congrats, Mia!”)
- Favorite color palette (pastels, jewel tones, neutrals)
- Theme elements (stars, hearts, florals, sports icons)
- Optional add-ons like a small wrapped present, gift card holder, or photo clip
Materials List (with Product Types + Estimated Costs)
Costs vary by size and brand, but these estimates help you plan. Many items (pump, glue dots, fishing line) can be reused for future DIY party decorations.
Balloons & Structure
- Latex balloons, assorted sizes (5", 10–12", optional 18") — 40–90 balloons total depending on density
- Estimated cost: $10–$25
- Recommended types: standard latex + a few specialty (chrome, confetti, or matte)
- Balloon decorating strip (balloon tape) — 1 roll
- Estimated cost: $5–$10
- Mini arch stand OR tabletop frame (choose one)
- Option A: Tabletop balloon arch stand kit (20–32" tall) — $12–$25
- Option B: 2 small balloon columns/stands + a flexible connector rod — $18–$35
- Weights (if needed): water weights, sand-filled base, or 2–4 small hand weights
- Estimated cost: $5–$15
Tools & Adhesives
- Electric balloon pump (highly recommended)
- Estimated cost: $18–$35
- Balloon glue dots (for clusters and detail balloons)
- Estimated cost: $4–$8
- Clear fishing line or thin floral wire (for securing accents)
- Estimated cost: $3–$8
- Scissors + wire cutters (if using wire) — $0–$10
- Hand pump (helpful for 5" balloons and precision)
- Estimated cost: $6–$10
Personalization Supplies
- Mini sign (acrylic, foam board, or cardstock on a stick)
- Estimated cost: $2–$10
- Vinyl lettering (cut with a craft machine) or letter stickers
- Estimated cost: $3–$12
- Ribbon, tassels, or curling ribbon
- Estimated cost: $3–$8
- Optional accents: faux greenery stems, paper butterflies, small florals, LED micro lights
- Estimated cost: $5–$20
Measurements & Balloon Count Guide
Use this as a quick planning chart for a mini balloon arch gift that fits on a table or entryway console.
- Small (18–20" wide): 30–45 balloons total
- Sizes: mostly 10–12" with 6–10 of the 5" balloons
- Medium (22–26" wide): 45–70 balloons total
- Sizes: mix 10–12" + 5" + 2–4 accent 18"
- Large tabletop (28–36" wide): 70–100 balloons total
- Best with a sturdier frame and extra weights
Step-by-Step: How to Make a Personalized Balloon Arch Gift
Step 1: Choose a Color Palette and Personalization Plan (10 minutes)
Pick 3–5 balloon colors plus one “special” finish if you want extra pop.
- Easy palette formula:
- 2 main colors (example: blush + white)
- 1 accent color (example: gold)
- Optional neutral (beige/ivory/clear)
- Personalization ideas:
- Name + age (“Ava Turns 7”)
- Short message (“Congrats!” “Welcome Baby”)
- Theme label (“Taylor’s Disco Night”)
Step 2: Prep the Base and Frame (10–15 minutes)
Set up your tabletop arch stand according to the kit instructions. If your stand feels light, add weight now.
- For a lightweight base, place the stand on a small wood board (about 8" x 12") and secure with zip ties or strong tape.
- For extra stability, hide 1–2 lb hand weights behind balloons at the base.
Step 3: Inflate Balloons in Sizes (20–35 minutes)
Consistent sizing makes your DIY balloon arch look professional. You don’t need a sizing tool, but it helps.
- Inflate 10–12" balloons to about 9–10" for a fuller, less “overstretched” look.
- Inflate 5" balloons to about 3.5–4.5" for tucking into gaps.
- If using 18" balloons, keep them slightly underfilled so they’re rounder and easier to secure.
Tool recommendation: Use an electric balloon pump for the main balloons and a hand pump for tiny balloons or final adjustments.
Step 4: Build Balloon Clusters (10–20 minutes)
Balloon clusters (also called quads) help you create that organic, high-end look.
- Tie two balloons together to make a pair.
- Tie two pairs together to form a quad (4-balloon cluster).
- Make a mix of clusters:
- Mostly 10–12" quads
- A few mixed-size clusters (one 18" + two 10" + one 5") for variety
Step 5: Attach Balloons to the Decorating Strip (15–25 minutes)
Lay your balloon strip on the table and start building your garland section.
- Insert balloon knots into the holes of the strip.
- Alternate colors and sizes so you don’t get “color clumps.”
- Build a section about 24–36 inches long for a medium tabletop arch.
Beginner-friendly tip: If balloon tape feels confusing, you can attach clusters directly to the frame using fishing line—wrap and knot, then hide the line behind balloons.
Step 6: Shape and Secure the Arch on the Frame (10–20 minutes)
- Drape the balloon strip onto the arch stand.
- Secure at three main points:
- Base left
- Top center
- Base right
- Use fishing line, clear zip ties, or the stand’s included connectors to tighten the shape.
- Step back and adjust: aim for a gentle curve rather than a sharp “rainbow.”
Step 7: Fill Gaps with 5" Balloons + Glue Dots (10–15 minutes)
This is the glow-up step. Small balloons make your arch look full and custom.
- Use glue dots to tuck 5" balloons into open spaces.
- Focus on:
- Any visible frame sections
- Flat-looking areas that need dimension
- Places where two colors meet (small balloon helps blend)
Step 8: Add the Personalization (10–25 minutes)
Choose one main focal point for the message so it reads clearly in photos.
- Mini sign option: Create a 5" x 7" or 6" round sign and place it slightly off-center.
- Vinyl on balloon option: Add a name to a large 18" balloon (best applied to an underinflated balloon, then inflate a bit more).
- Gift add-on: Attach a small envelope for a gift card using ribbon tied to the base.
Pro Tips for a Fuller, Longer-Lasting DIY Balloon Arch
- Underinflate slightly to reduce popping and create a softer, rounded look.
- Build the arch the day of the event for the freshest finish. If you must prep early, balloons usually hold well for 24–48 hours indoors.
- Use a “triangle rule” for color: repeat accent colors in at least three areas so the design feels balanced.
- Matte balloons hide imperfections (fingerprints and lighting glare) and photograph beautifully.
- Transport tip: Carry the arch in a large plastic bag or open box and avoid heat. Don’t leave it in a car.
Creative Variations (Beginner-Friendly to Advanced)
Beginner Variations
- Half-arch gift: Build balloons on one side only for a modern asymmetrical look (uses fewer balloons).
- Single-color arch: All white with one metallic accent balloon + personalized sign.
- Mini desk arch: Scale down to 12–16" wide as a coworker surprise.
Advanced Variations
- Double-layer arch: Add a second balloon strip behind the first for extra depth (great for big milestones).
- Organic balloon arch with florals: Insert faux greenery stems using floral wire and tuck ends behind balloon knots.
- LED-lit arch: Wrap micro LED lights around the frame first, then build balloons over it (choose cool lights to avoid heat).
- Themed toppers: Add a small foil shape (star, heart, number) at the peak for a gift-like “bow.”
Troubleshooting: Fix Common Balloon Arch Problems
- Arch looks sparse: Add 8–15 more 5" balloons in gaps; rotate clusters so balloons face forward.
- Colors look “patchy”: Pull a few accent balloons from heavy spots and move them to quieter areas.
- Frame shows through: Place 5" balloons directly over visible bars with glue dots.
- Arch won’t hold a curve: Tighten the fishing line at the top anchor point; add a second tie point.
- Balloons popping: Check for overinflation, sharp edges on the frame, or friction from dragging balloons across rough surfaces.
Common Crafting Mistakes to Avoid
- Overinflating balloons: This causes popping and a more “pear-shaped” look. Slightly underfilled balloons look more premium.
- Skipping small balloons: 5" balloons are the secret to a professional organic style. Without them, arches often look gappy.
- Not weighting the base: Even tabletop arches can tip when bumped. Add weight before decorating.
- Putting personalization too low: A name sign hidden behind balloons won’t photograph well. Place it near the top third of the arch.
- Building in a hot space: Heat expands balloons and shortens their lifespan. Work indoors at a comfortable temperature.
FAQ: Personalized Balloon Arches Gifts
How far in advance can I make a balloon arch gift?
For best results, assemble it the same day. If needed, you can build it 24 hours ahead and store it indoors away from sun, heat, and pets.
Do I need helium for this project?
No—this is a non-helium balloon arch. Air-filled balloons last longer, cost less, and are easier to control for shaping.
What size balloons work best for a mini balloon arch?
A mix looks most natural: use mostly 10–12" balloons, then fill gaps with 5" balloons. Add a few 18" balloons if you want a bold focal point.
How do I personalize it without a cutting machine?
Use pre-made letter stickers, printable cardstock labels, or a hand-lettered tag. A simple “Happy Birthday” sign with a name still looks intentional and gift-ready.
How do I transport a balloon arch gift without ruining it?
Carry it upright in an open box or large bag, keep it out of heat, and avoid squeezing it through narrow doorways. If something shifts, bring a few spare balloons and glue dots for quick repairs.
Can I reuse the frame and any supplies?
Yes—frames, pumps, decorating strips, fishing line, and tools are reusable. Balloons typically aren’t reusable, but leftover balloons can be saved for future DIY party decorations.
Wrap-Up: Make It Personal, Make It Party-Ready
A personalized balloon arch gift is one of those handmade projects that feels bigger than the time it takes to create it. You’re gifting something that sets the mood, becomes a photo backdrop, and shows real thought—right down to the colors and the message.
Pick a palette, follow the steps, and let your creativity handle the finishing touches. Once you make your first one, you’ll start seeing ways to adapt it for every celebration on your calendar.
Want more DIY crafts, party decorations, and handmade project ideas? Browse smartpartyprep.com for fresh tutorials and creative inspiration for your next event.
More Articles
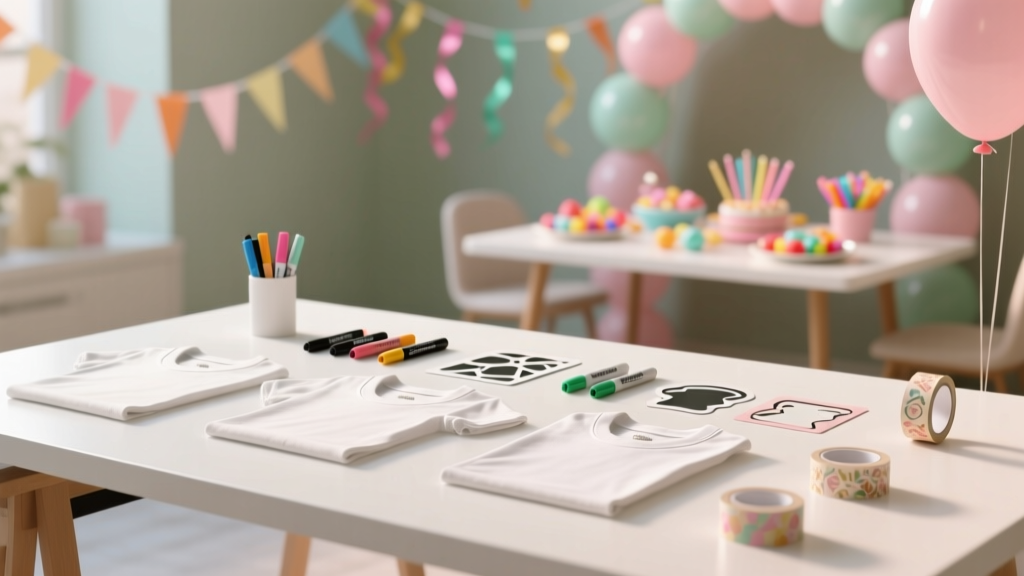 Step-by-Step T-Shirts Tutorial
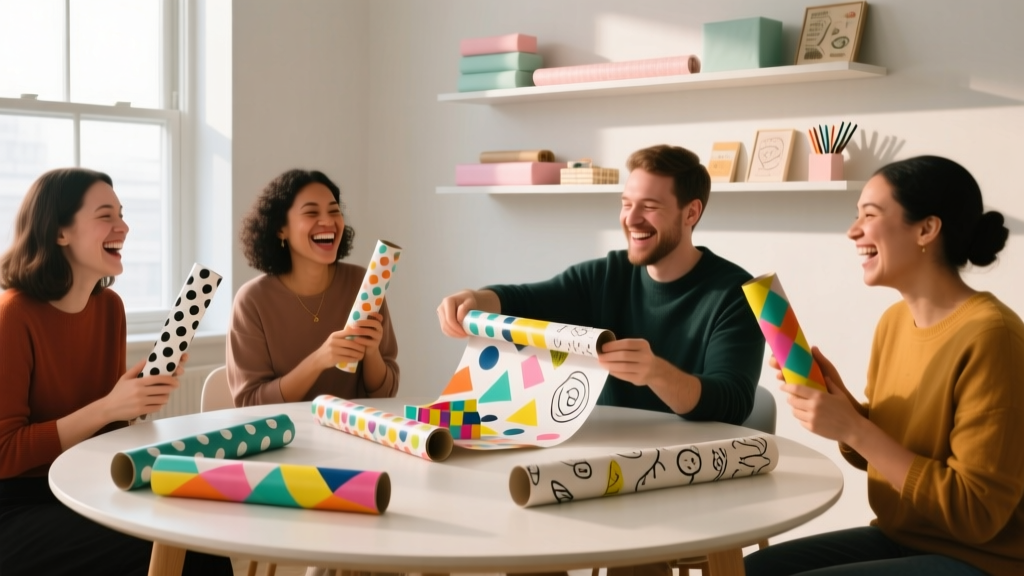 What Is Wrapped Party? The Surprisingly Genius DIY Craft Trend That Turns Gift-Wrapping Into a Joyful, Social, Memory-Making Experience (No Scissors Required!)
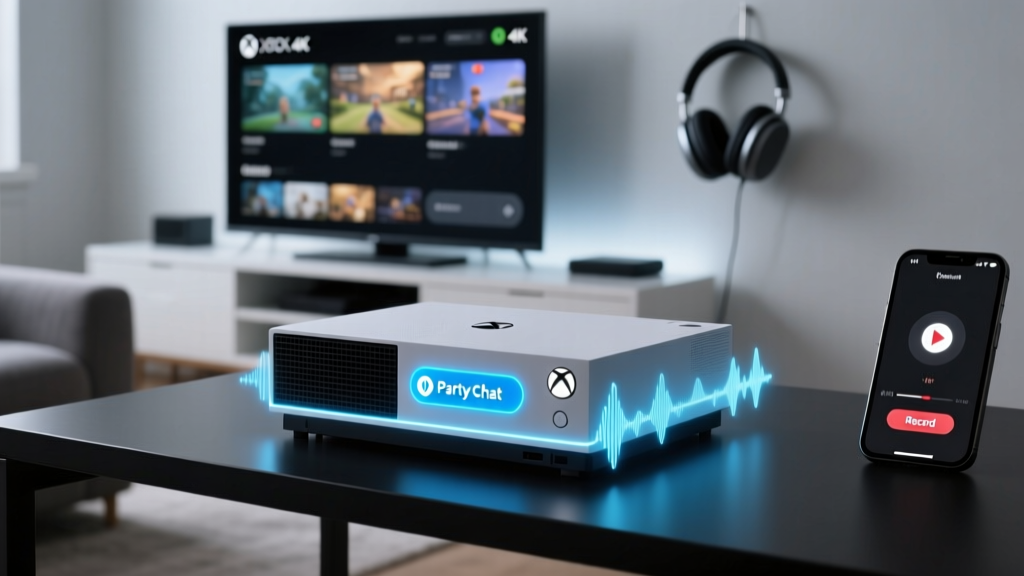 How to Record Xbox Party Chat in 2024: The Only Step-by-Step Guide That Actually Works (No Capture Card Required)
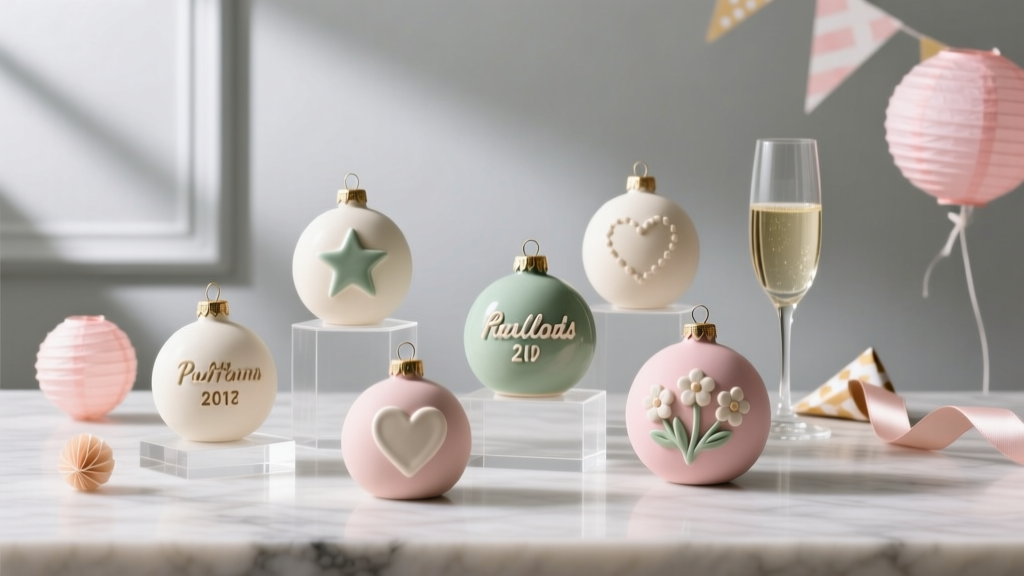 Personalized Clay Ornaments Gifts
 How to Make a Partiful: The 7-Step No-Stress Guide That Turns Craft Panic Into Confident Creativity (Even If You’ve Never Glued Sequins Before)
 Paper Craft Party Banners Ideas
 17 Do It Yourself Party Favors That Actually Impress Guests (No Craft Store Run Needed — Just $5, 20 Minutes & What’s Already in Your Drawer)
 How to Draw the Boston Tea Party in Just 7 Simple Steps — No Art Degree Needed! (Beginner-Friendly Tutorial with Historical Accuracy & Printable Reference Sheets)
 Easy Tie-Dye Shirts for Beginners
 Easy Wall Art for Beginners